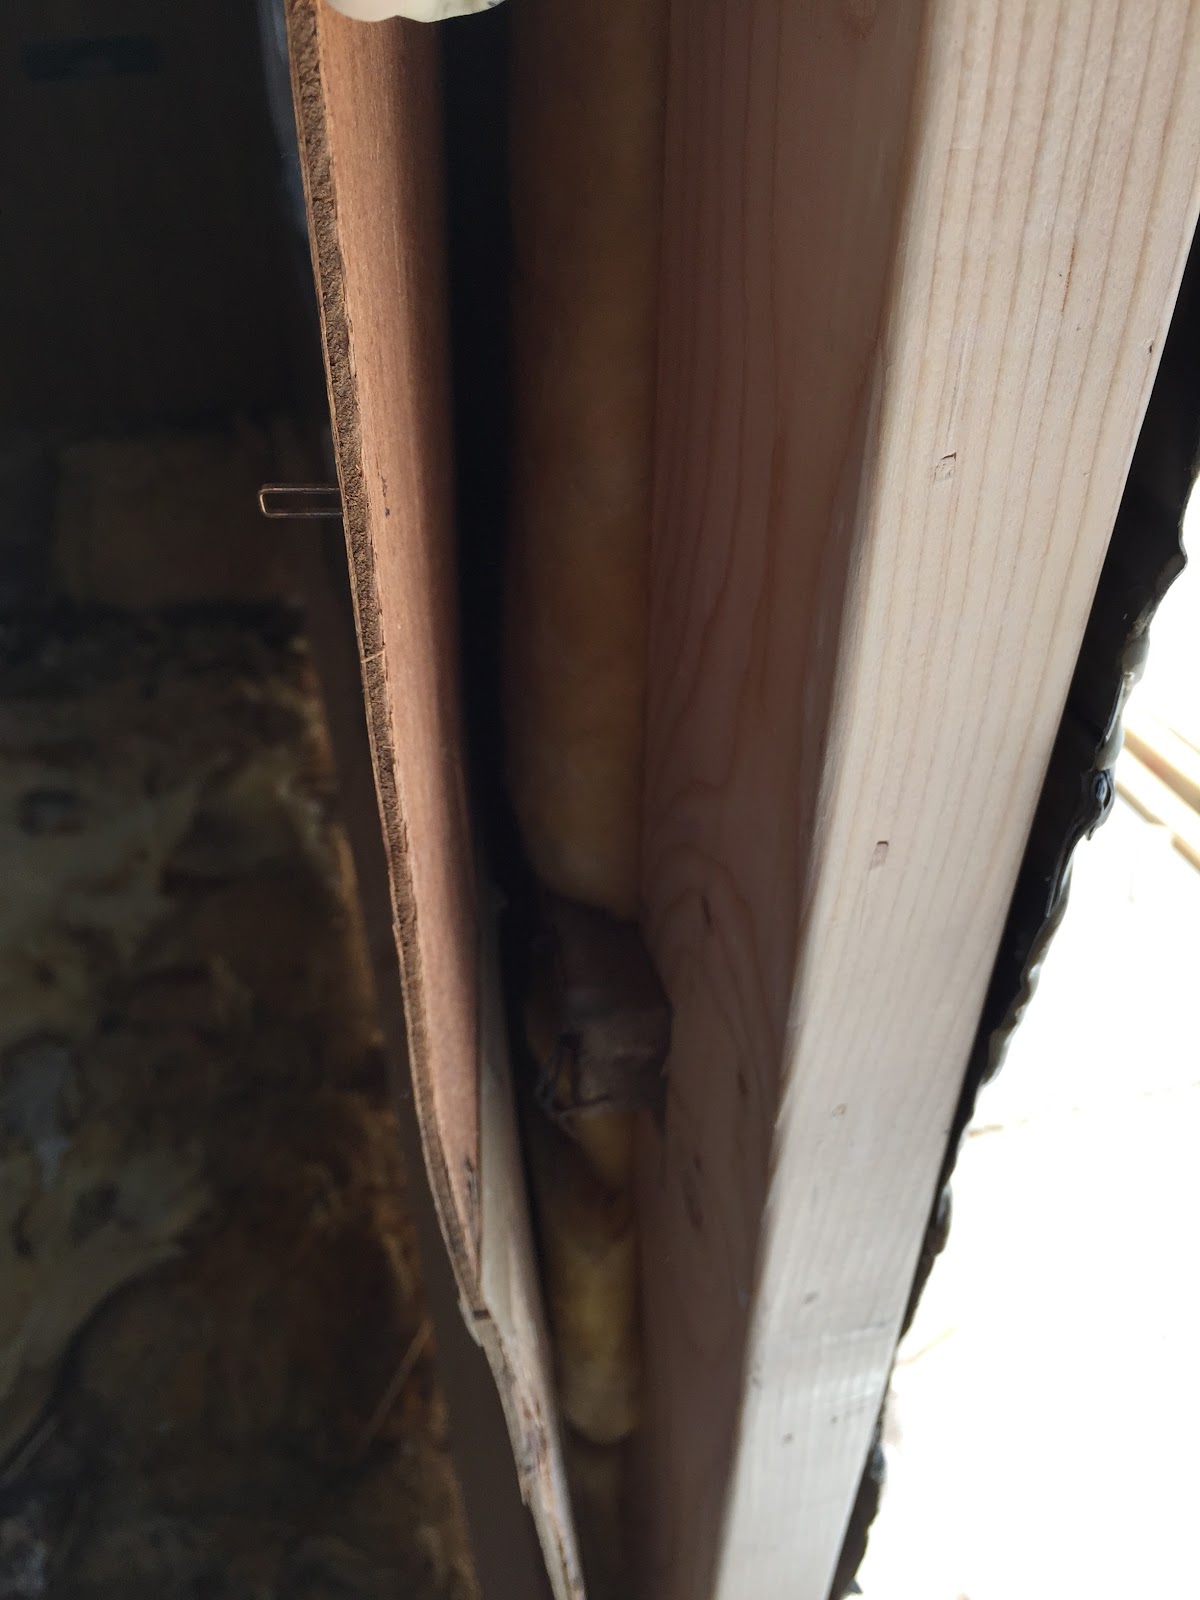
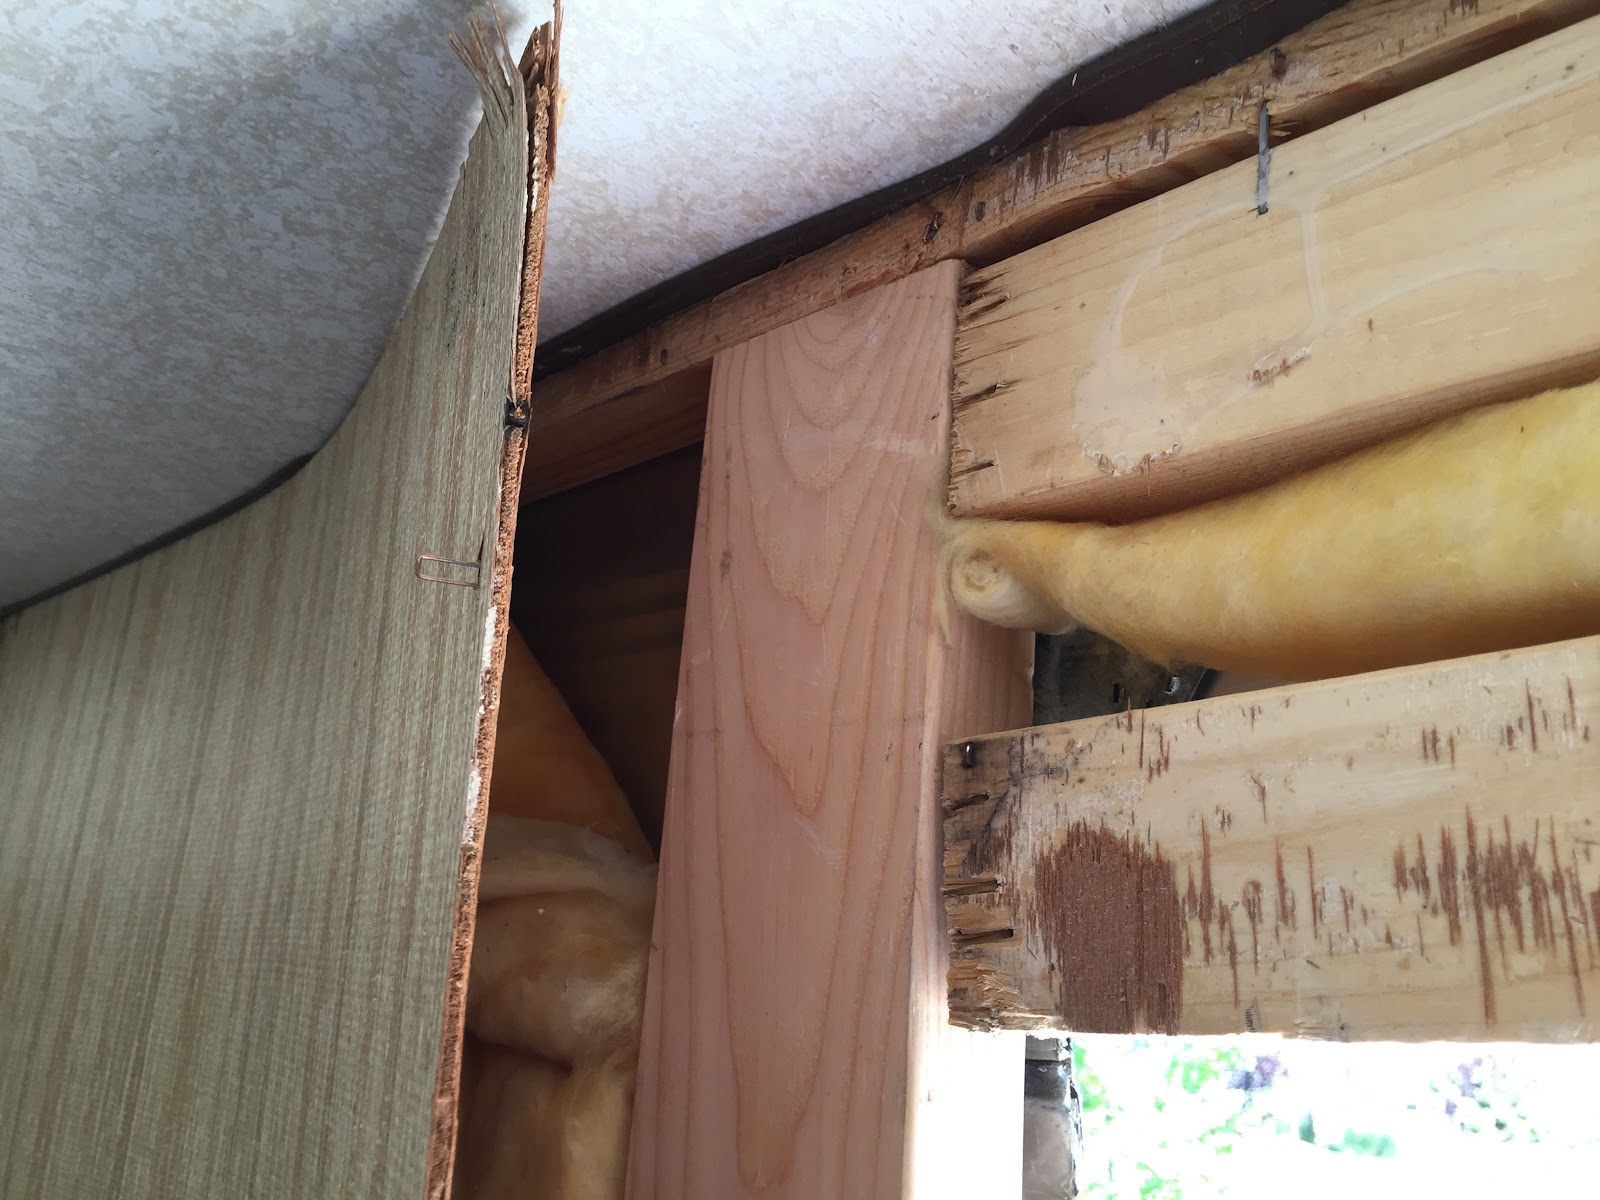
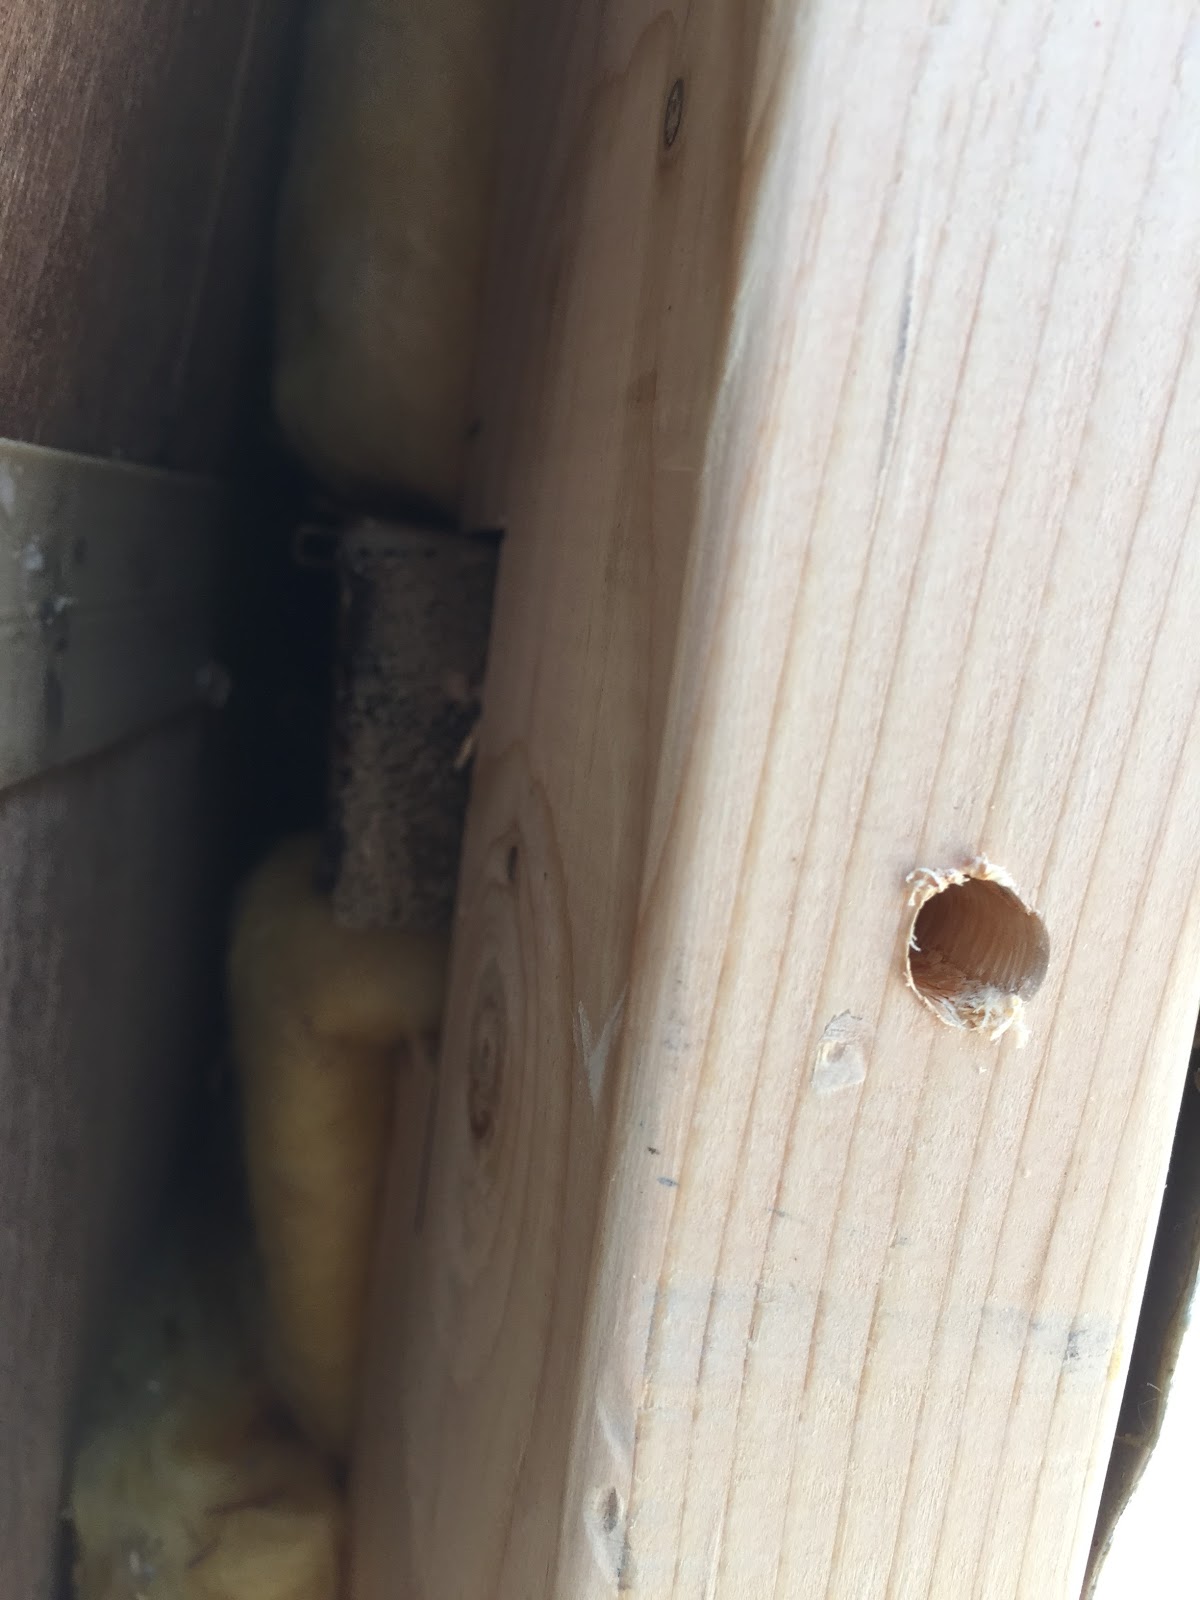
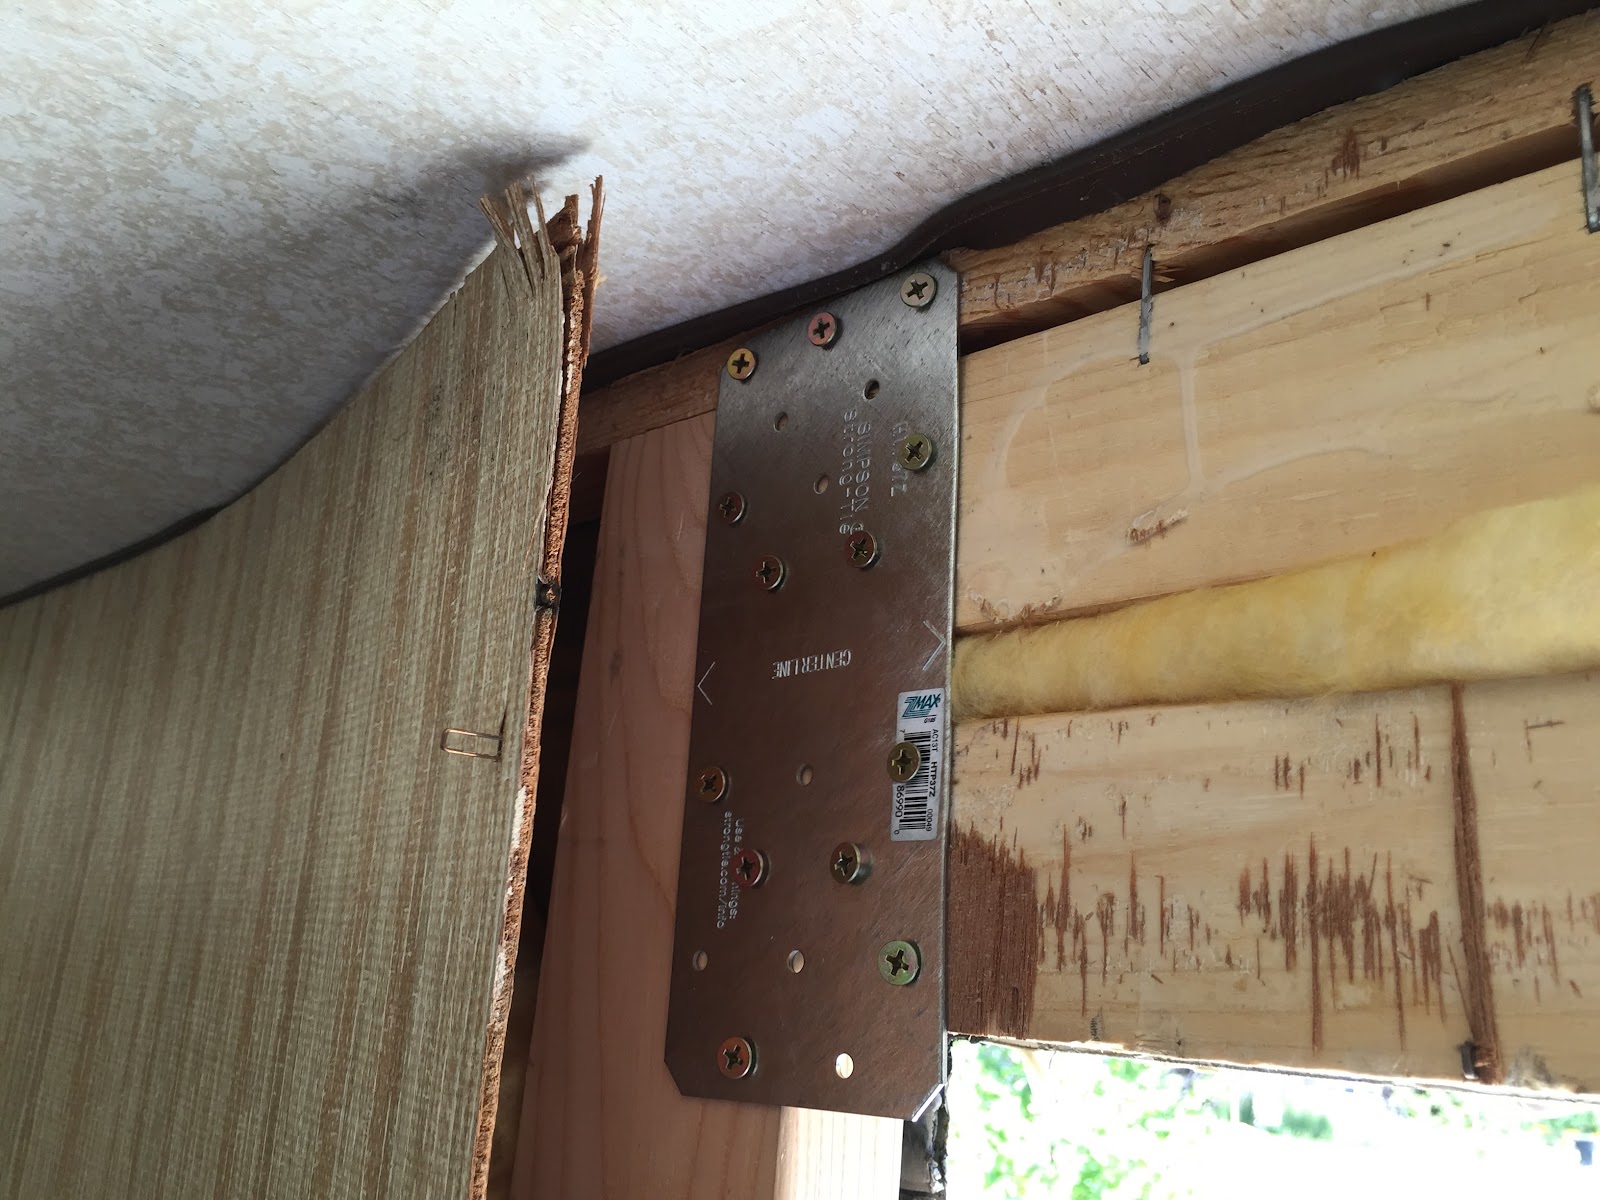
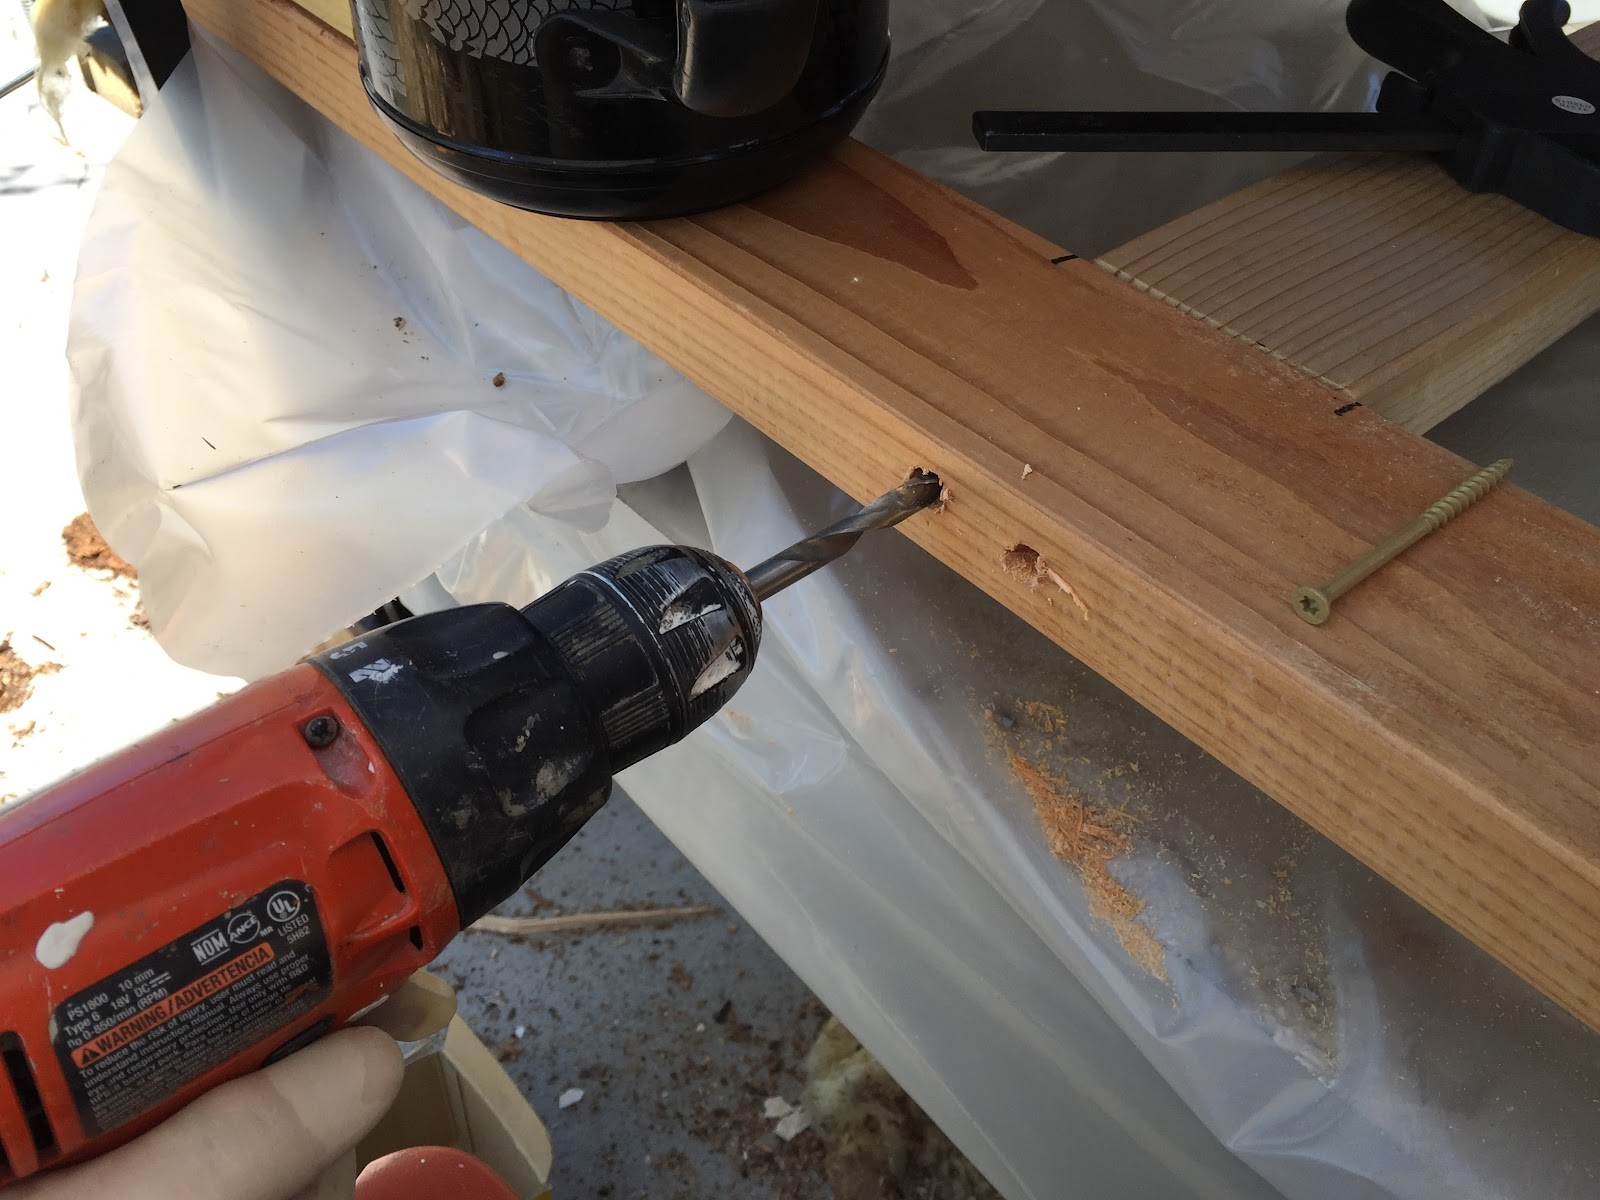
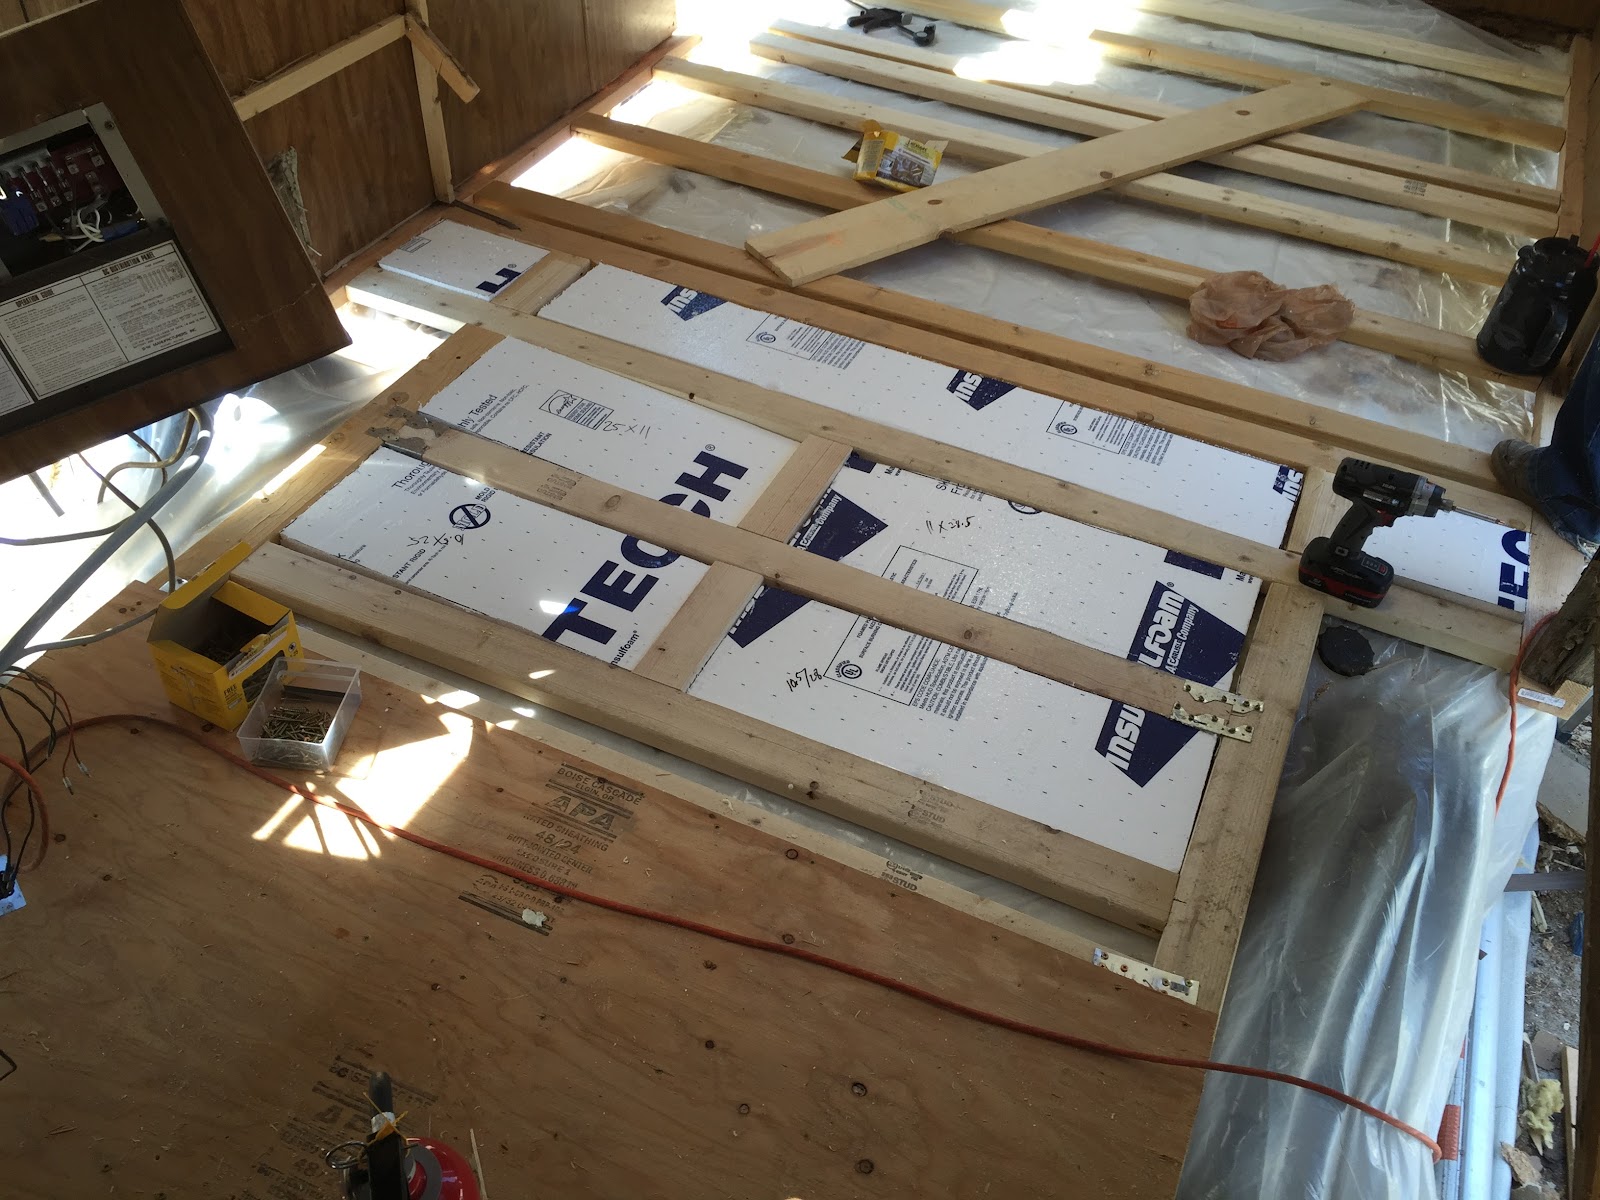
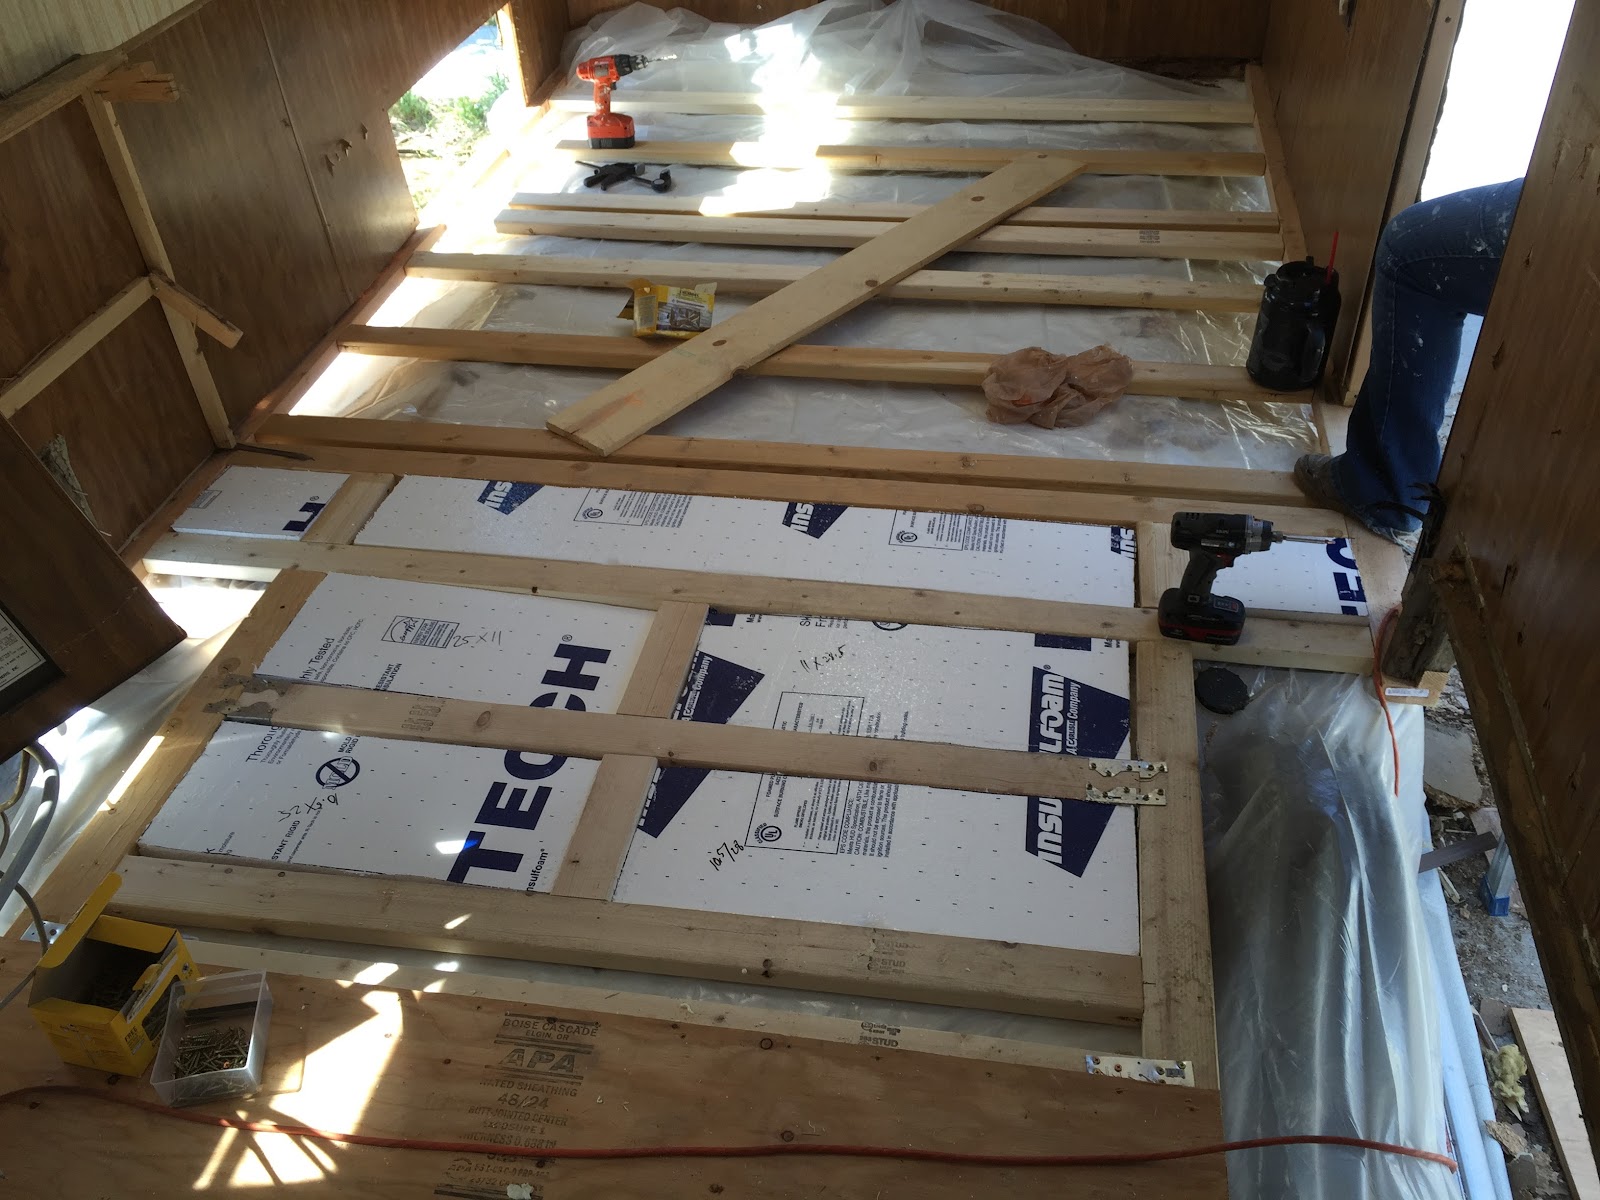
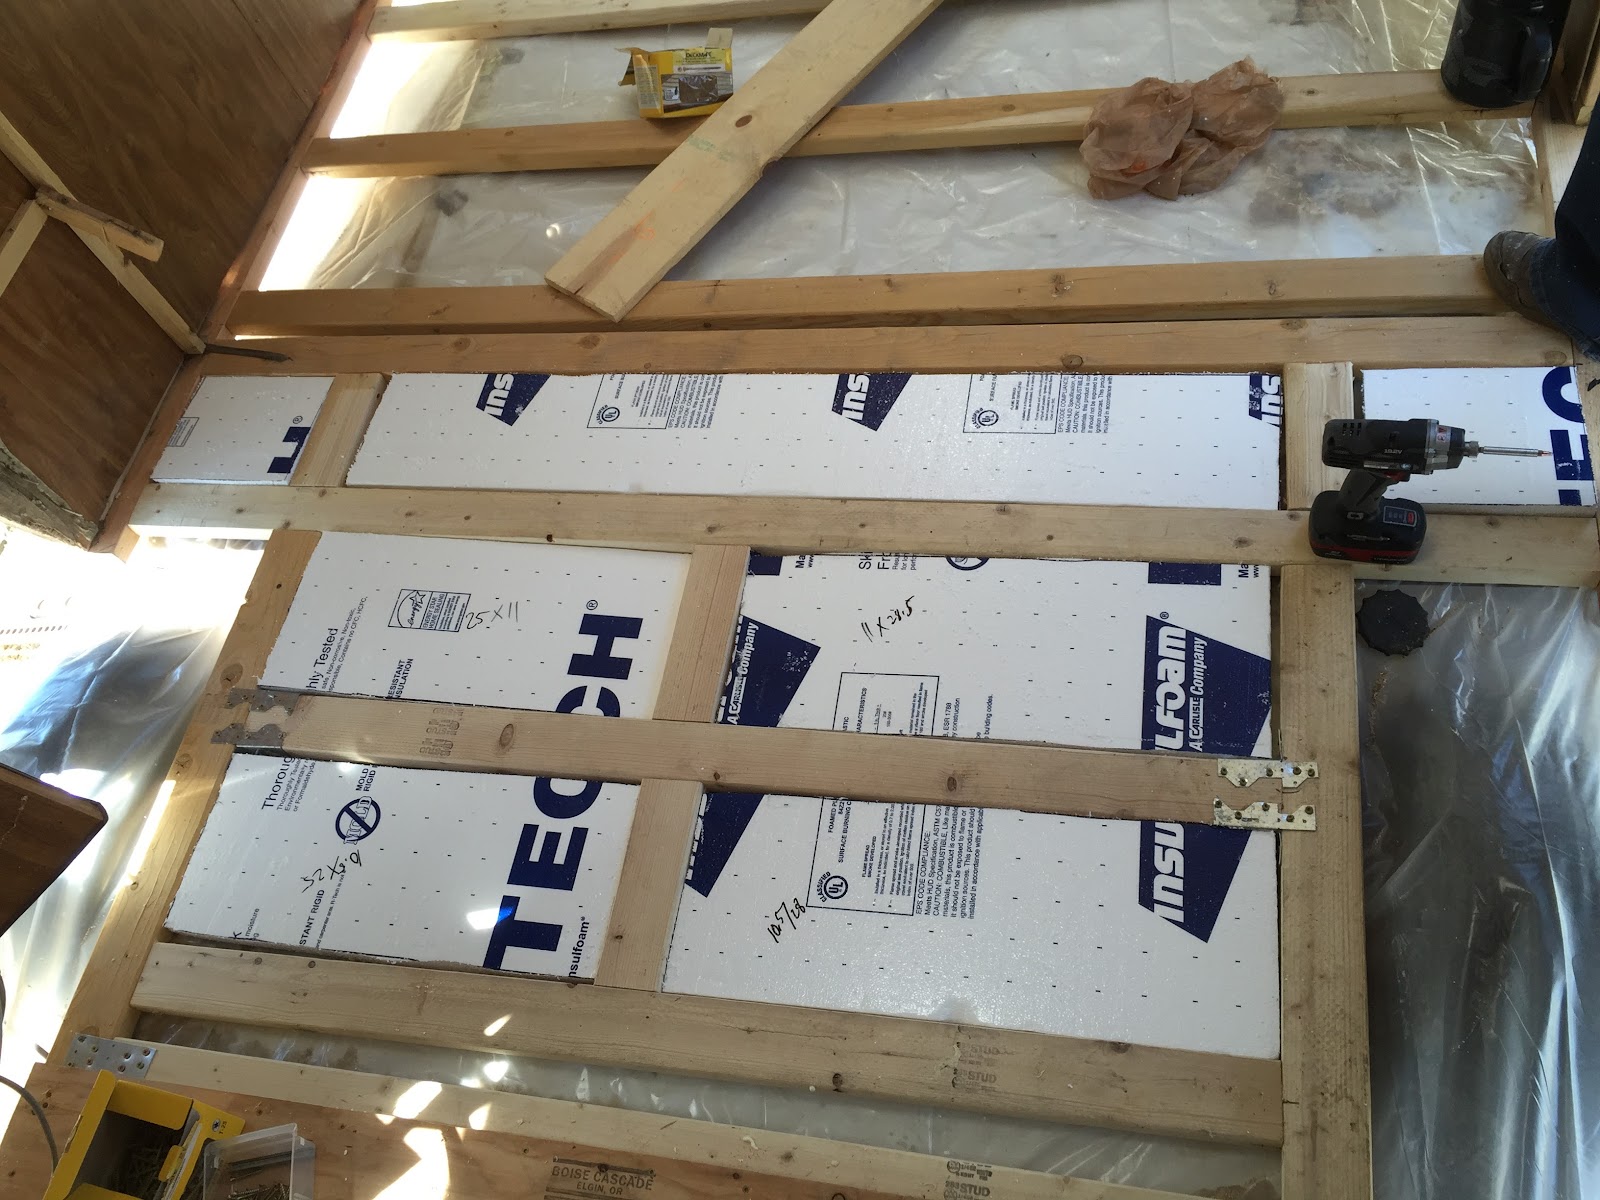
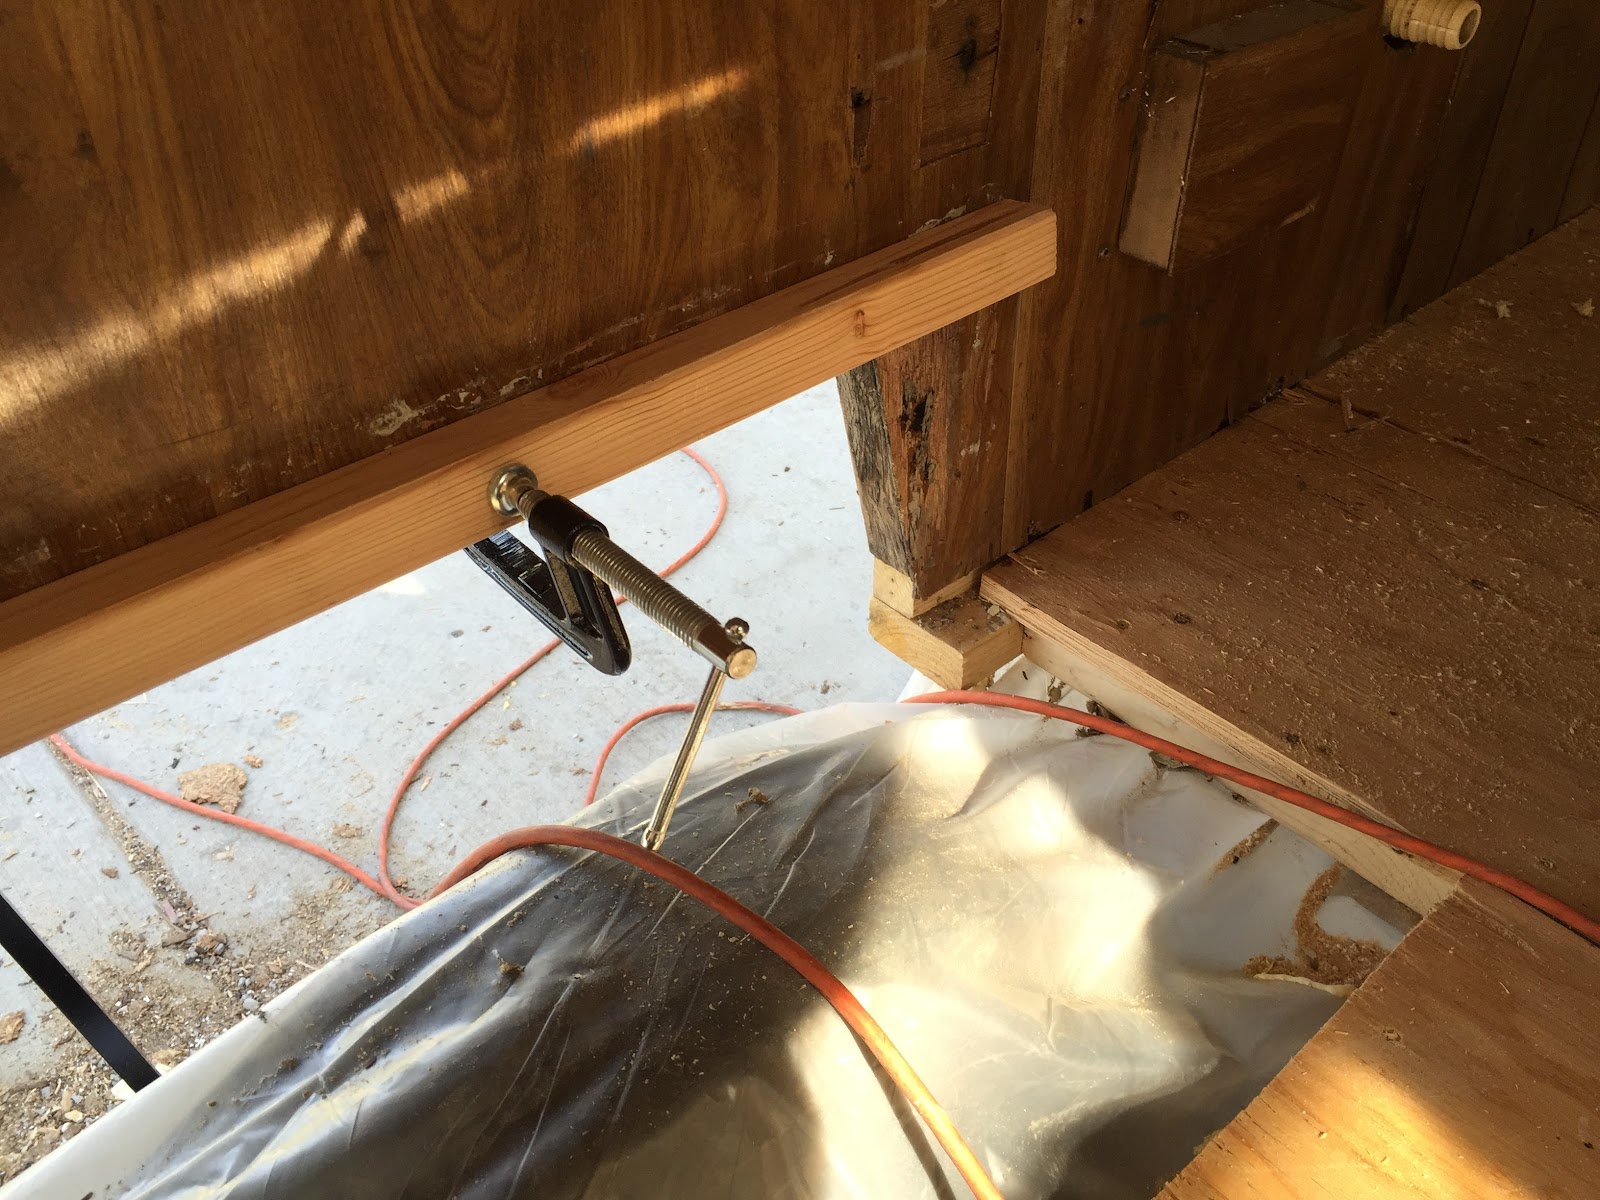
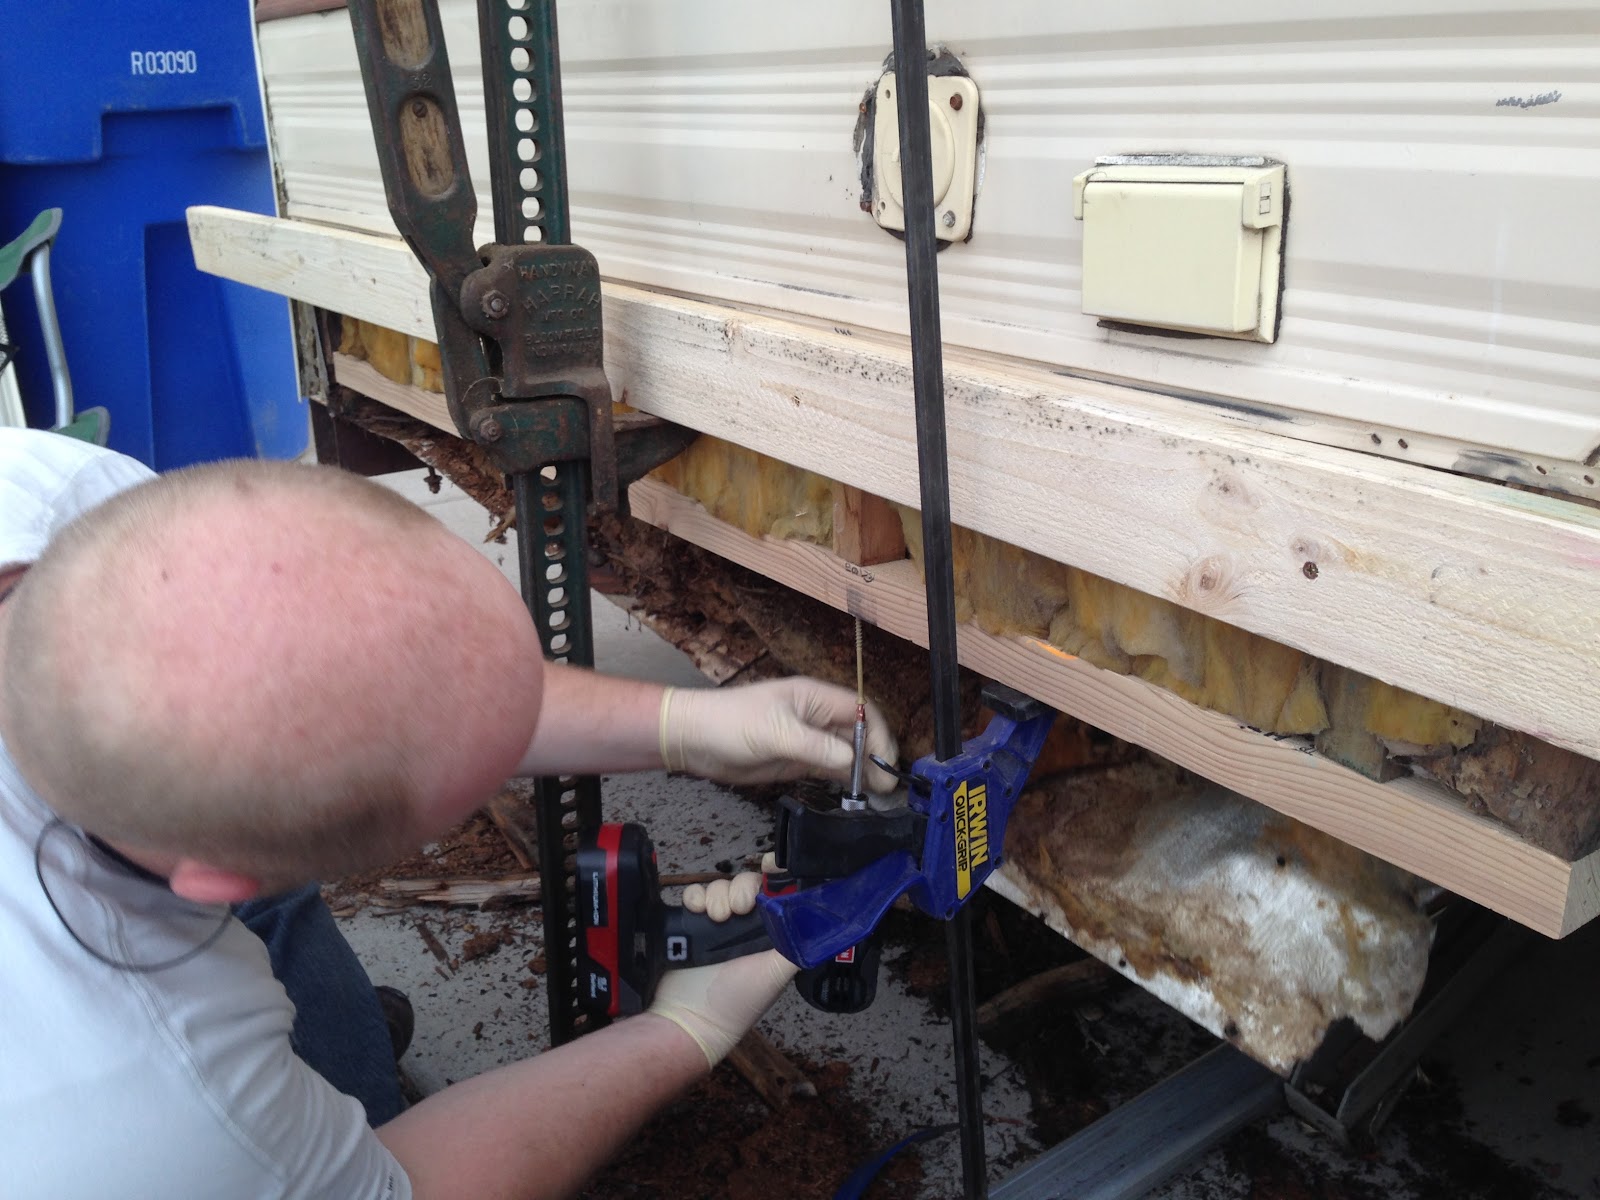
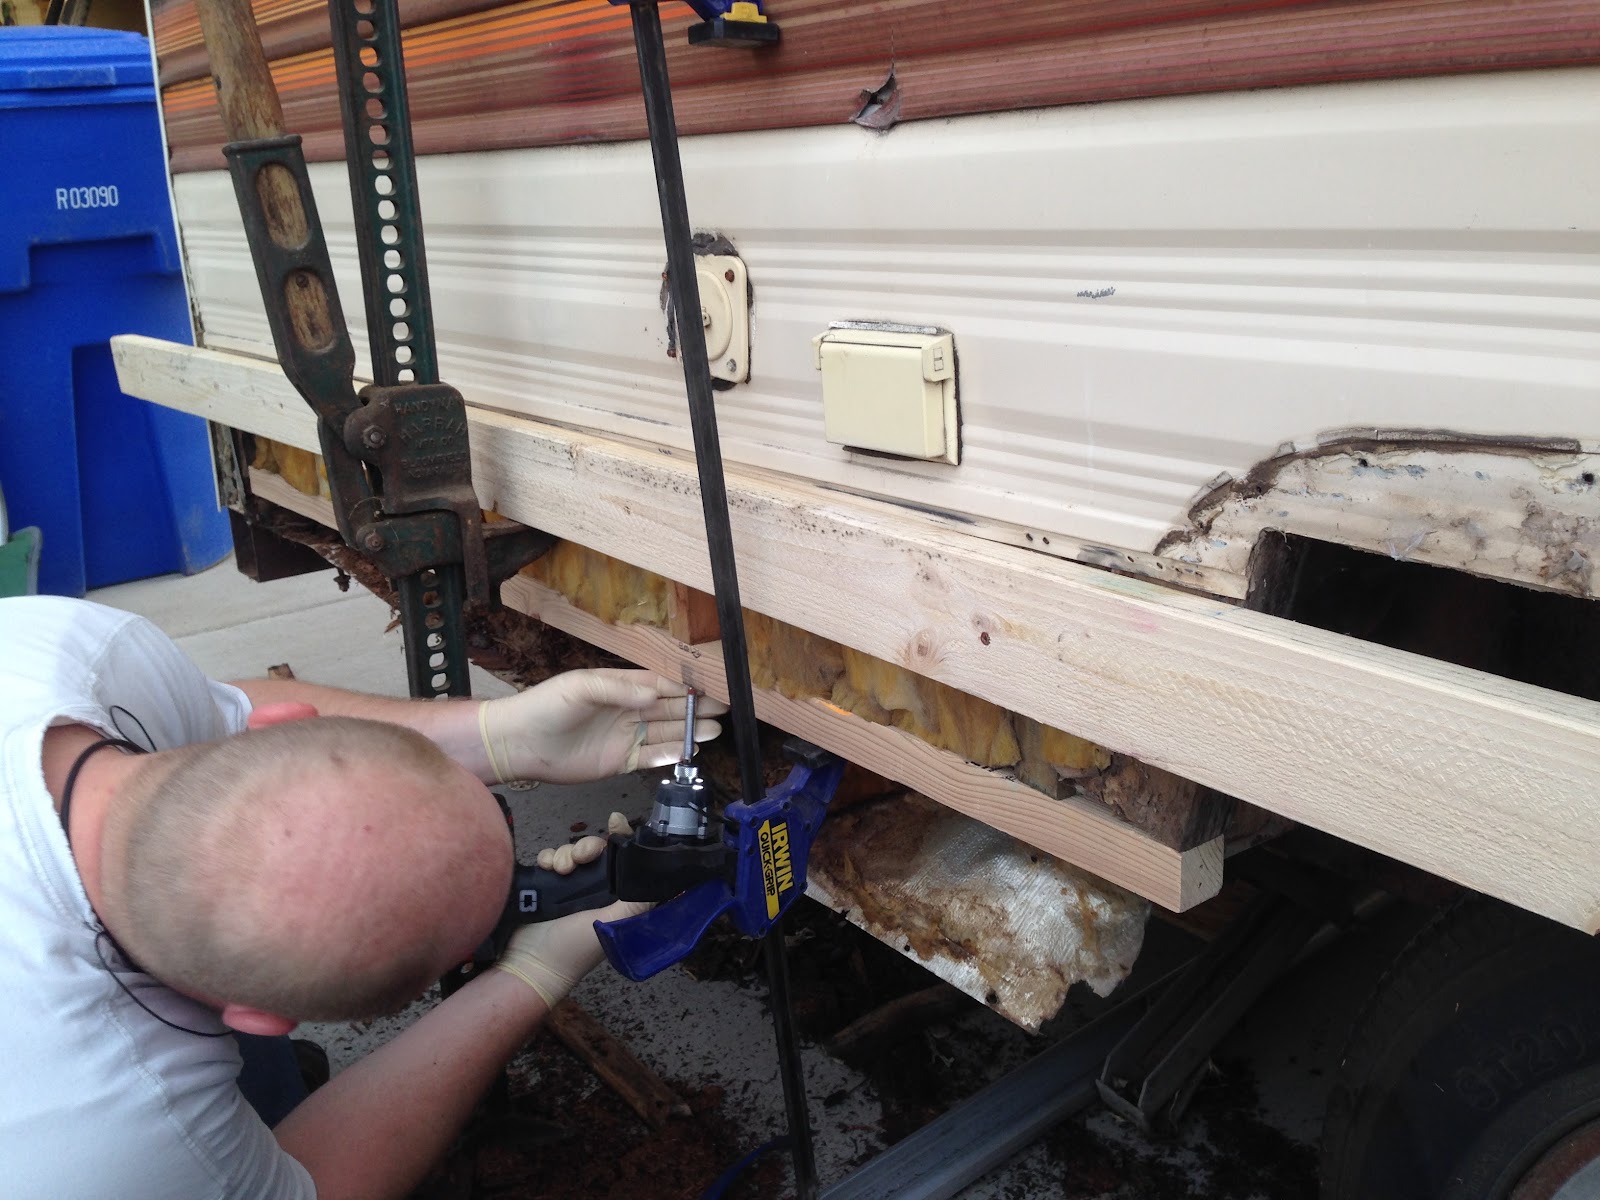
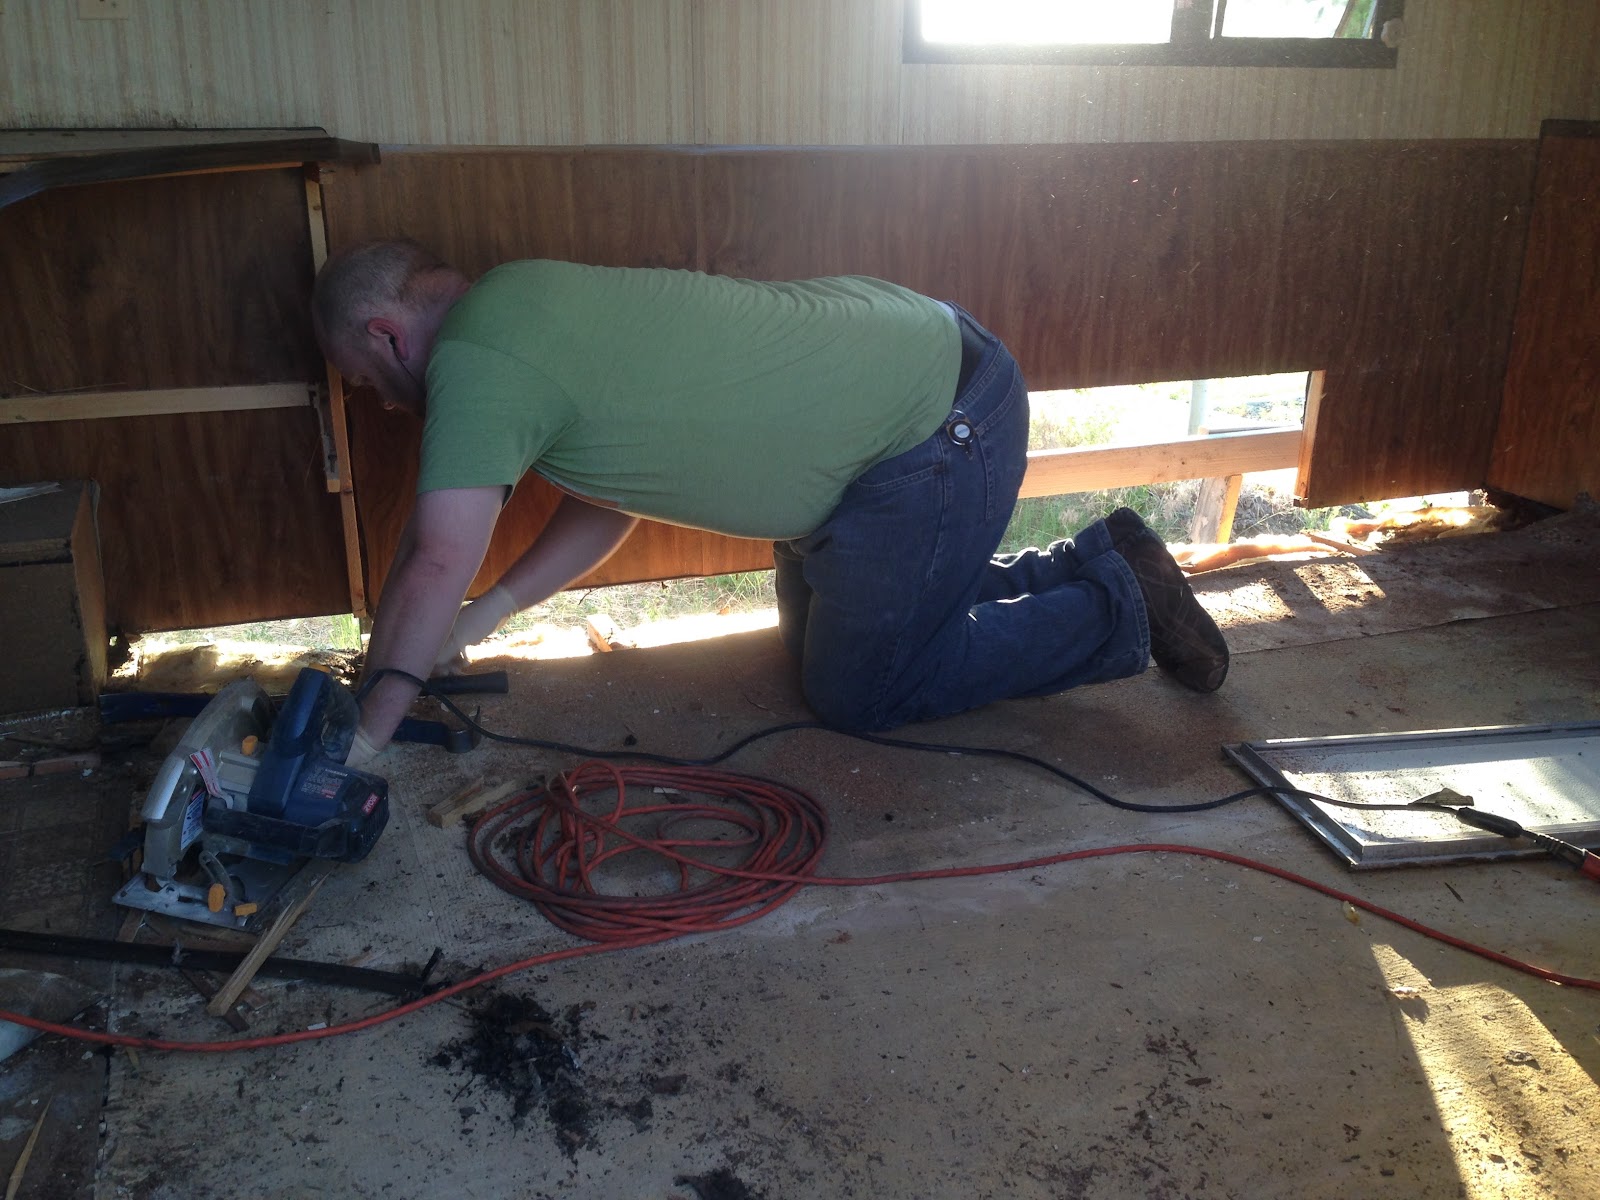
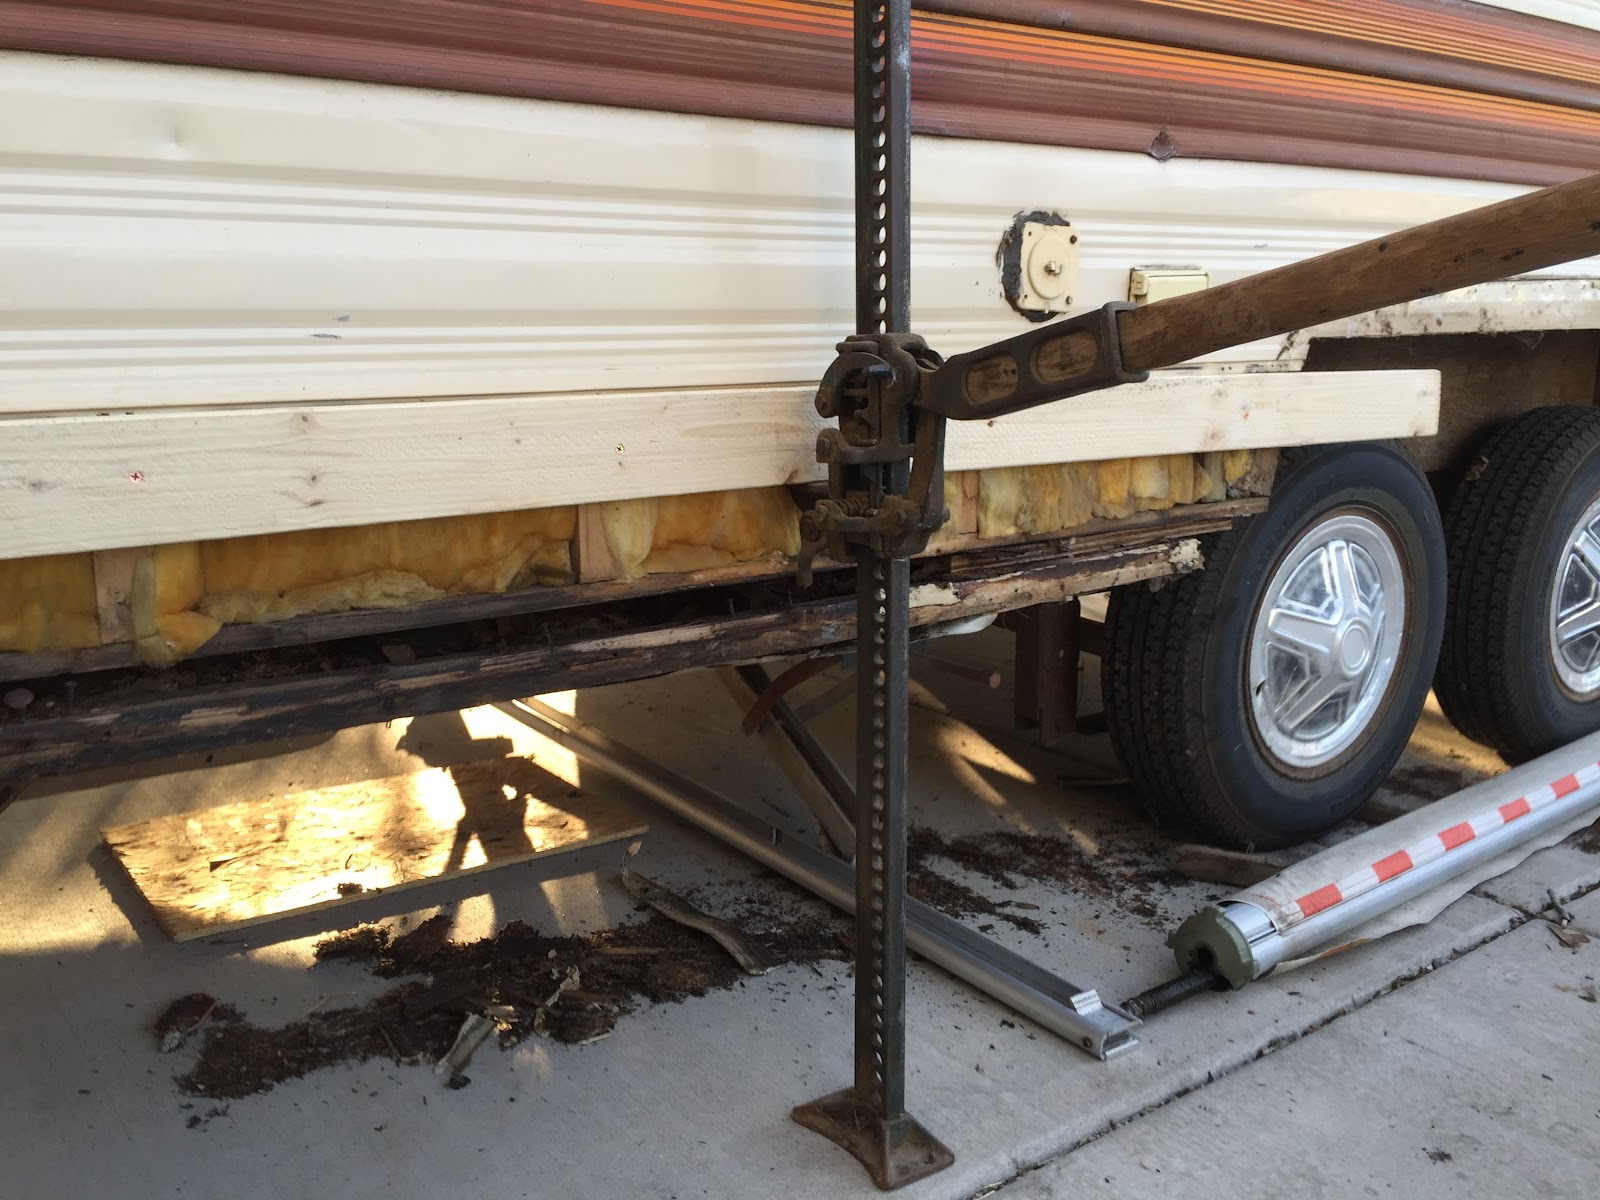
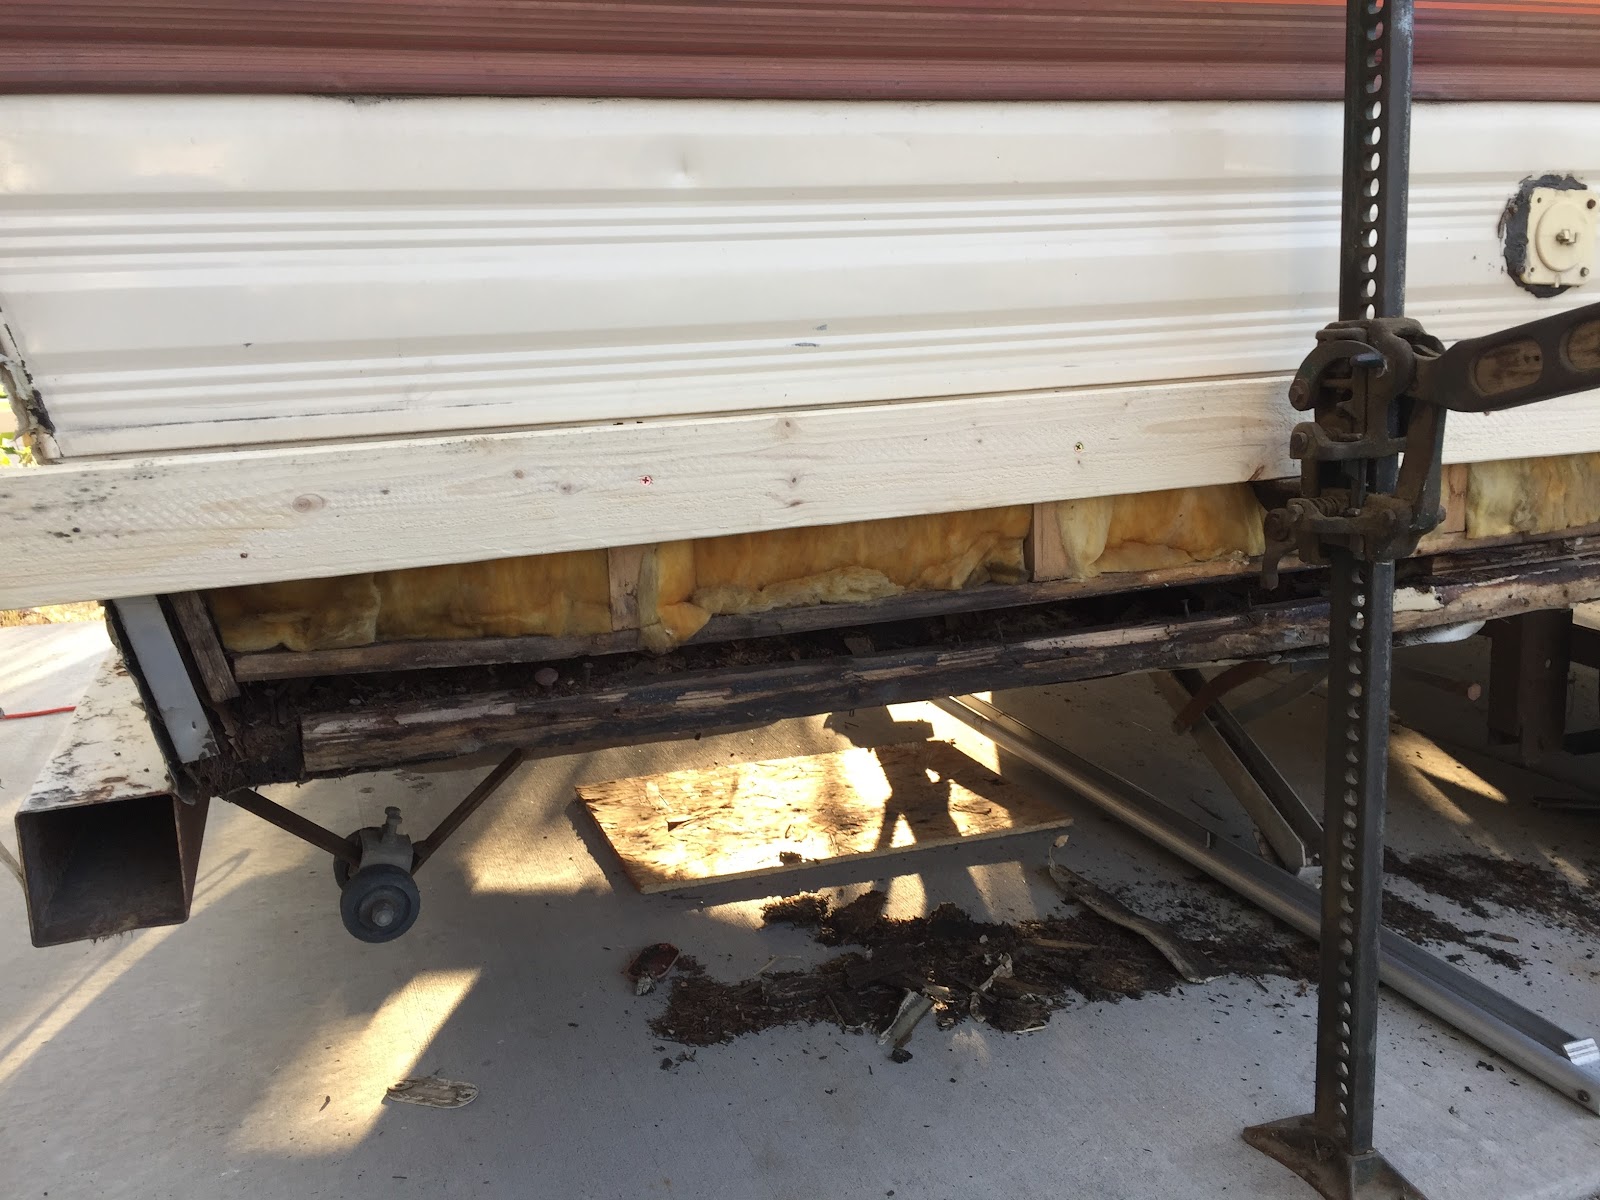
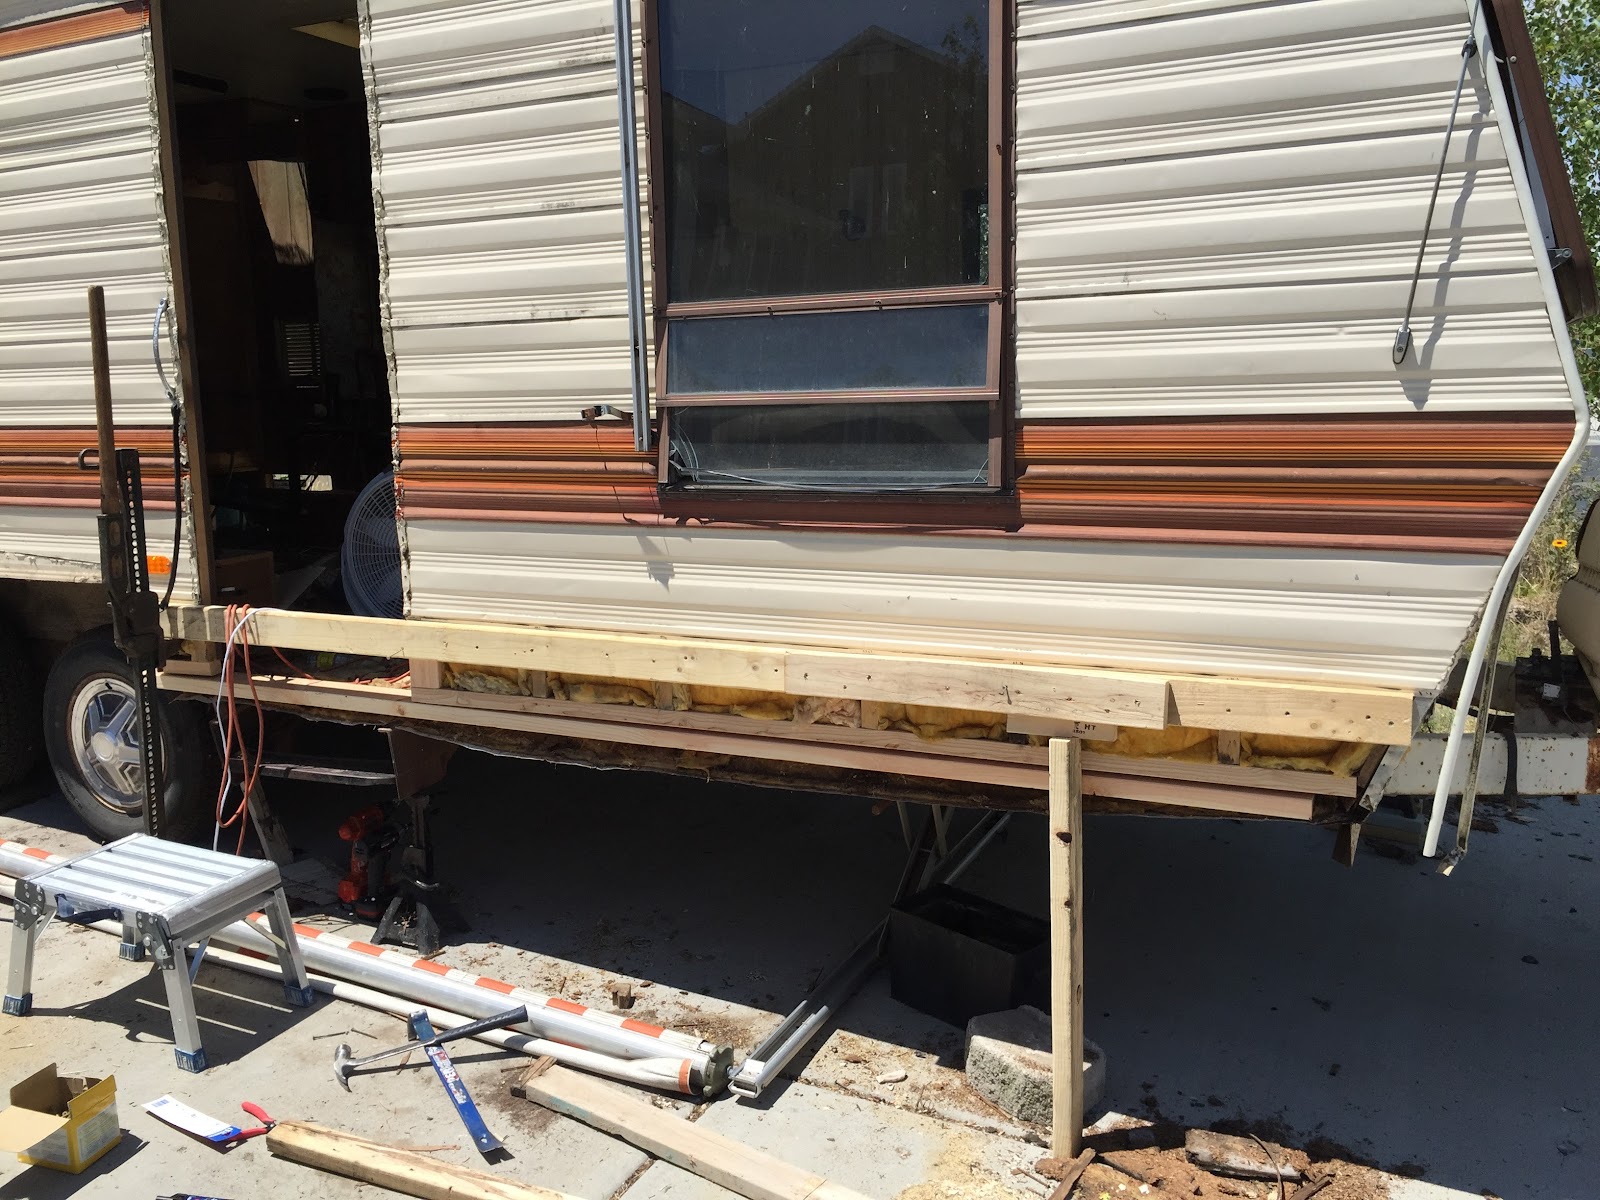
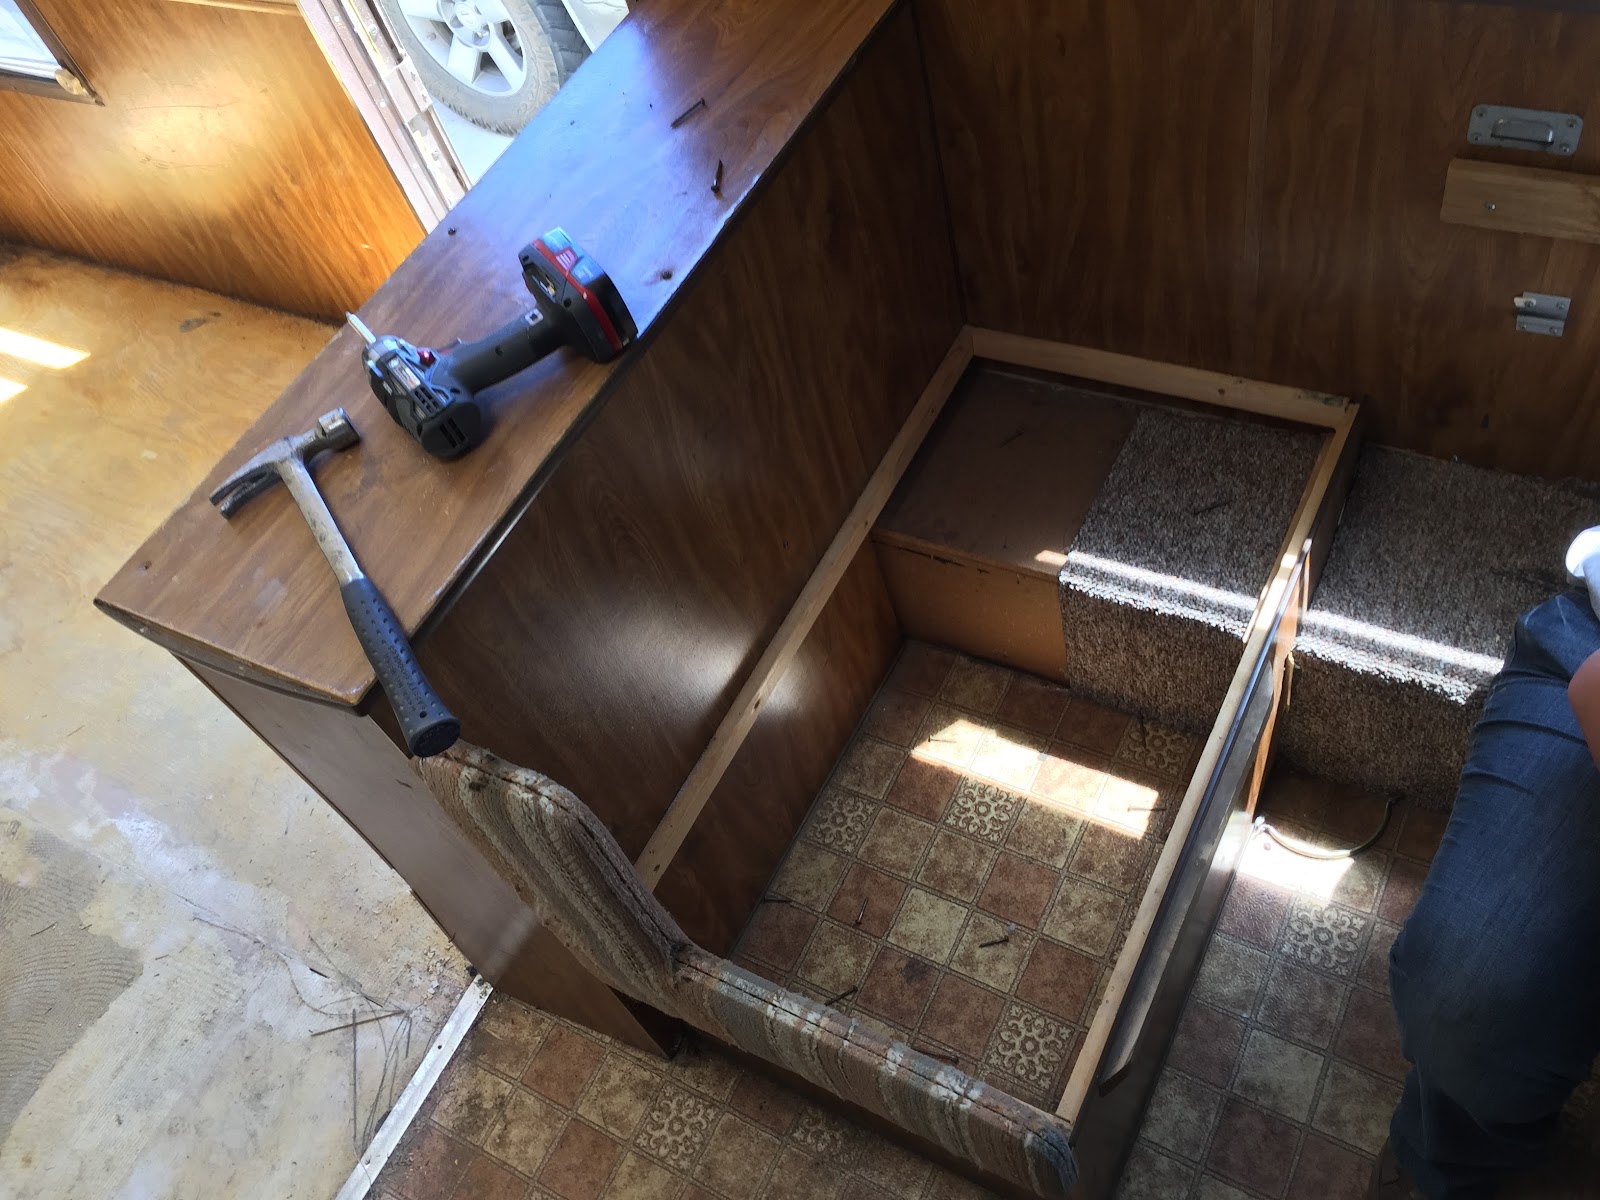
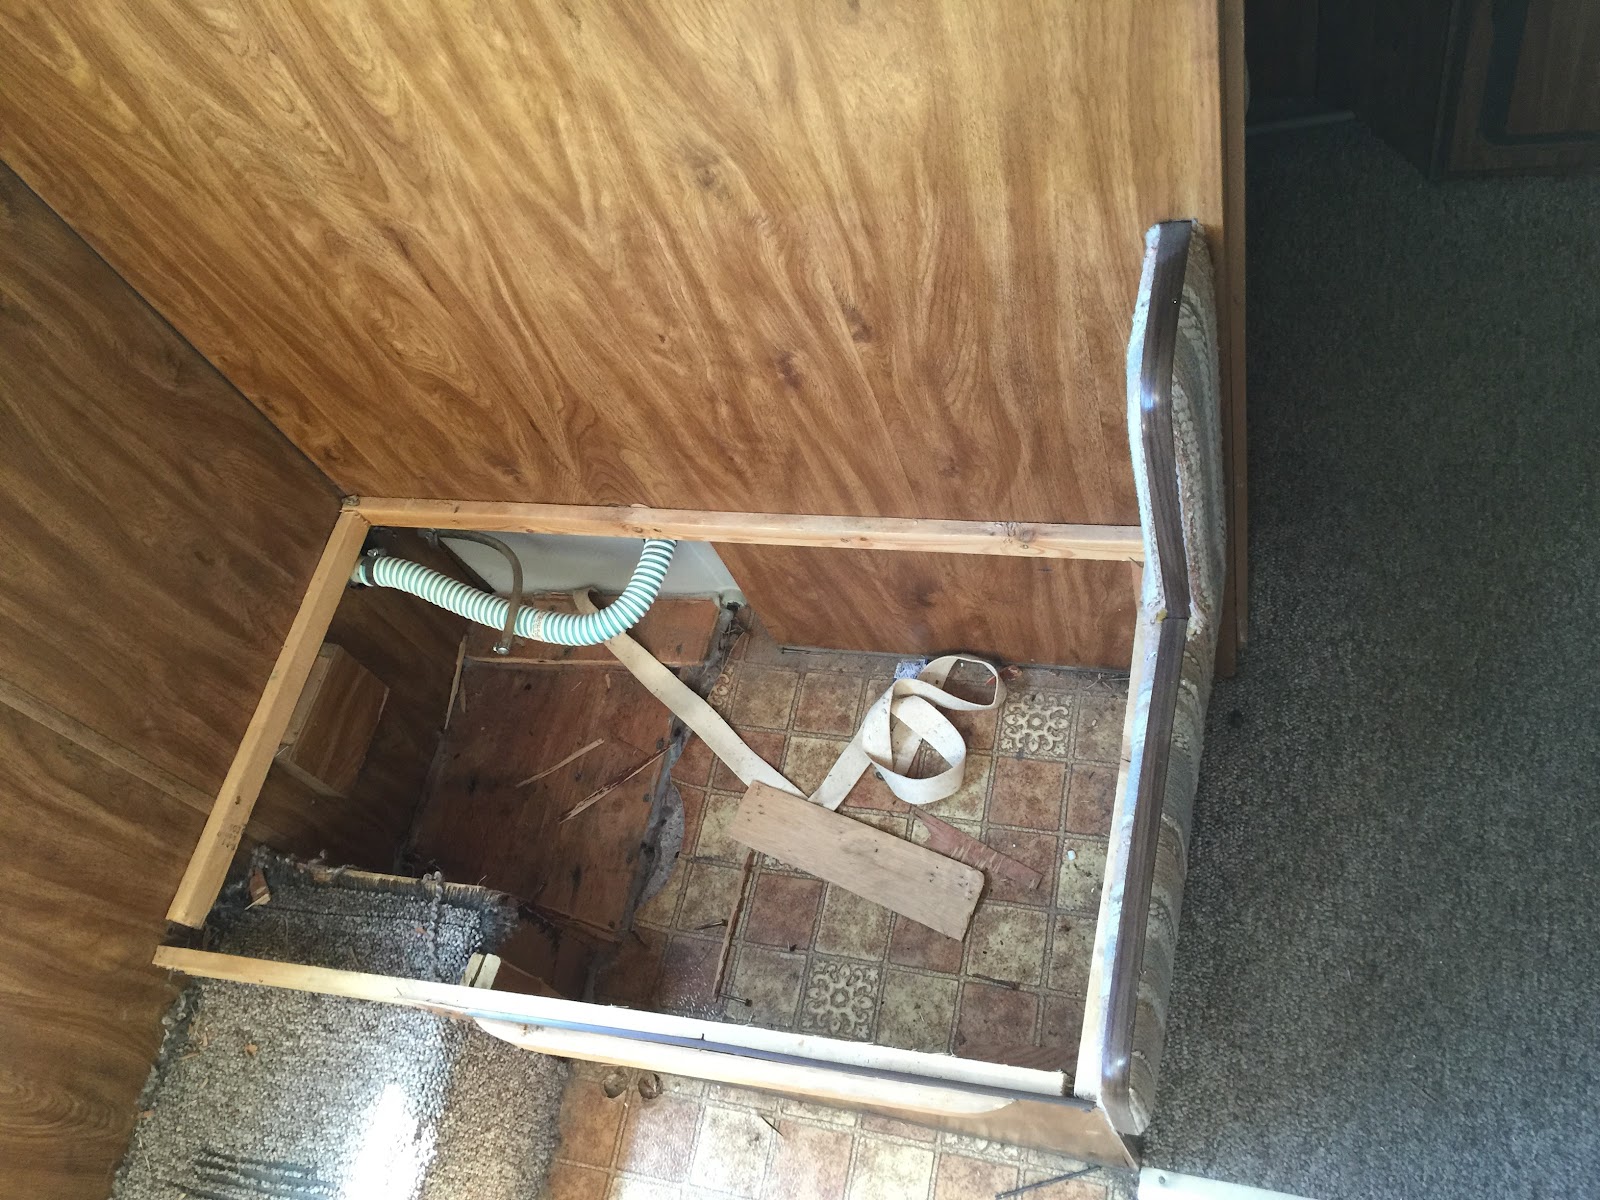
Trailer – Rebuilding the floor – foam insulation – floor joist design

So this is how I rebuilt the floor with 2x4s and 3/4″ plywood:

Here’s a good shot where you can see how the flat 2×4 acts as a surface for the subfloor to screw into. You can see the 2×4 floor joists (I would have loved to stand them up for added support but couldn’t change the height of the floor without causing a lot of other work). You can also see the type of foam insulation used and how I filled the gaps with spray foam. 
I added plastic over the original aluminum and under the wood. 
Add 1 1/2″ insulation and spray foam. 

Tricky subfloor install around all the plumbing (I really did not want to re-do that as well). 

Some brackets added for strength through the wheel well area. 

I chose to run floor joists perpendicular to the frame as opposed to parallel with the frame. I’m not sure why but most trailers run the floor joists parallel to the frame. I decided my design would offer more support for the walls which were seriously sagging below the frame height. I am satisfied with the finished result of the floor. Very sturdy (not perfect) and easy enough to build. 

The panoramas look a little wonky but give a wider perspective. 

I drilled in half way before using decking screws (water resistant, stronger than brass grabbers) then screwed the floor joists in to the bottom plates. 

Plastic foam and 3/4″ plywood complete the job.

The bottom plate in the wall above the wheels was a bit dry rotted but not completely compromised so I glued and screwed a 2×2 on the interior to provide added support for the wall and new wheel well. 

Finishing the new subfloor. A milestone in the trailer project. 

Trailer – Replacing bottom of walls – new subfloor structure

We wasted no time getting to work on the repairs. The old structure had a 2×2 on the bottom, then the 3/4″ particle board subfloor, and a 1×2 bottom plate sandwiched together under the studs. I decided to use a flat 2×4 on the bottom with a 2×2 bottom plate screwed up into the studs. The subfloor would no longer be part of the “sandwich” but would be screwed down into the exposed part of the 2×4. This would allow me to work around the plumbing with the new subfloor inside the trailer. You can see the dust on the ground that used to be the floor and bottom of the walls (completely rotted along the whole trailer). You can see I screwed a 2×4 into the studs and used a high-lift jack to support this section of the wall. I repaired each of the 4 wall sections separately. 

Here I had to cut out the repaired section of the subfloor. It was 3/4″ plywood and was much stronger than the rest of the floor. 

These pics really sum it up. The floor has disintegrated and caused a gap in bottom of the wall. 

All better now:

Trailer – We found the ROT!! – Disassembly & new items

Getting ahead of ourselves, we went to a few stores to look for items for our new travel trailer. We found a generator (which we eventually bought a year later) and a new toilet (which we eventually bought at a different store). 

We found rot, evident when we removed the cushions of the couch (the floor far from solid). We found the front and rear walls were also completely rotted (you could poke your finger through the walls). At this point we were pretty disheartened about our poor purchase. We didn’t want to have to do so much work on this project. Since we’ve been through a home remodel and 100’s of other smaller home and automotive projects we decided to push forward with the project no matter what. We made the choice to commit to finishing the project. 
Disassembly:

After pulling up the carpet we can see obvious repairs to the floor (new plywood). Most of the sub-floor in the trailer is particle board. I can’t think of a worse choice for longevity and stability.

When taking this picture I realized I would need to remove the entire kitchen to properly replace the floor structure. I was still in denial. 

The dust that used to be the floor is what convinced me we would need to rebuild the entire bottom structure of the trailer. To do so we would need to remove everything touching the floor in the trailer. 

The rear wall and both sides in the rear of the trailer were completely rotted. Future posts will show the wall rebuild. 

Most of the “floor” was broken up by hand, vacuumed, or swept out of the trailer. I can’t believe this thing made it home in one piece. 

Moldy old holly broken retractable shade removal.

Trailer – Bringing home the trailer – Before Pictures

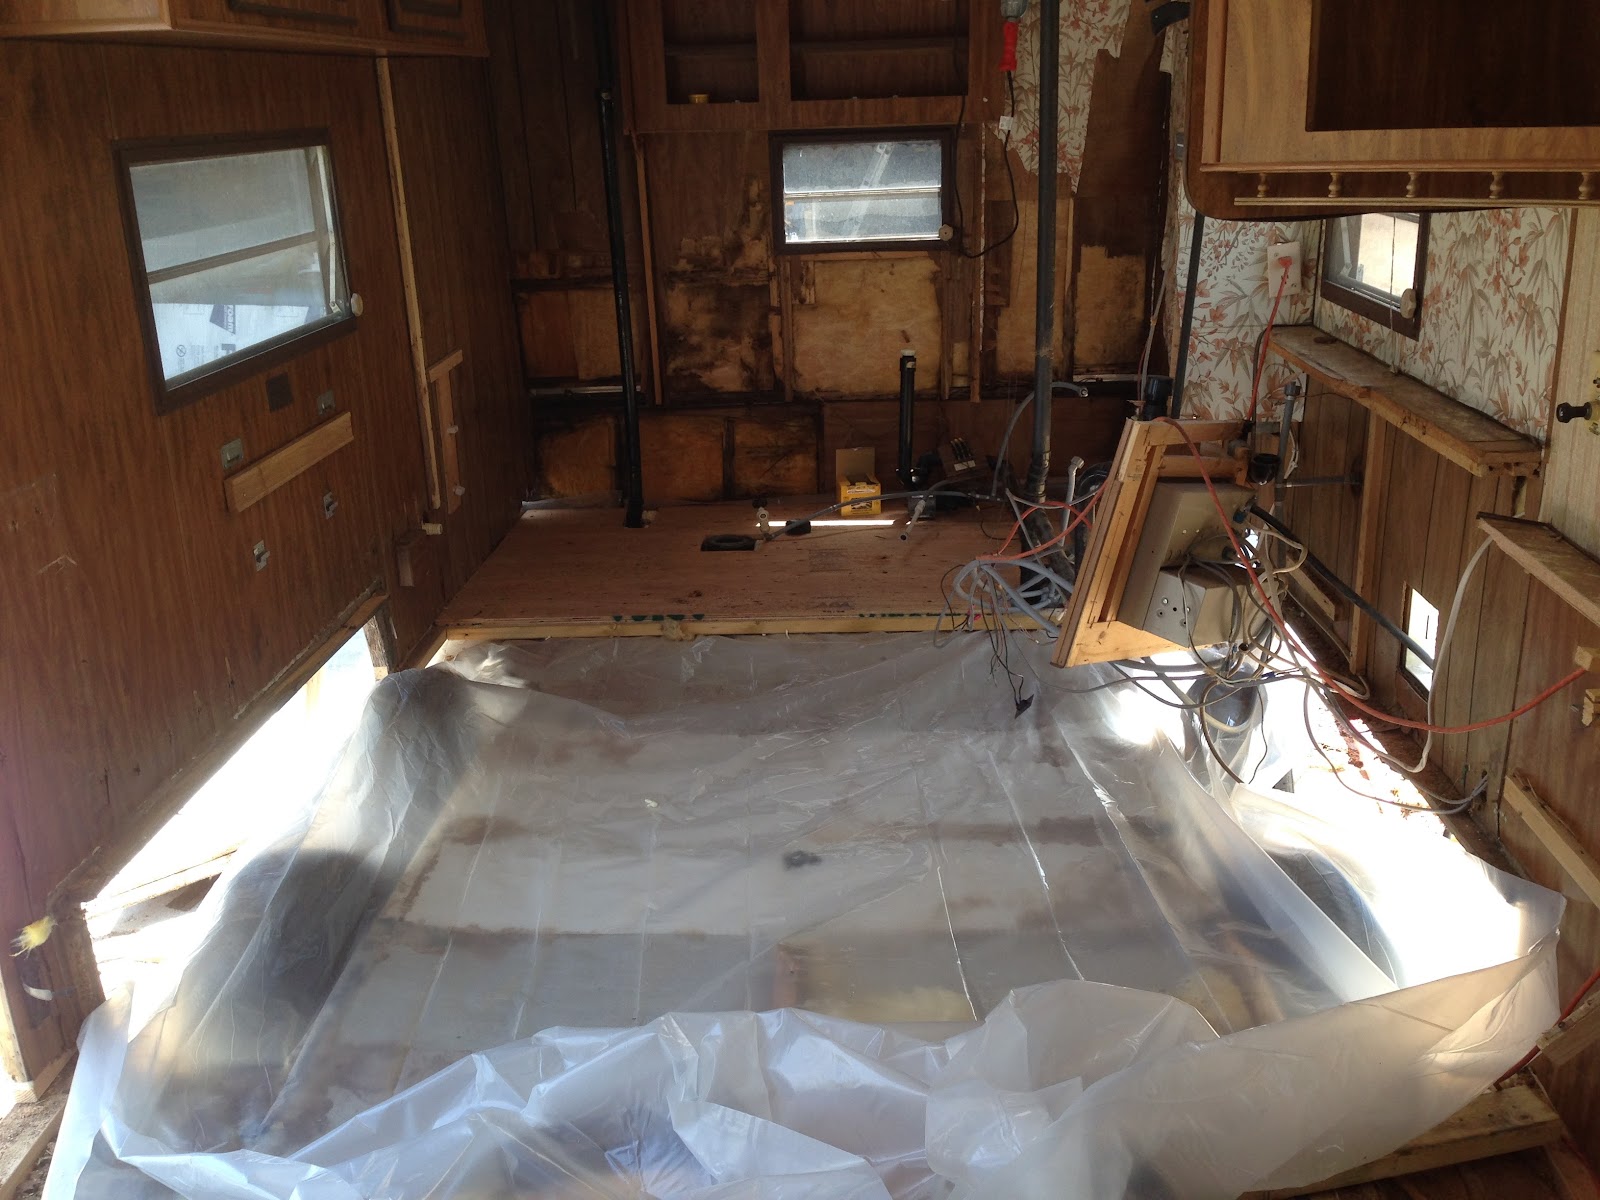
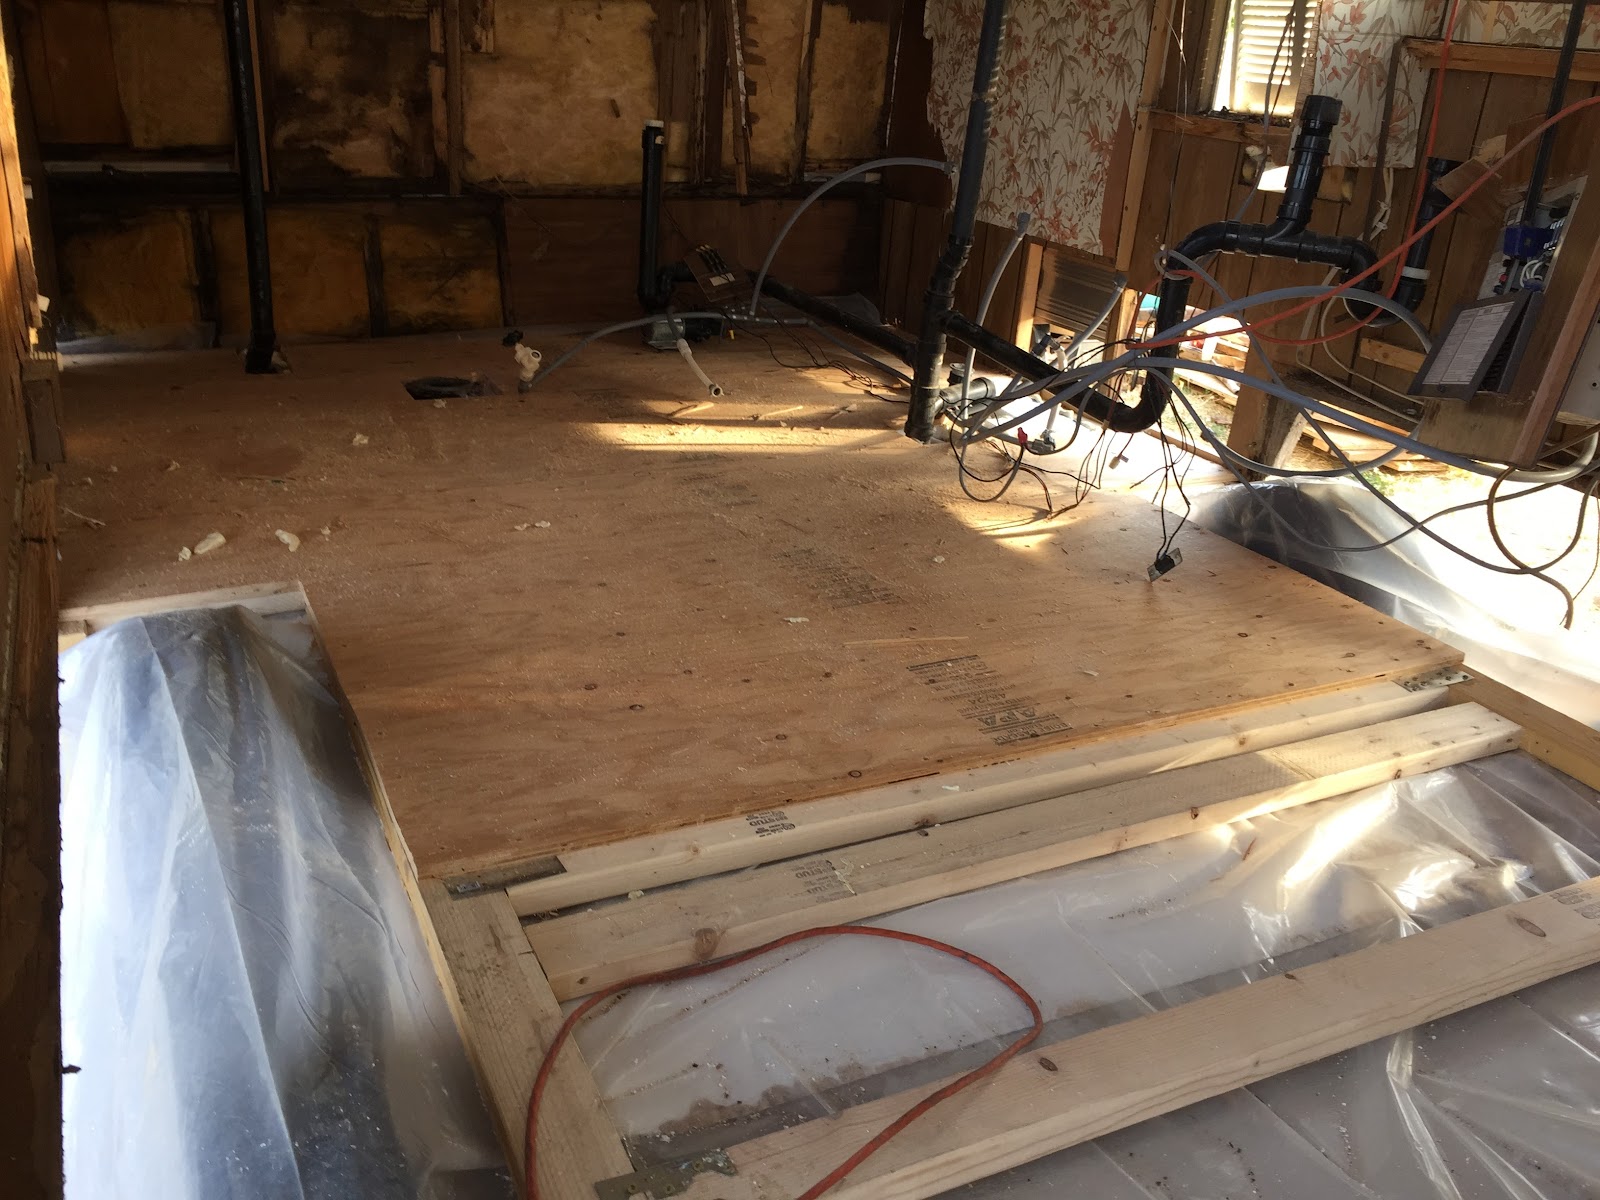
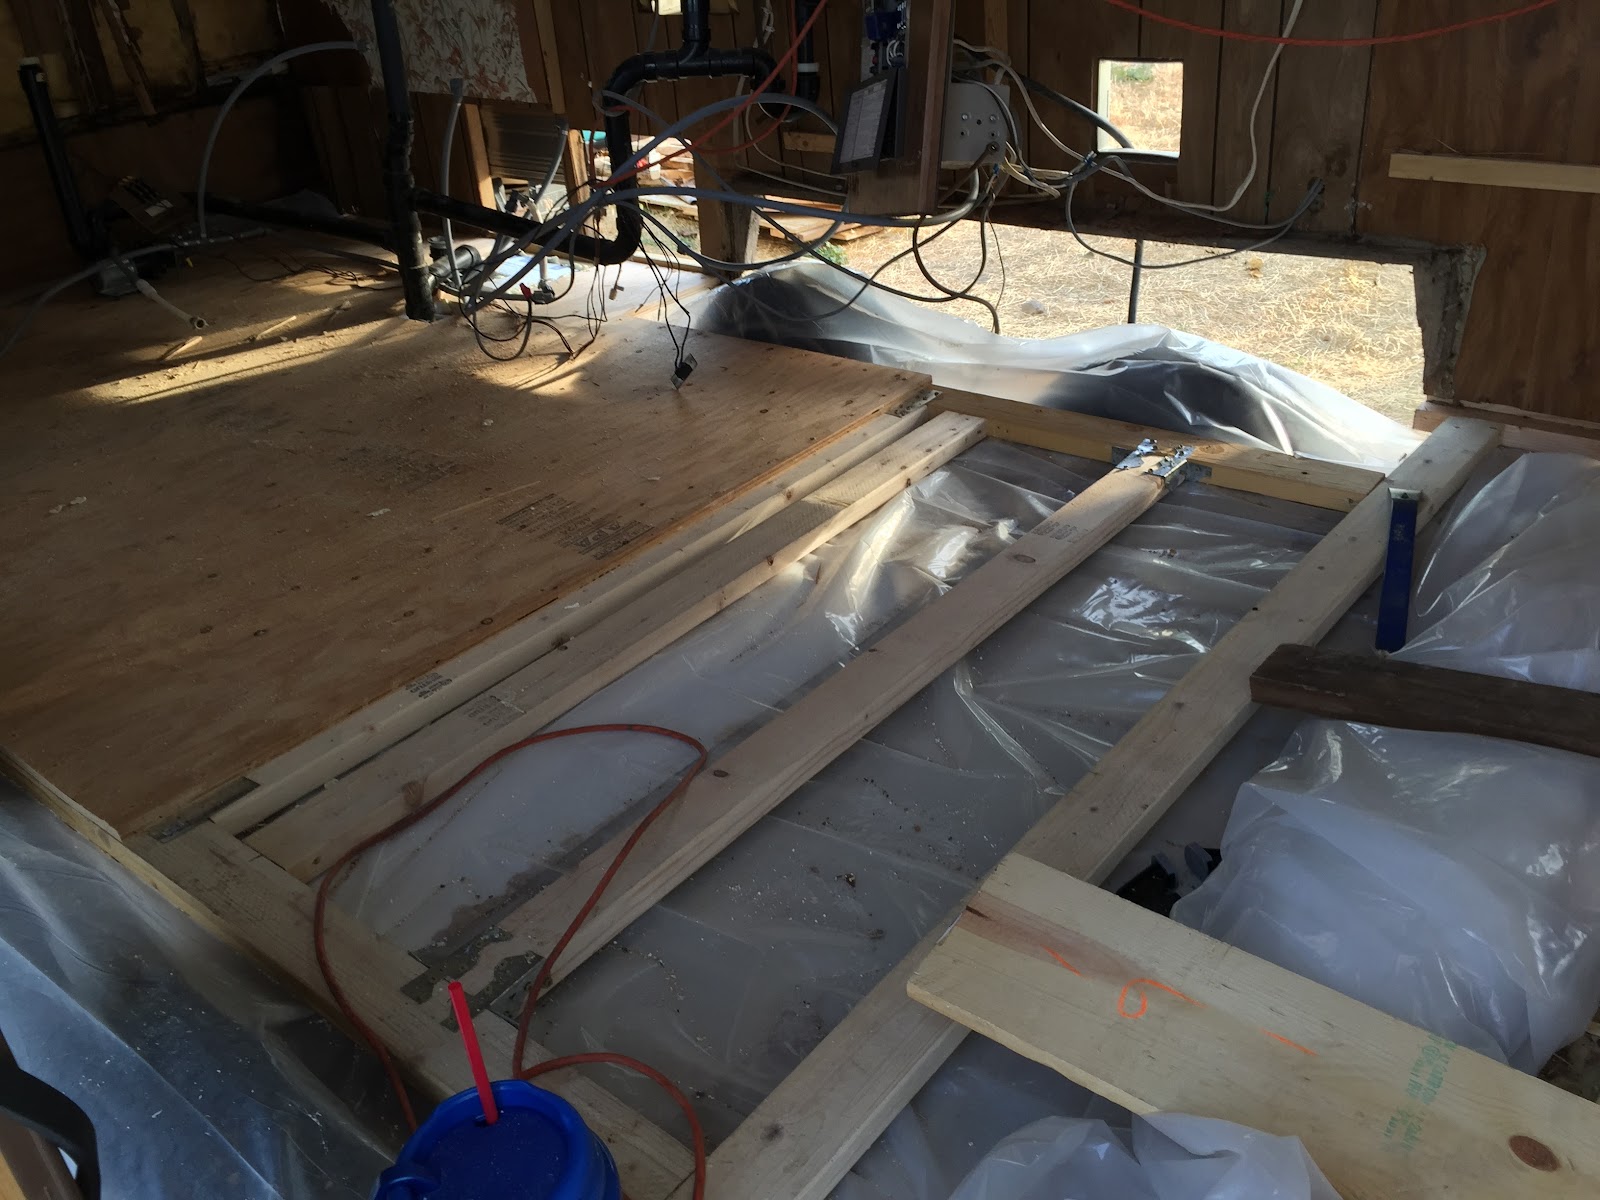
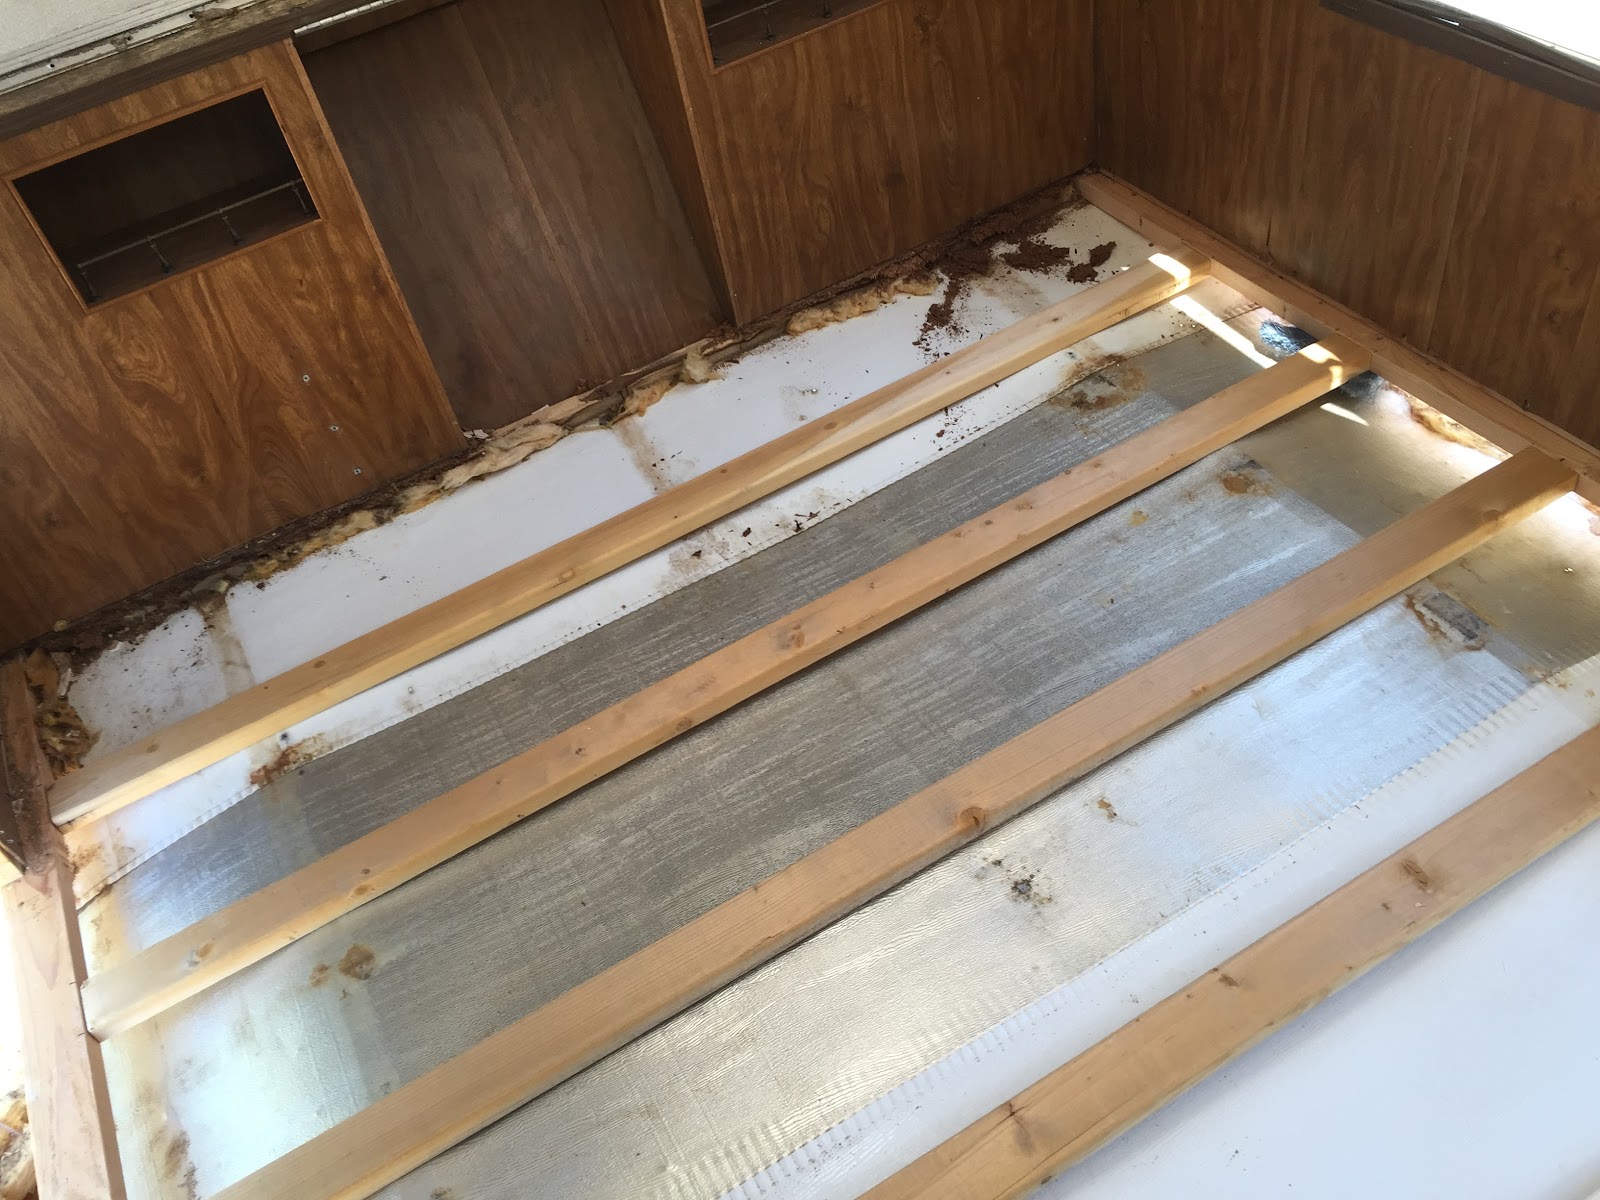
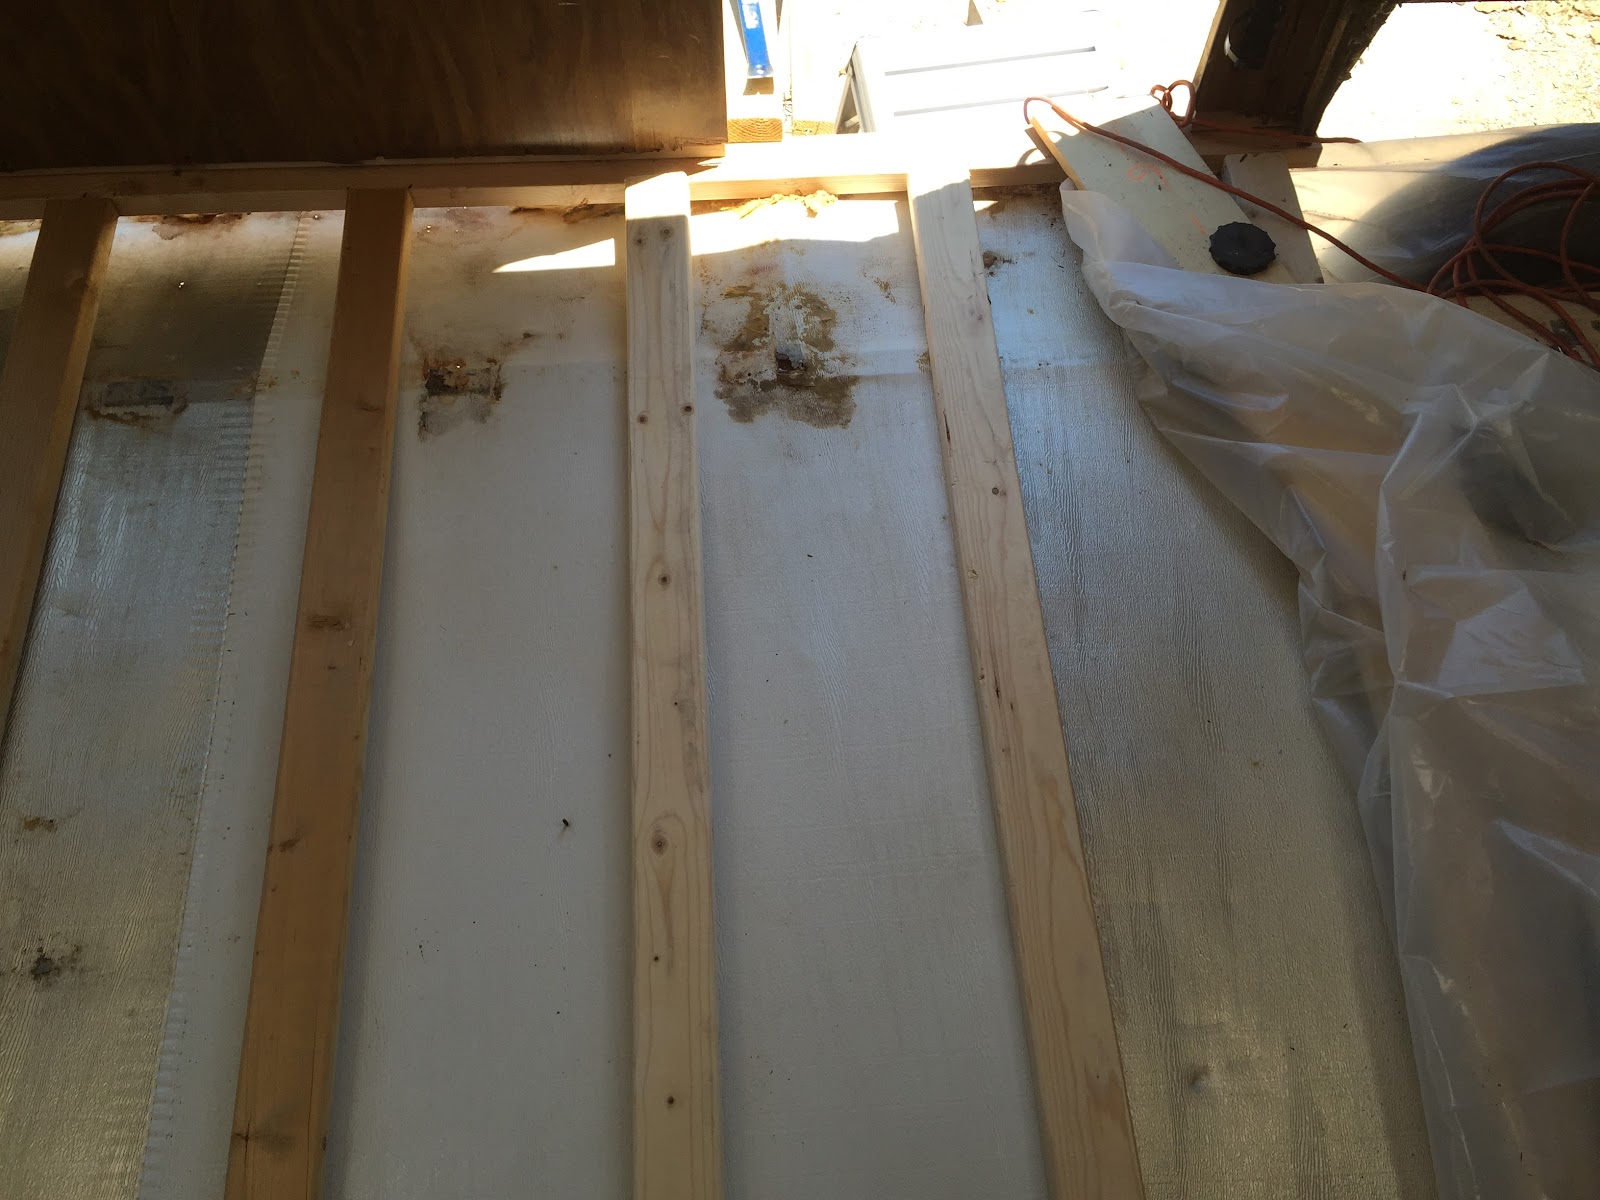
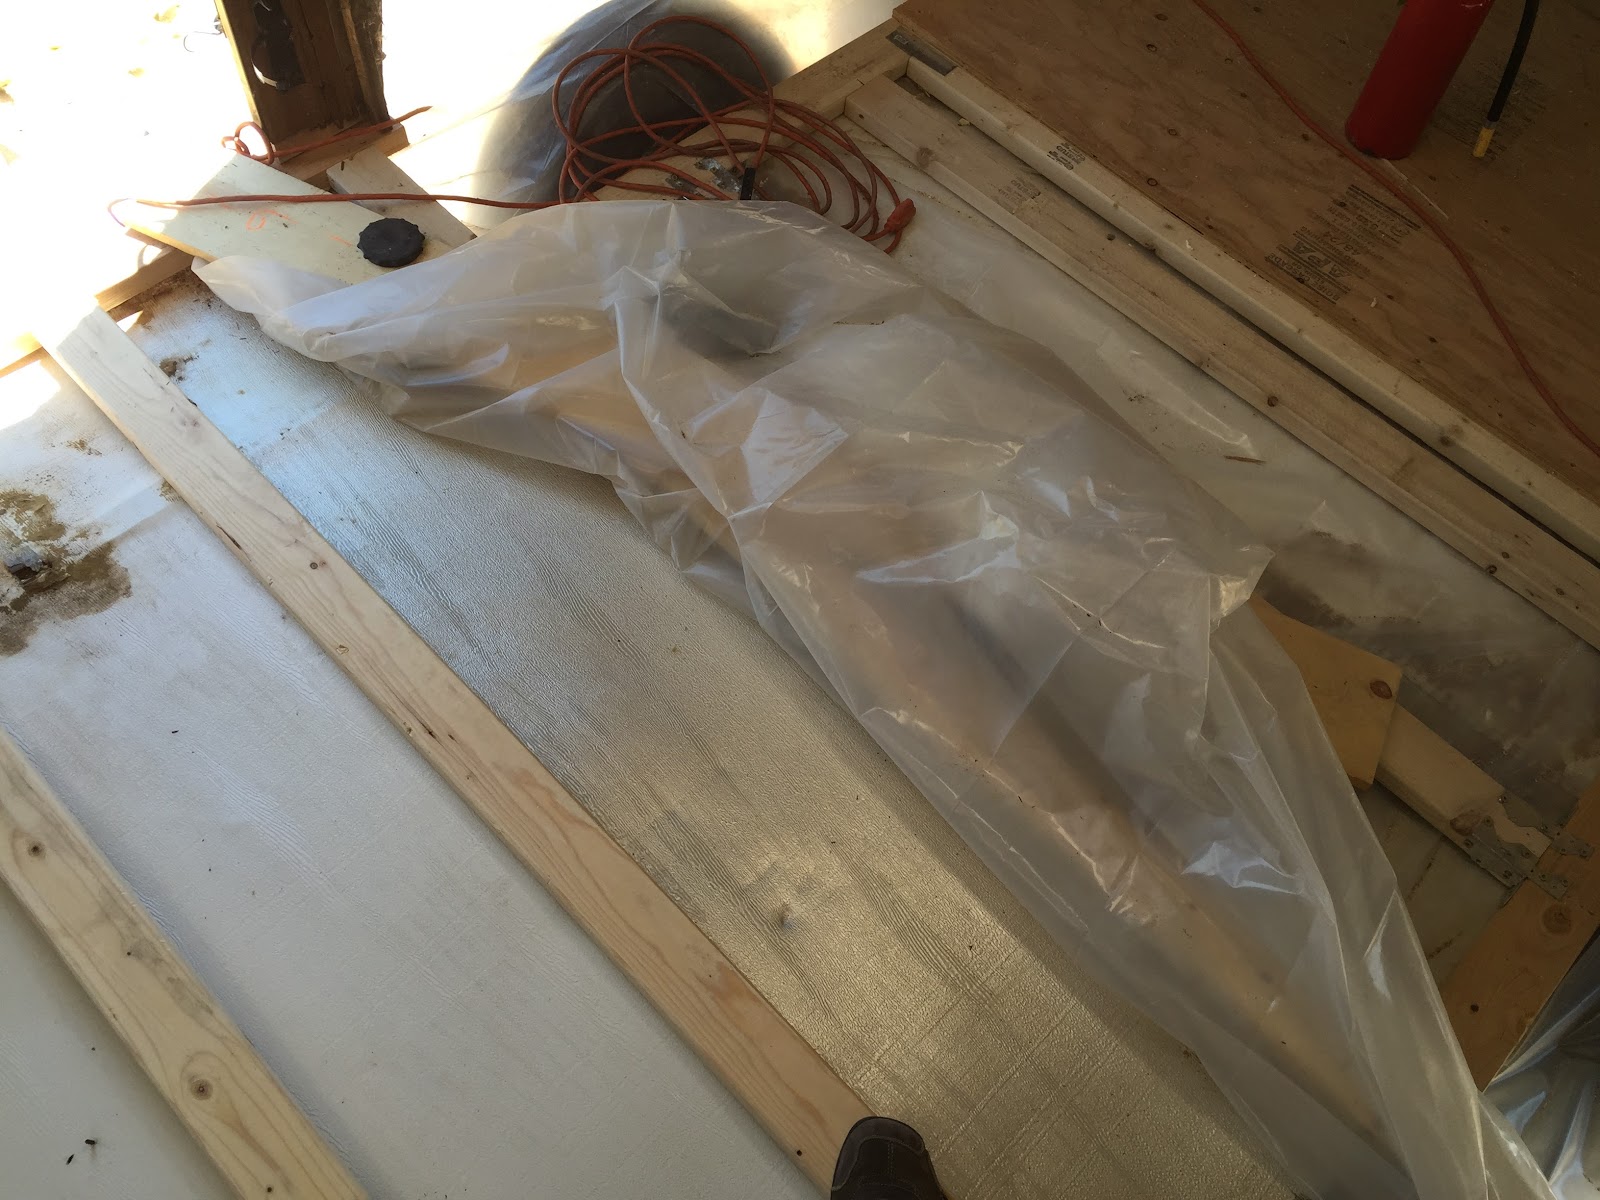
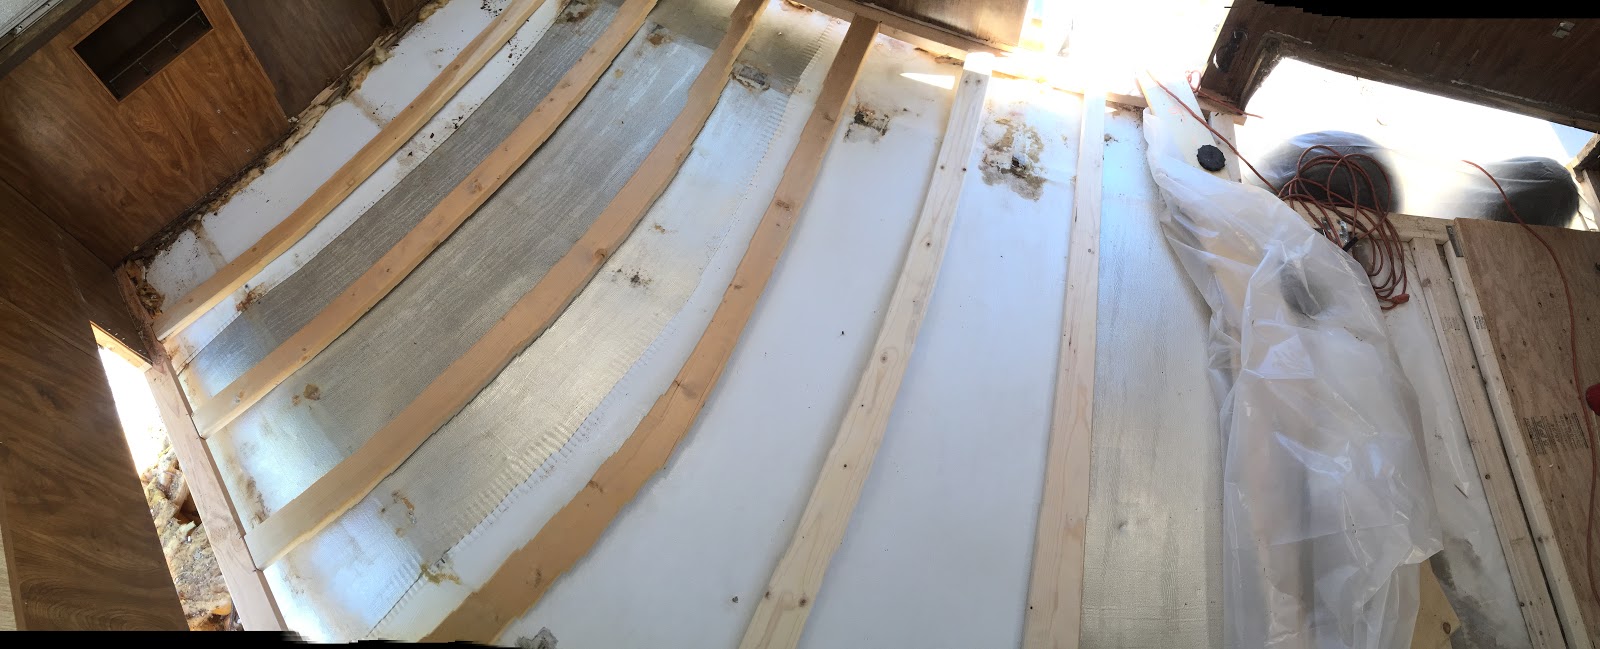
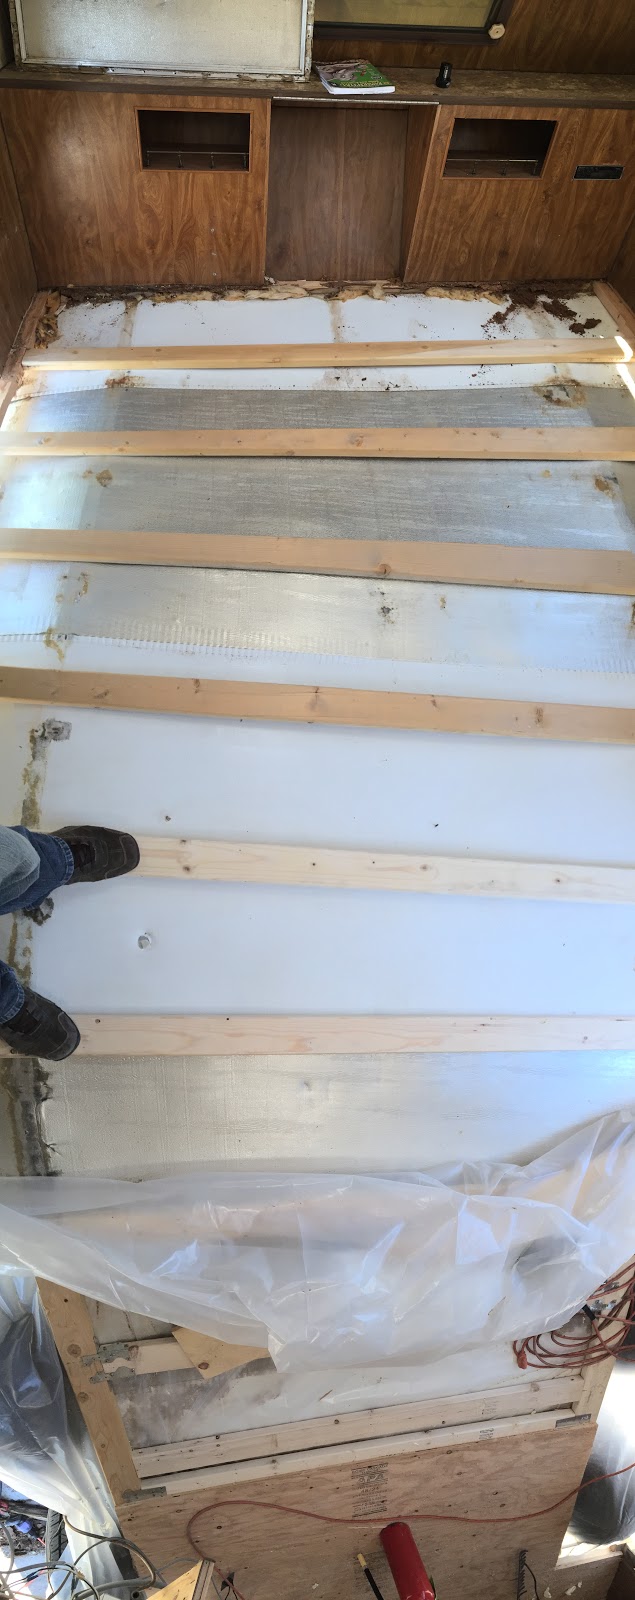
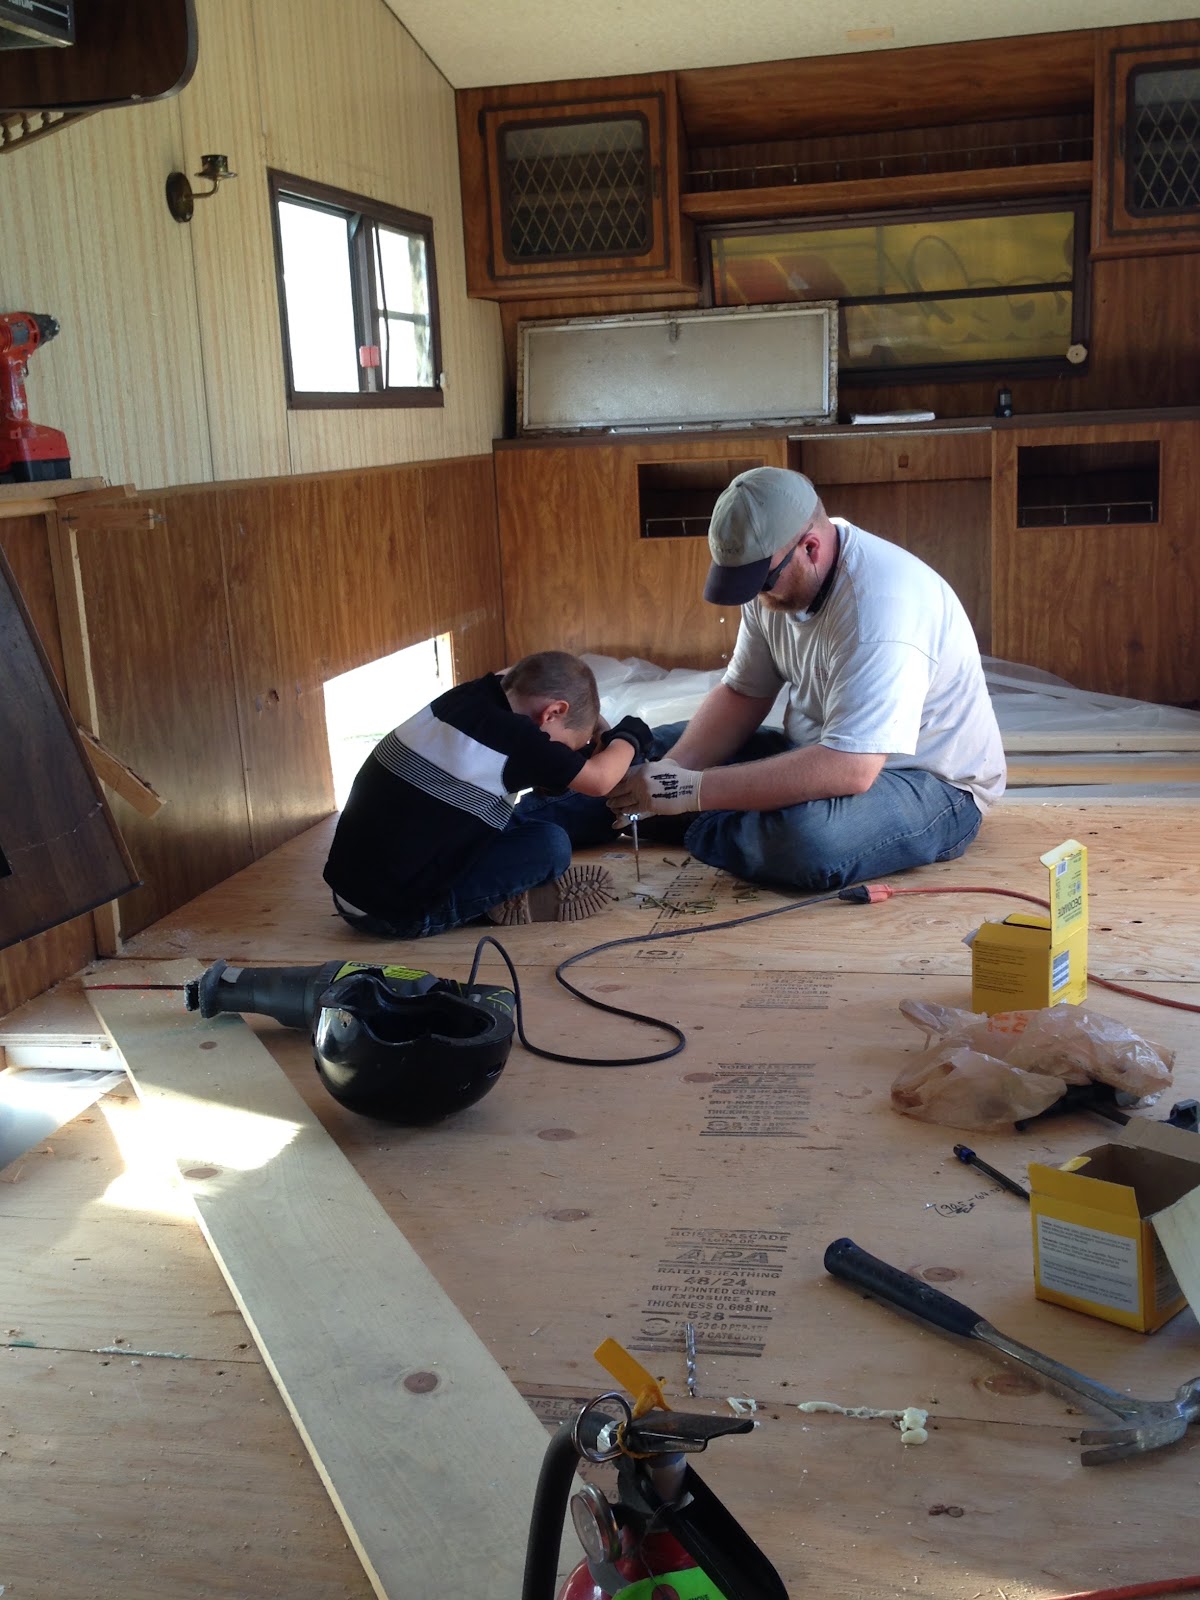
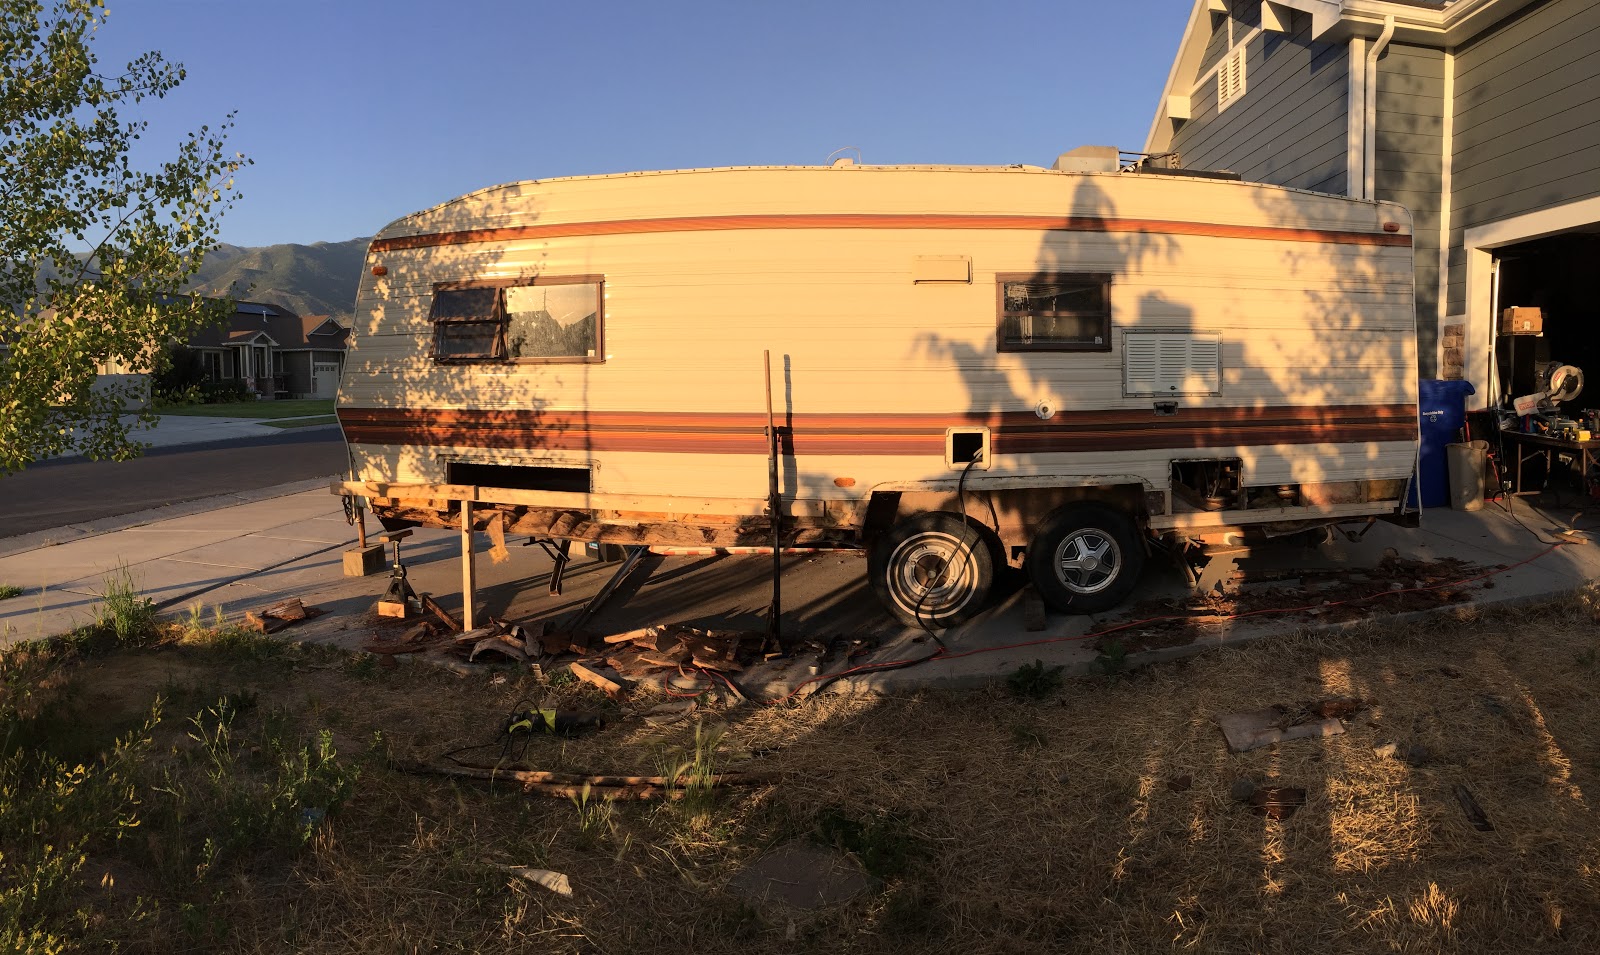
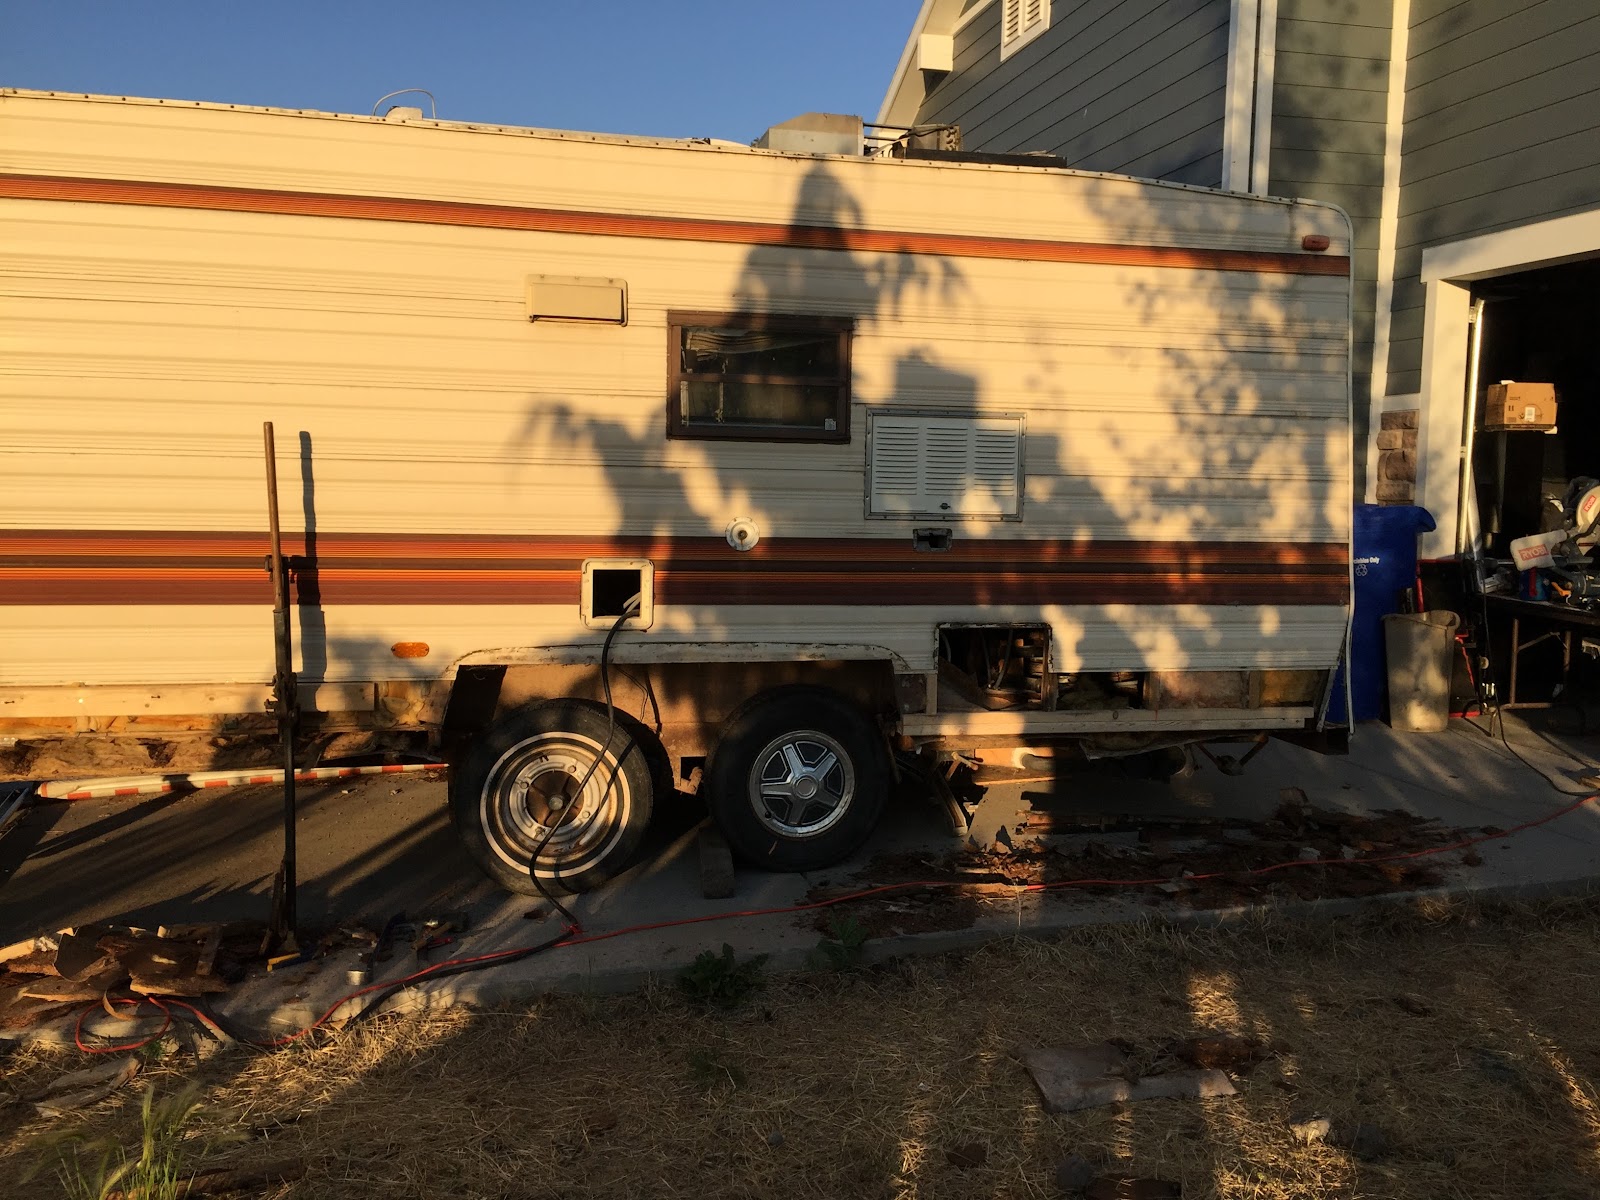
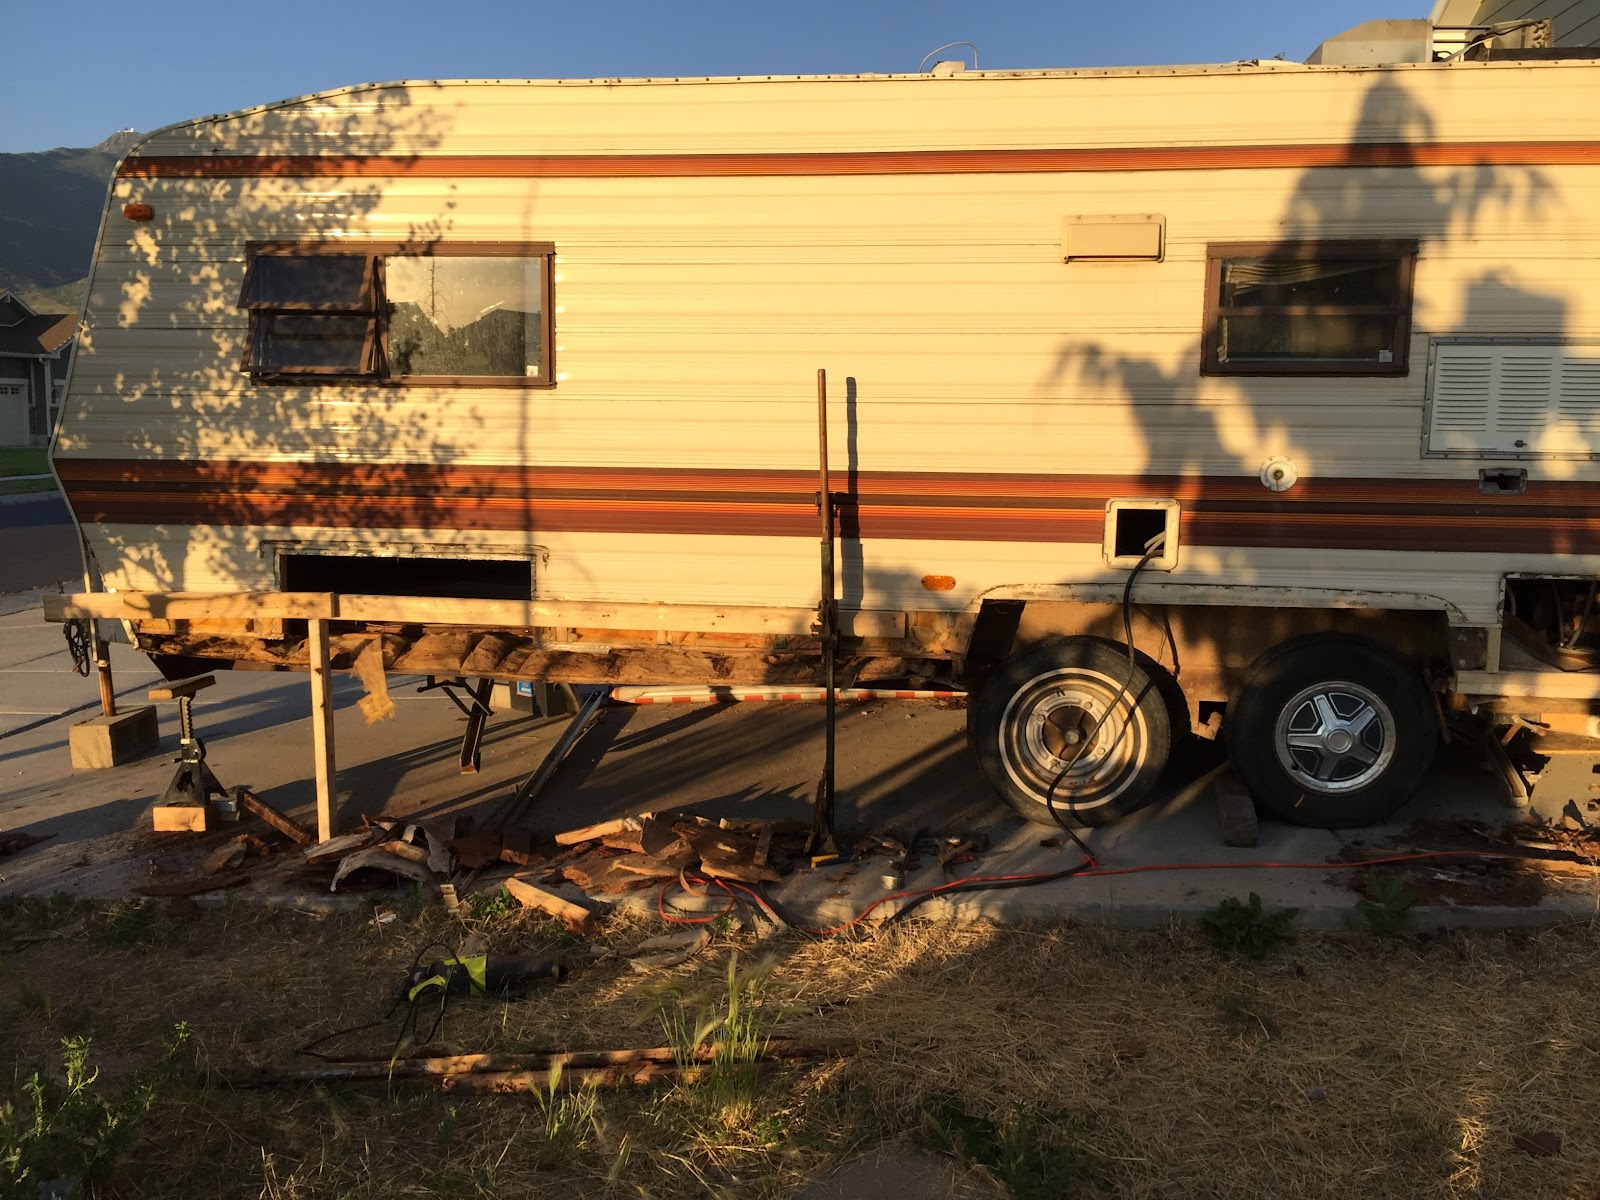
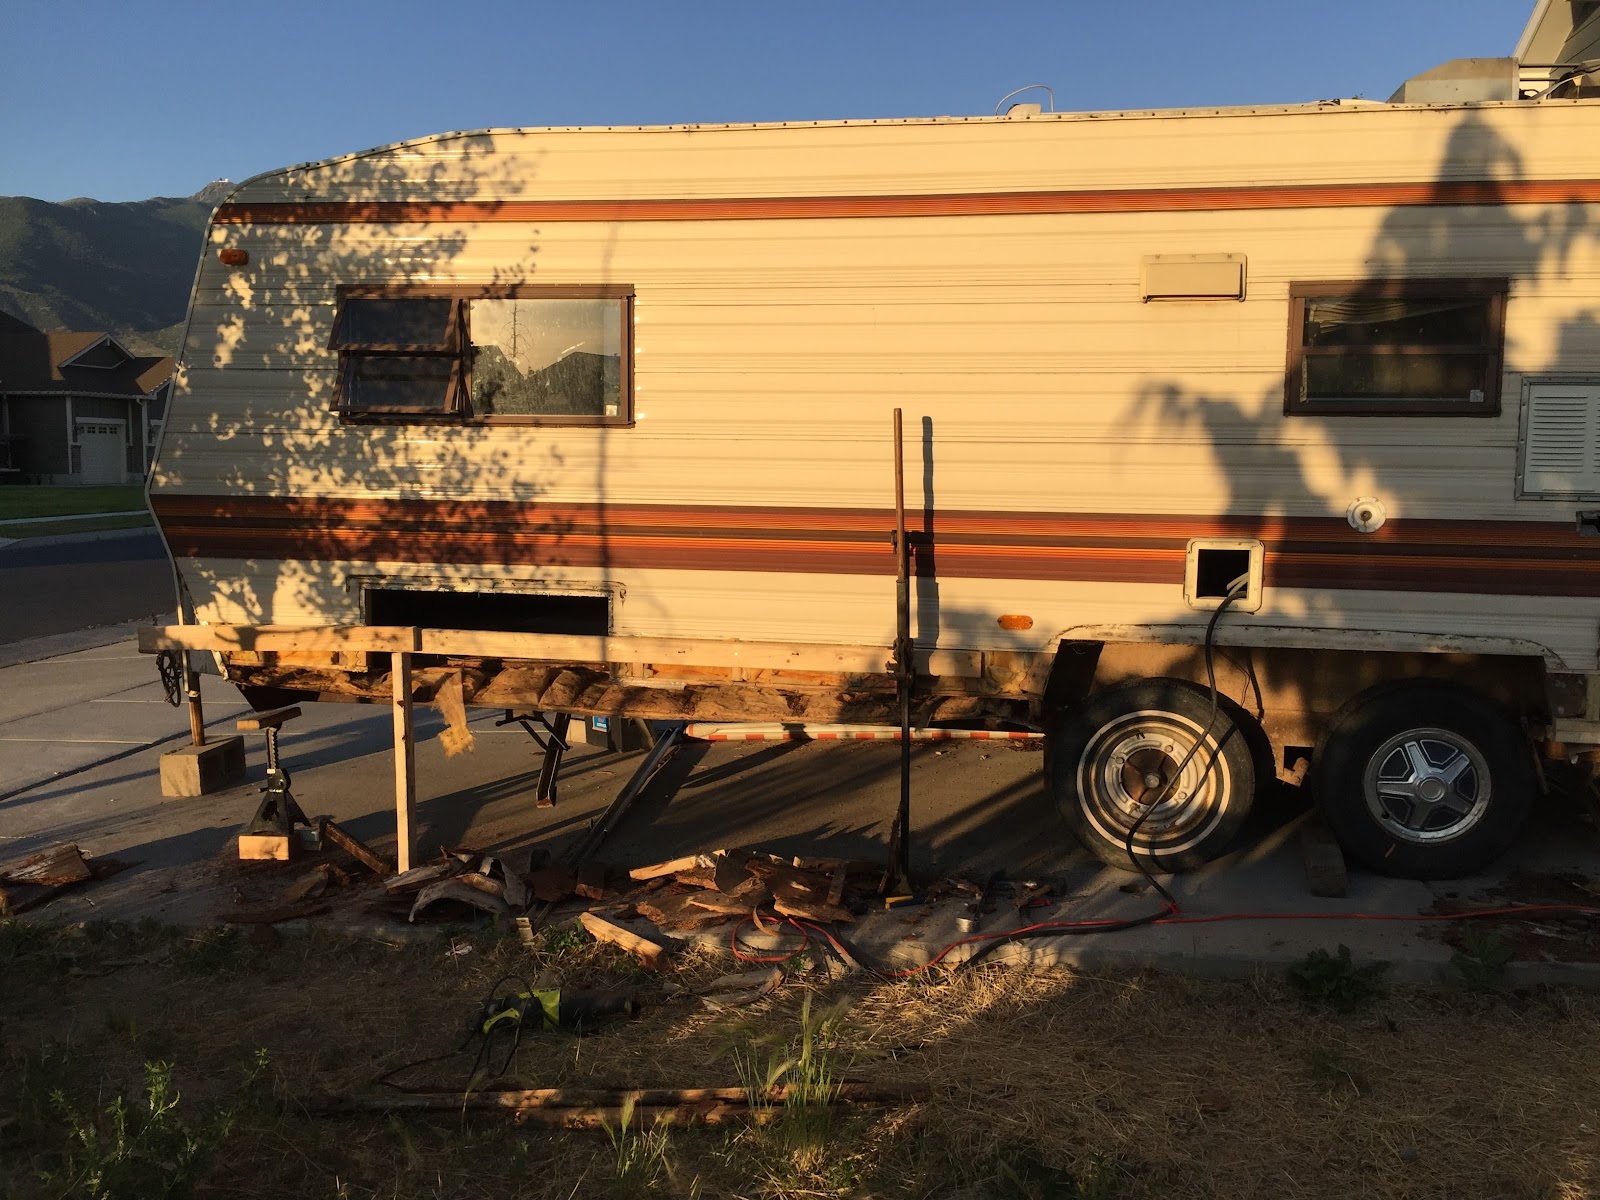
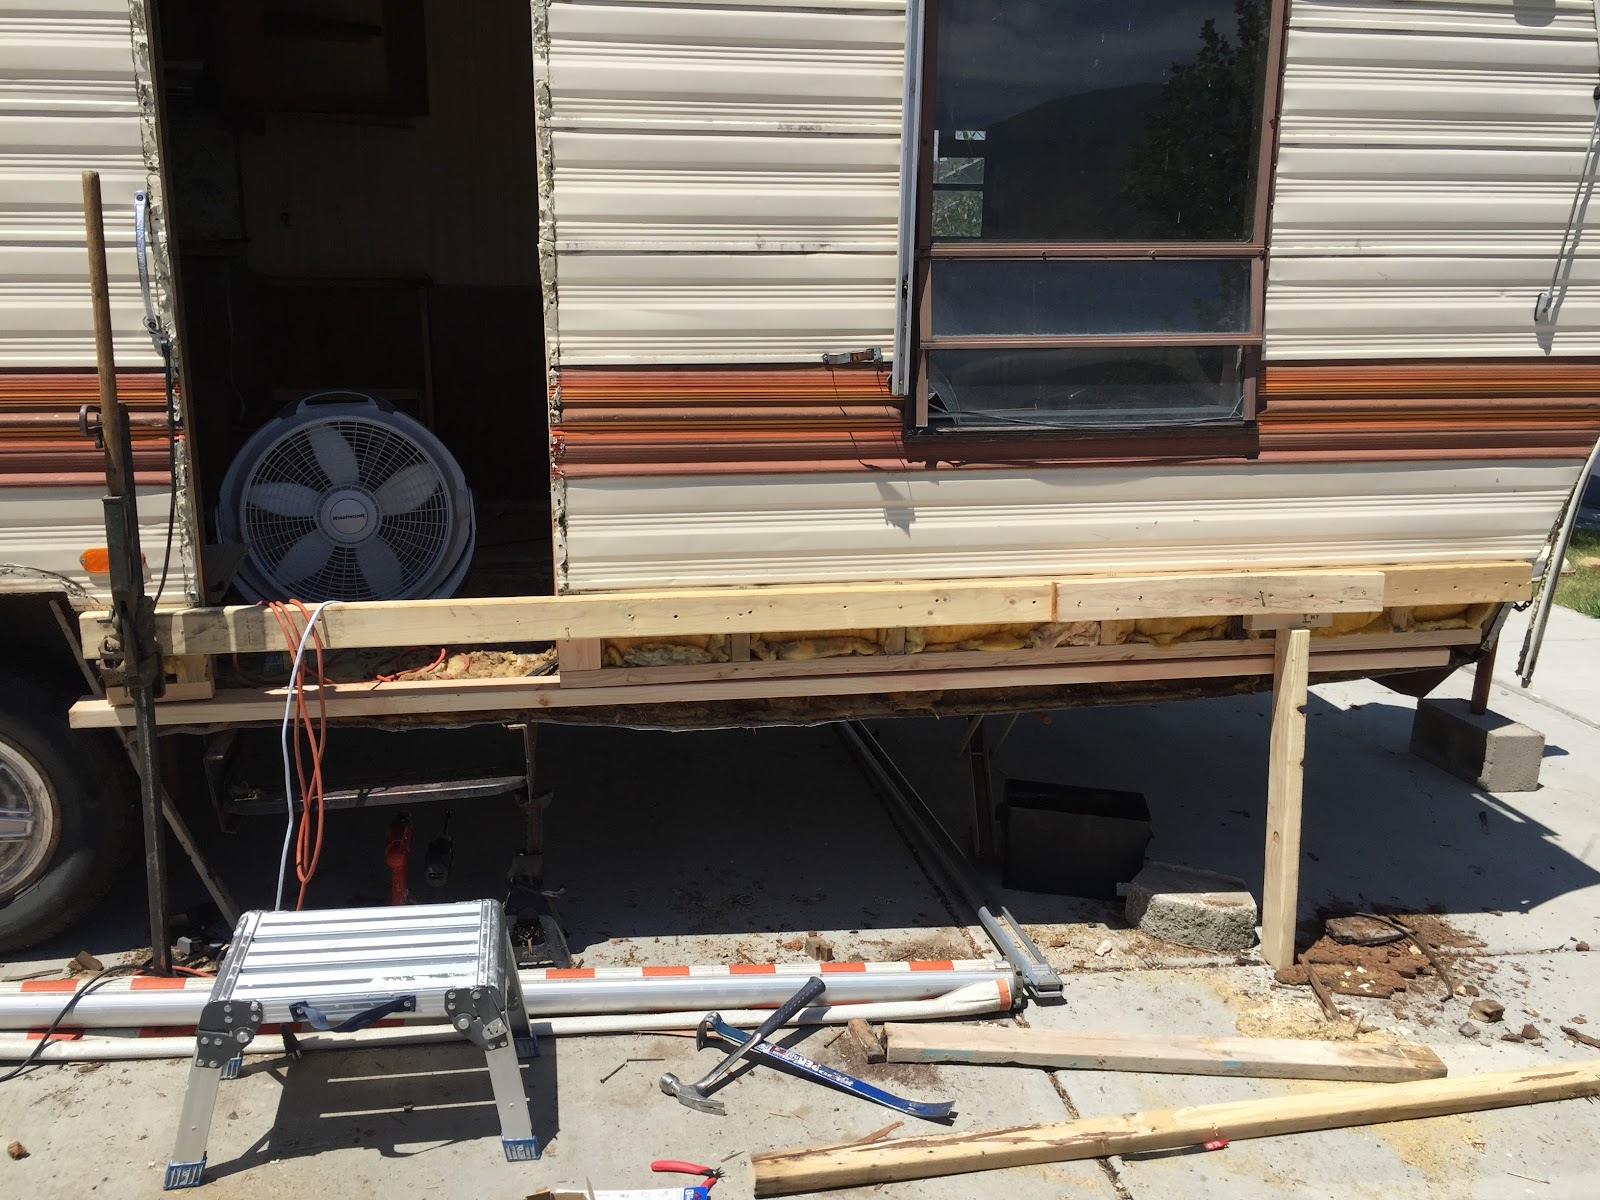
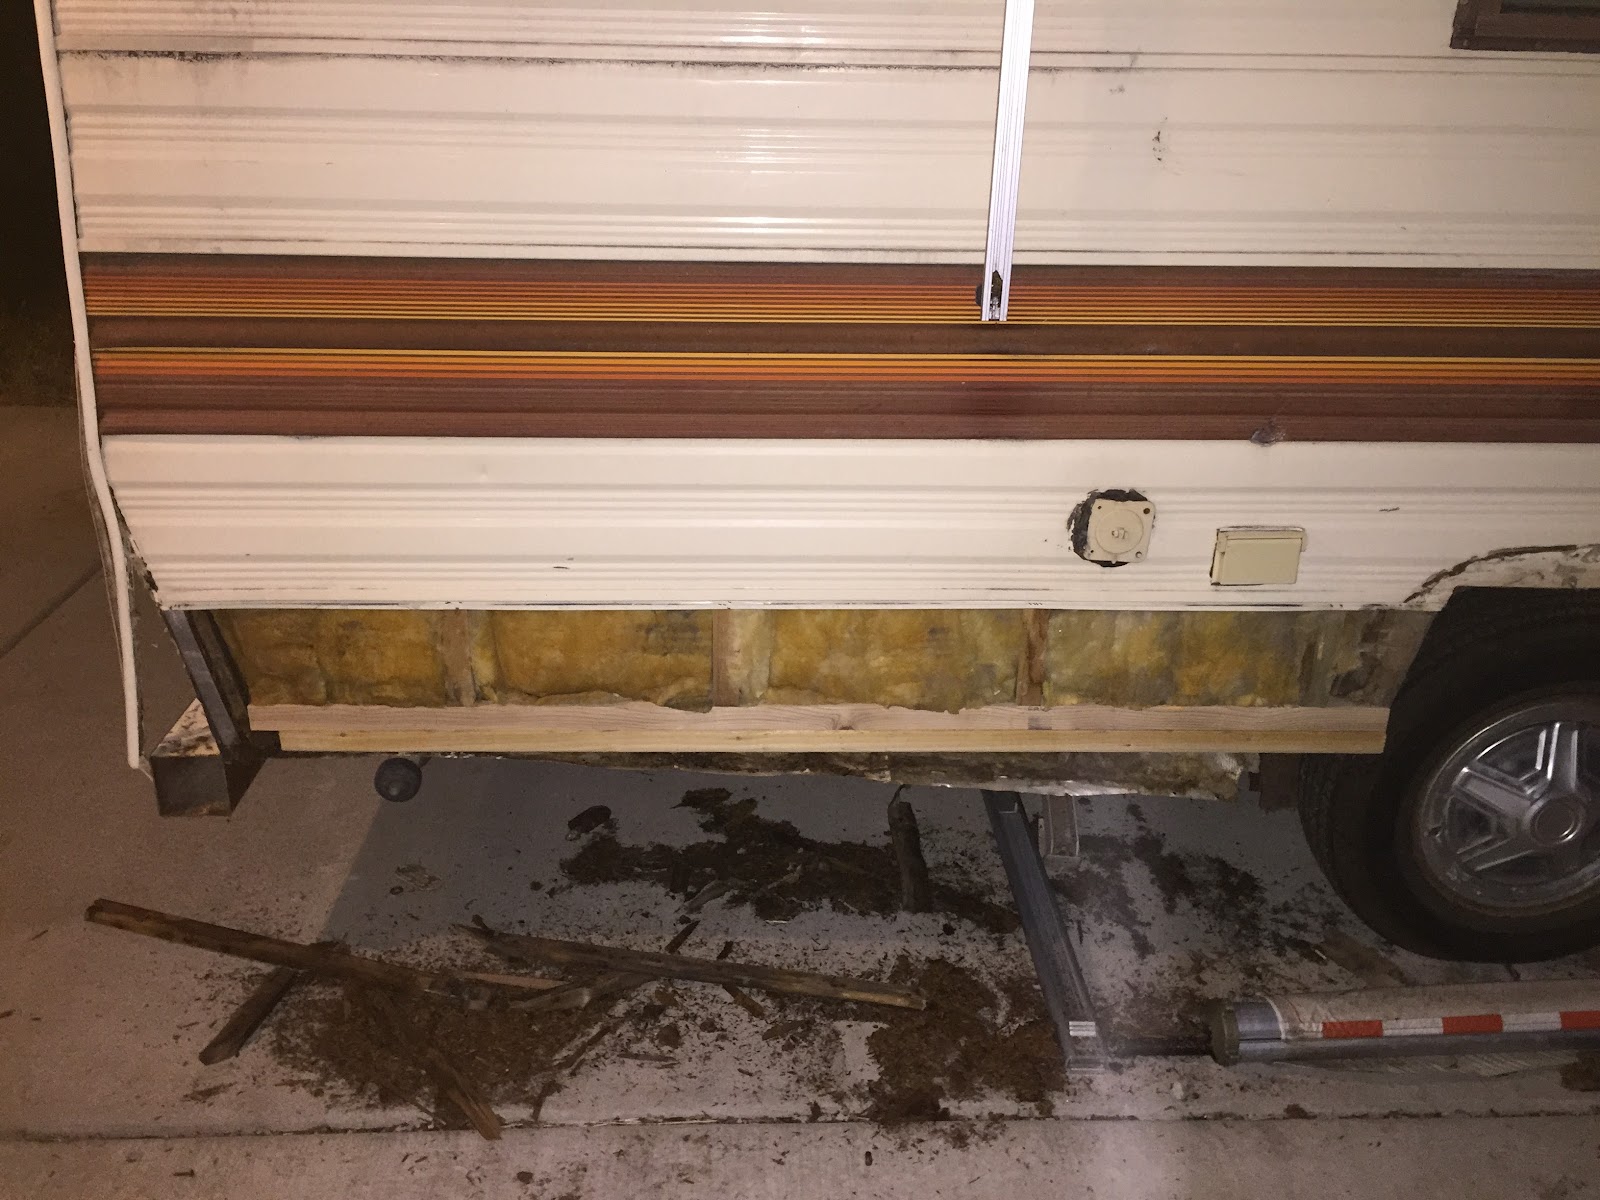
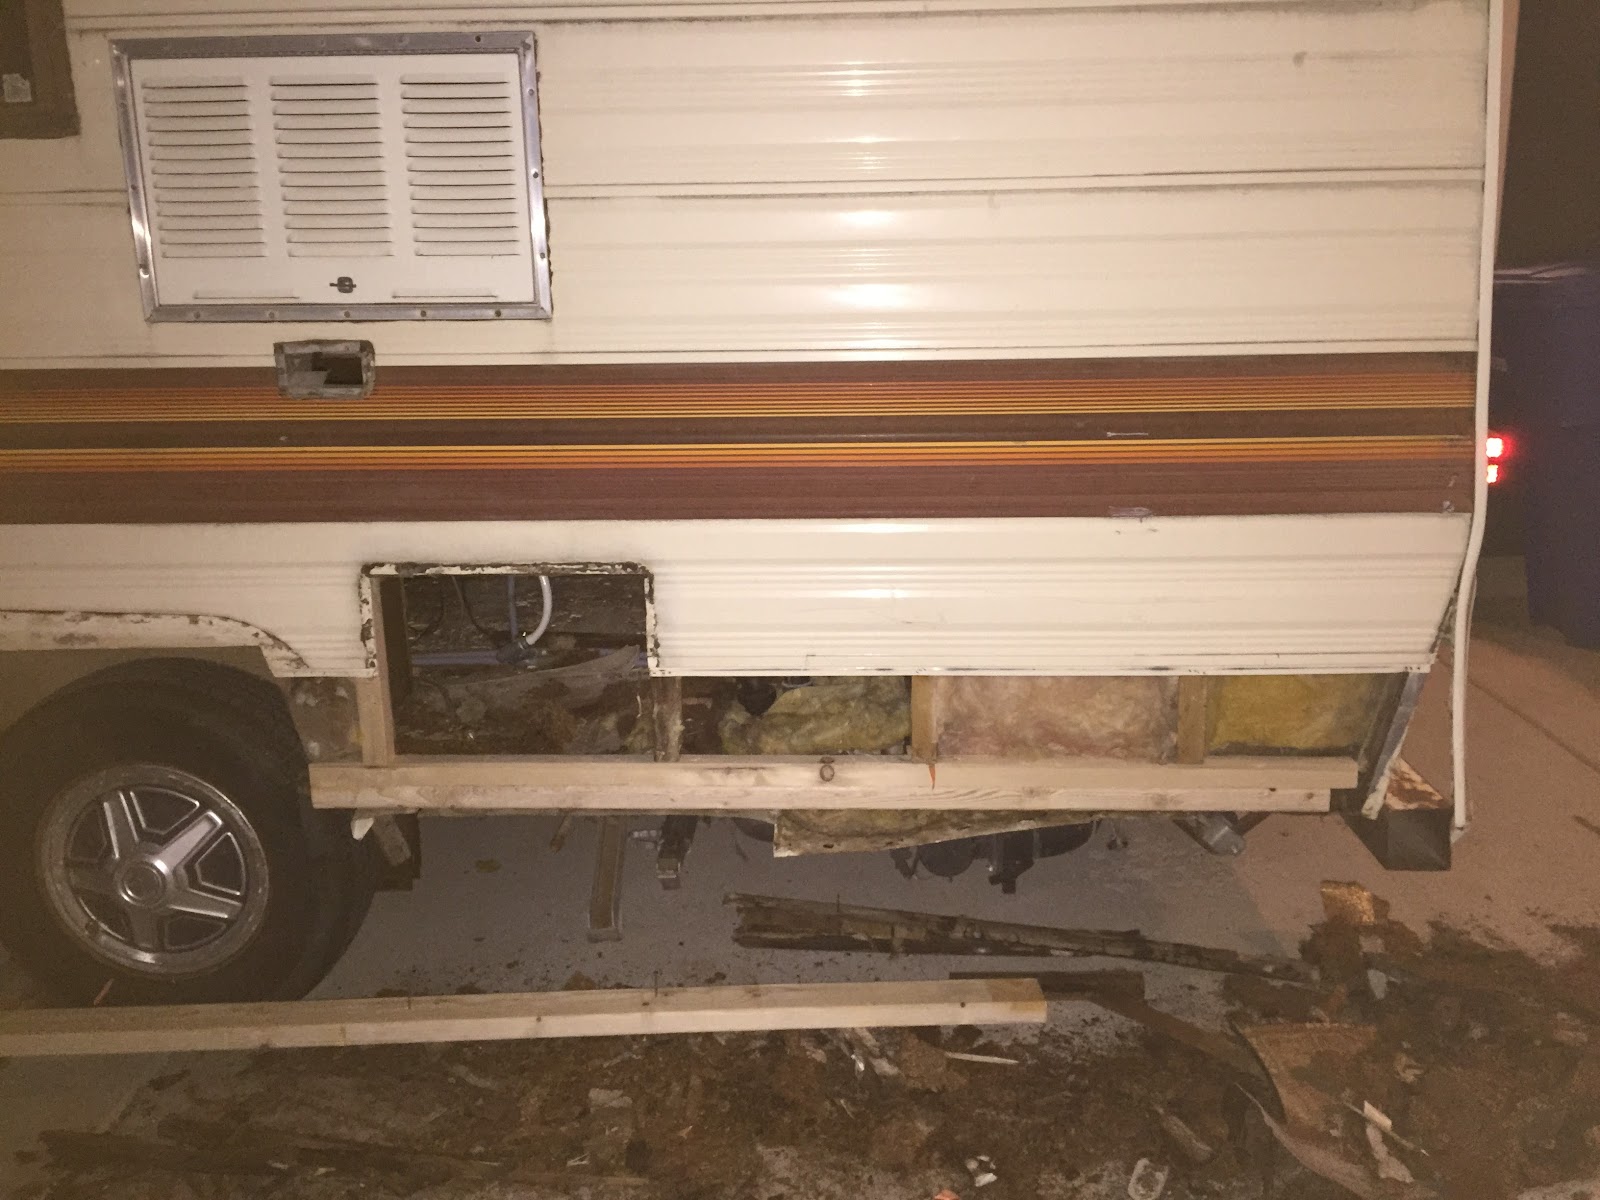
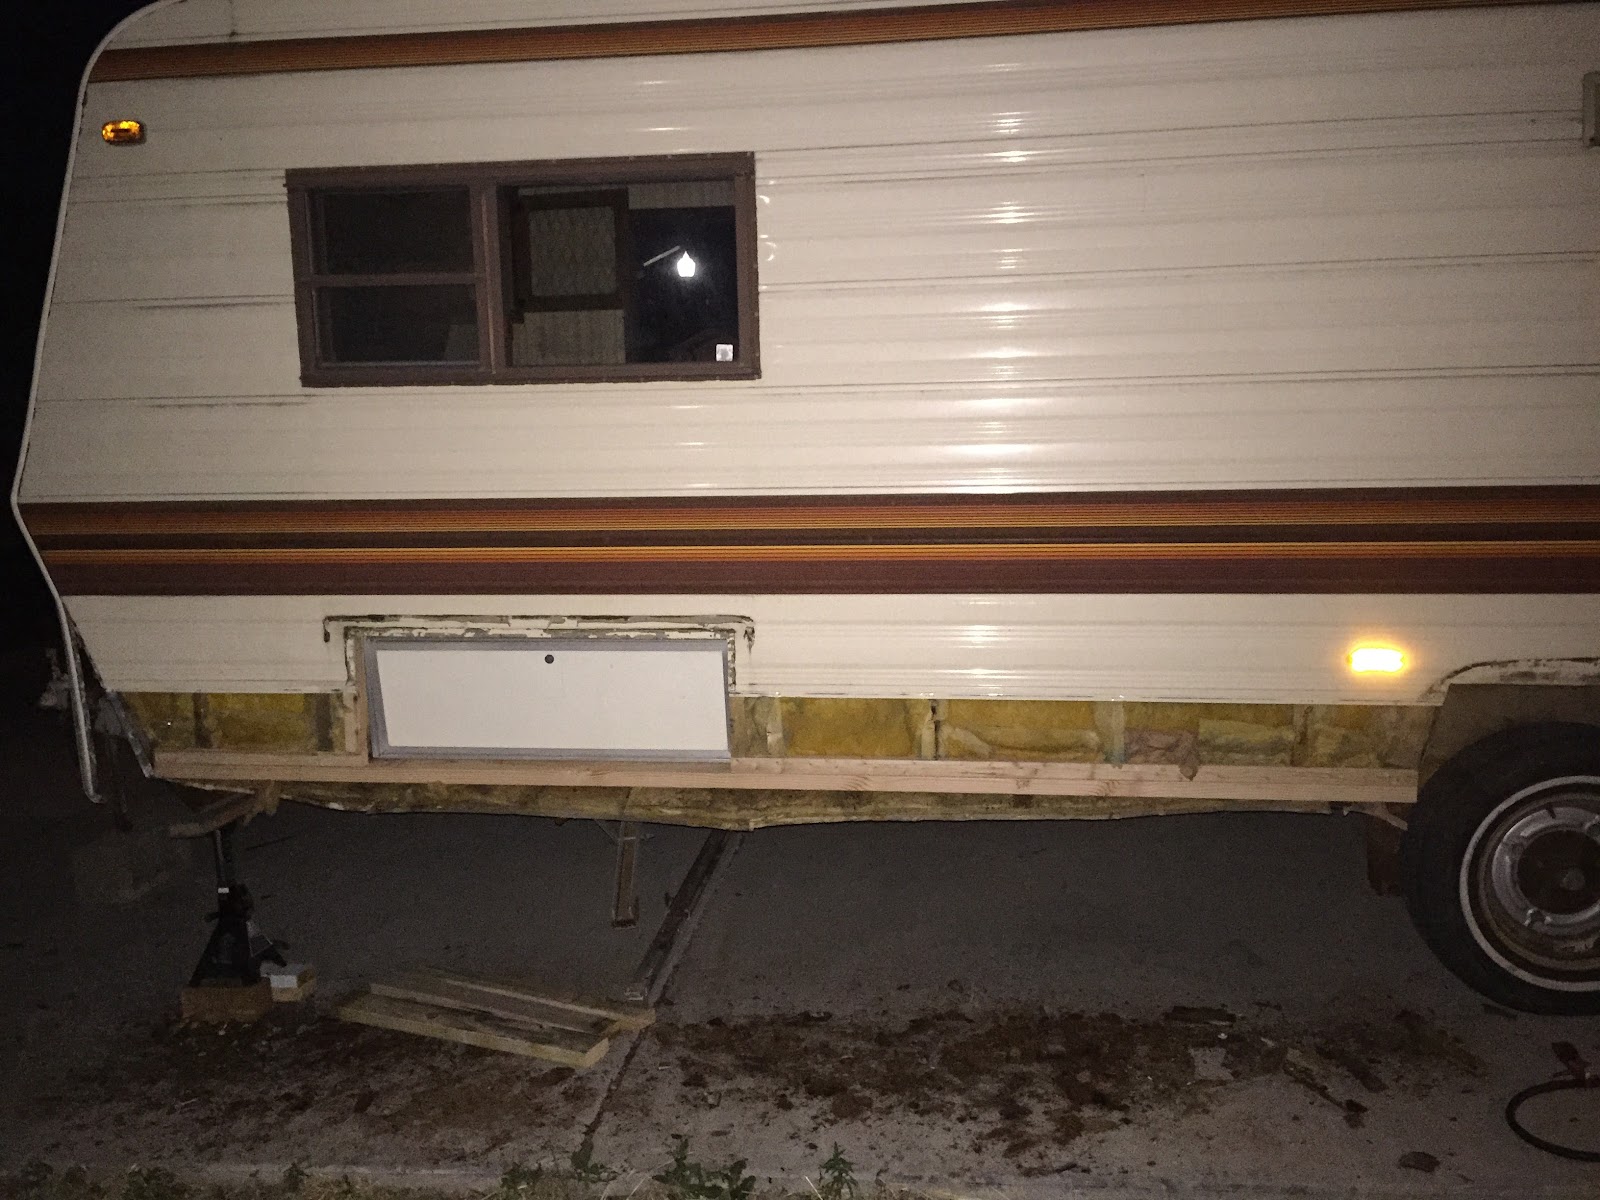
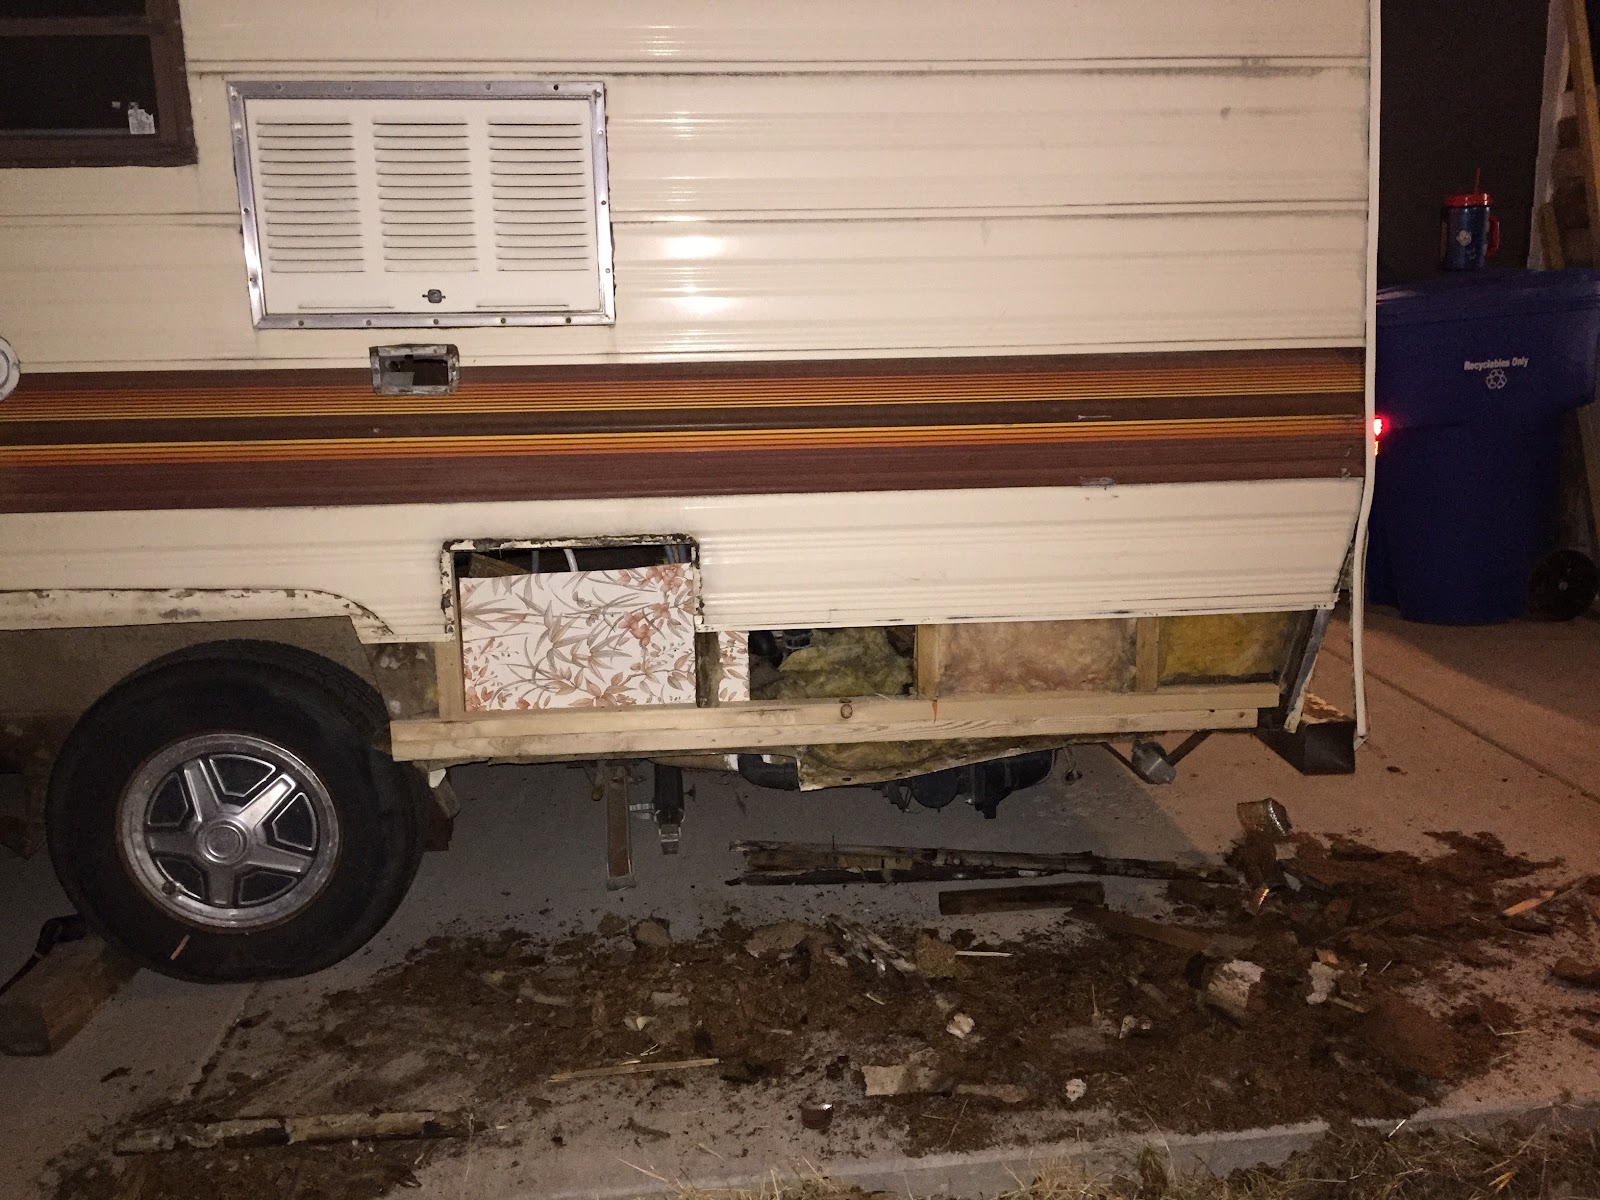
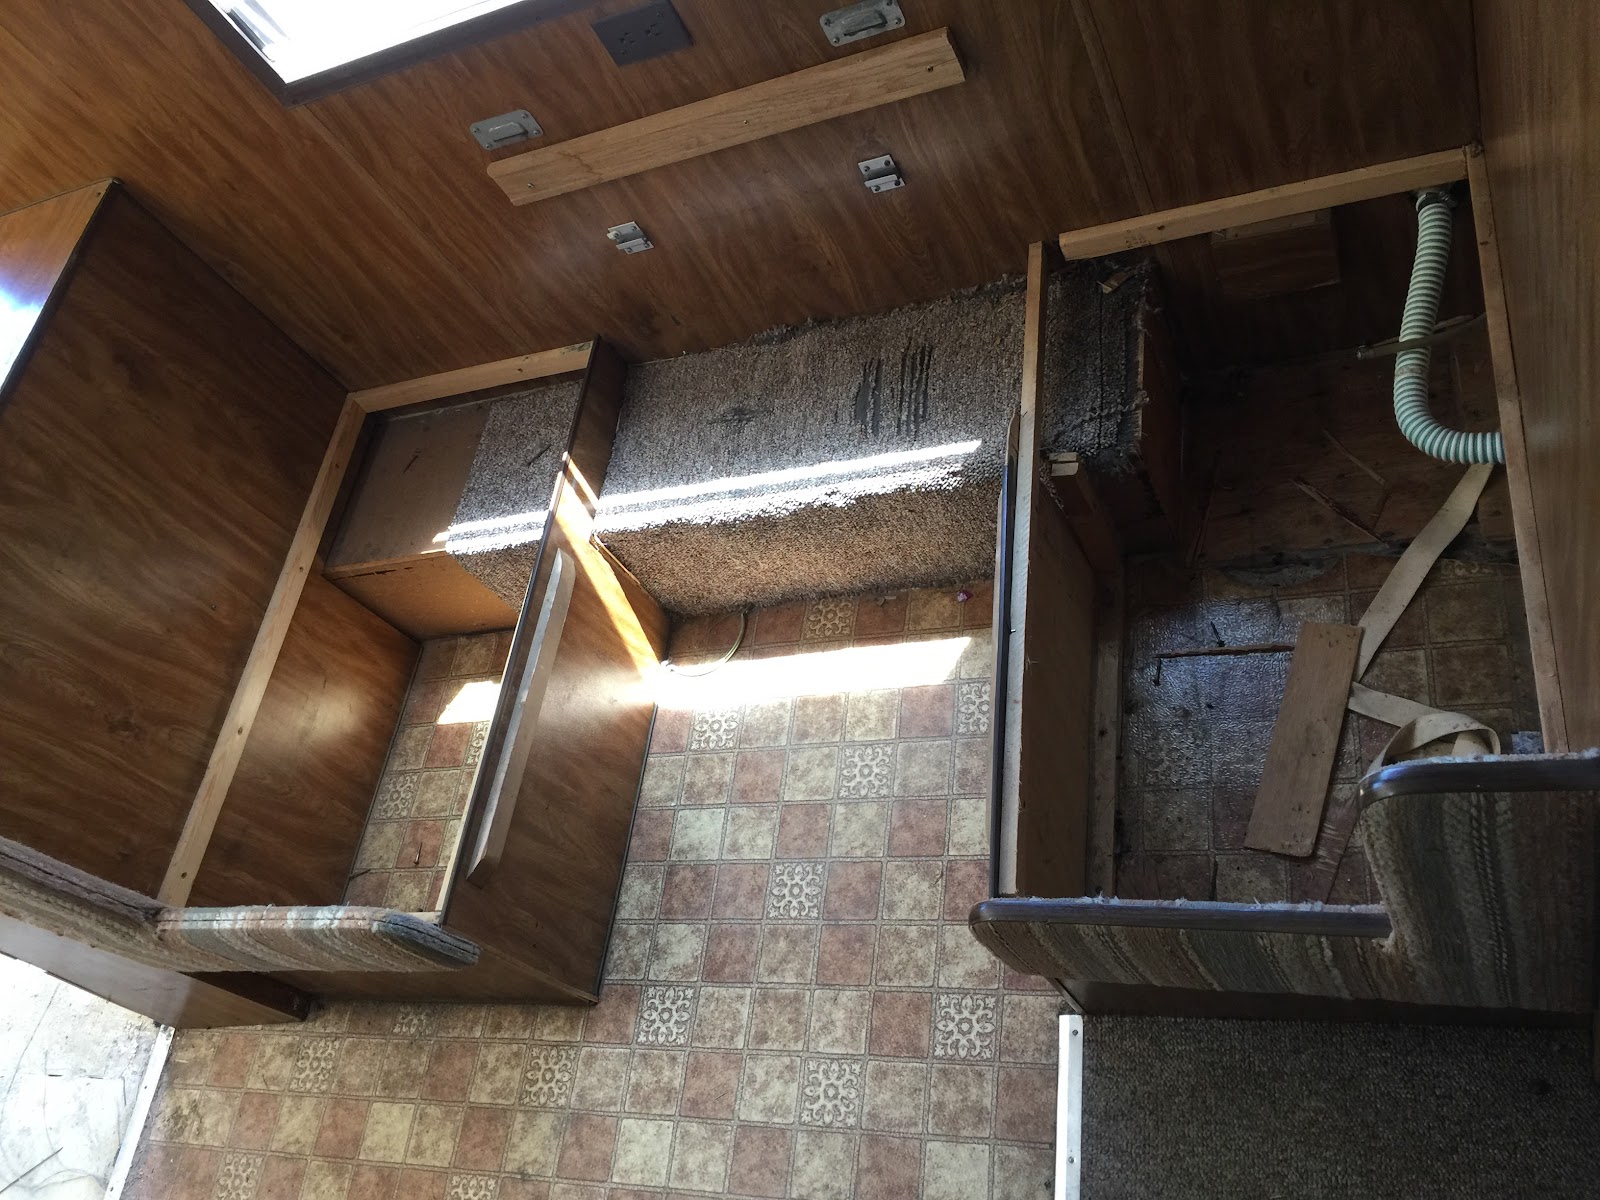
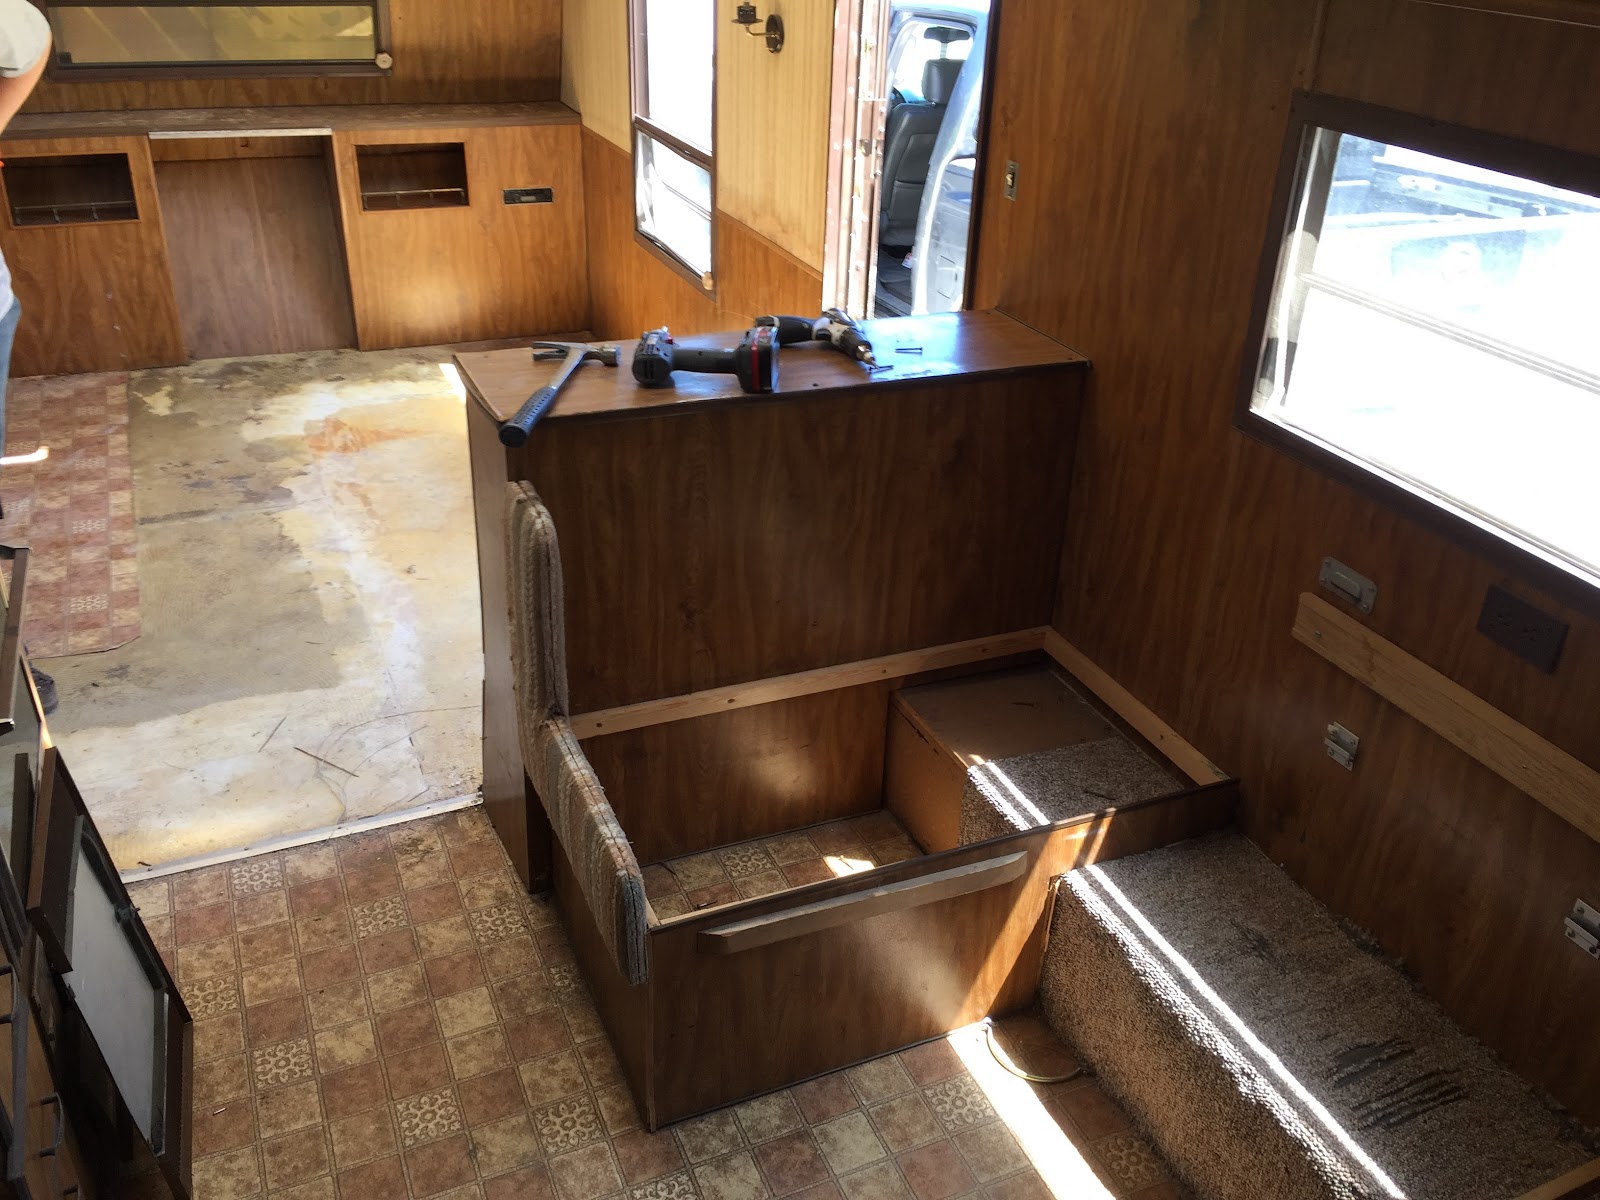
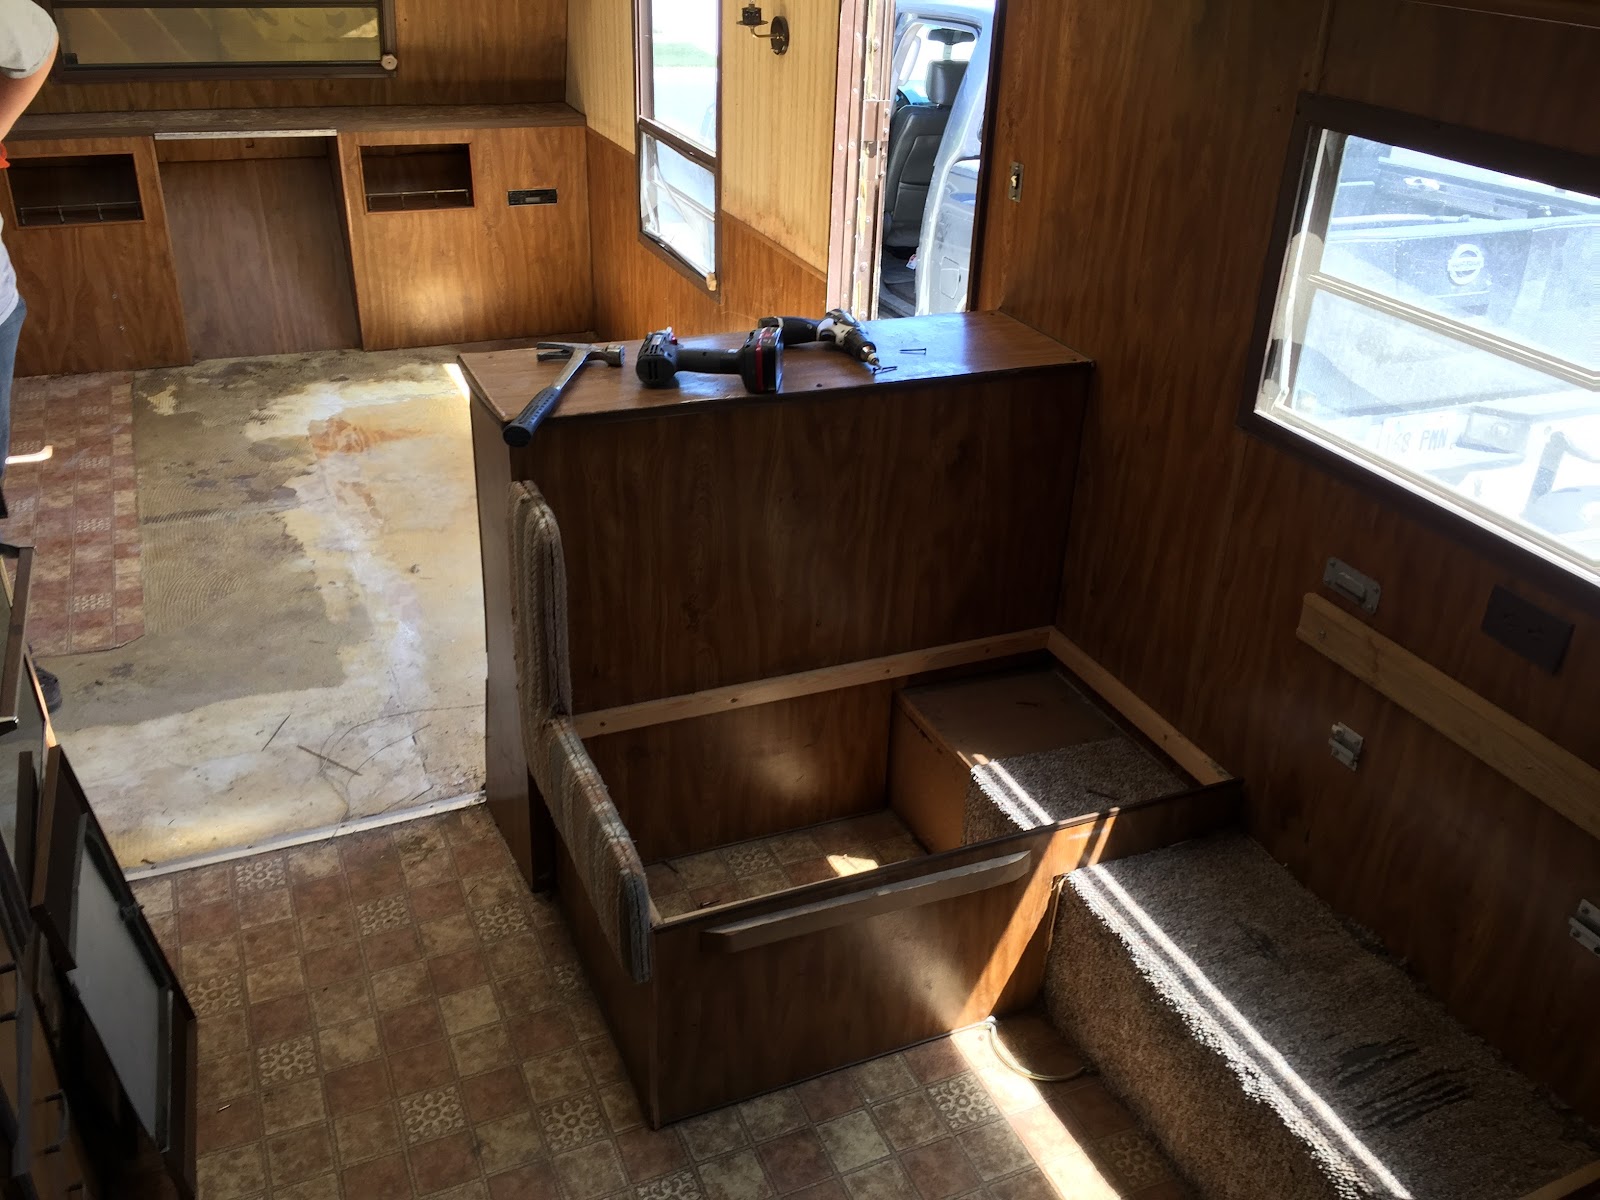
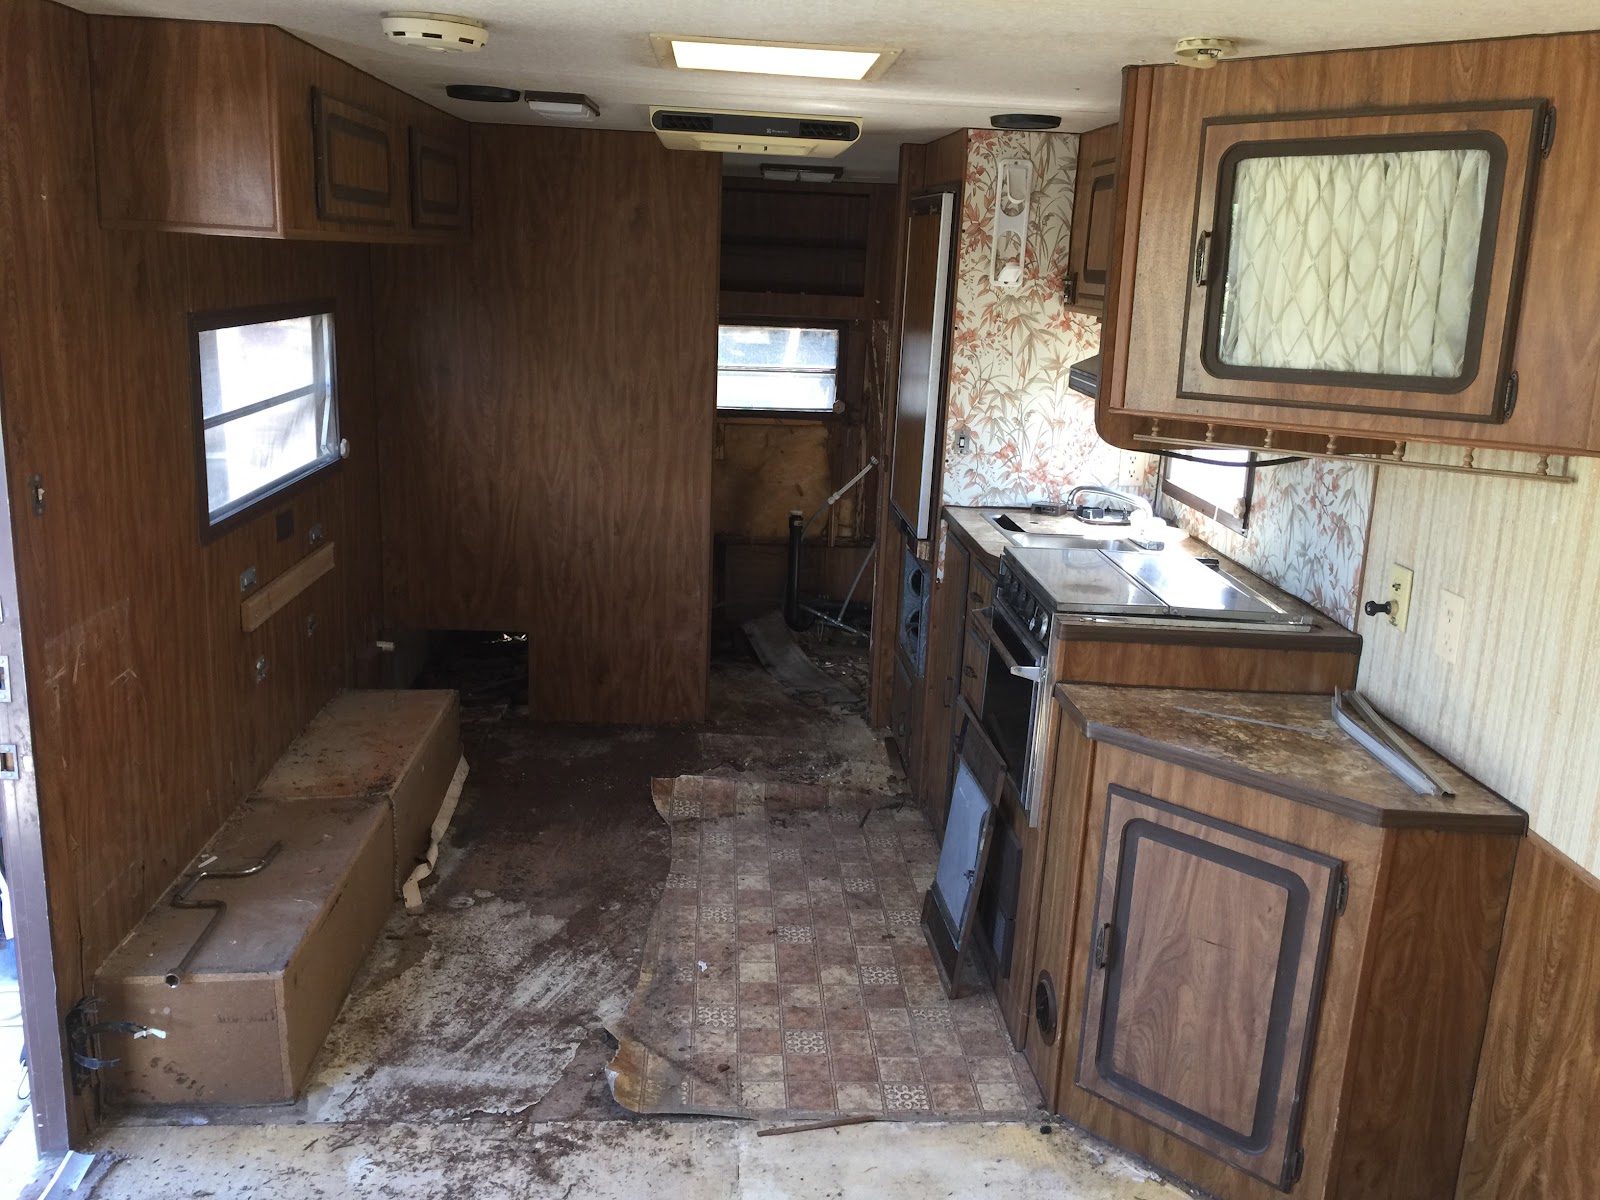
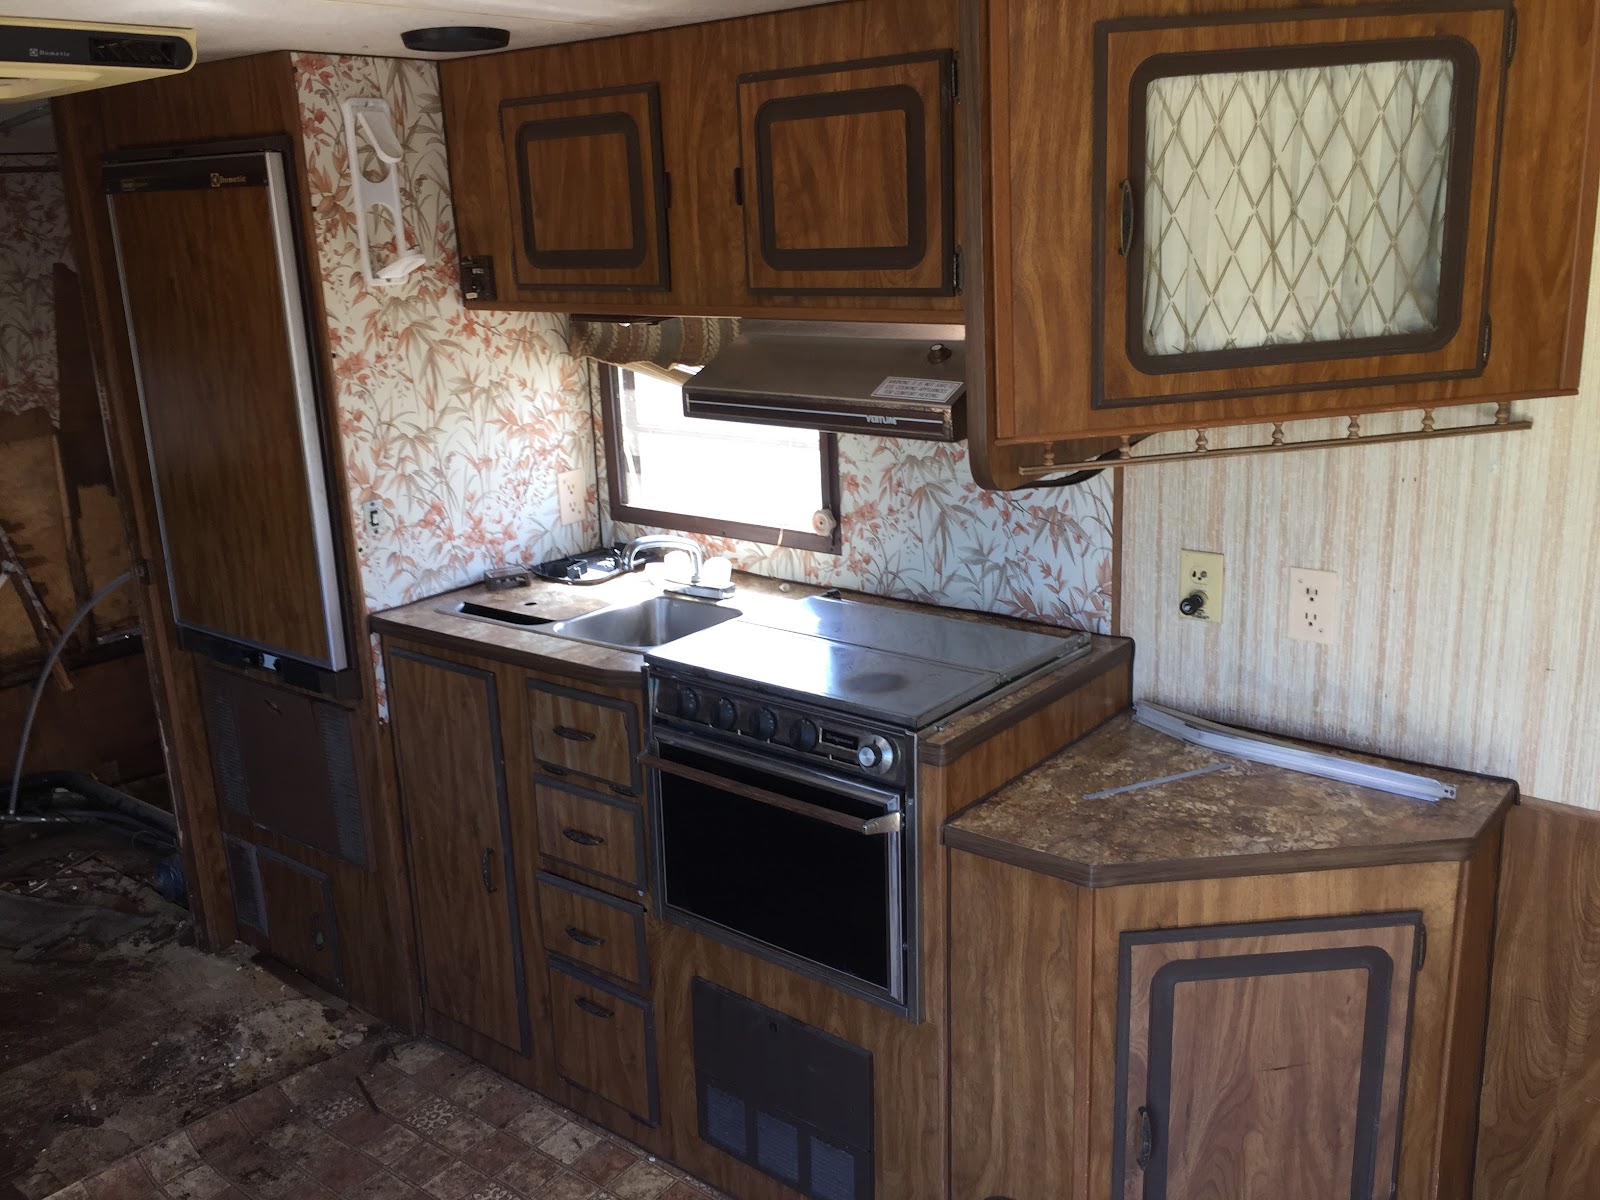
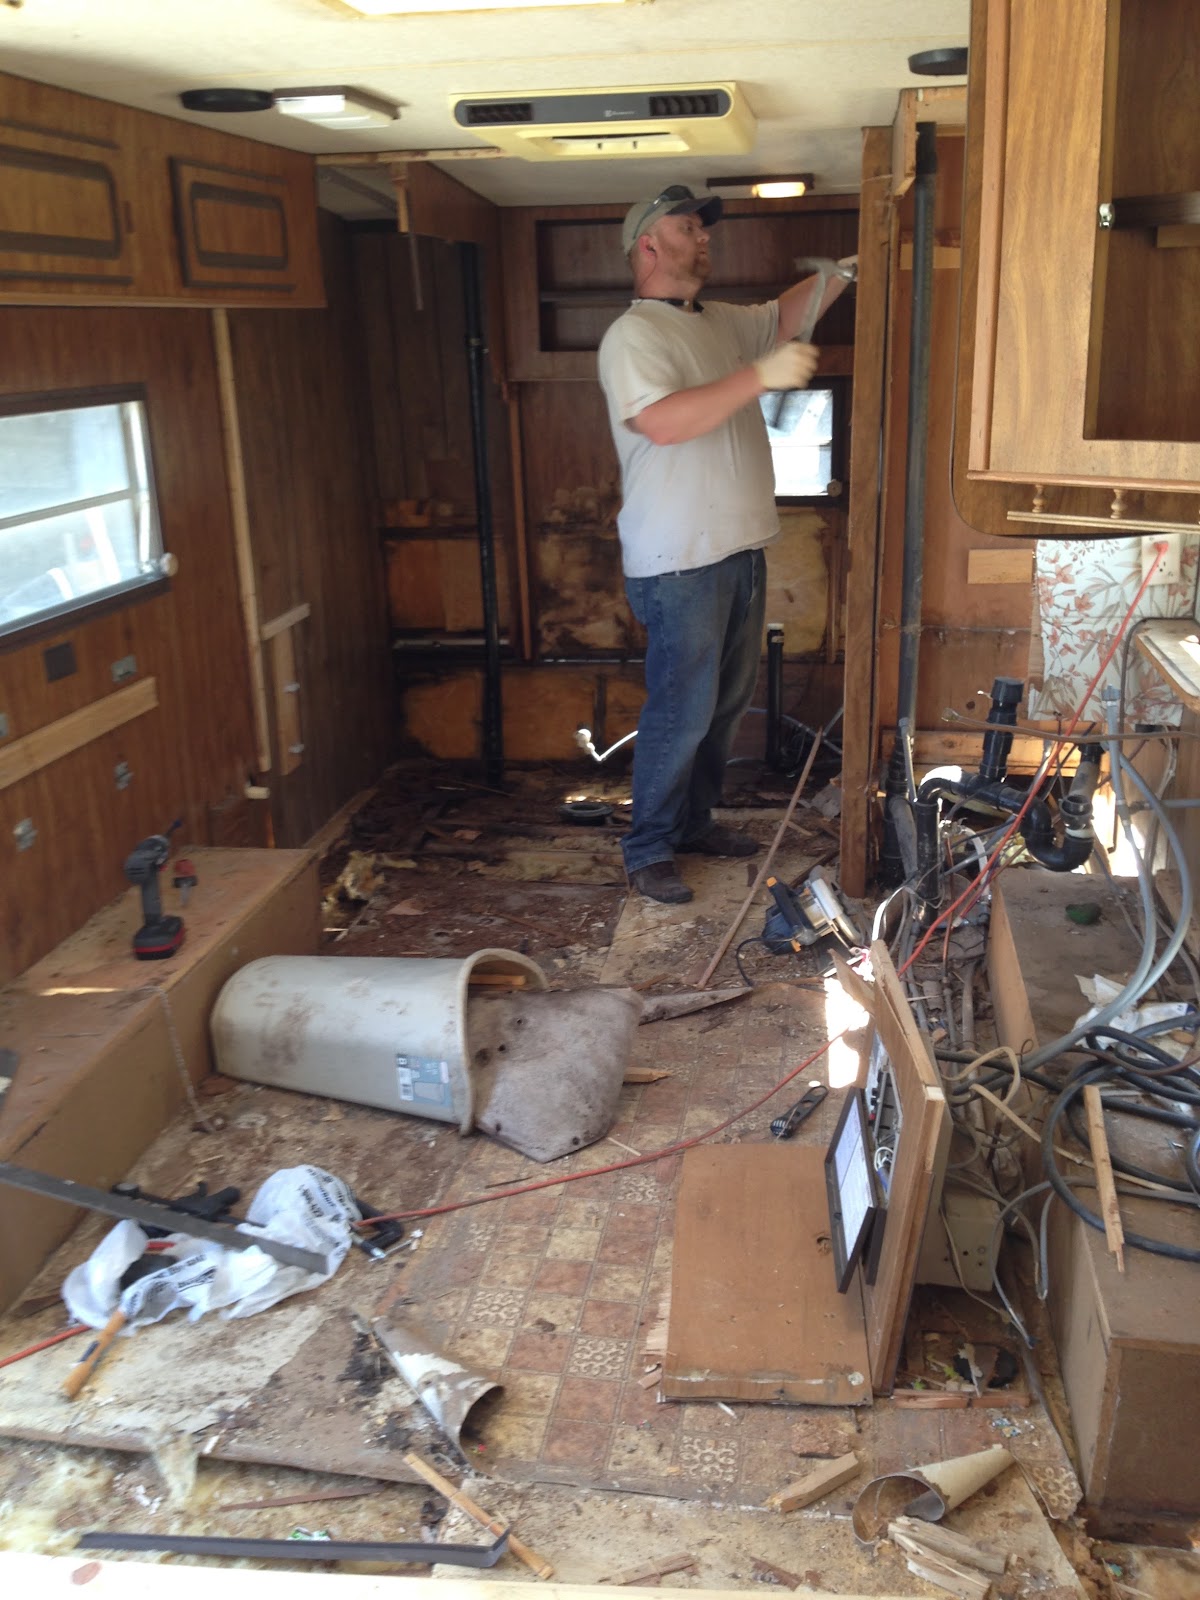
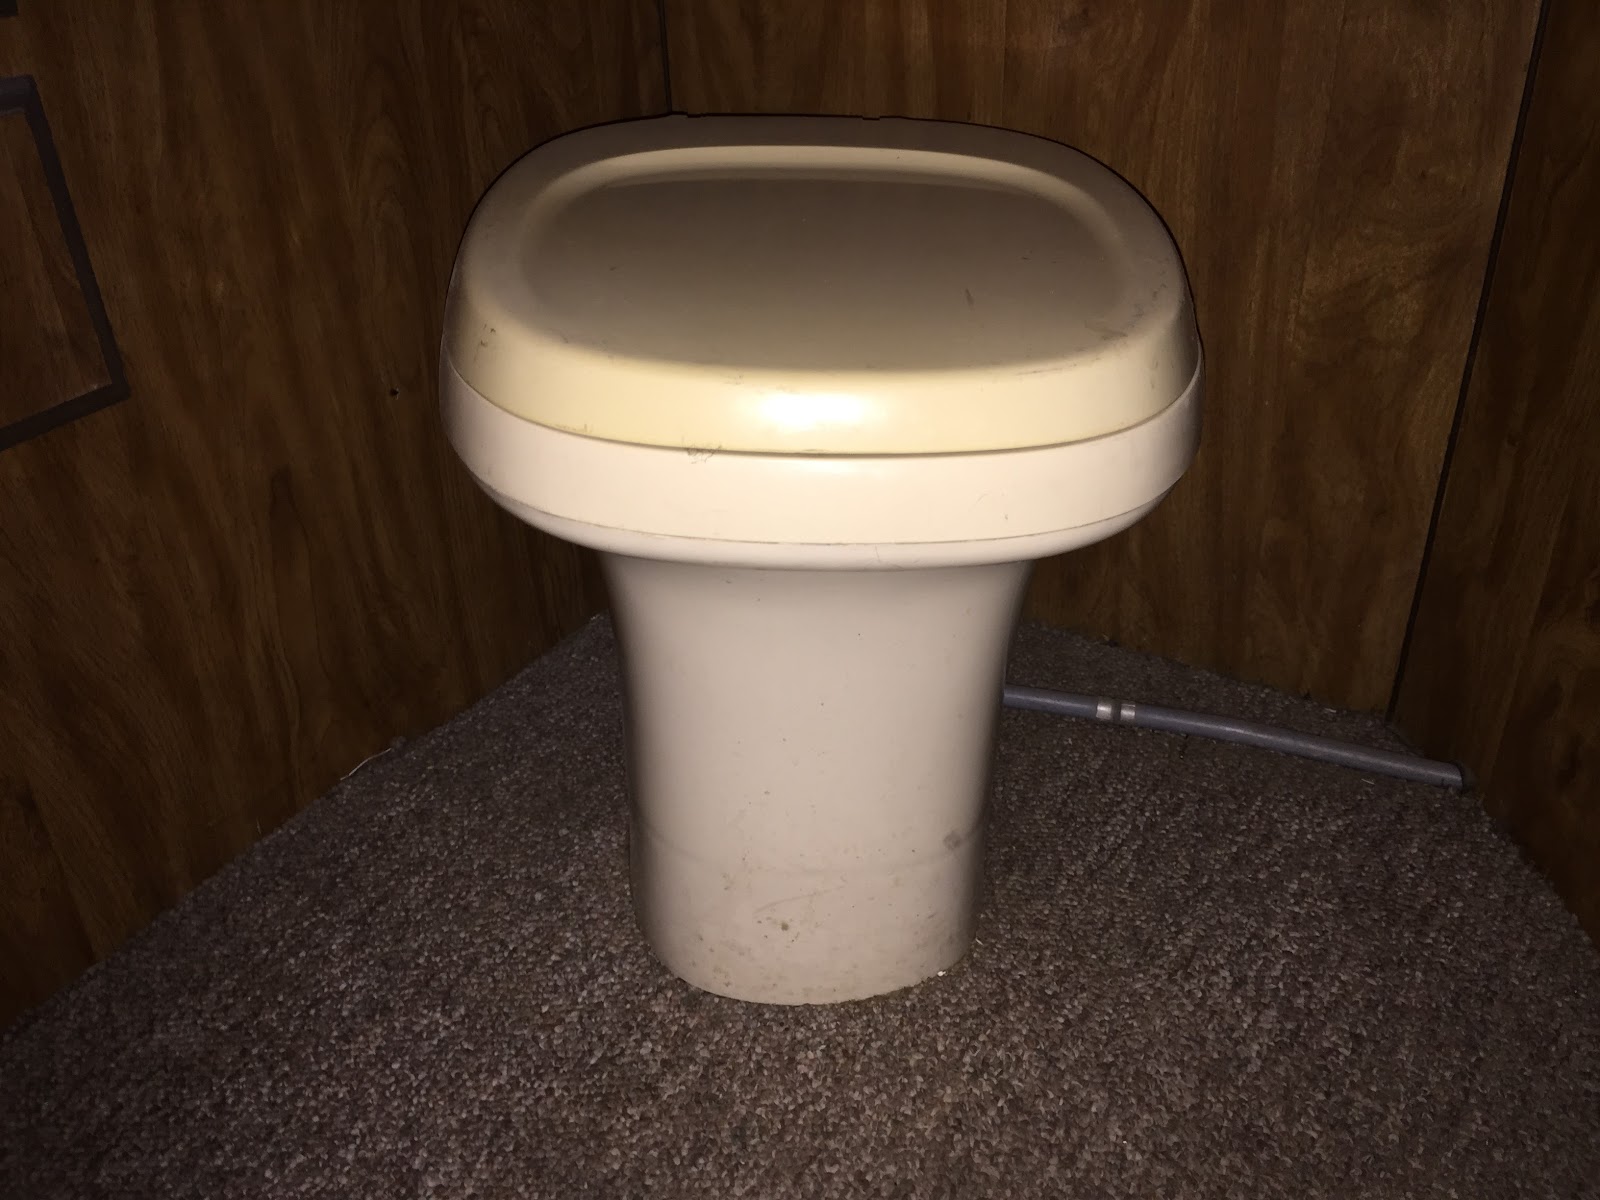
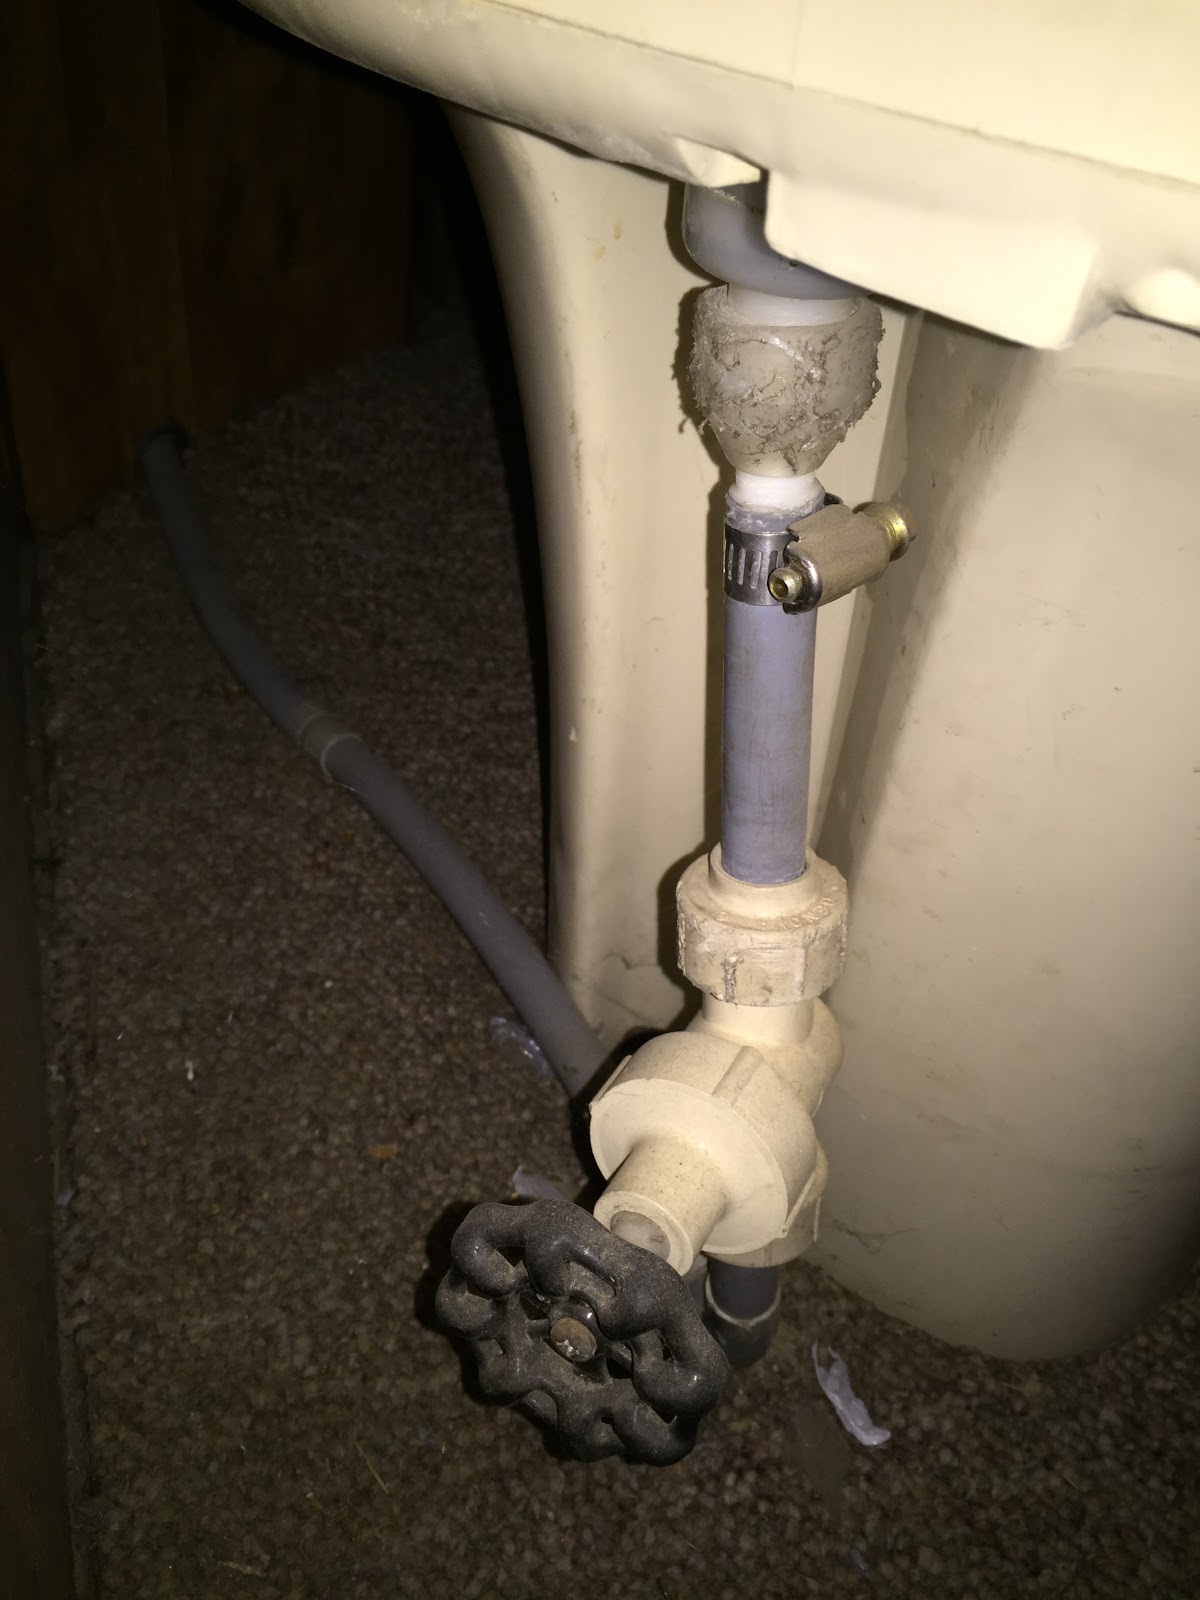
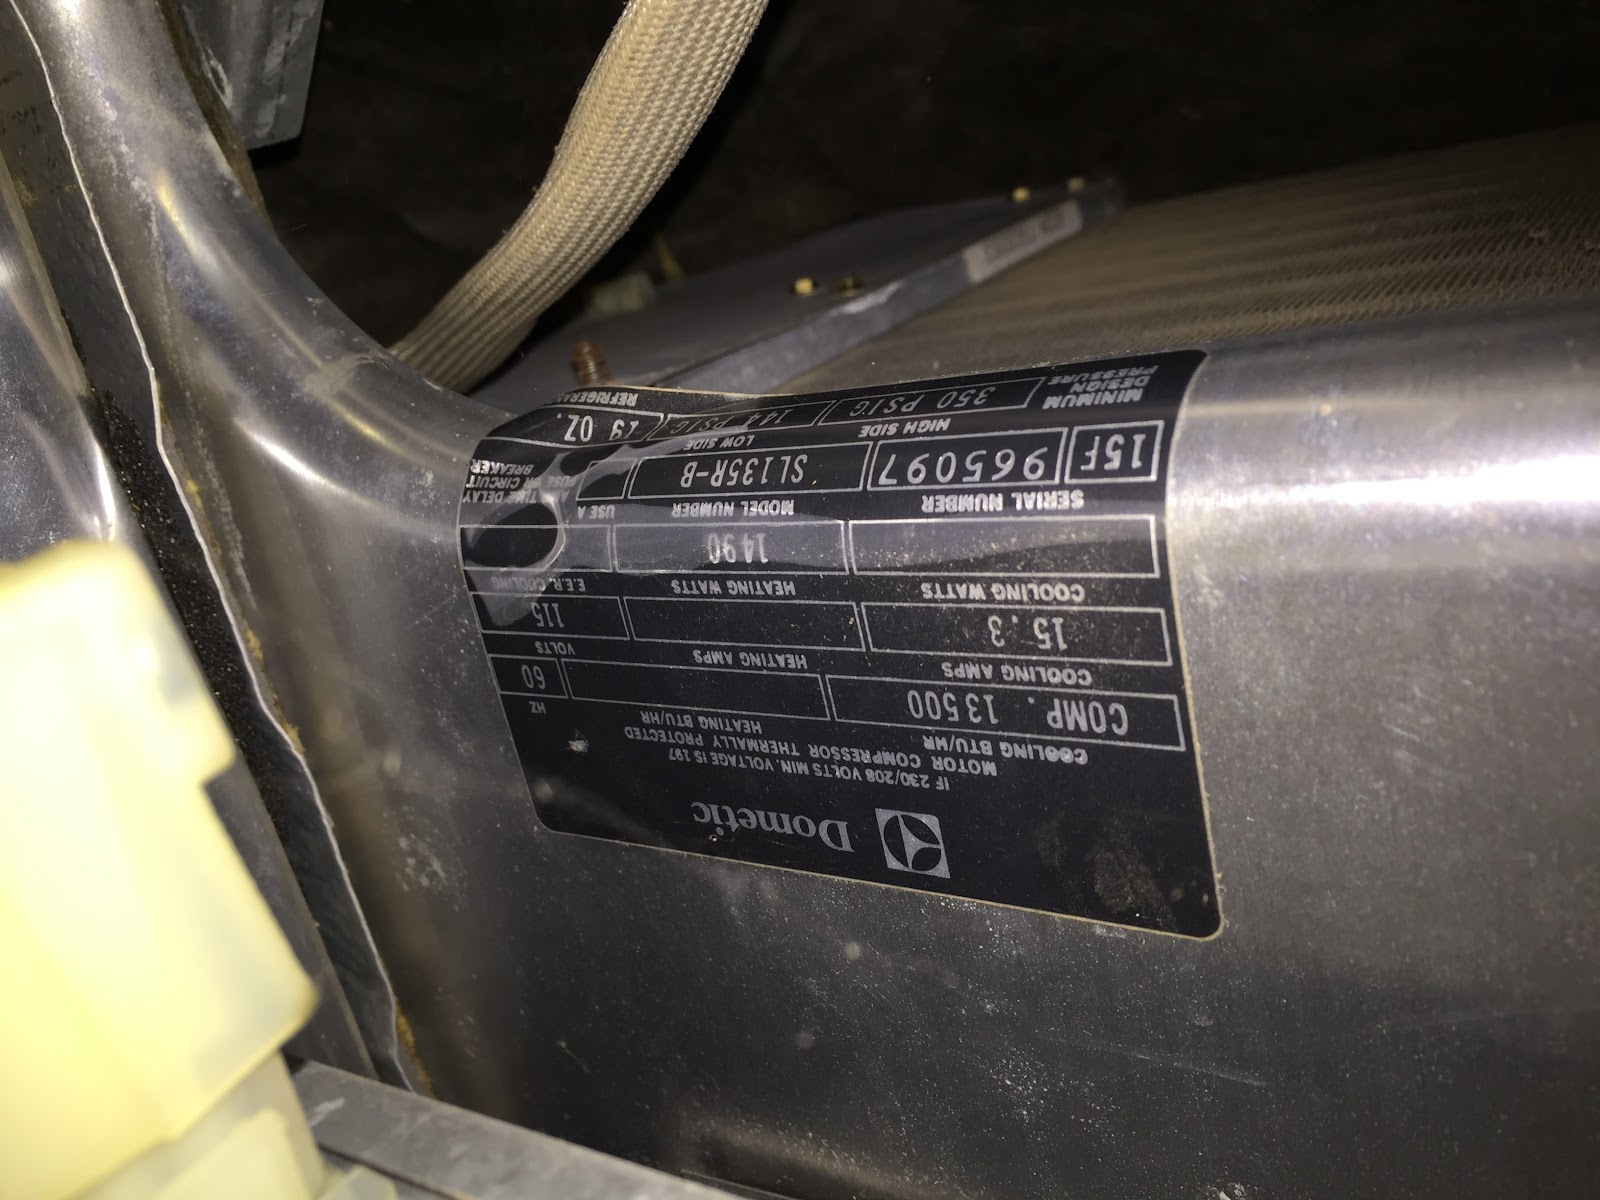
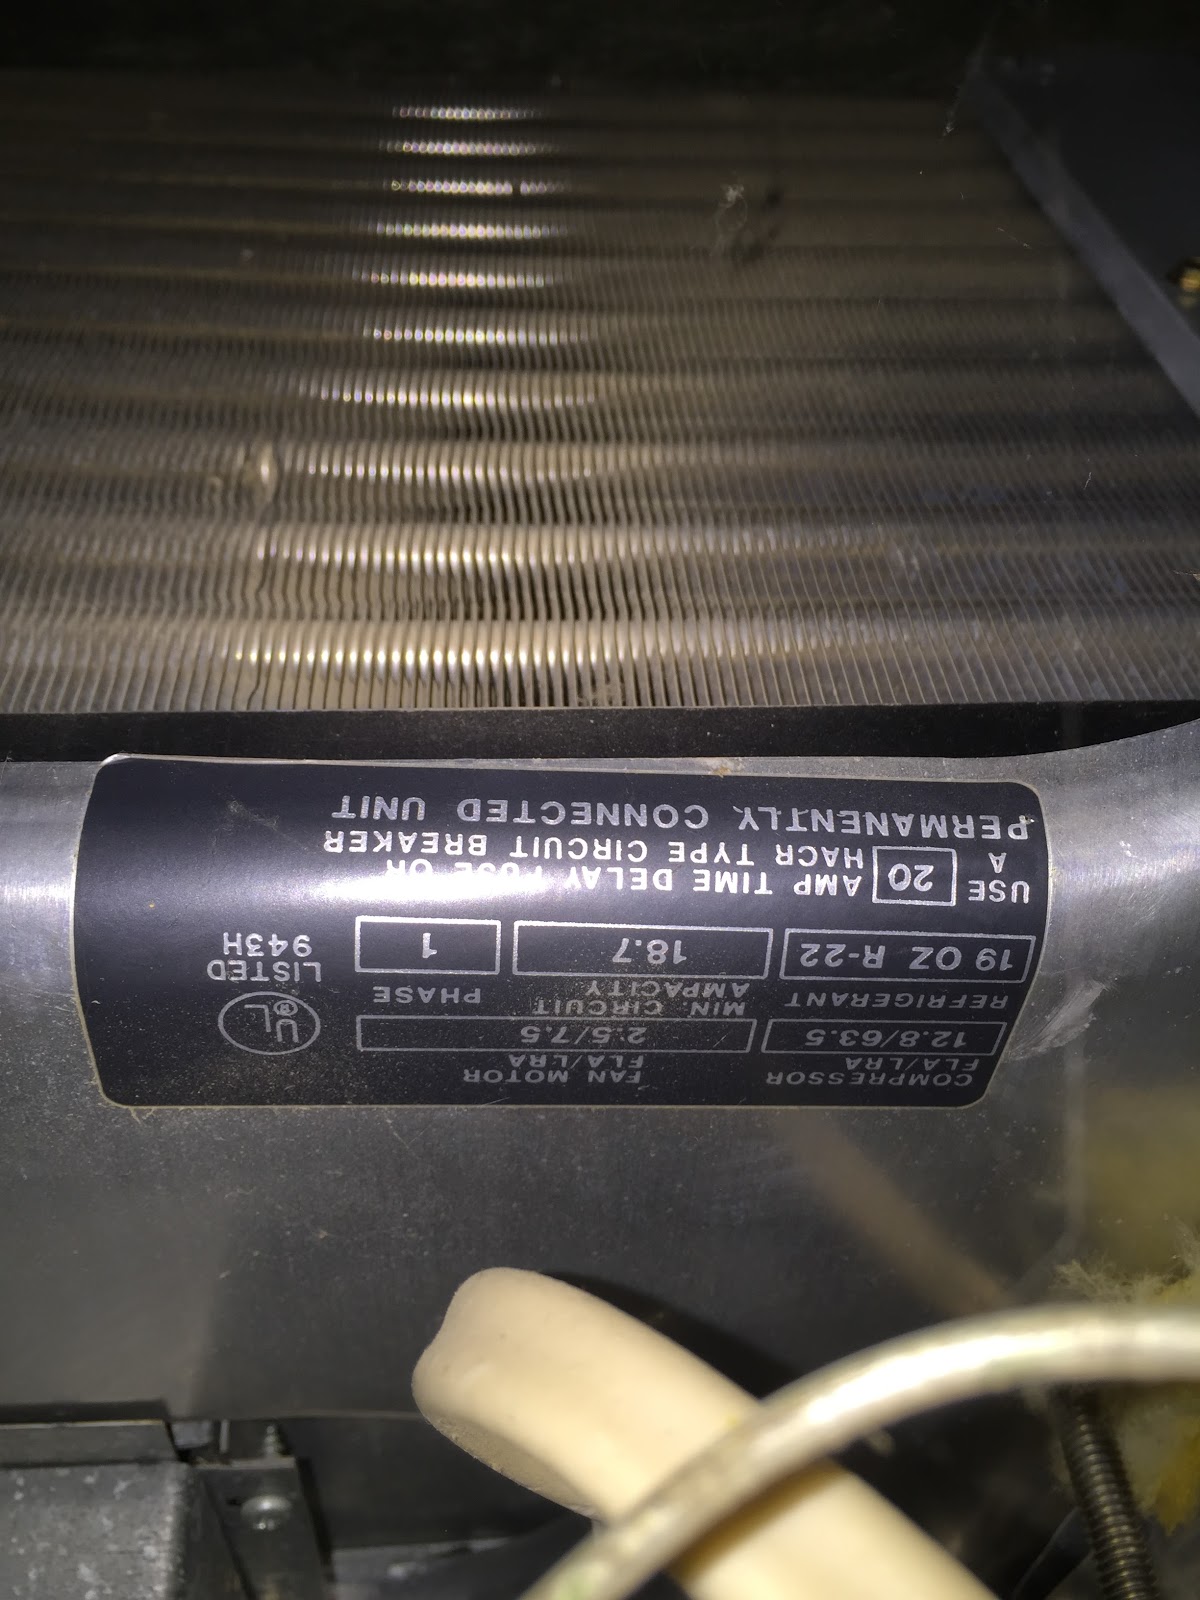
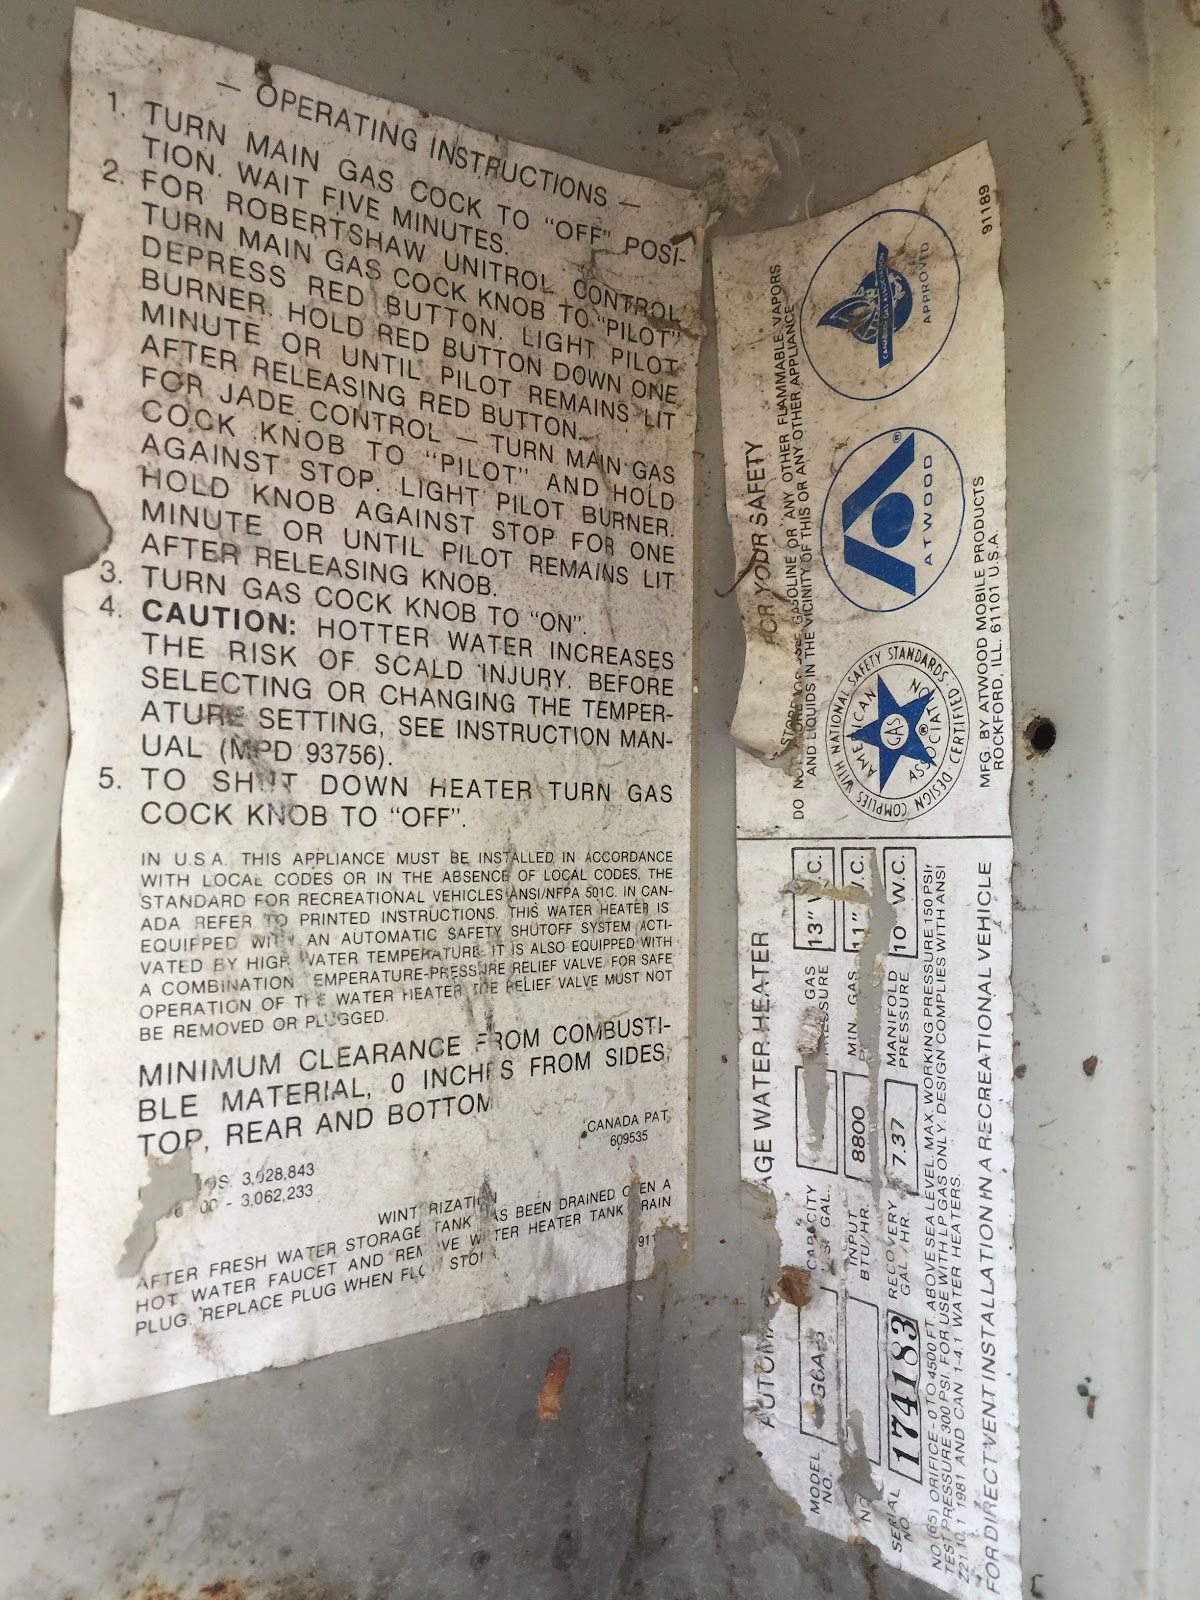
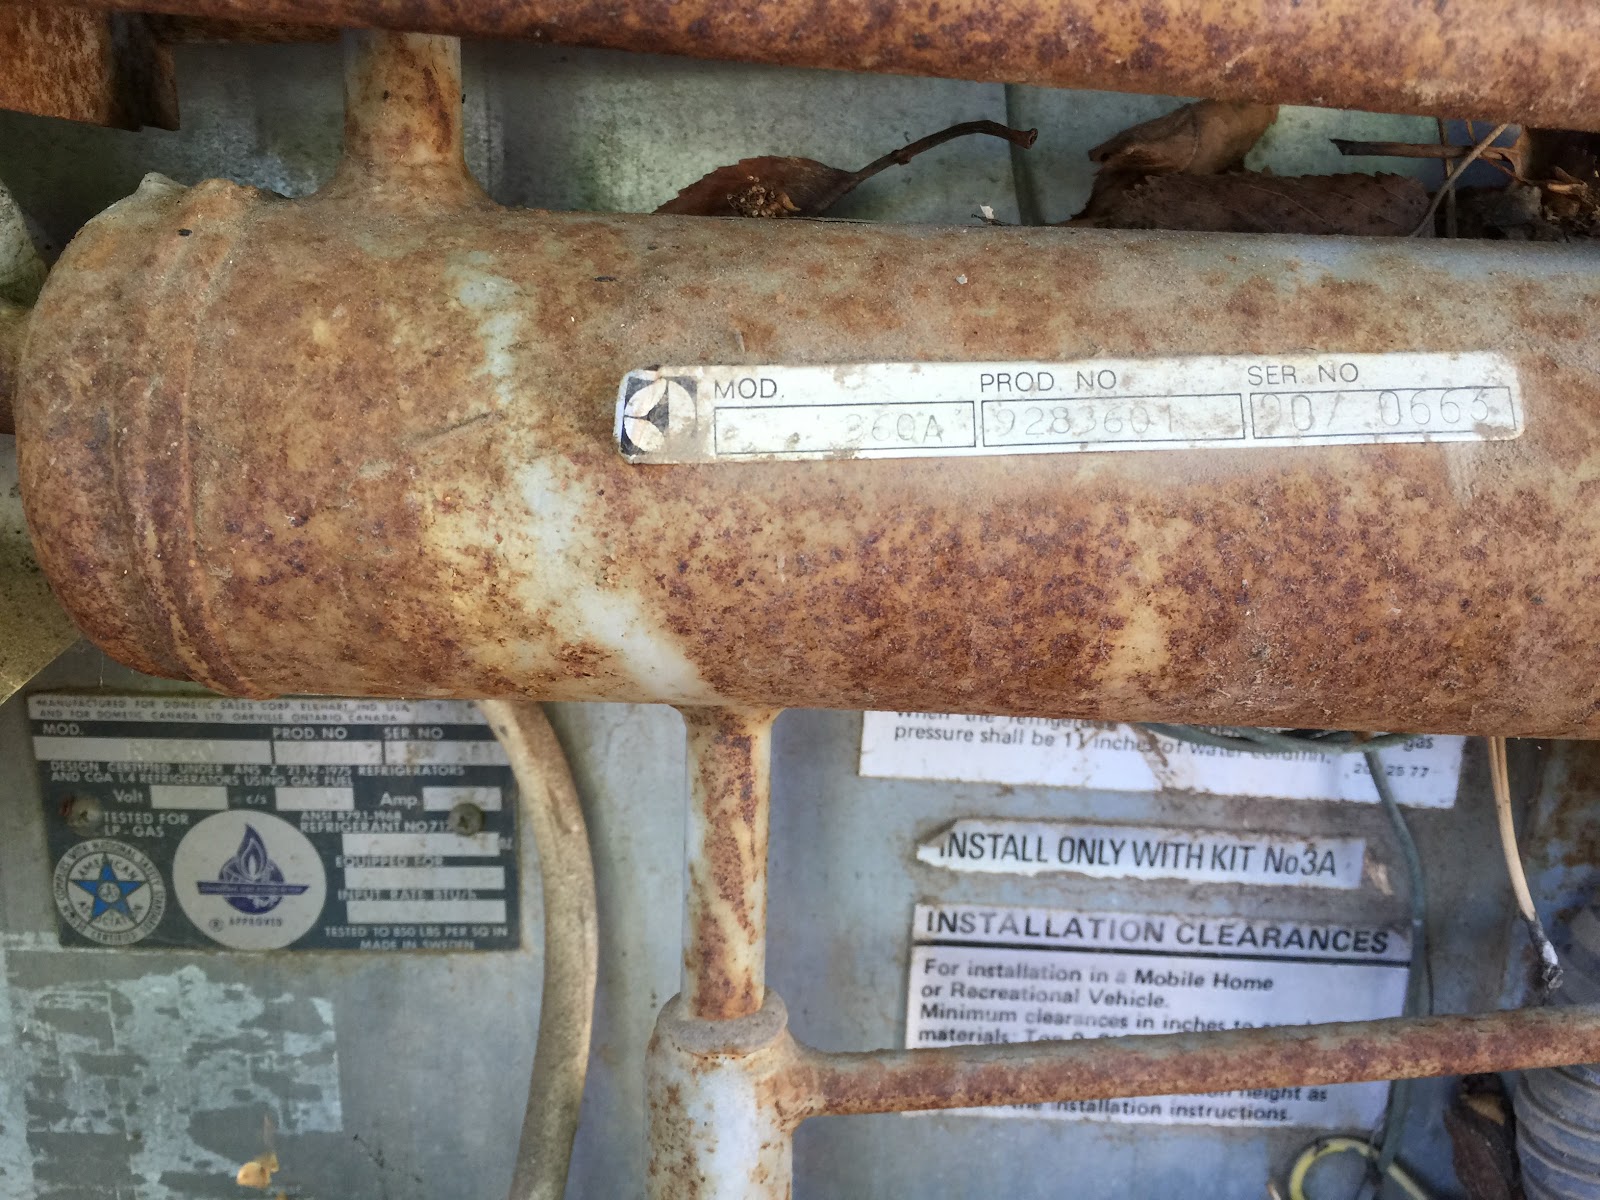
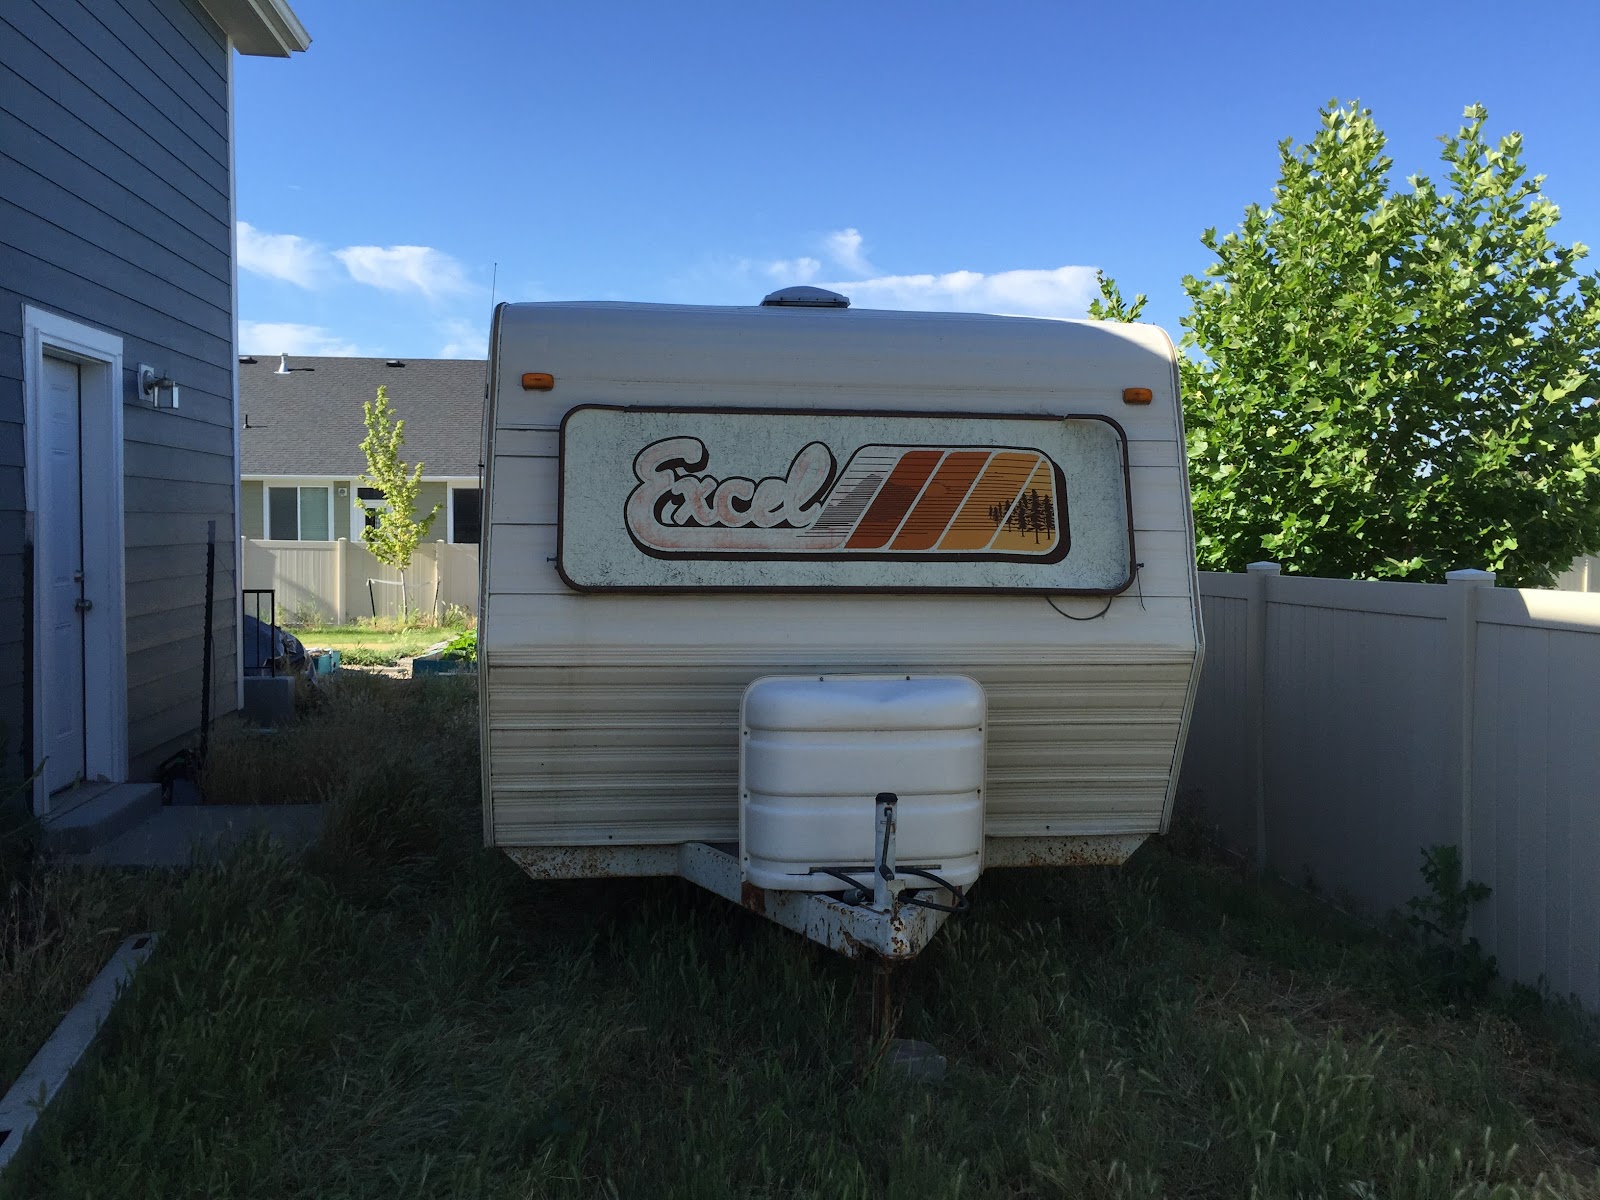
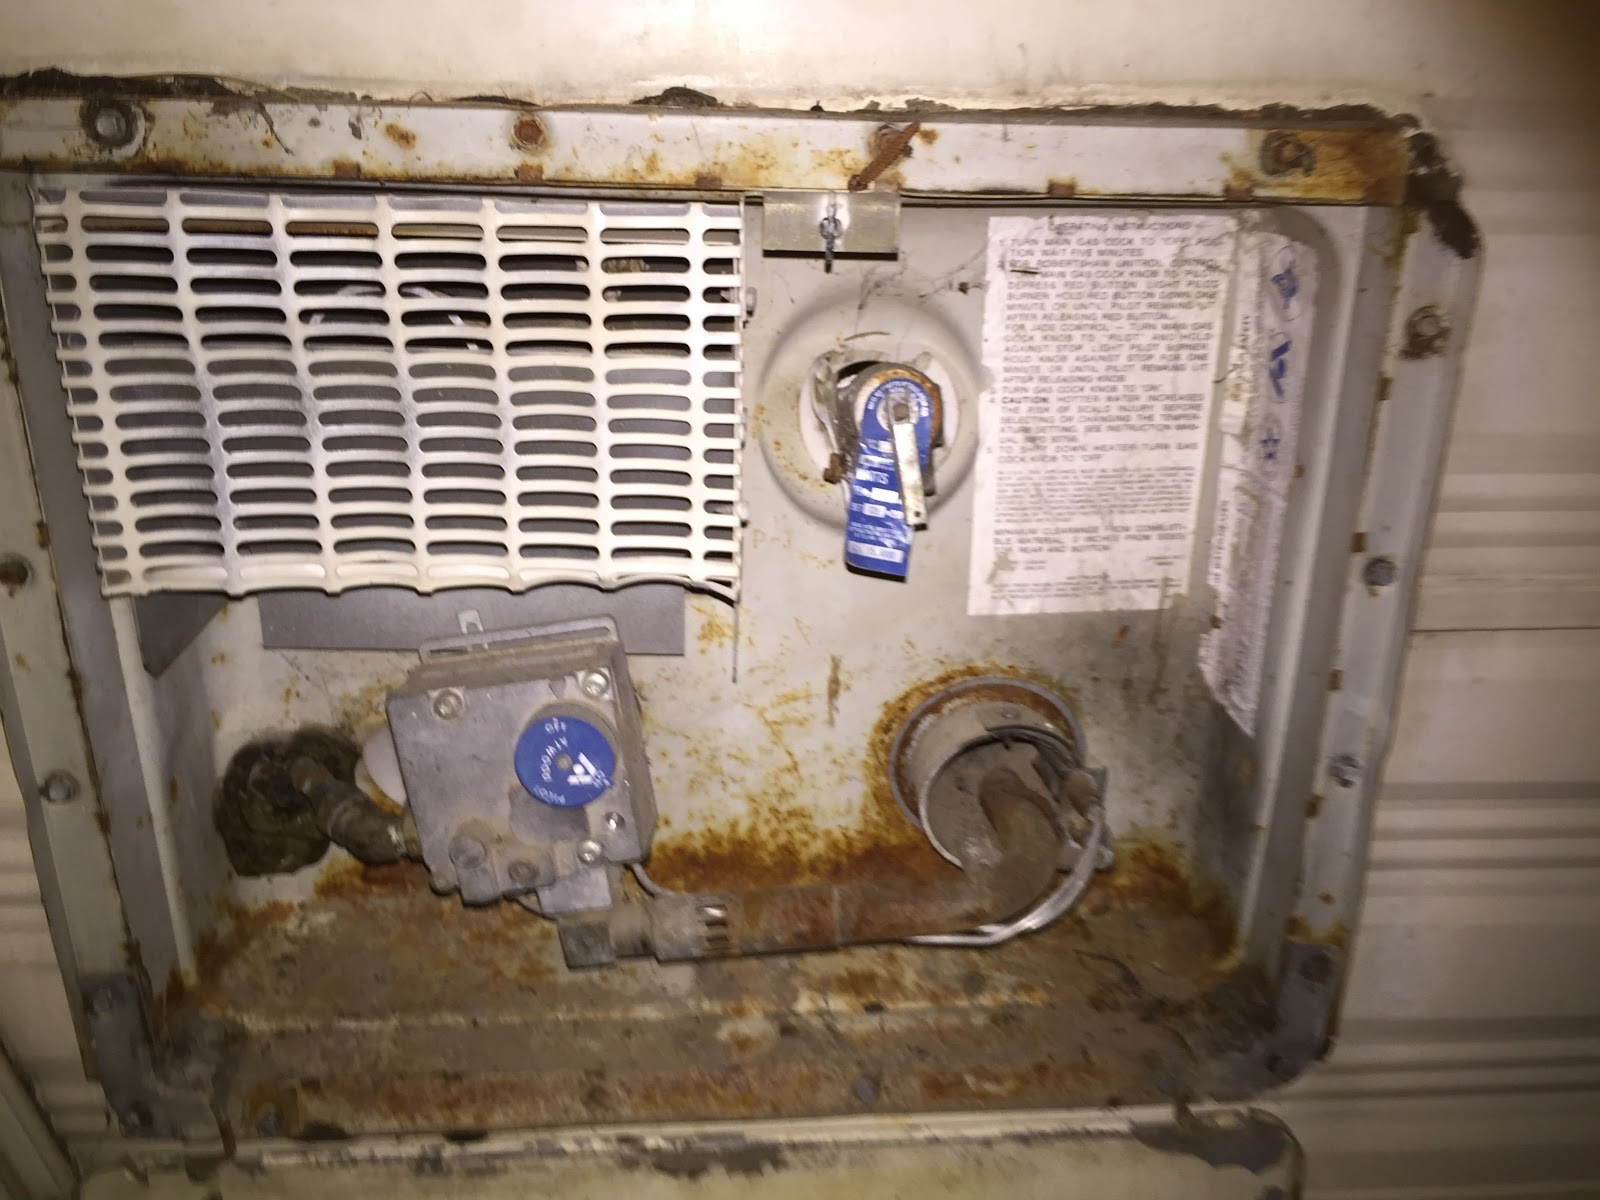
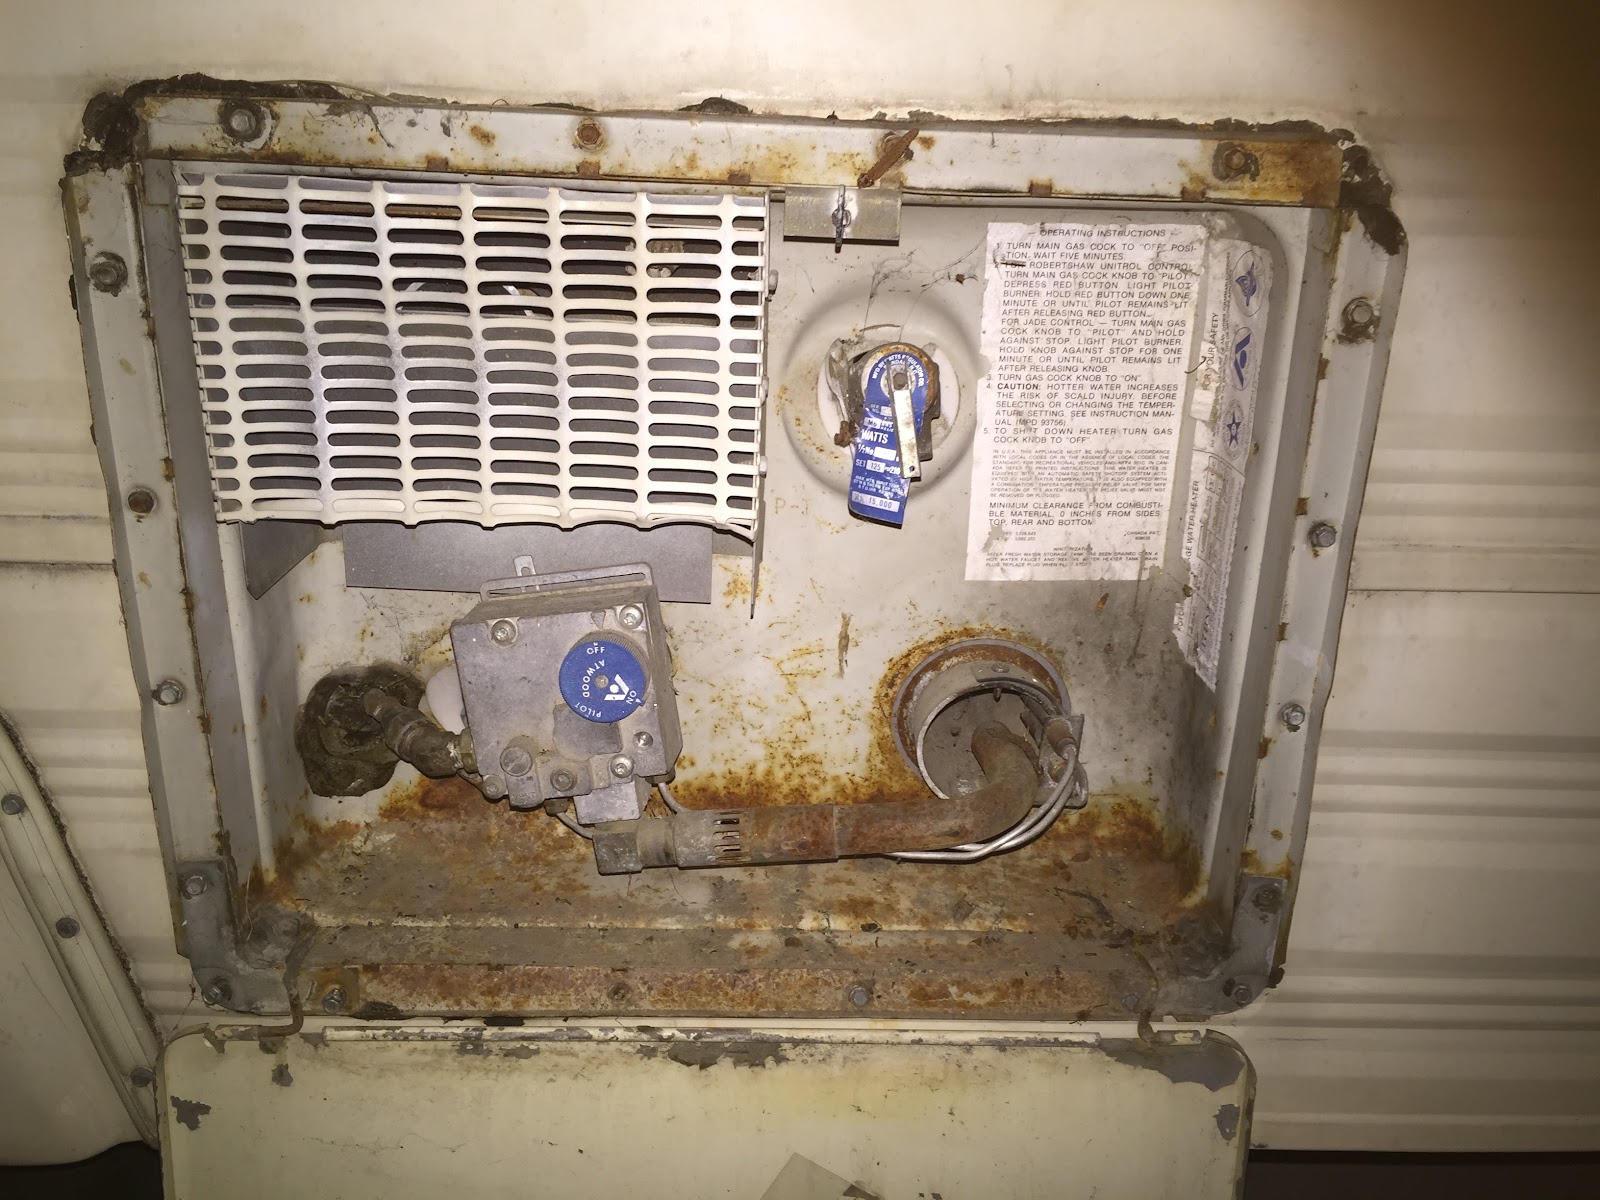
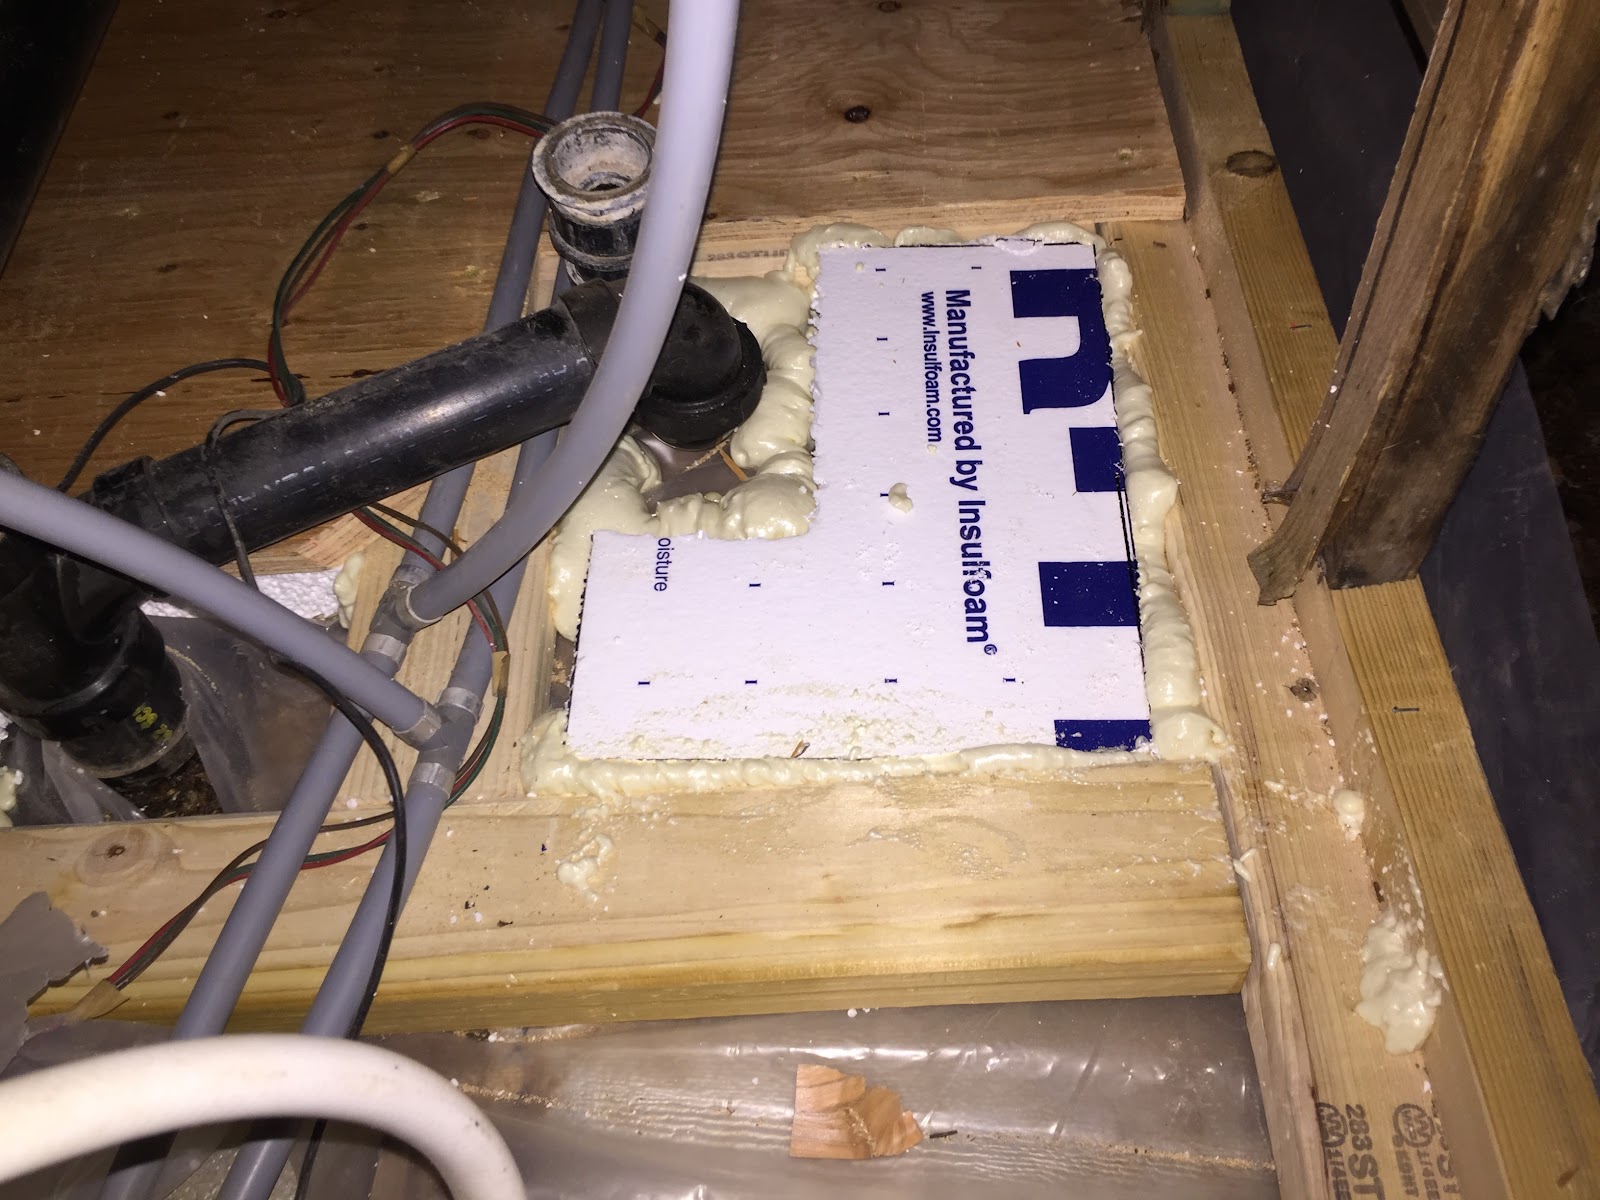
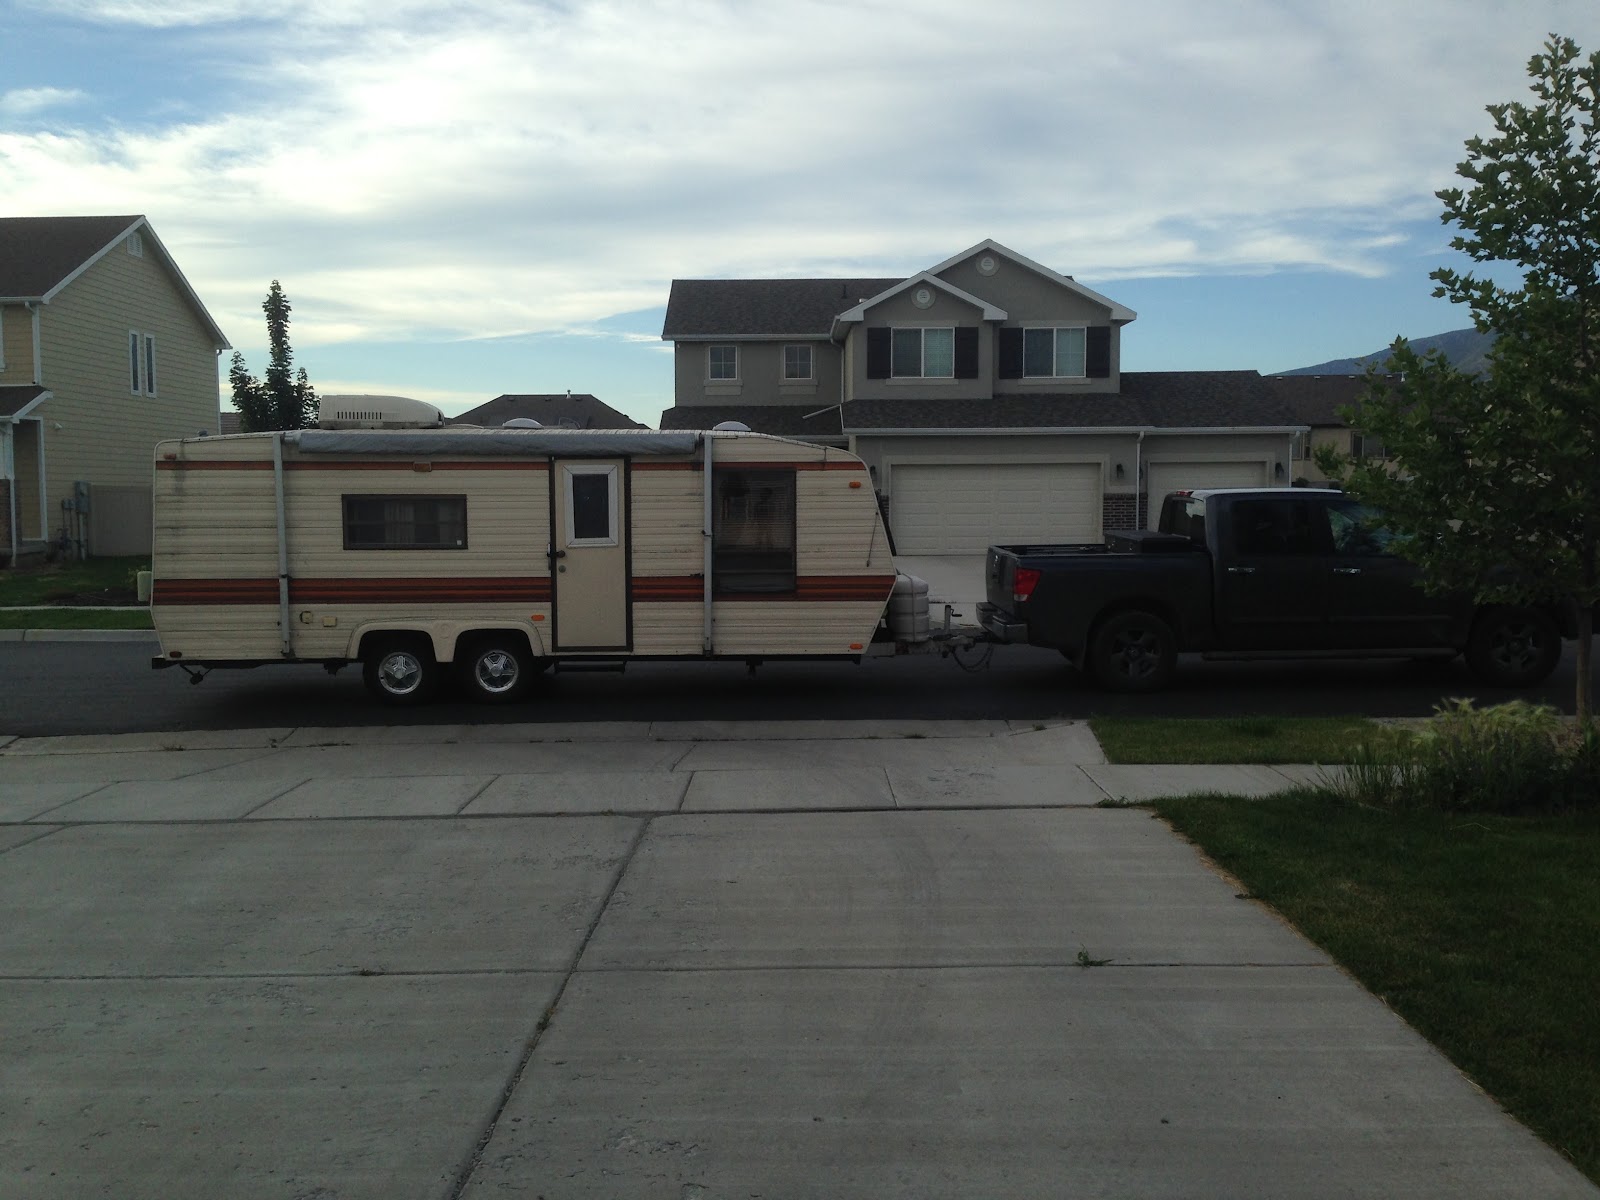
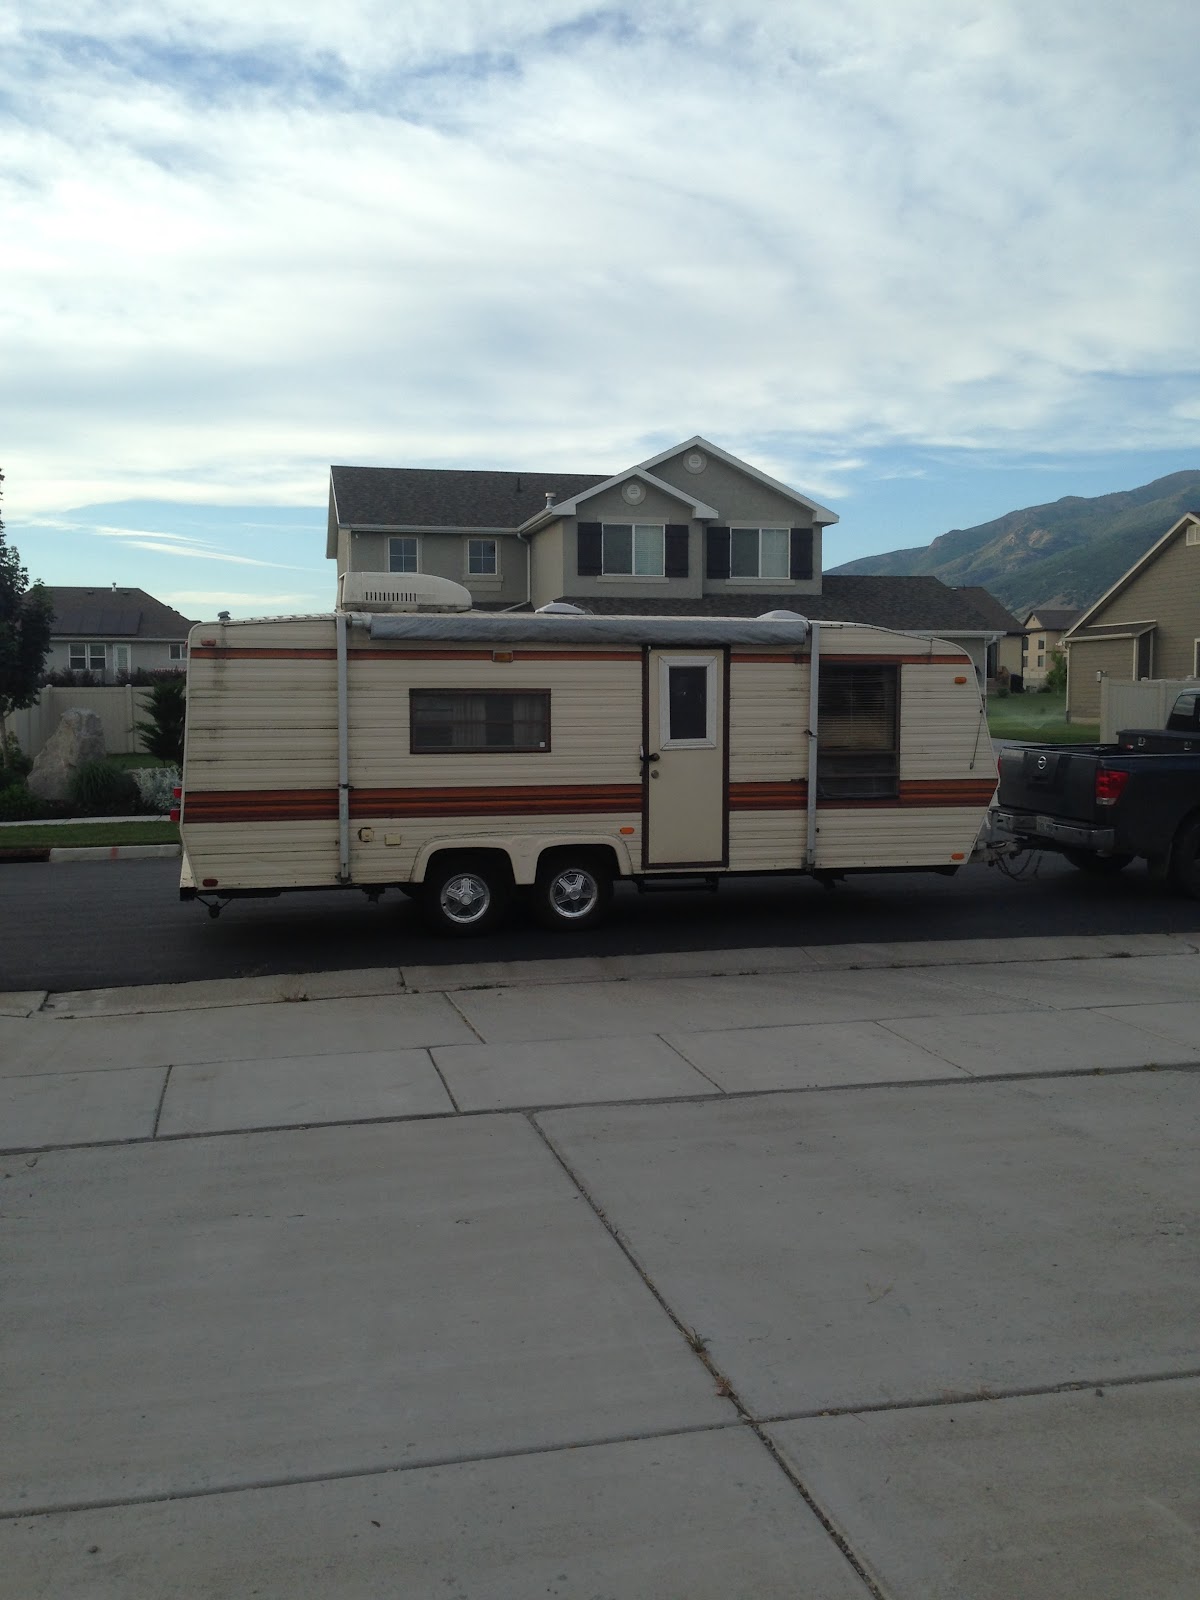
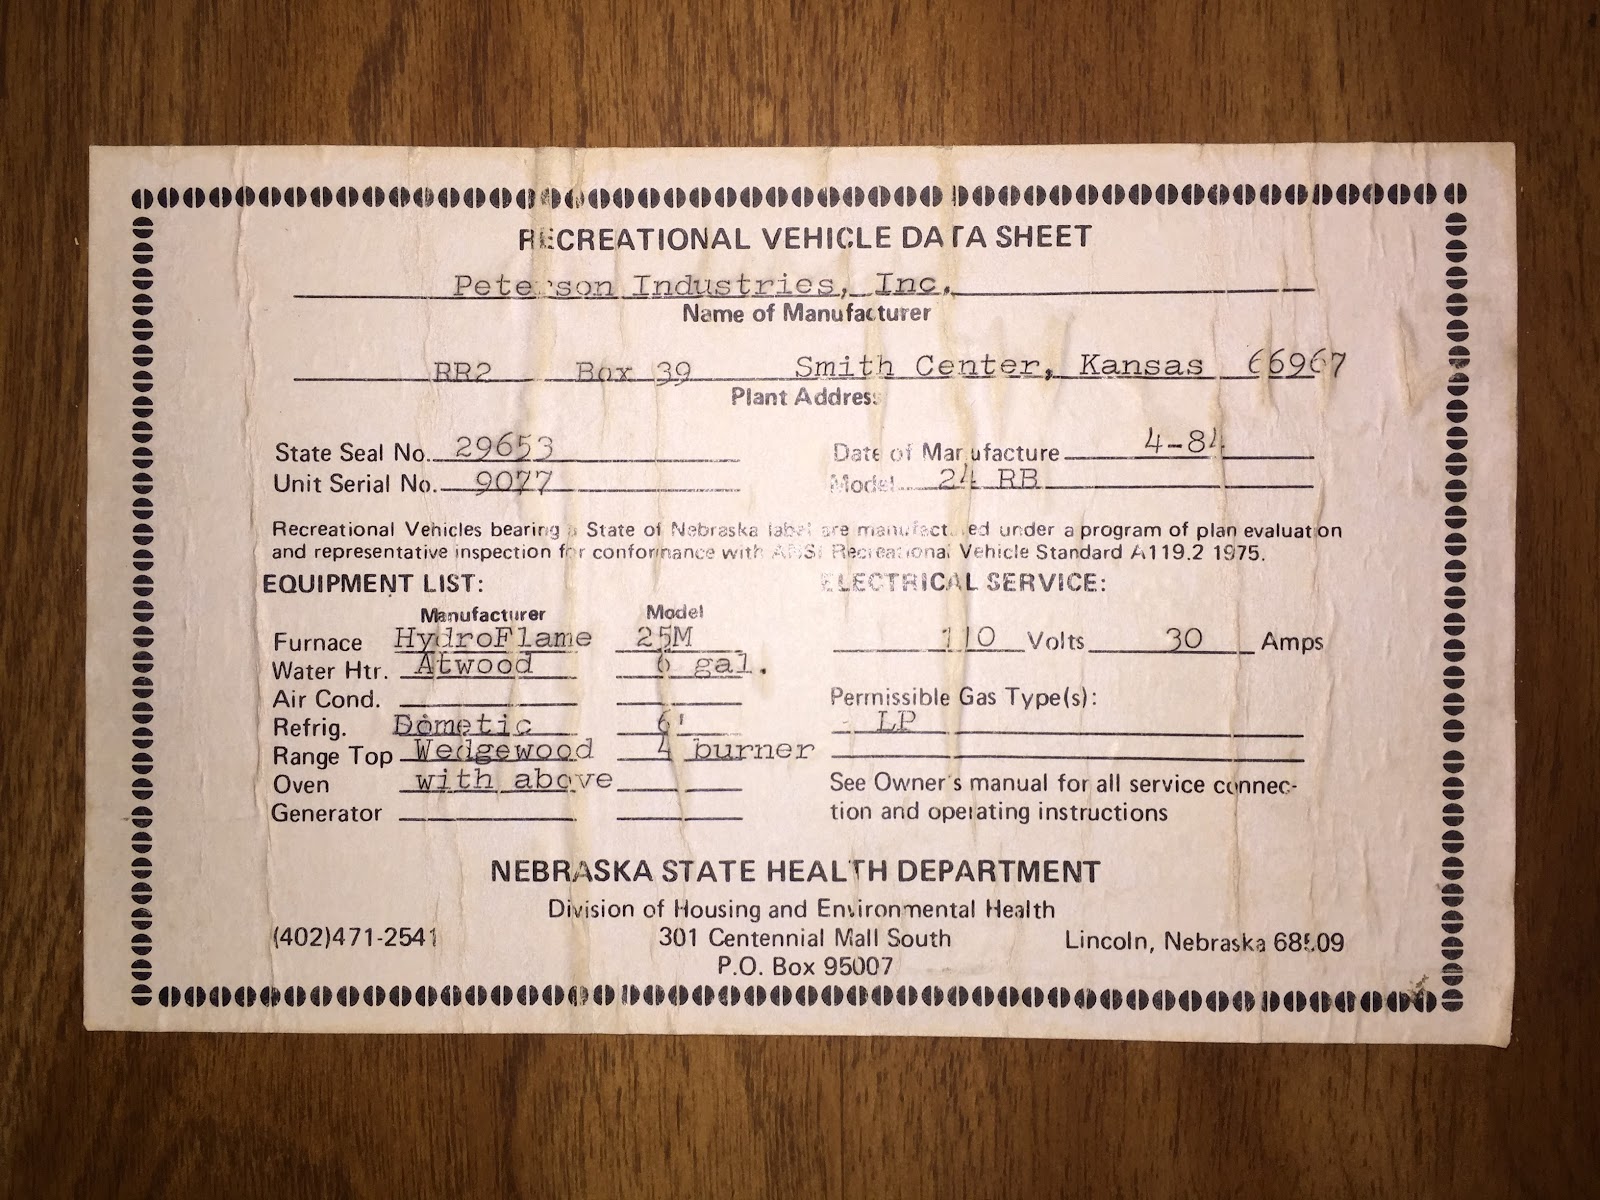
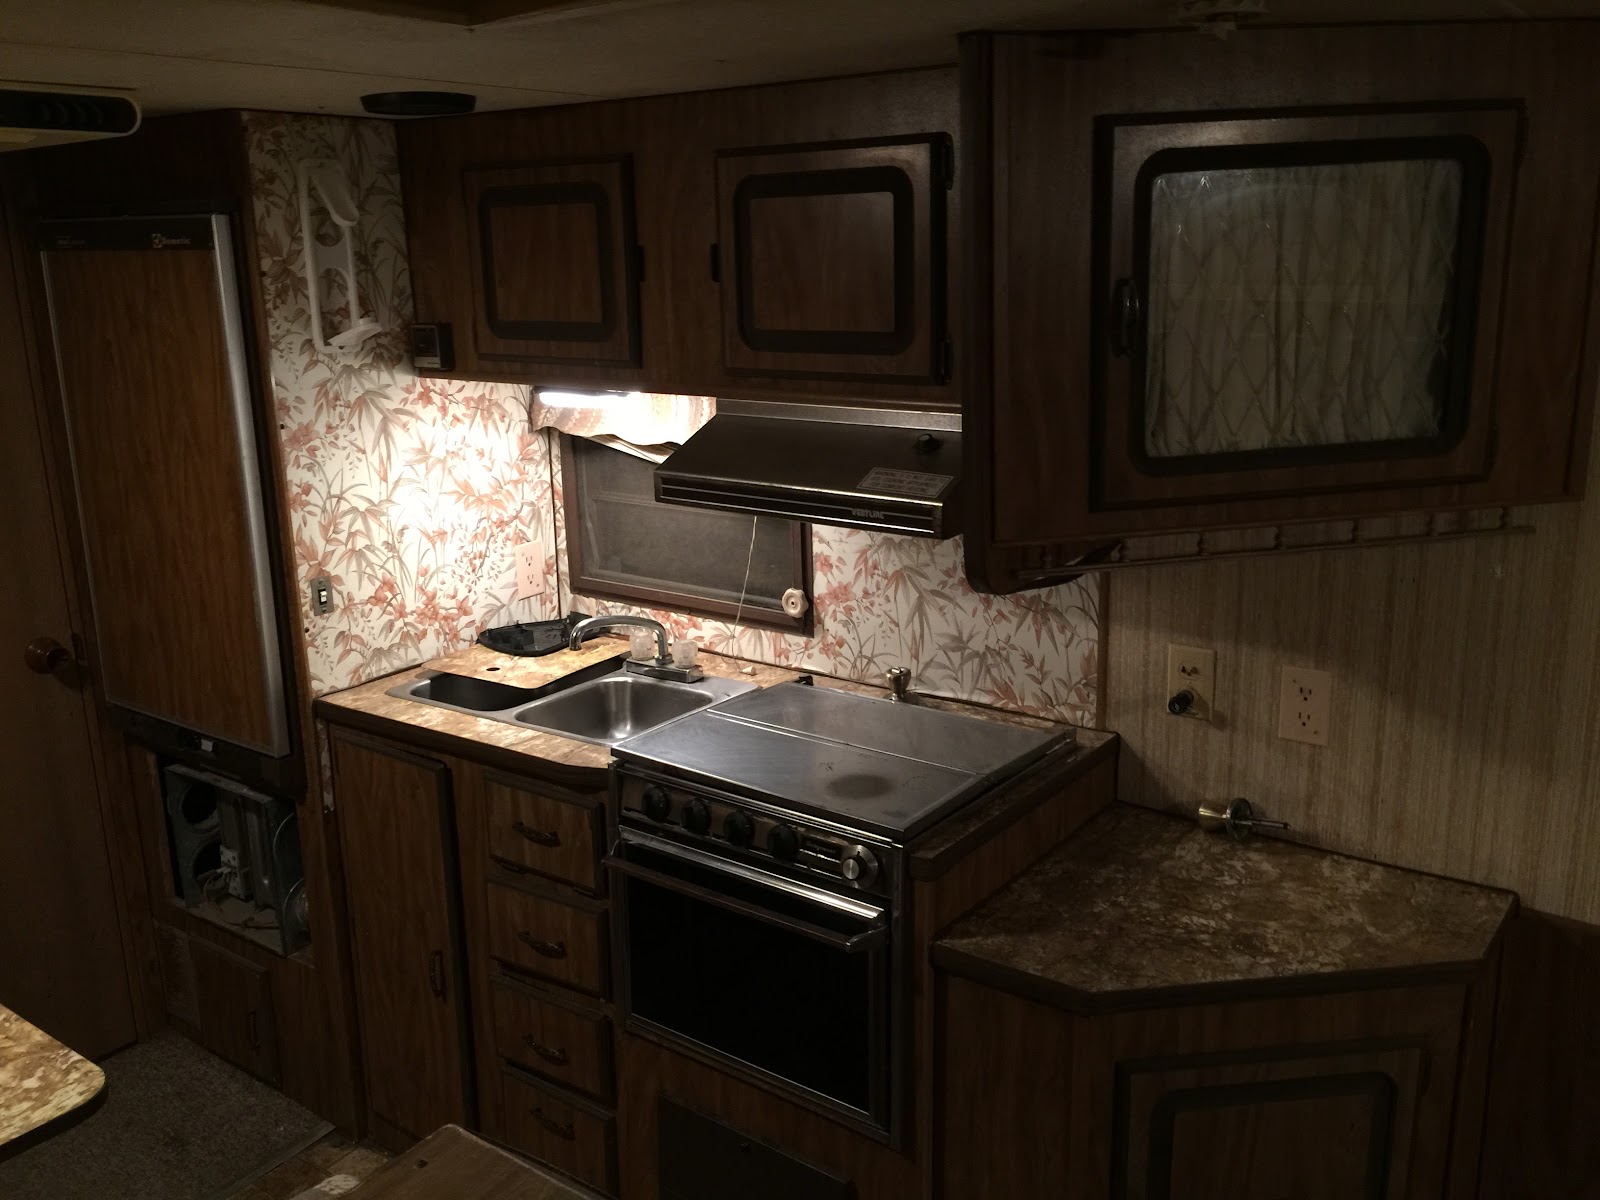
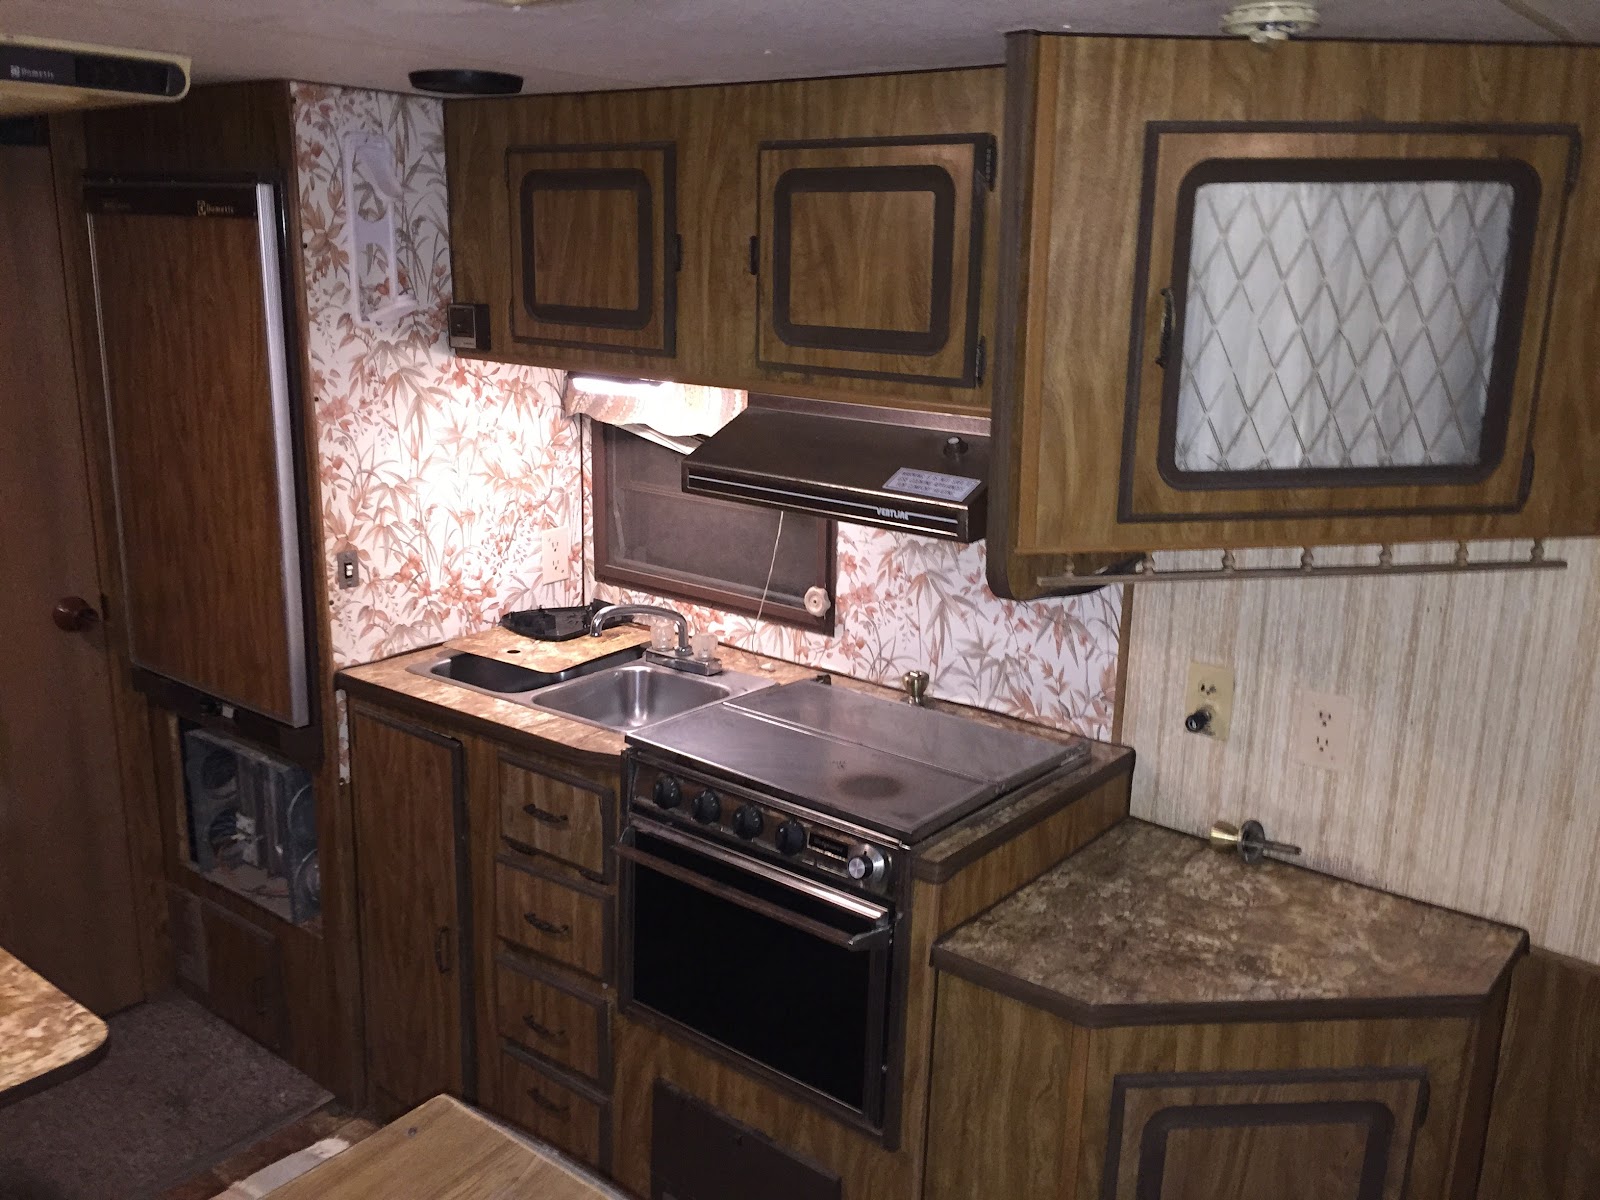
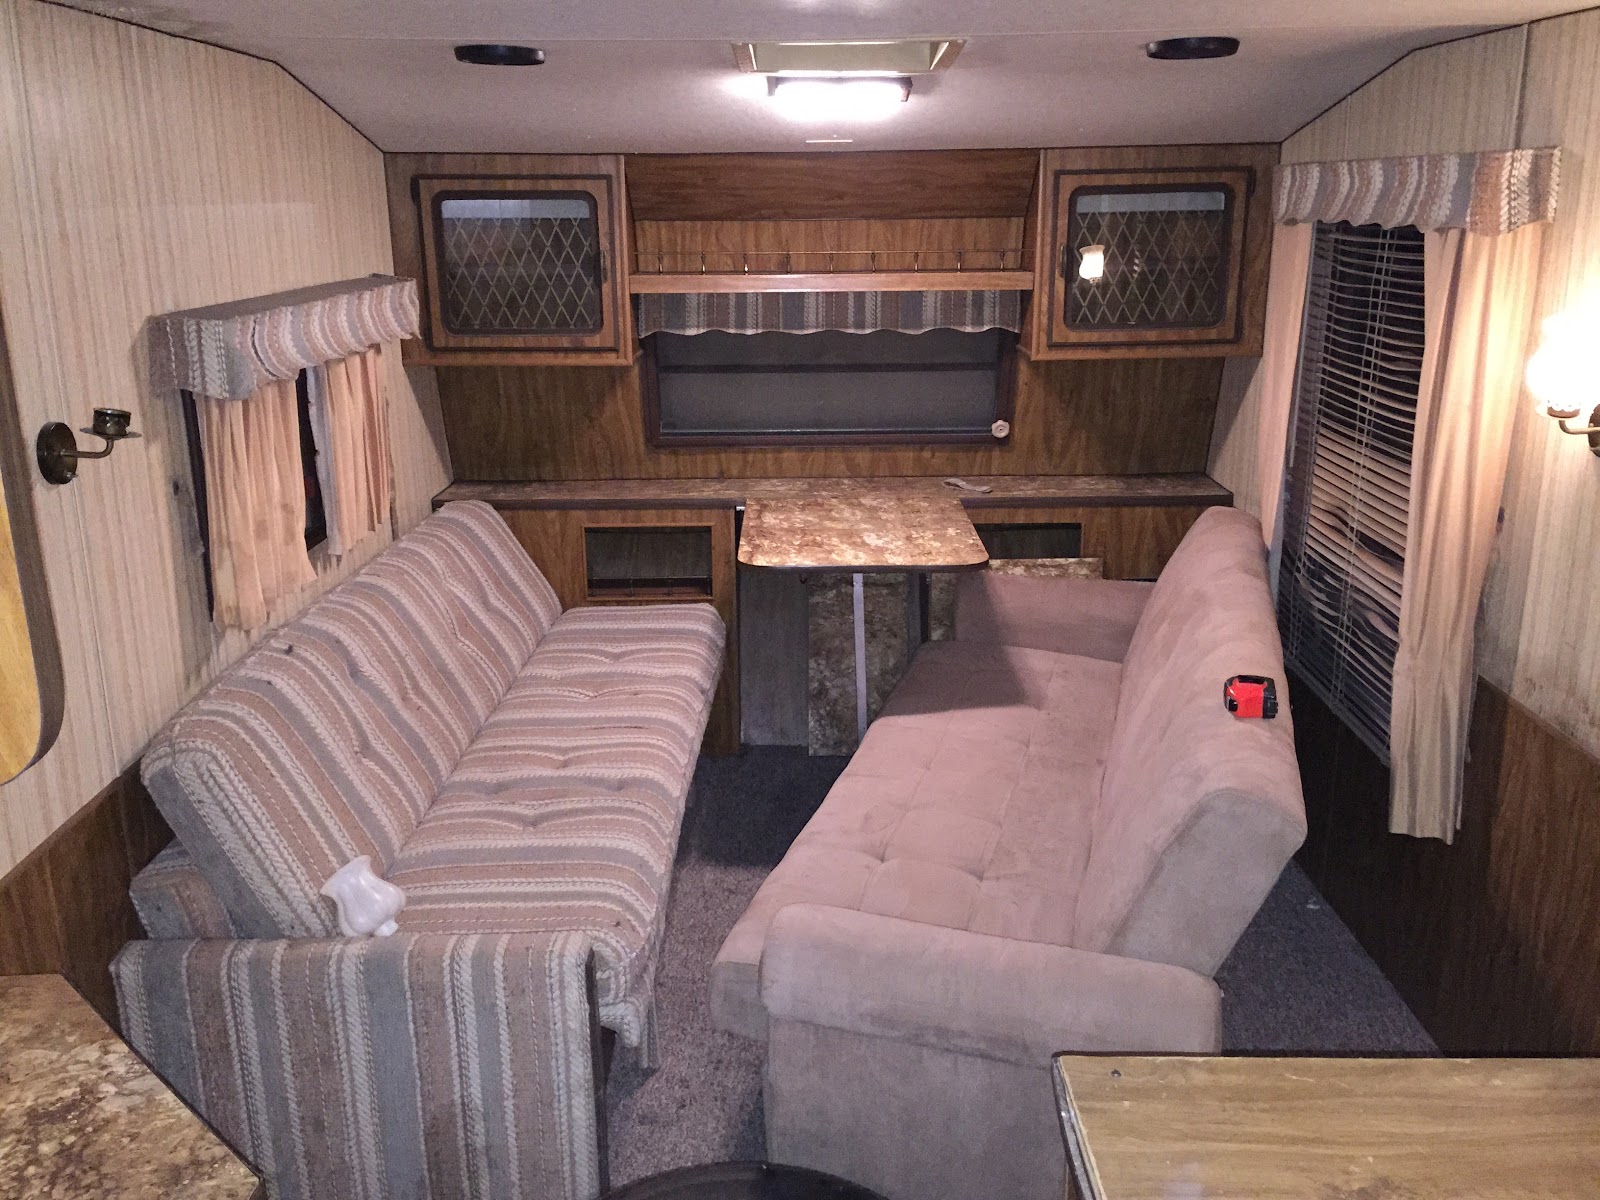
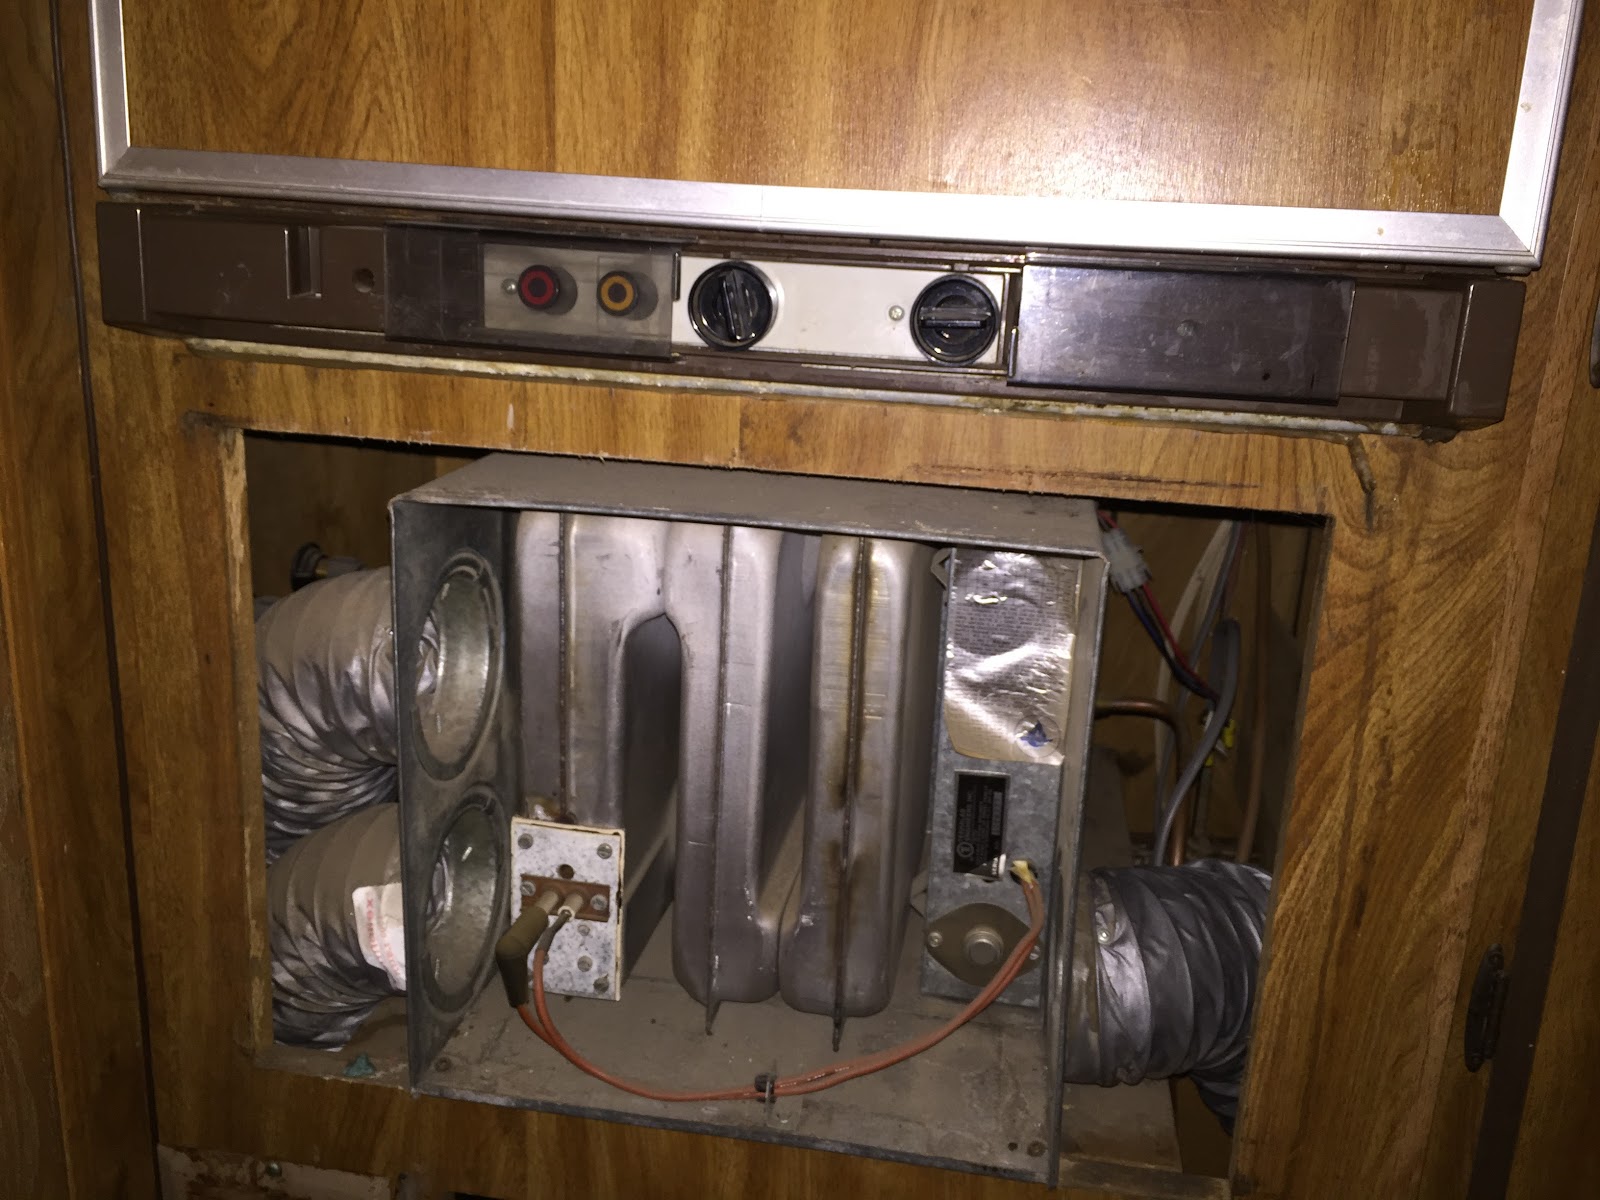
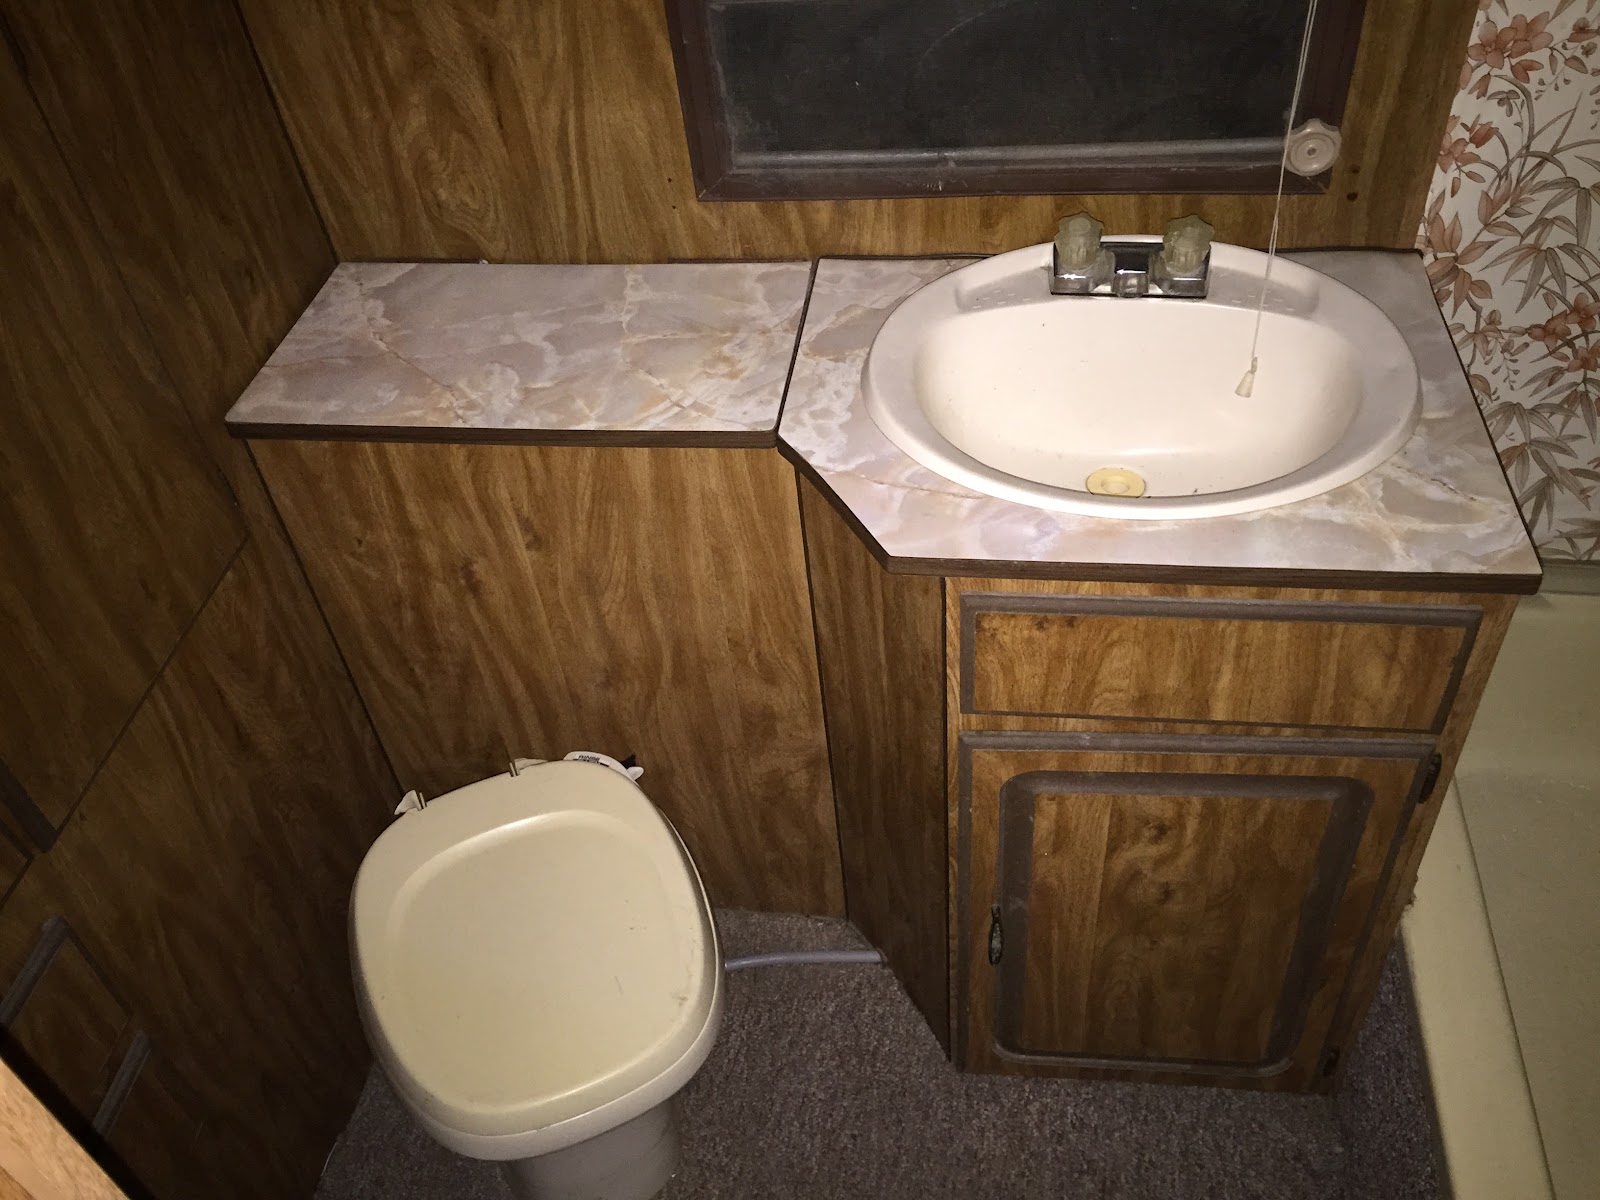
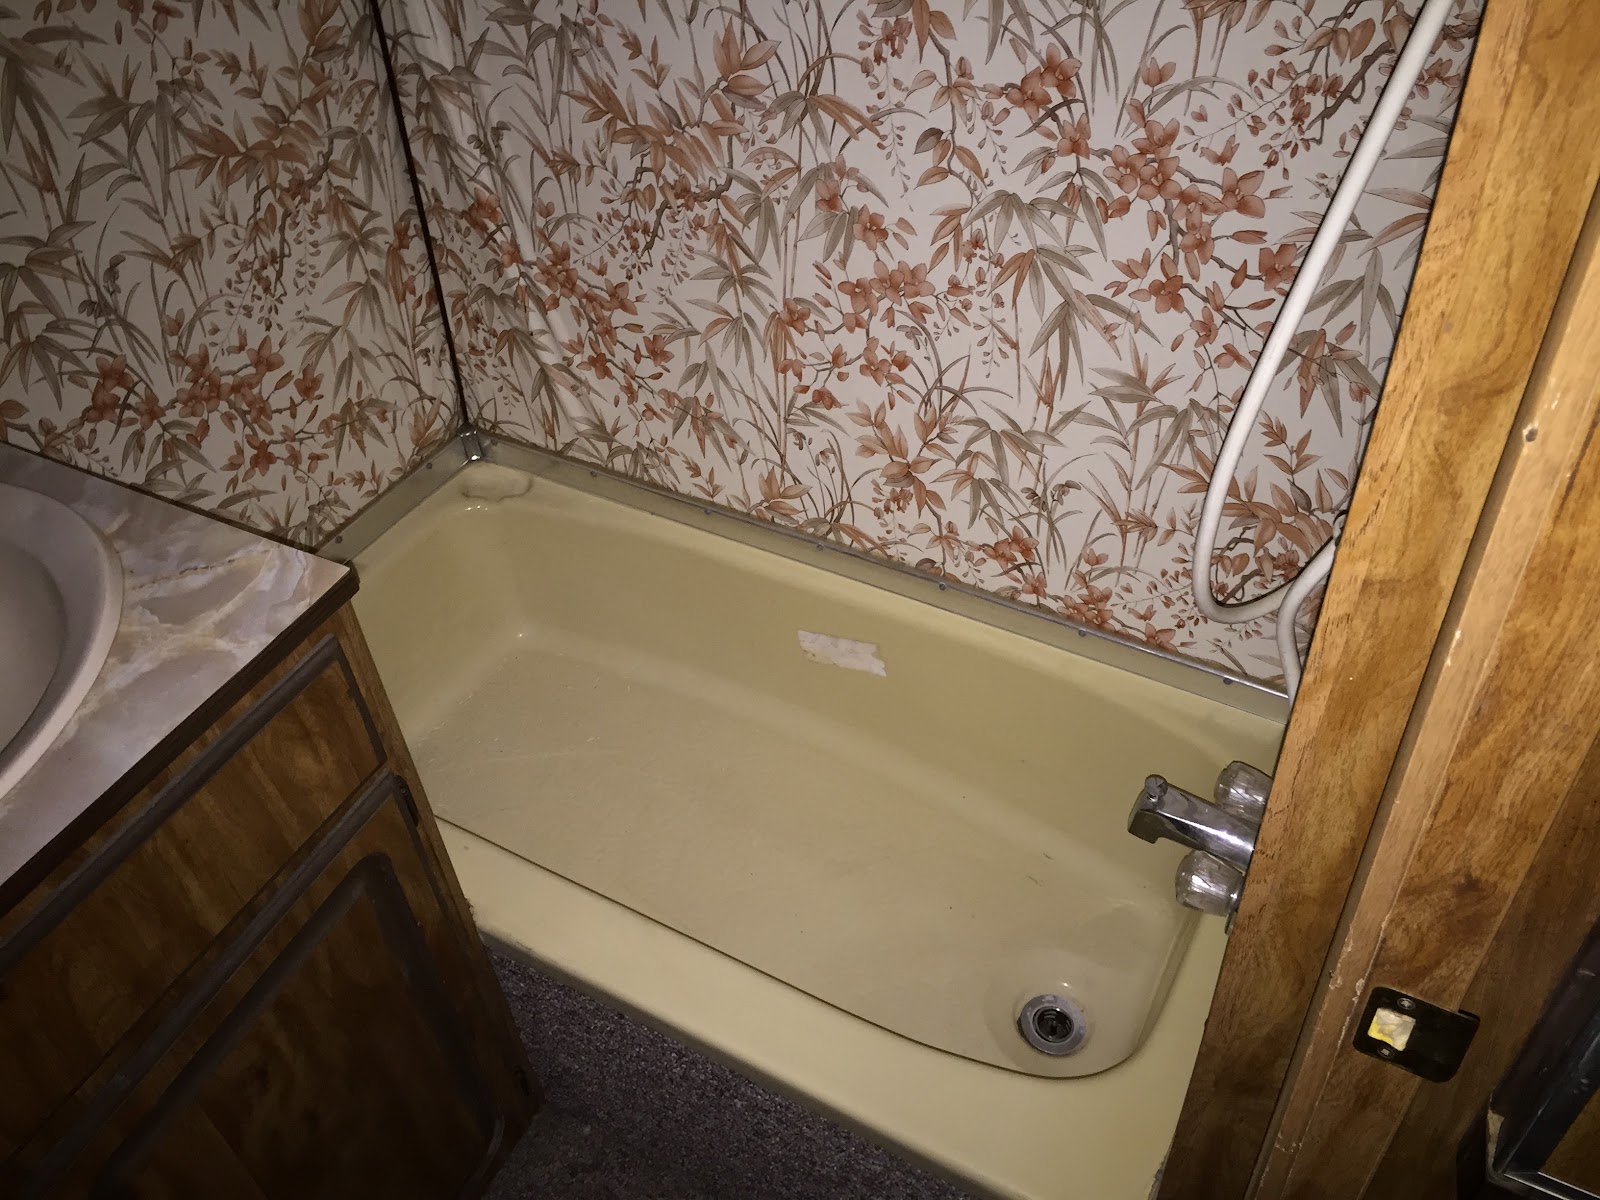
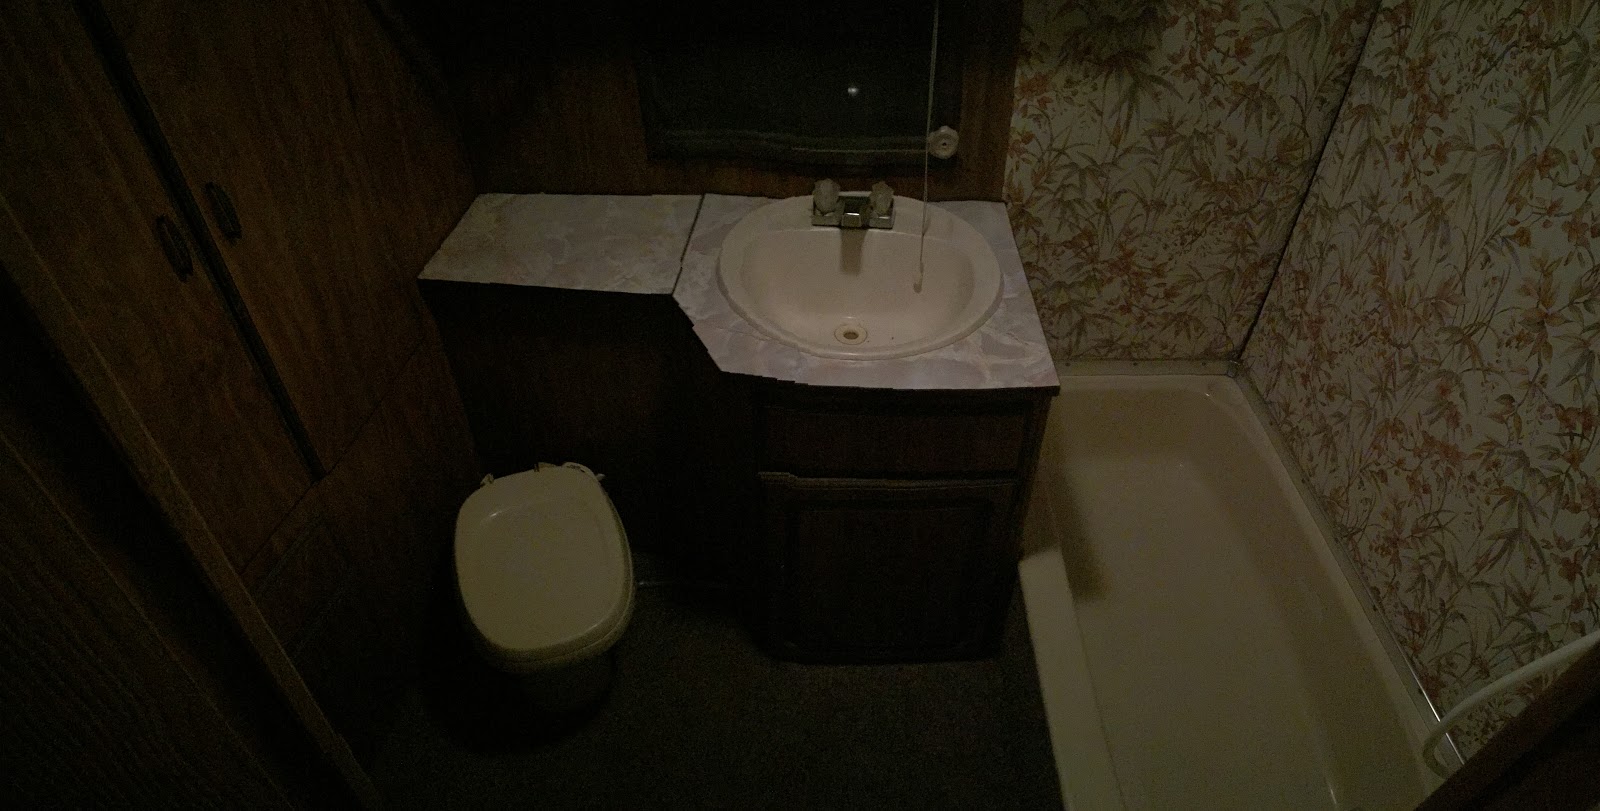
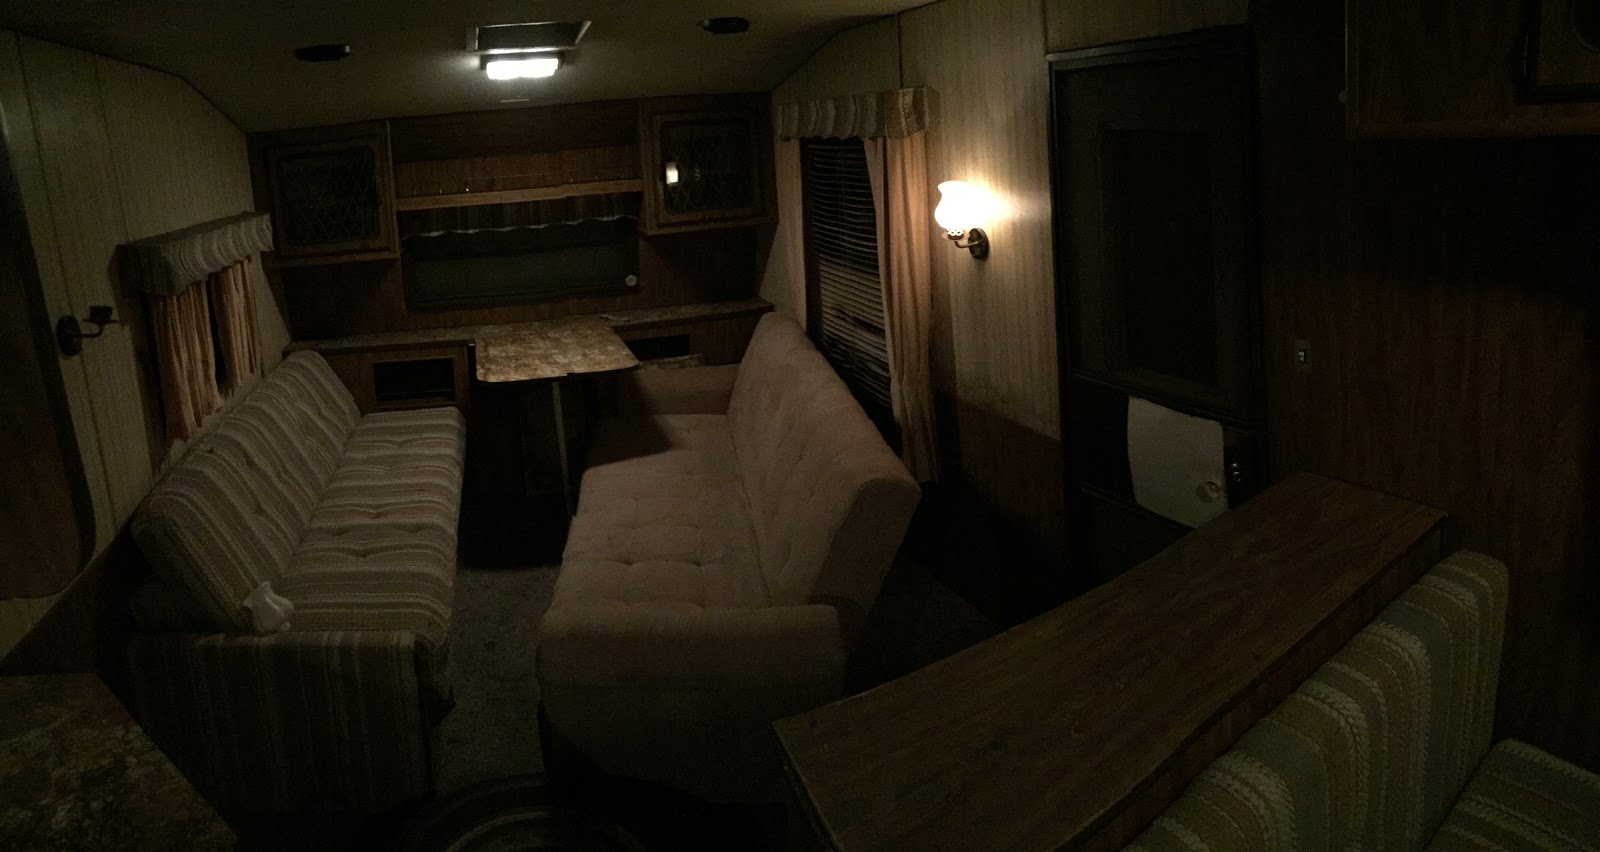
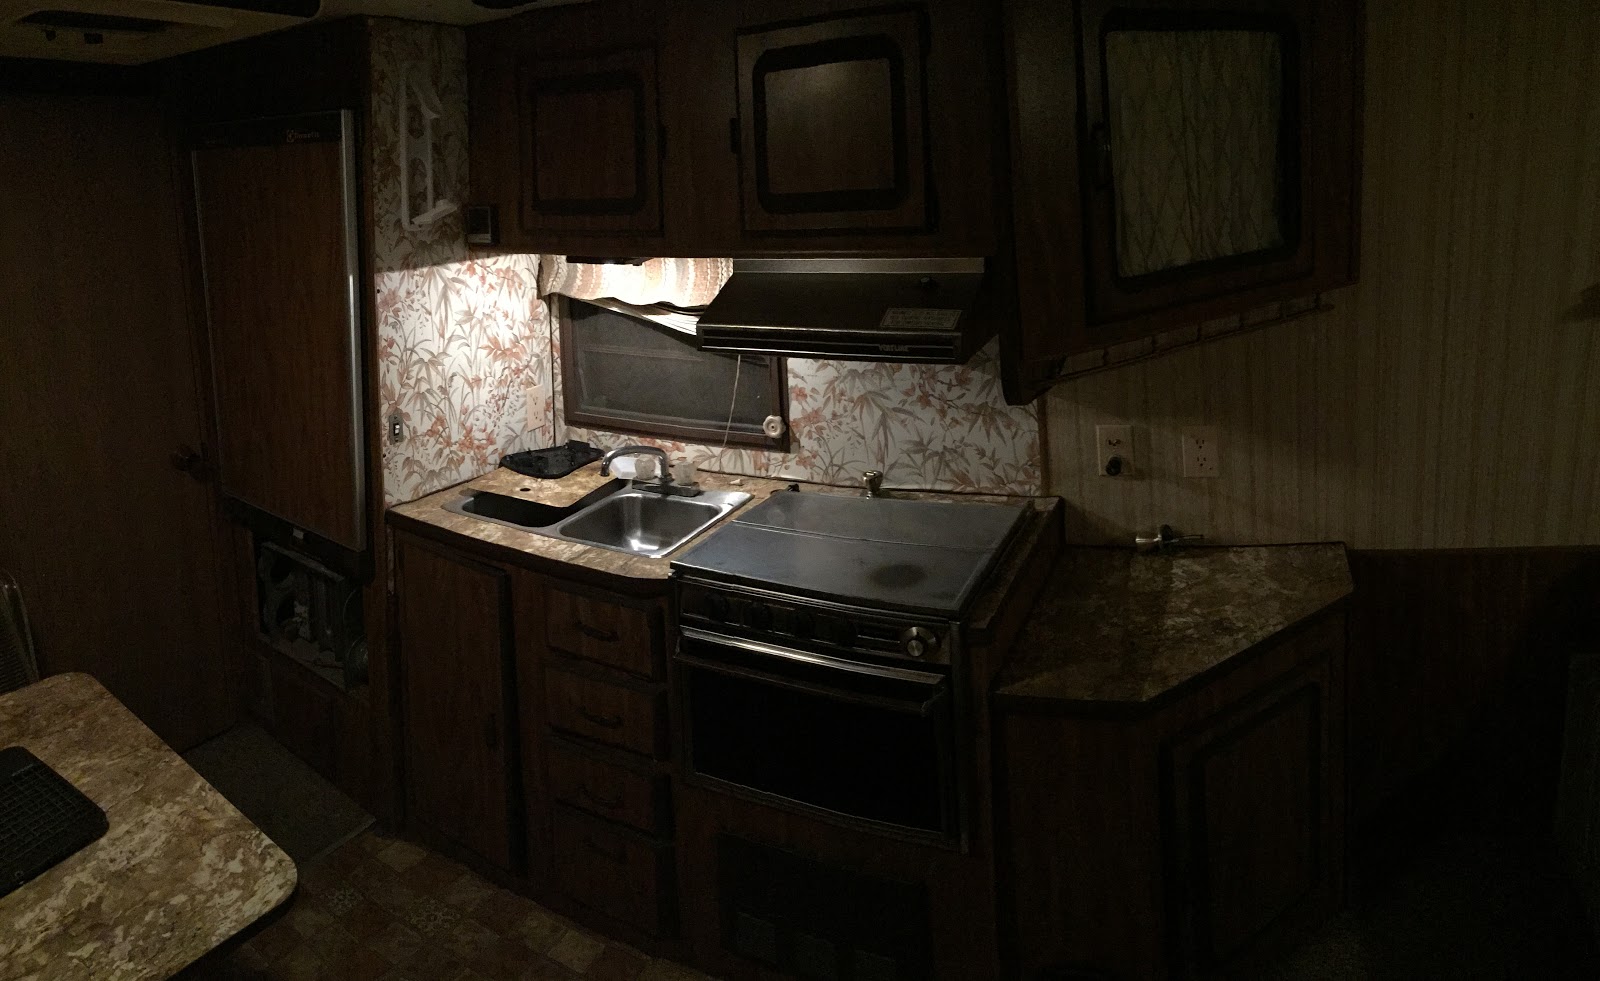
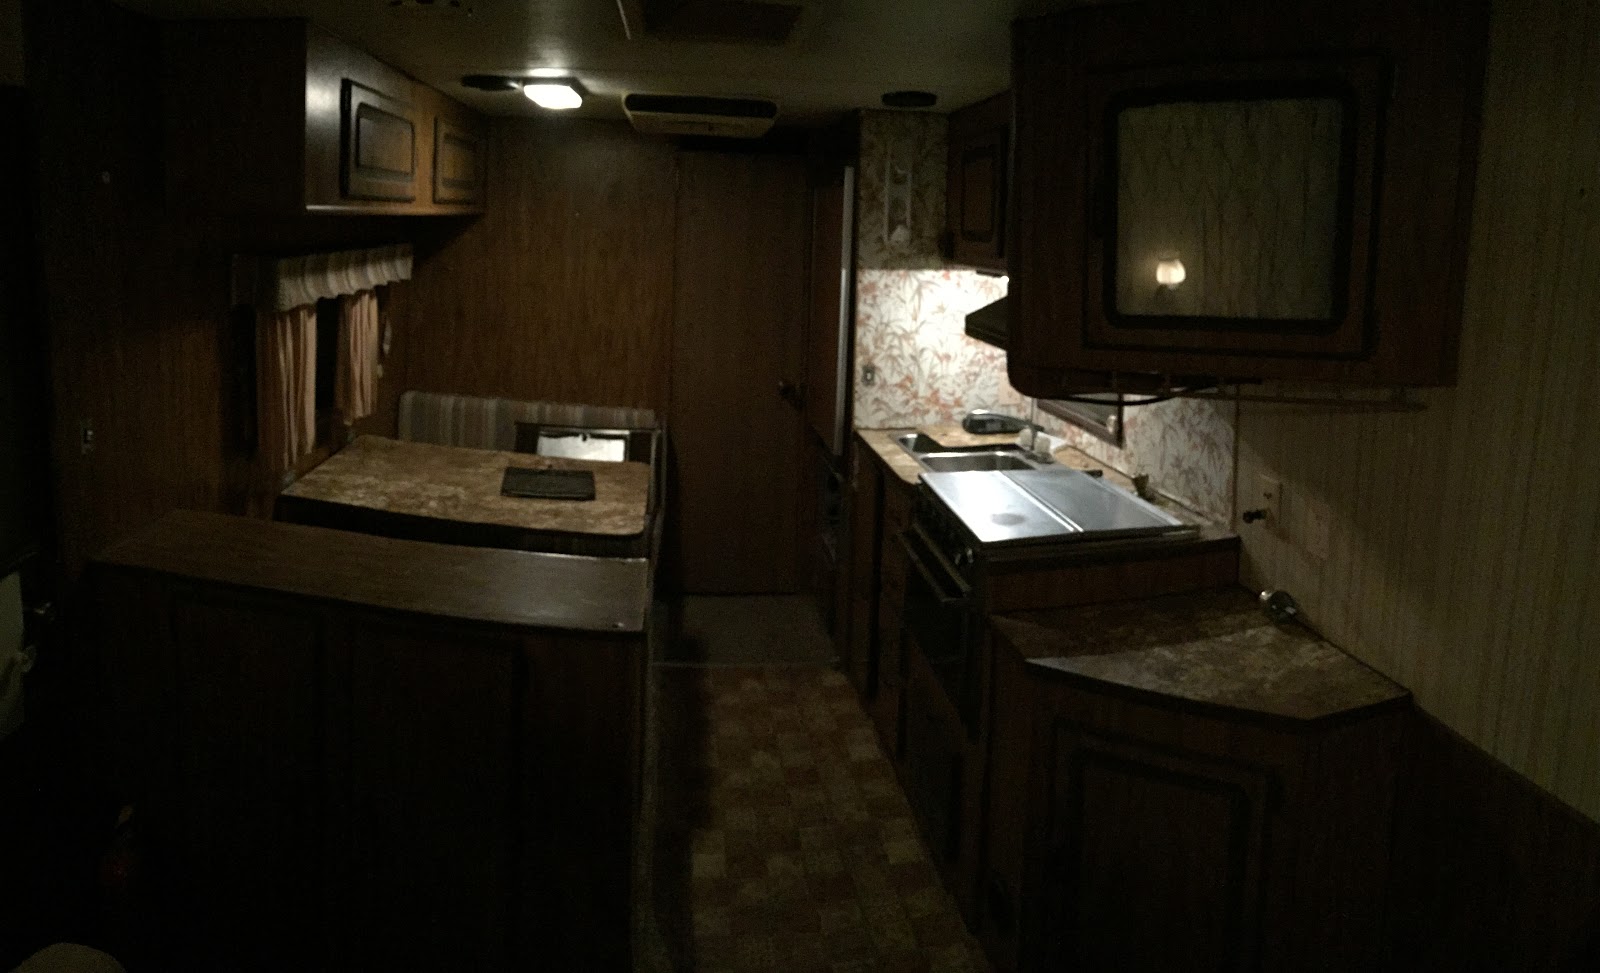
Today we brought home the trailer… It’s a 1984 Petersen Excel 22′ travel trailer. It seemed like it was in pretty good shape with the exception of knowledge that the hot water heater had exploded and needed replacement. Well we were very wrong about the trailer being in good shape as you will see in pictures in future blog posts.
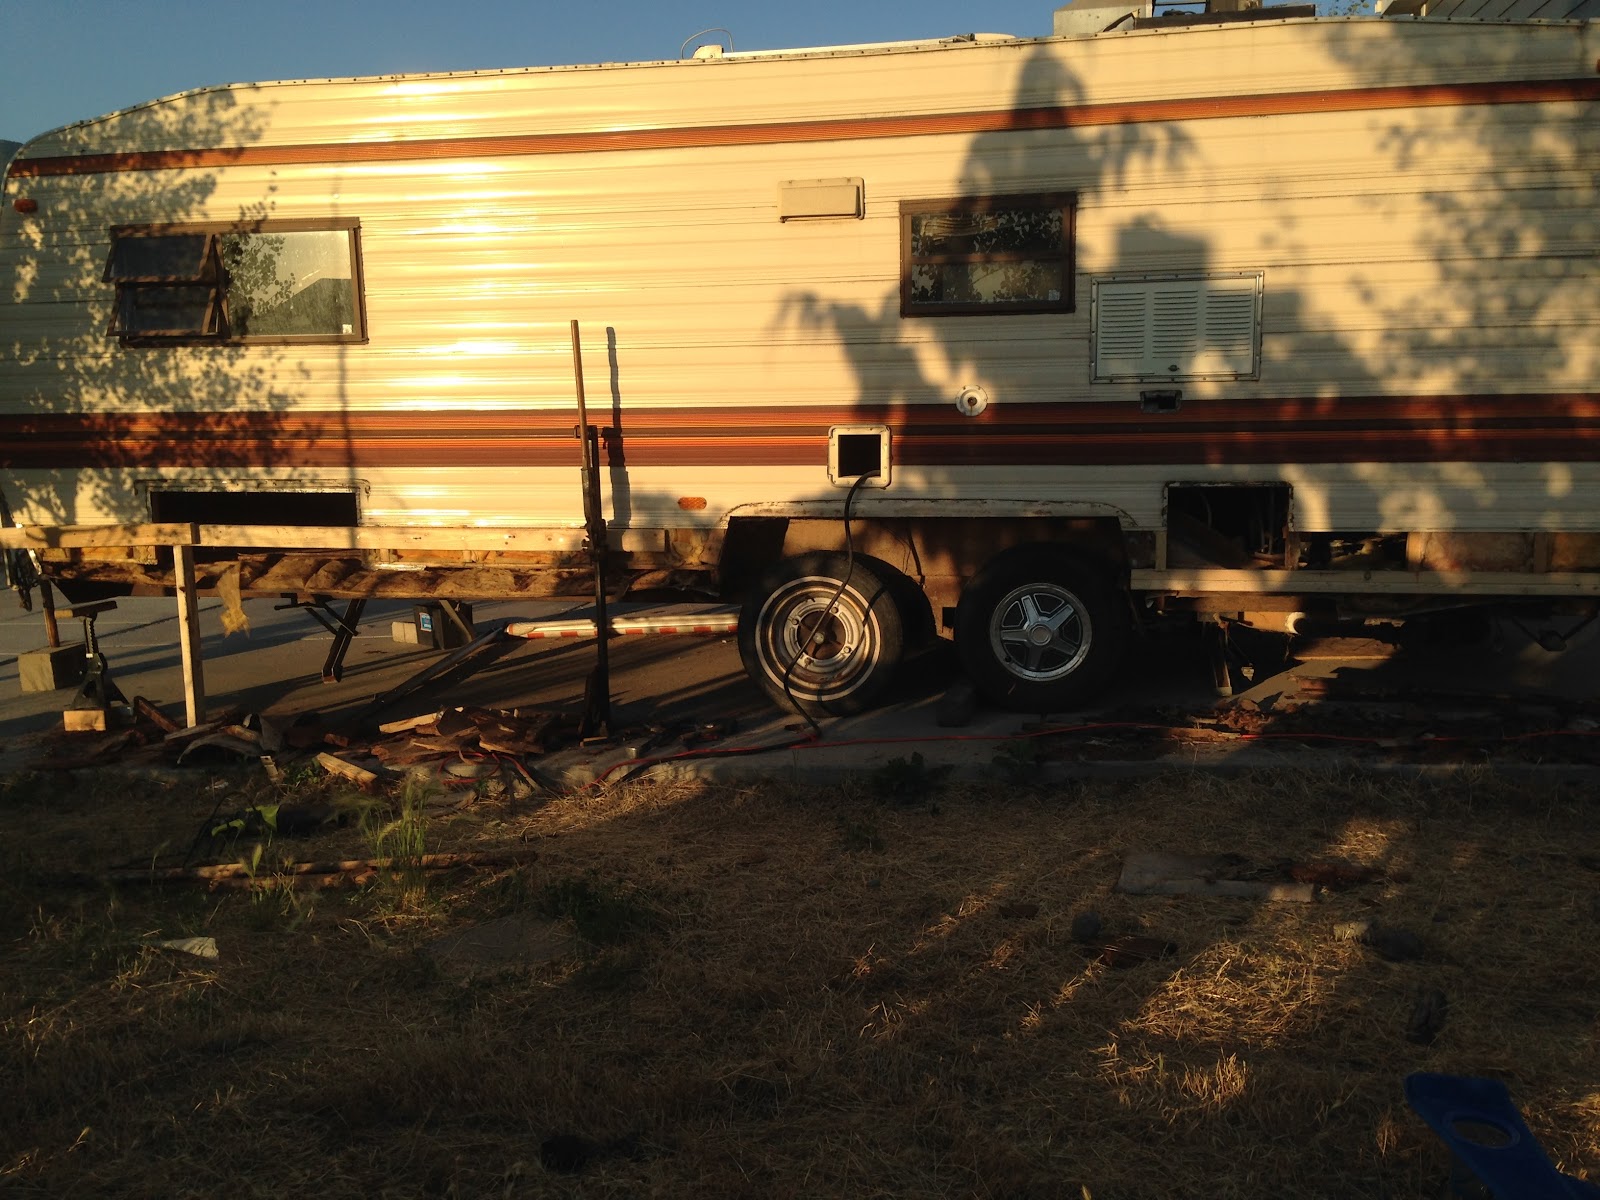
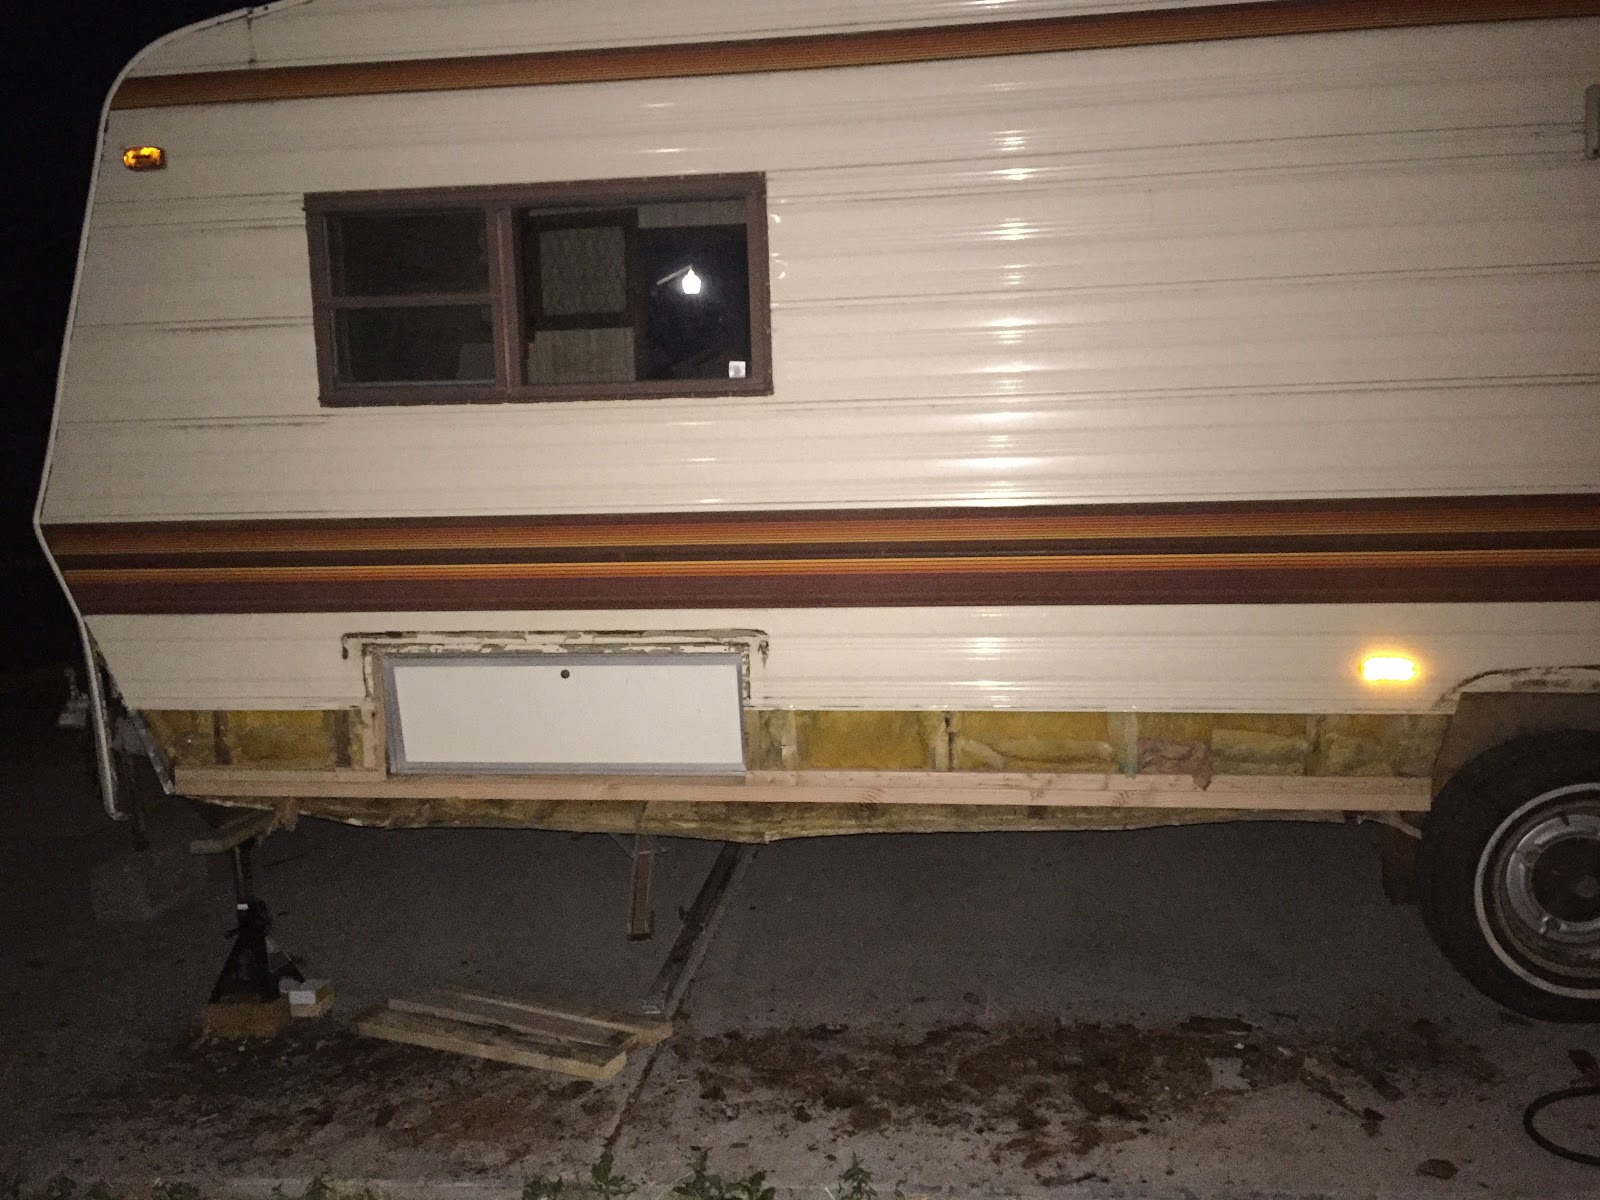
Before:

Fix For: Keyboard Stops Working on Windows 8.1

Found an awesome fix at:

https://deploymentramblings.wordpress.com/2014/05/05/keyboard-stops-working-on-windows-8-1-system/

I was working on a client’s system and after I had disabled a few annoying things like the narrator I couldn’t get the keyboard to work anymore. After a search on the internet I found that there was still one setting enabled:

After I switched off “Filter Keys” the keyboard magically started working again. Thanks deploymentramblins!

Fix for: Can’t activate Outlook 2015 on Mac “Another account from your organization is already signed in on this computer.”

Copied from this thread
1. Quit Application.
2. Open Library folder of current user. (to use OPTION key)
3. Delete following files from LibraryContainers
com.microsoft.Office365ServiceV2
com.microsoft.onenote.mac
com.microsoft.outlook
Note: com.microsoft.Office365ServiceV2 is sharing with Outlook/OneNote because new apps uses same activation app that is Office365ServiceV2.app
4. Delete following files from LibraryGroup Containers
*.ms
*.Office
*.OfficeOsWebHost
Note: OfficeOsWebHost created by activating Outlook only, maybe.
5. Boot KeyChain.app and remove following application password if need it.
<For Org ID>
Unknown
Microsoft Office Identities Settings 2
Microsoft Office Identities Cache 2
<GUID> (Type is MicrosoftOffice15_2_Data:ADAL:xxxxxxxxxxxxxxxxxx)
<For Live ID>
Microsoft Office Identities Settings 2
Microsoft Office Identities Cache 2
<GUID> (Type is MicrosoftOffice15_2_Data:Live:cid=xxxxxxxxxxxxxxxxxx)
Note: these time stamp is same or nearly. Be careful, these keyChain object for activated account is shared with Outlook and OneNote as you know.

Installed Pioneer DEH-P7400HD & relocated HVAC climate controls – Eclipse 3G

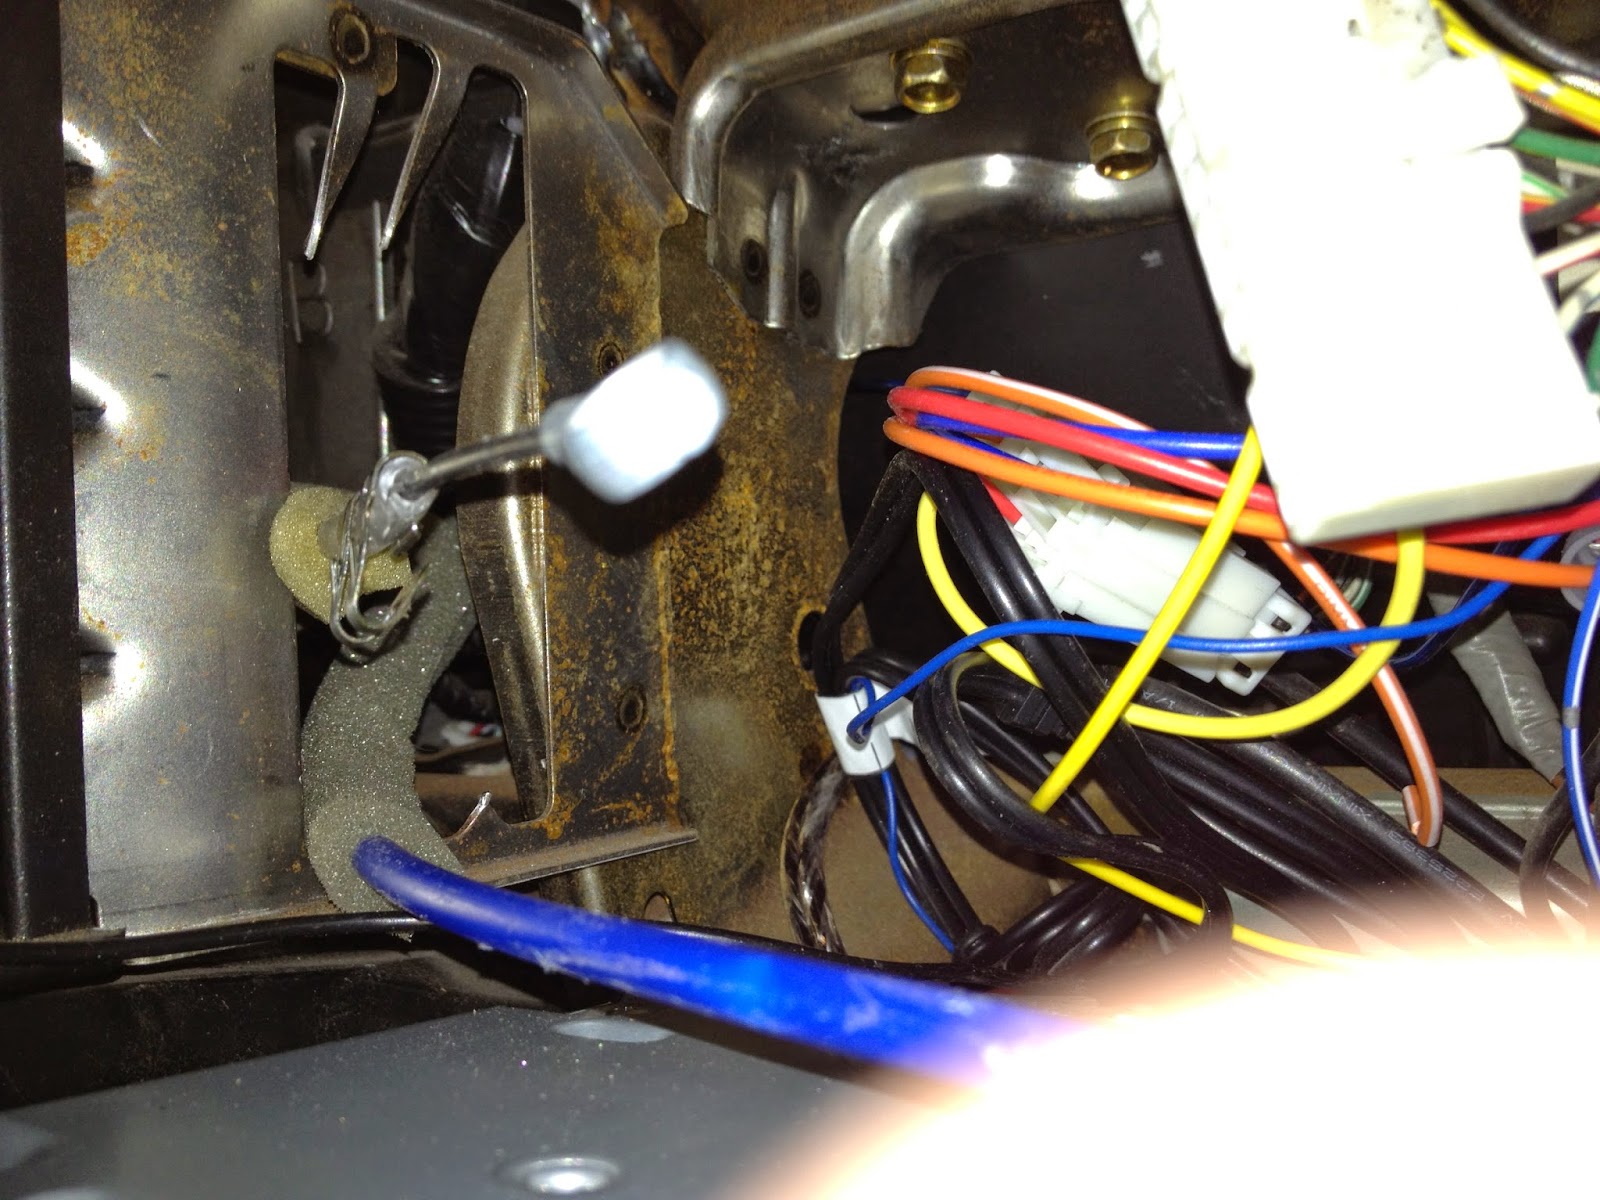
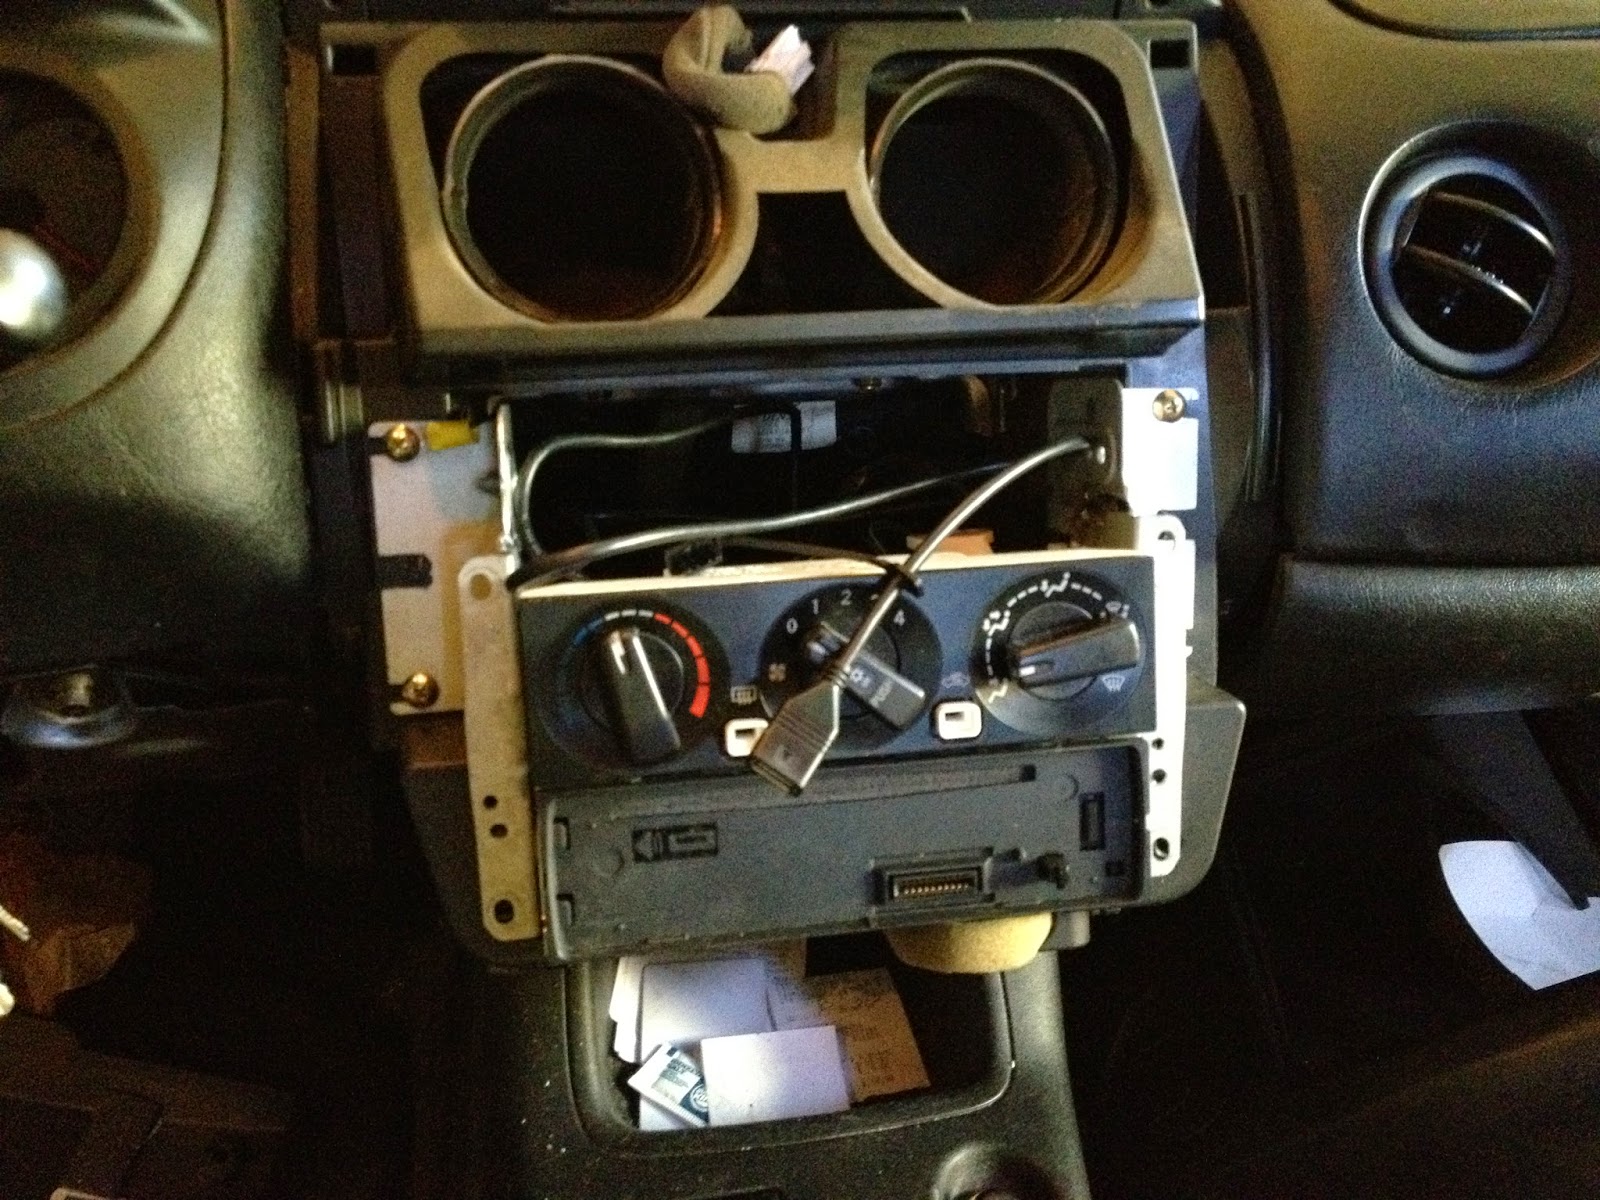
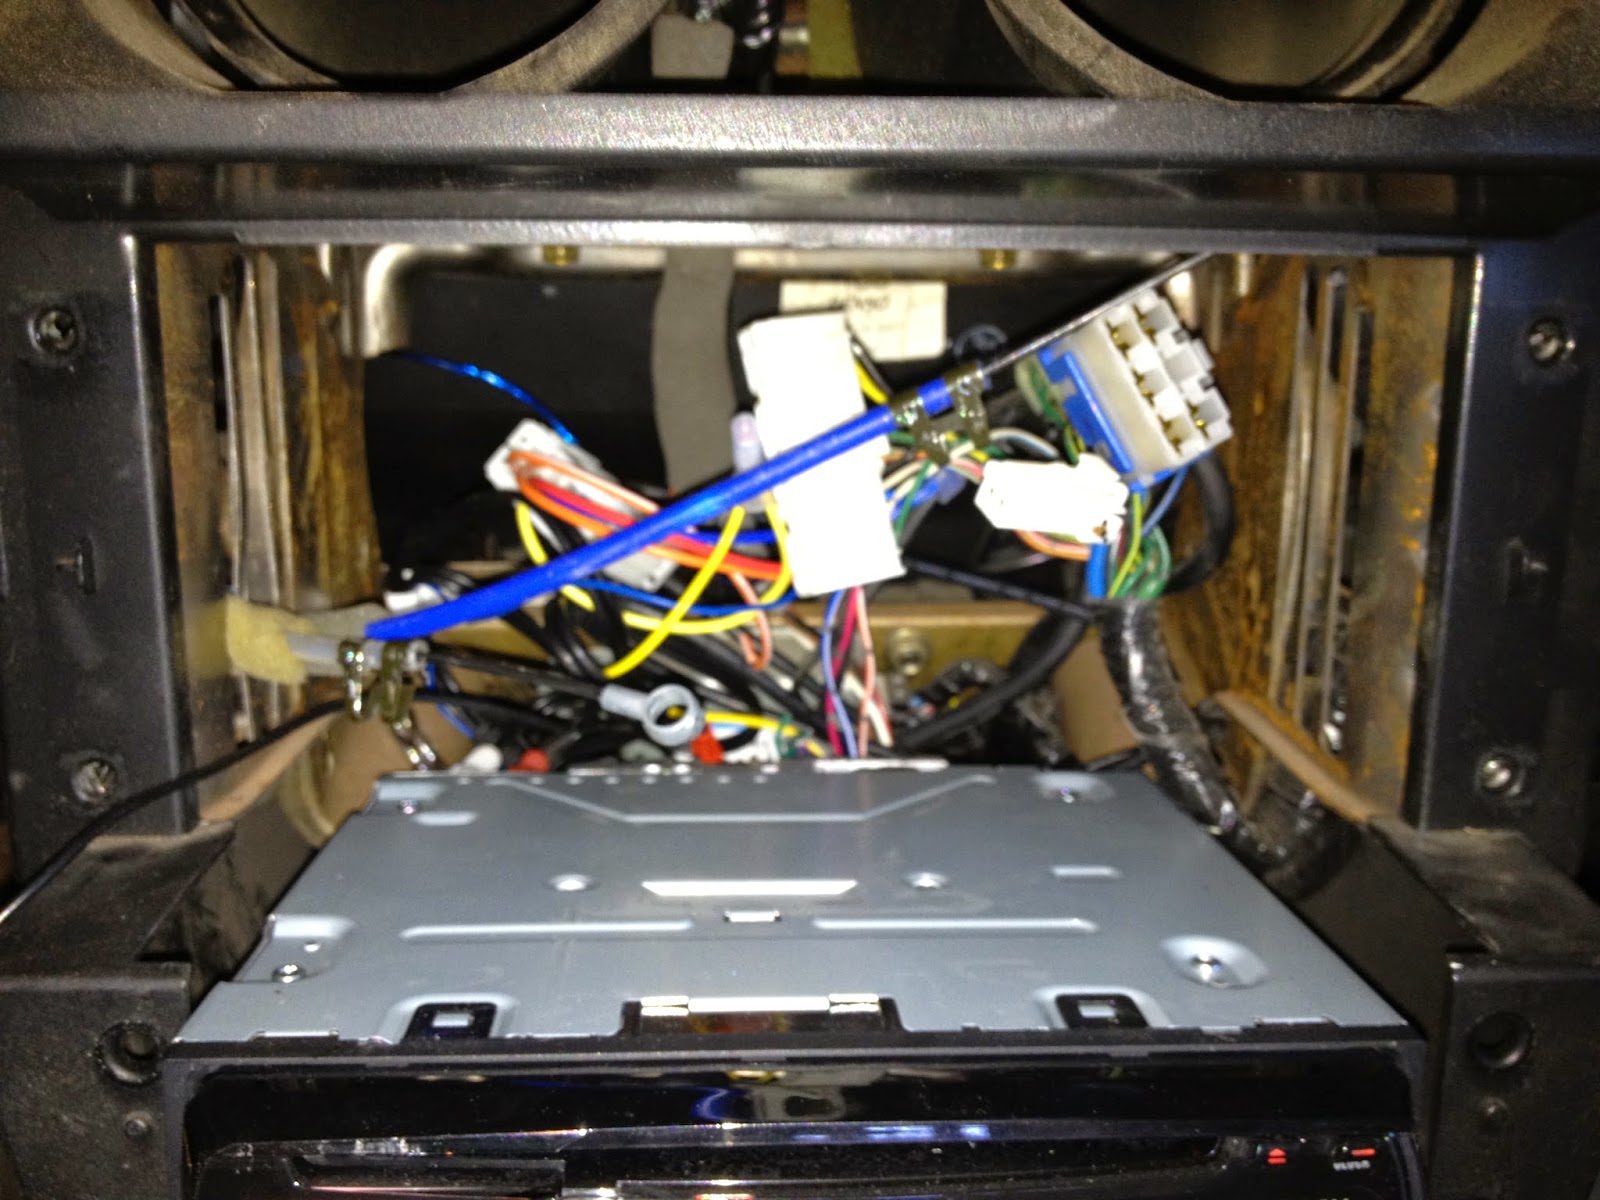
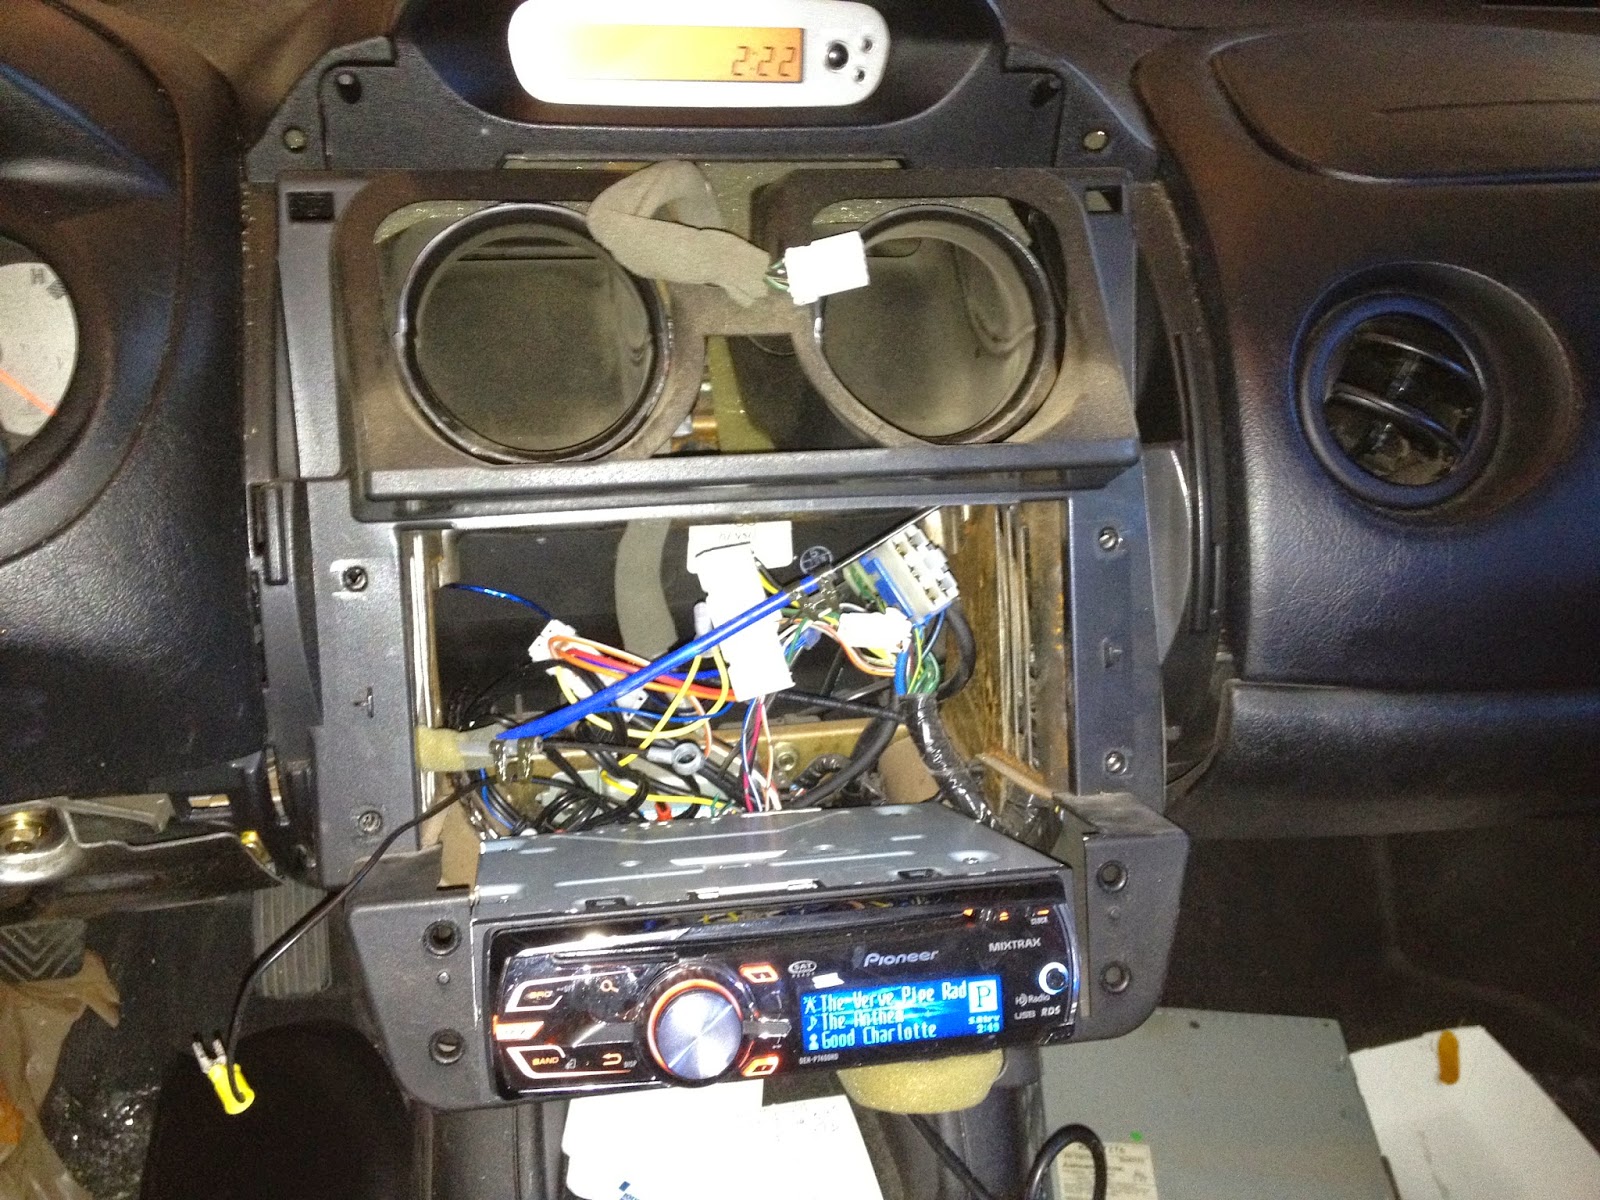
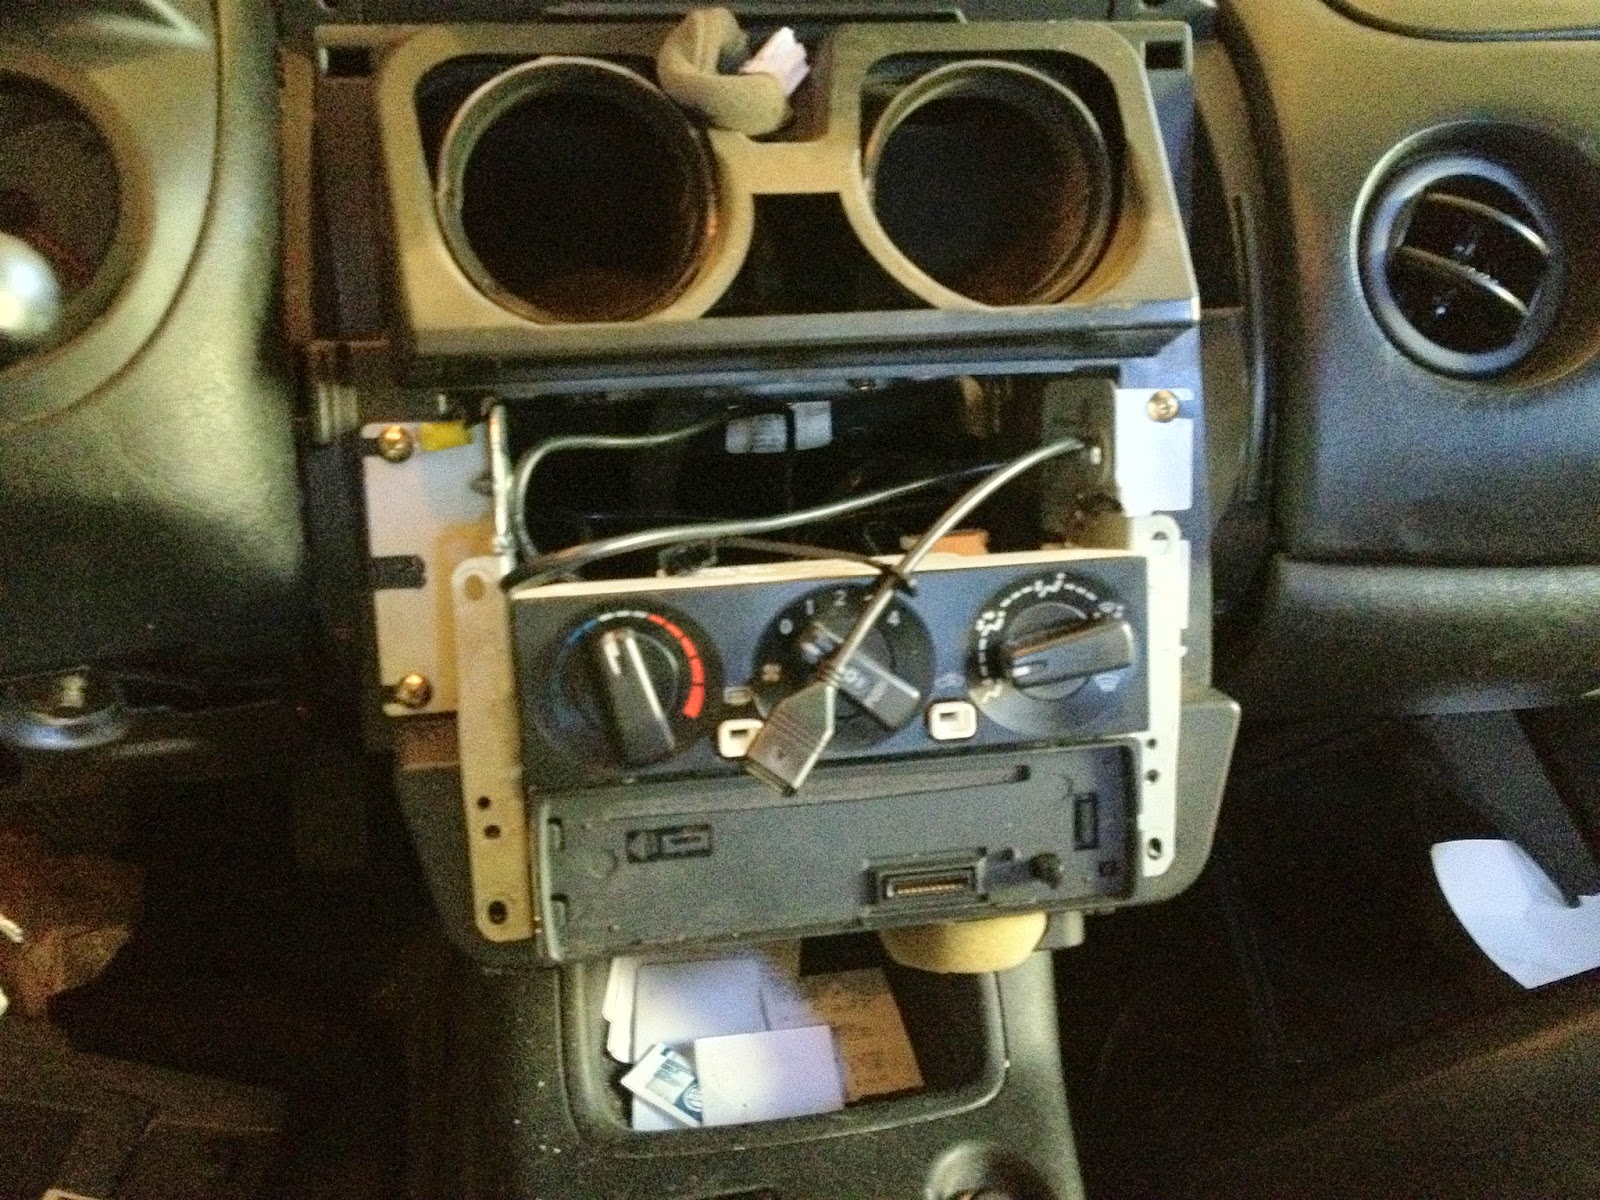
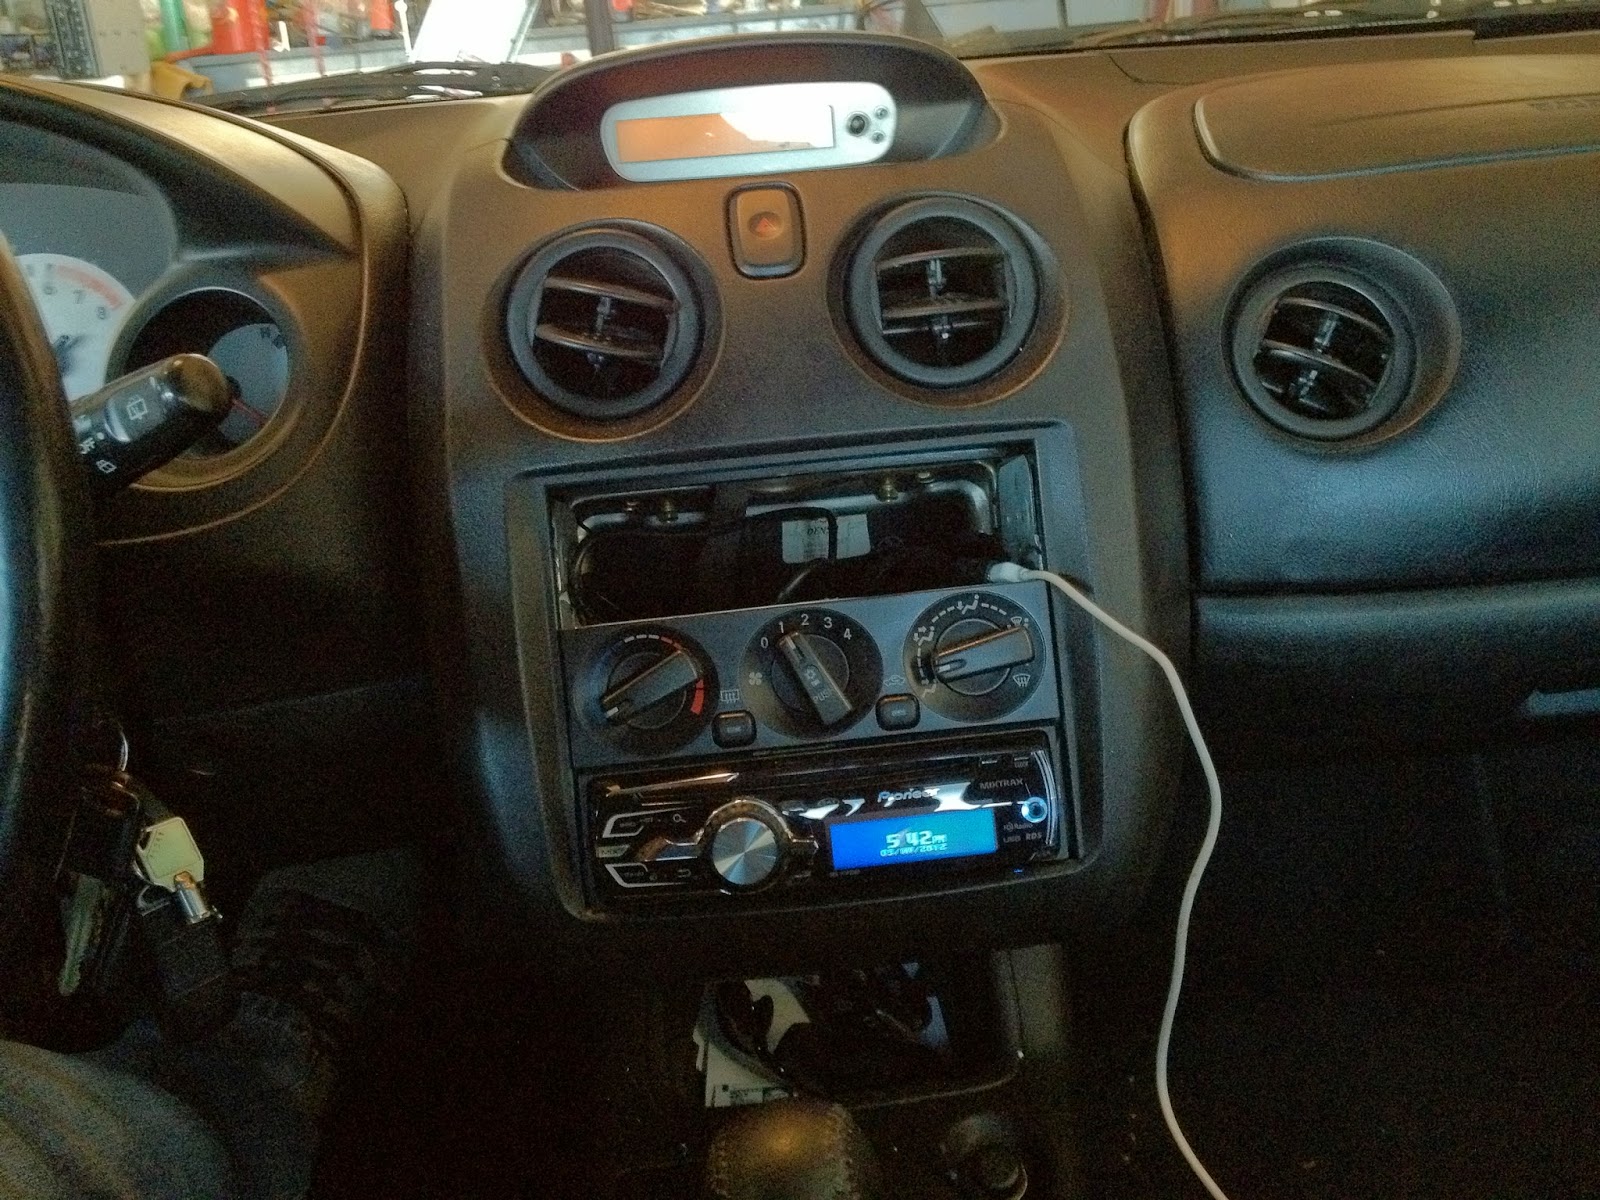
I have yet to see a picture or thread on this so I didn’t know if it was possible. I am here to tell you that it is, and that it is easy. I relocated the HVAC controls up one din so my radio controls would be at easy reach while resting my hand on the shifter. It’s almost exactly how nice it was in my 1st gen Eclipse.

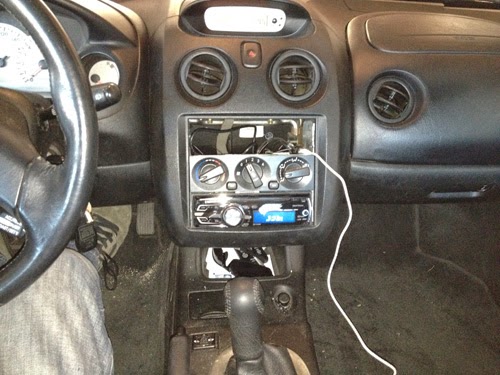
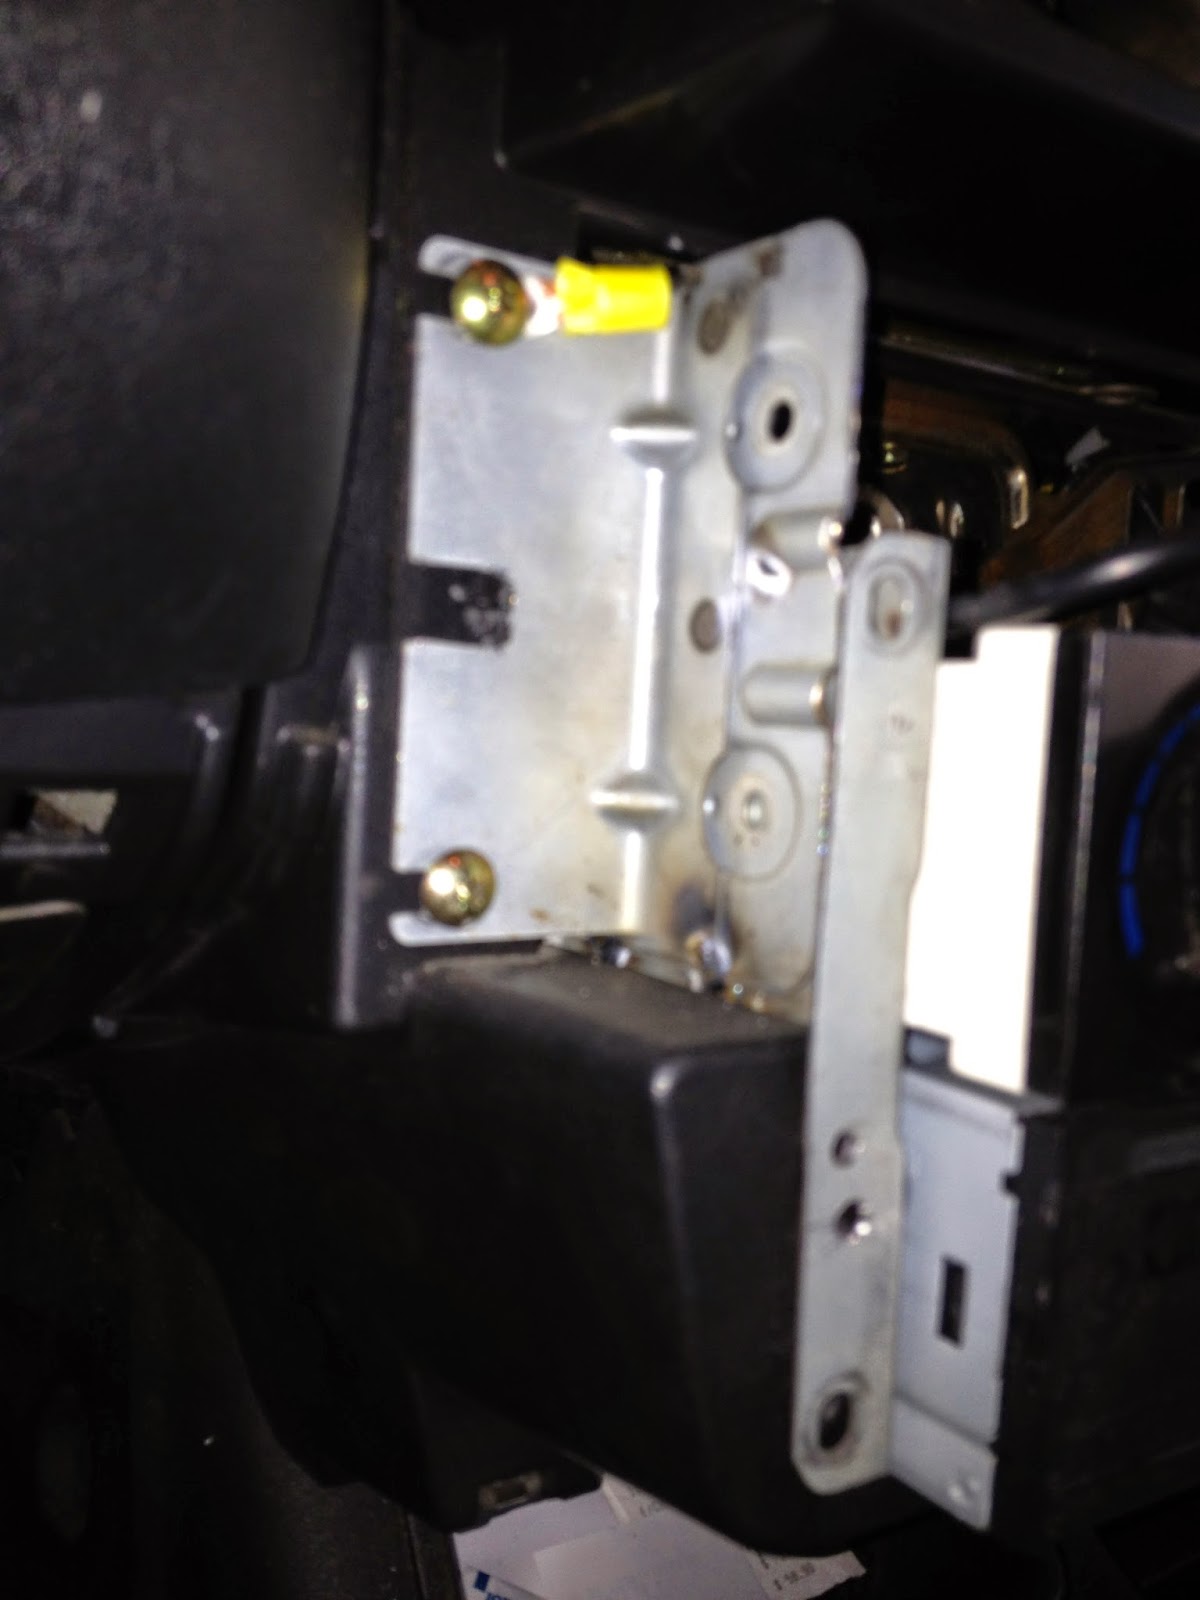
I had to make a custom bracket to mount the head unit to. I happened to have the factory mounting brackets from a 1st gen Eclipse. You can see one of the four spot welds I made in this picture. You could just drill through and bolt them together if you don’t have a welder. The donor bracket was contoured almost perfect to slide into the contours of the factory bracket.

Cut the metal vent spacers as seen here and move the cables up
The donor bracket had to be cut to clear the hvac cables. The HVAC module had to modified to remove the mounting holes on both sides and new holes drilled in through the bracket into the plastic. I did this with a cutoff wheel and a dremel.

Brackets installed before cover replaced
Here are some more pictures of the install:
I still need to fill the hole at the top. It’s unfortunately not quite 1 din tall, which is weird considering the hvac module is 1 din in size. I’ll find a 1 din cubby or something and modify it to my needs.

TomatoUSB 1:1 NAT for Qwest 8 static ip block

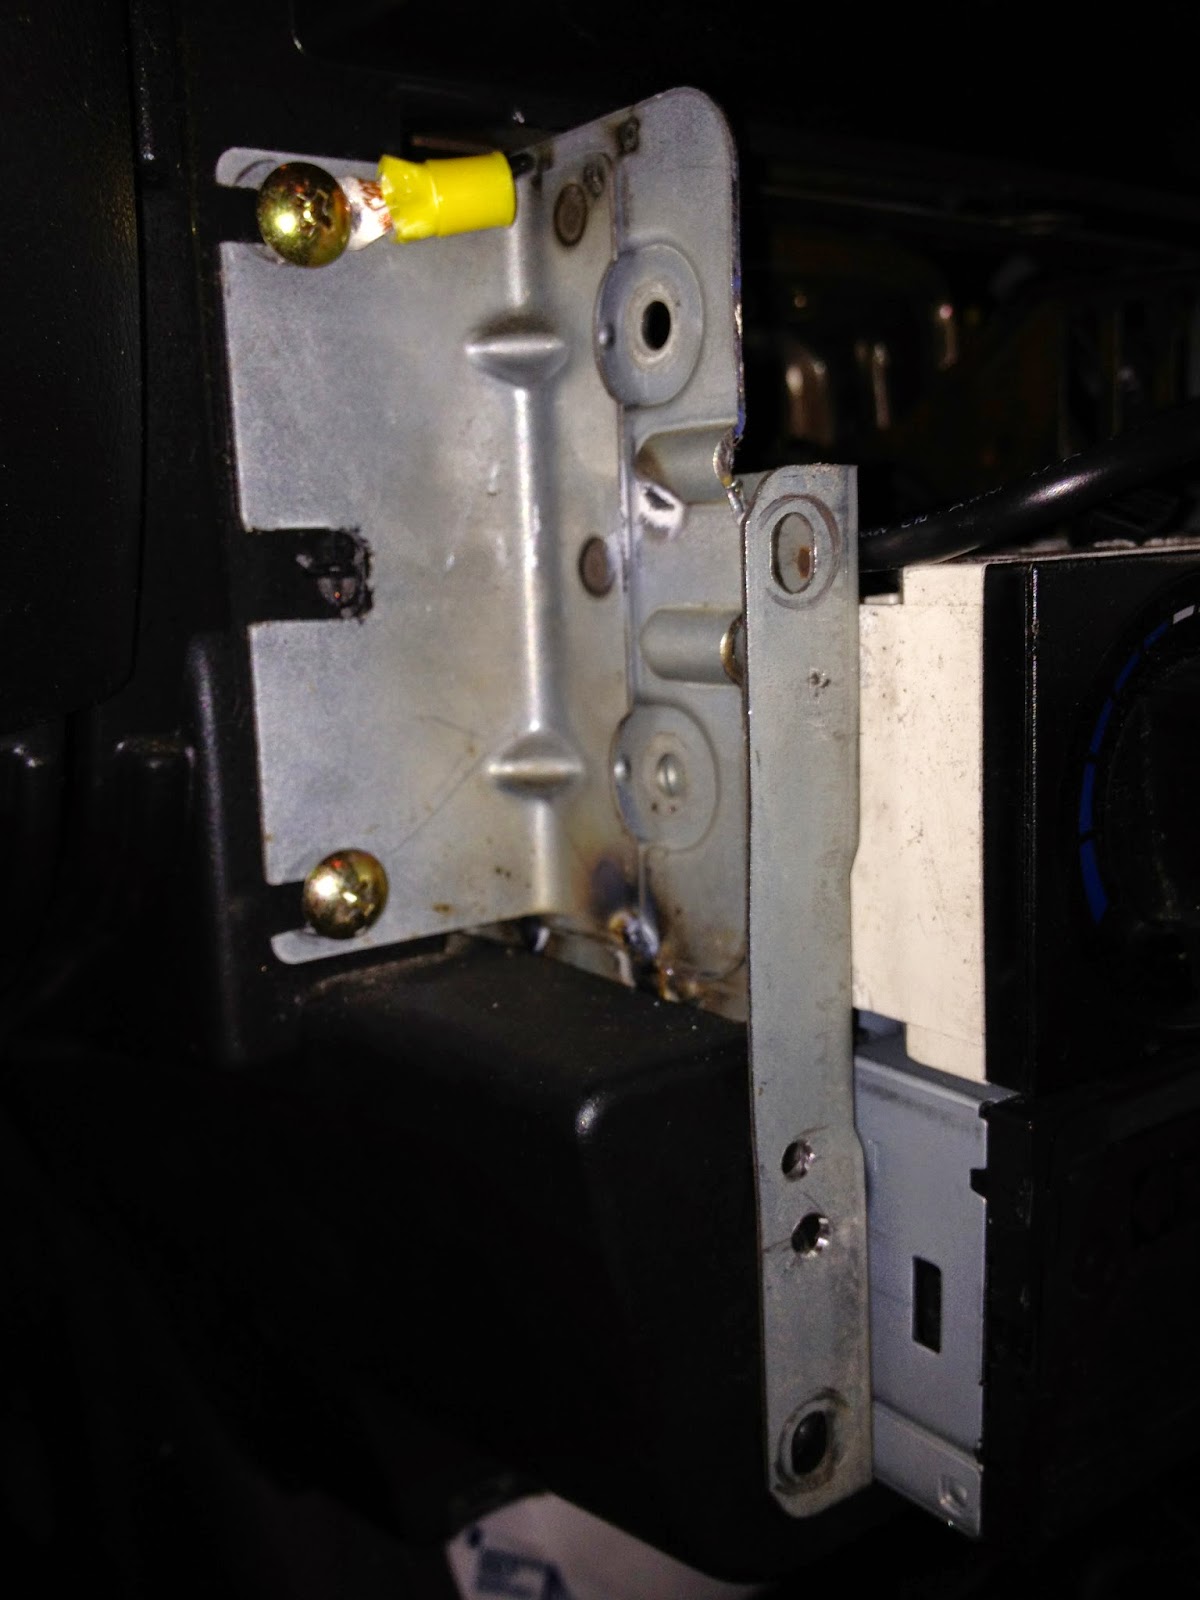
This isn’t what I want yet, but I may be closer to true routing where the router actually routes my ip addresses. I’ll be sure to post what I find out.

For now, these are commands you need to run if you wish to do a 1:1 NAT setup on your tomato/dd-wrt/*wrt router firmware (or most things linux for that matter)

I have a block of 8 static IPs from Qwest/CenturyLink and in this configuration you can use all 8 (minus one for the router). Notice I skipped 14 because that address is the router’s. Your exact configuration may vary but substitute your addresses as necessary. I used a 10.10.10.0 private network. The static IPs are mapped to a corresponding private IP address.

First section assigns the ip addresses to the router.
Second section does network address translation, so websites or services you connect to on the internet will show the associated static/public ip.
Third section maps incoming traffic to the associated address on your private network, this will allow you to login/access the devices by the associated public ip address.
Fourth section will open ALL ports incoming to the specified internal ip address. This will defeat all firewall rules on the router. Only do this if you are going to run firewall software on those machines. Lookup more information on how to block/enable ports for iptables to enable specific ports.

Here is the config:

ip addr add XXX.XXX.XXX.8/29 dev ppp0
ip addr add XXX.XXX.XXX.9/29 dev ppp0
ip addr add XXX.XXX.XXX.10/29 dev ppp0
ip addr add XXX.XXX.XXX.11/29 dev ppp0
ip addr add XXX.XXX.XXX.12/29 dev ppp0
ip addr add XXX.XXX.XXX.13/29 dev ppp0
ip addr add XXX.XXX.XXX.15/29 dev ppp0

iptables -t nat -I POSTROUTING 1 -p all -s 10.10.10.8 -j SNAT --to XXX.XXX.XXX.8
iptables -t nat -I POSTROUTING 1 -p all -s 10.10.10.9 -j SNAT --to XXX.XXX.XXX.9
iptables -t nat -I POSTROUTING 1 -p all -s 10.10.10.10 -j SNAT --to XXX.XXX.XXX.10
iptables -t nat -I POSTROUTING 1 -p all -s 10.10.10.11 -j SNAT --to XXX.XXX.XXX.11
iptables -t nat -I POSTROUTING 1 -p all -s 10.10.10.12 -j SNAT --to XXX.XXX.XXX.12
iptables -t nat -I POSTROUTING 1 -p all -s 10.10.10.13 -j SNAT --to XXX.XXX.XXX.13
iptables -t nat -I POSTROUTING 1 -p all -s 10.10.10.15 -j SNAT --to XXX.XXX.XXX.15

iptables -t nat -A PREROUTING -p tcp -d XXX.XXX.XXX.8 -j DNAT --to-destination 10.10.10.8
iptables -t nat -A PREROUTING -p tcp -d XXX.XXX.XXX.9 -j DNAT --to-destination 10.10.10.9
iptables -t nat -A PREROUTING -p tcp -d XXX.XXX.XXX.10 -j DNAT --to-destination 10.10.10.10
iptables -t nat -A PREROUTING -p tcp -d XXX.XXX.XXX.11 -j DNAT --to-destination 10.10.10.11
iptables -t nat -A PREROUTING -p tcp -d XXX.XXX.XXX.12 -j DNAT --to-destination 10.10.10.12
iptables -t nat -A PREROUTING -p tcp -d XXX.XXX.XXX.13 -j DNAT --to-destination 10.10.10.13
iptables -t nat -A PREROUTING -p tcp -d XXX.XXX.XXX.15 -j DNAT --to-destination 10.10.10.15

iptables -I FORWARD -p tcp -d 10.10.10.8 -j ACCEPT
iptables -I FORWARD -p tcp -d 10.10.10.9 -j ACCEPT
iptables -I FORWARD -p tcp -d 10.10.10.10 -j ACCEPT
iptables -I FORWARD -p tcp -d 10.10.10.11 -j ACCEPT
iptables -I FORWARD -p tcp -d 10.10.10.12 -j ACCEPT
iptables -I FORWARD -p tcp -d 10.10.10.13 -j ACCEPT
iptables -I FORWARD -p tcp -d 10.10.10.15 -j ACCEPT

Here’s some more information I found: