Trailer – Installed Oven, Third Trip – Appliances Hooked Up & Working!

Got the oven installed. Got the fridge installed. Hooked up all the propane lines for the appliances. Tested the new water heater. Tested the fridge. Tested the furnace. Everything works! Time for the first trip of 2016. We had a great time and it was nice that out trailer was more than just a tent with a toilet. We figured out how to get both small dutch ovens into the oven to cook dinner. 

Trailer – Ikea Butcher Block Kitchen Countertops Custom Cut

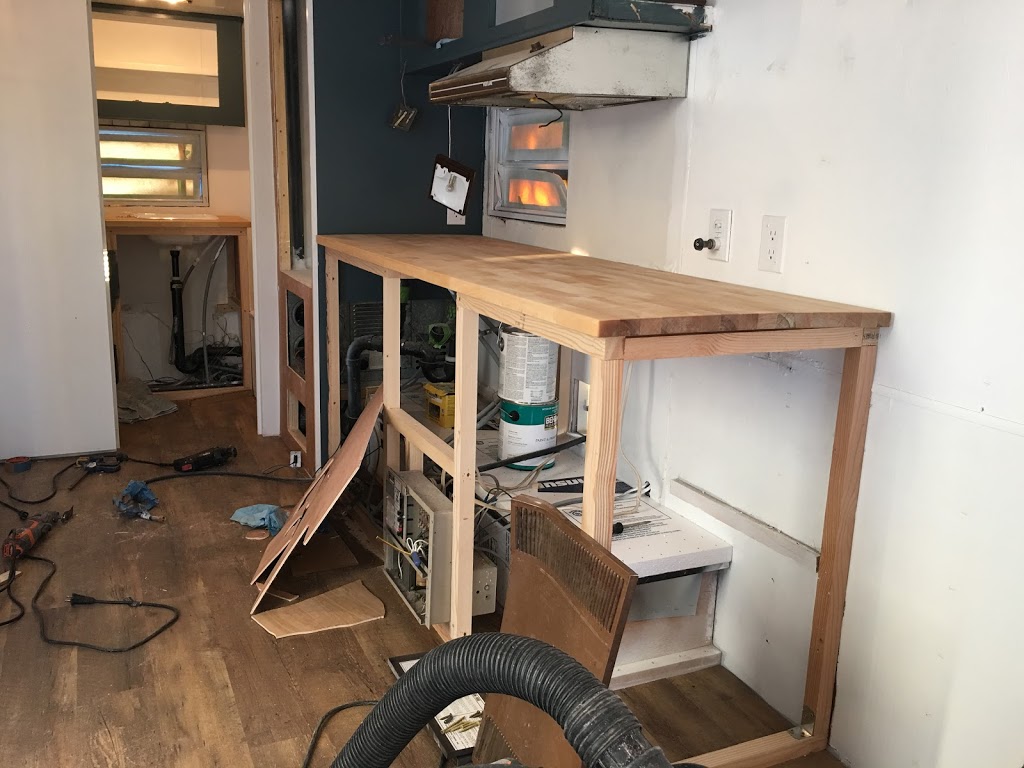
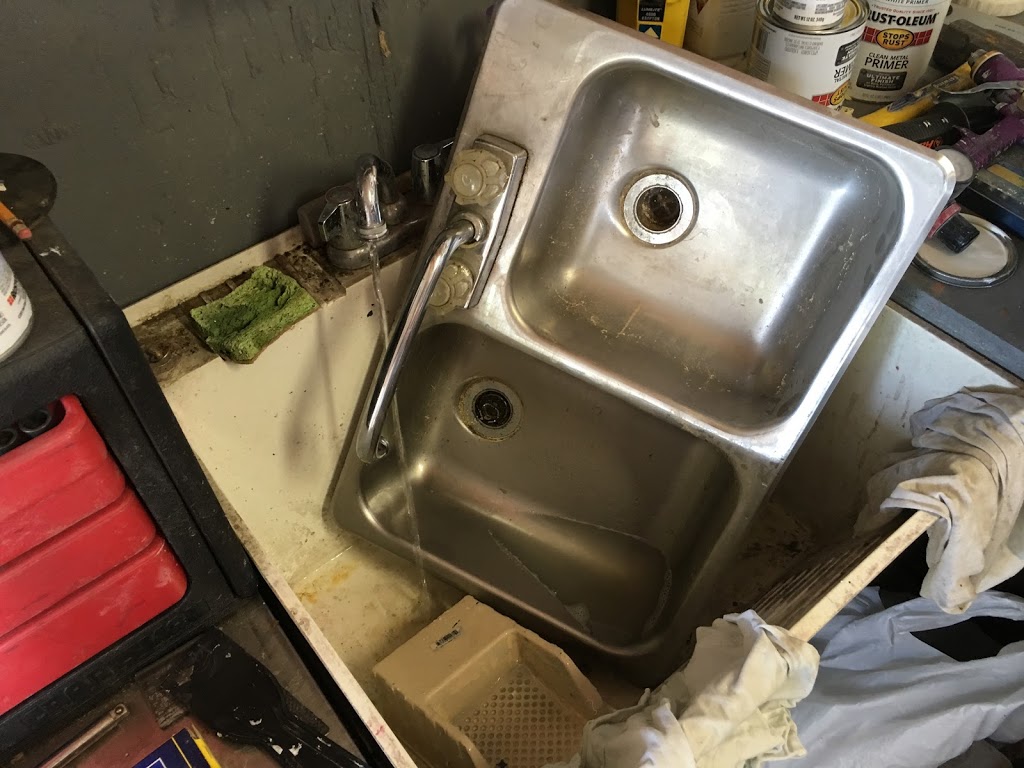
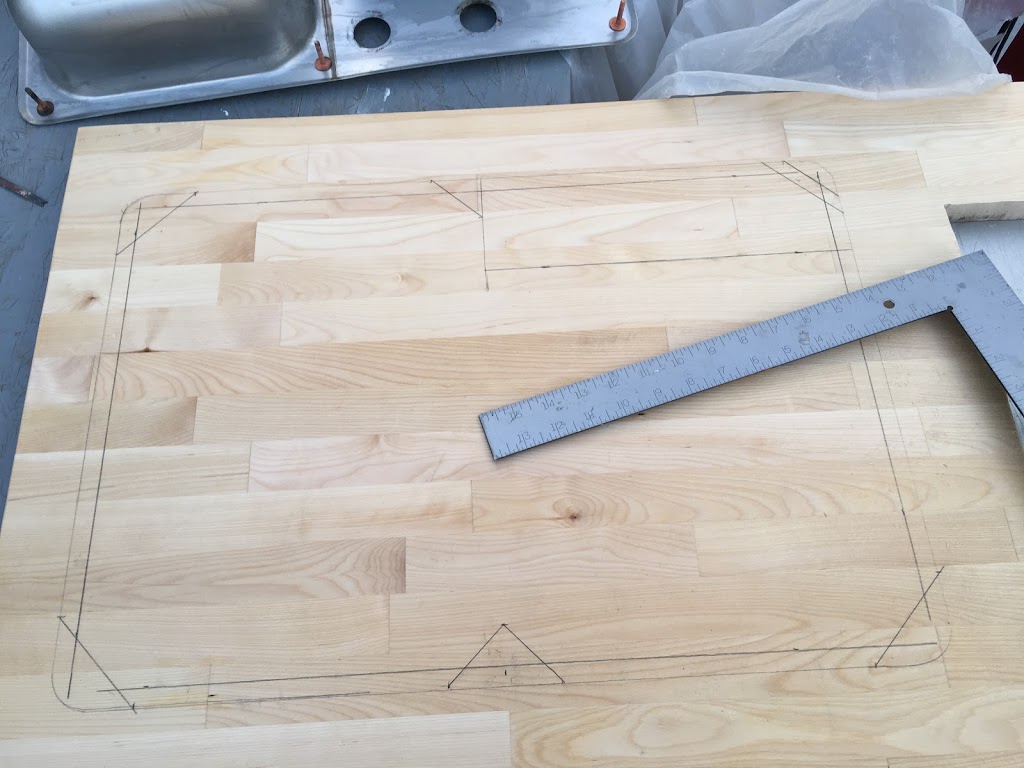
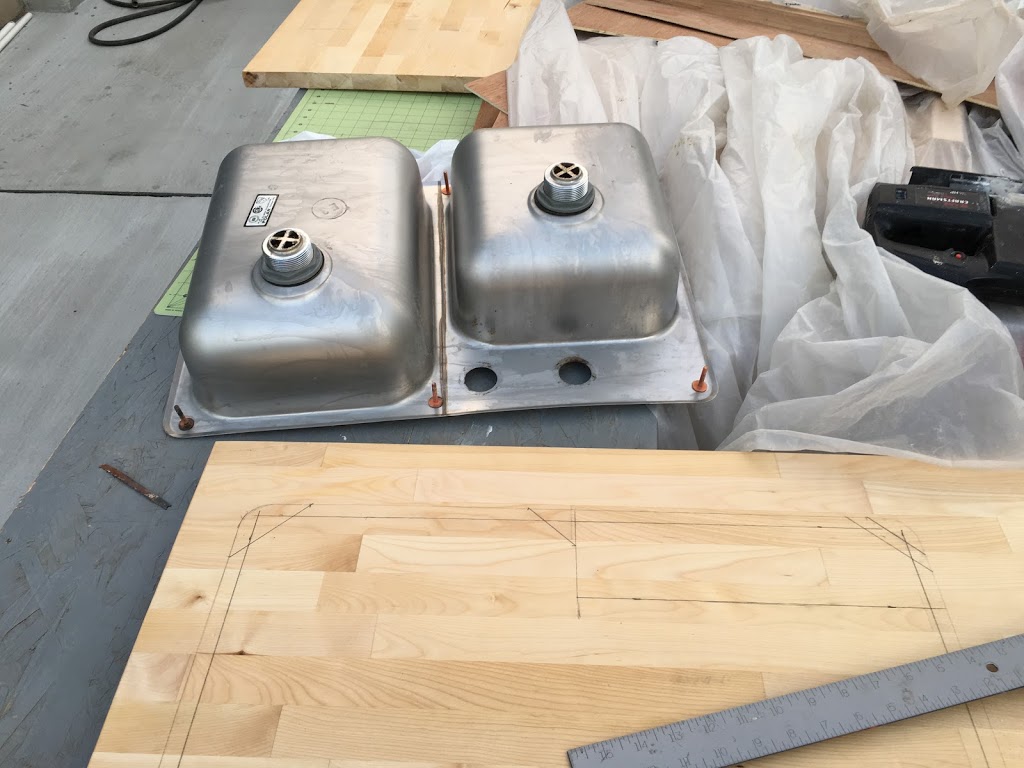
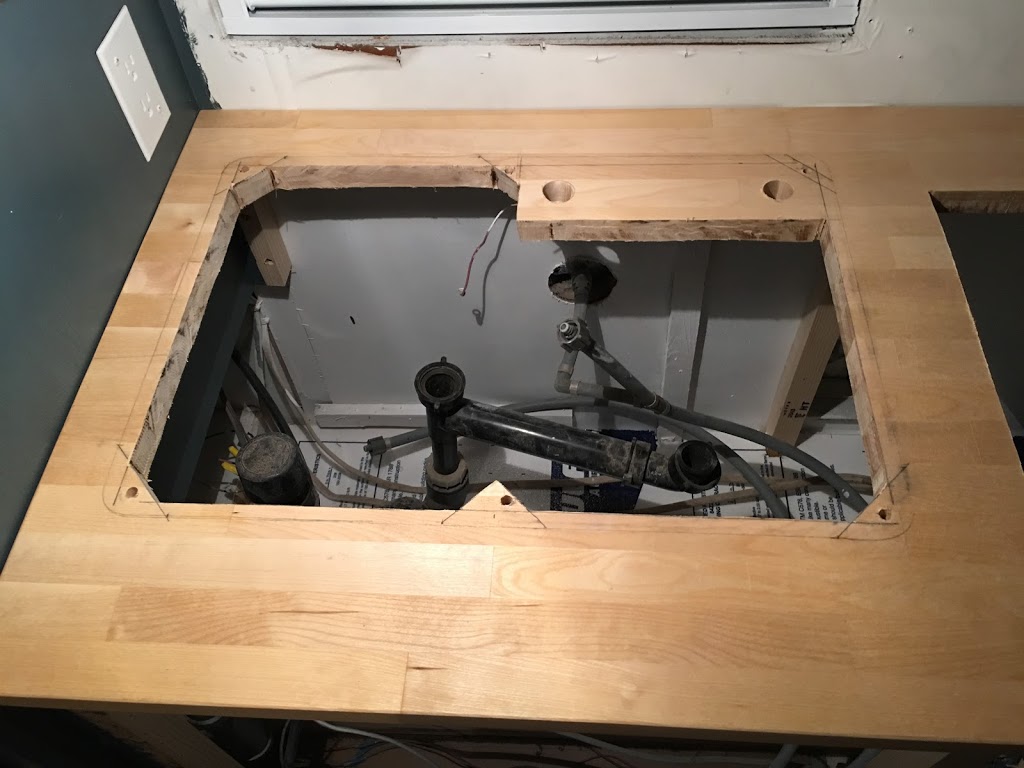
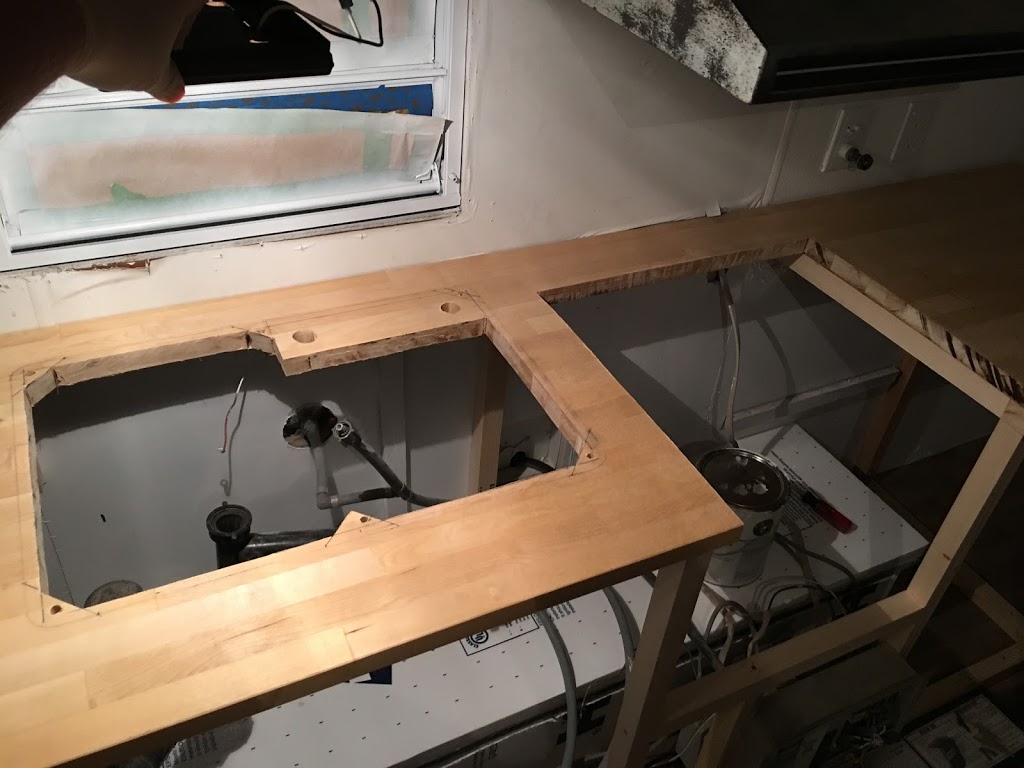
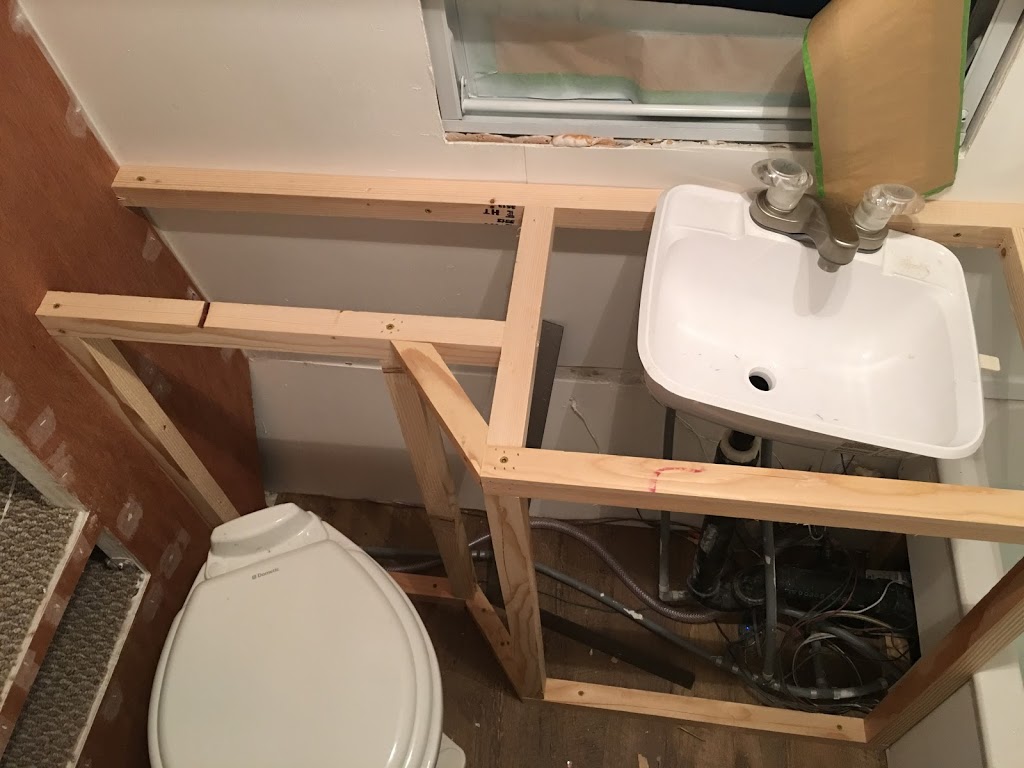
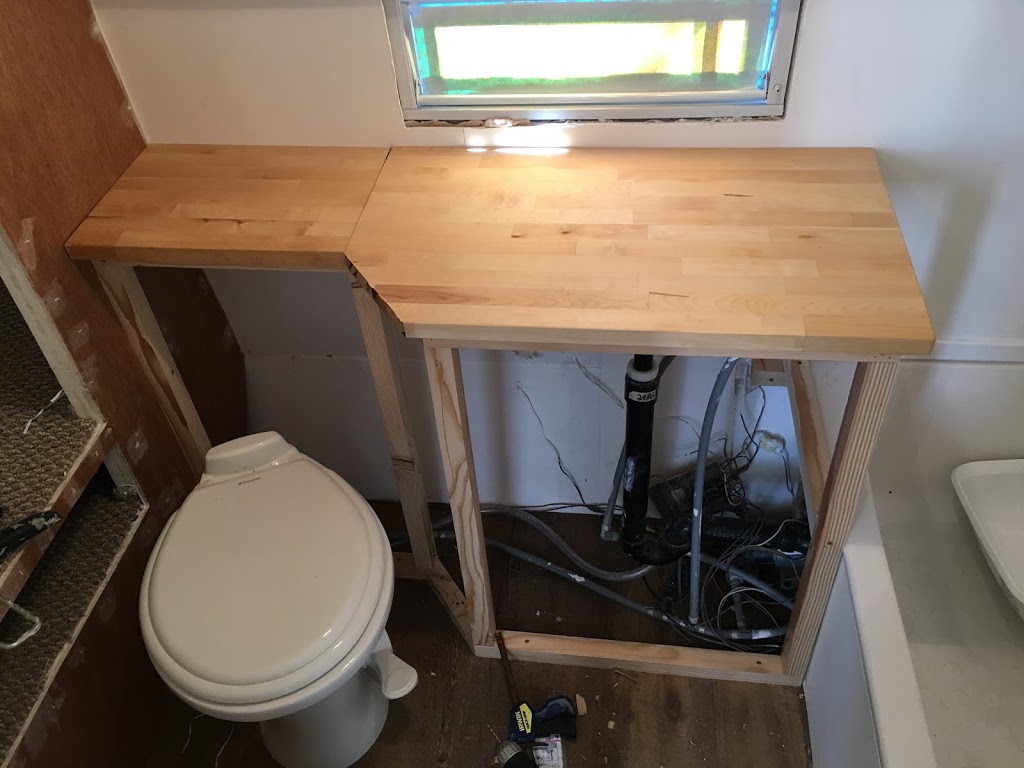
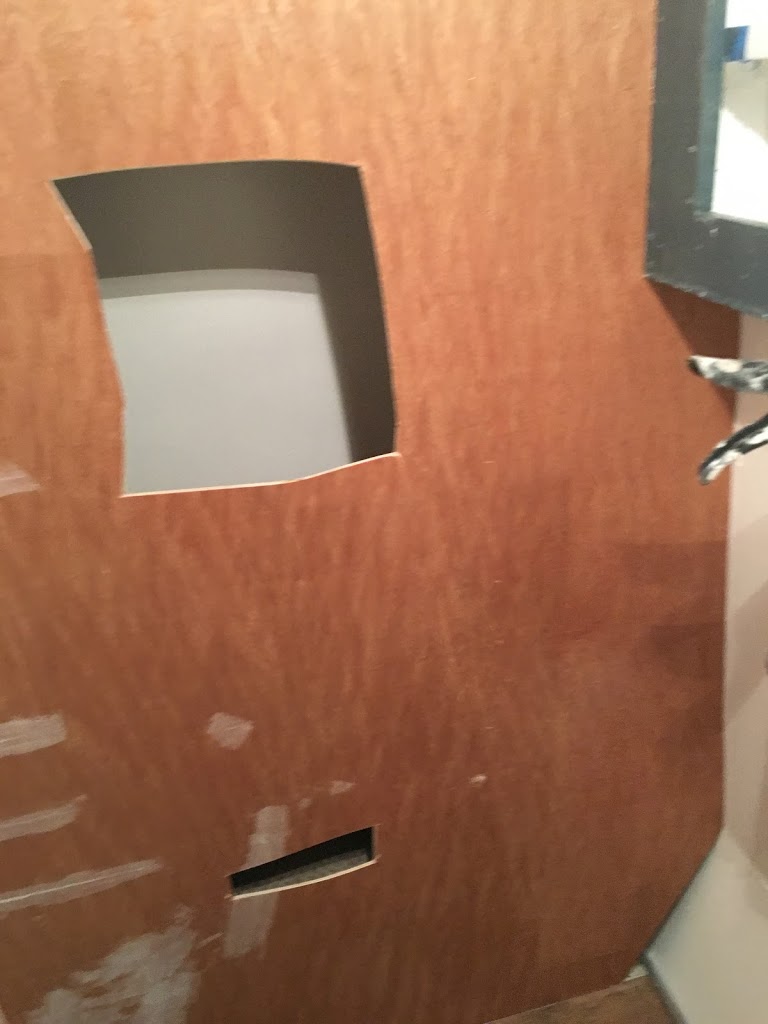
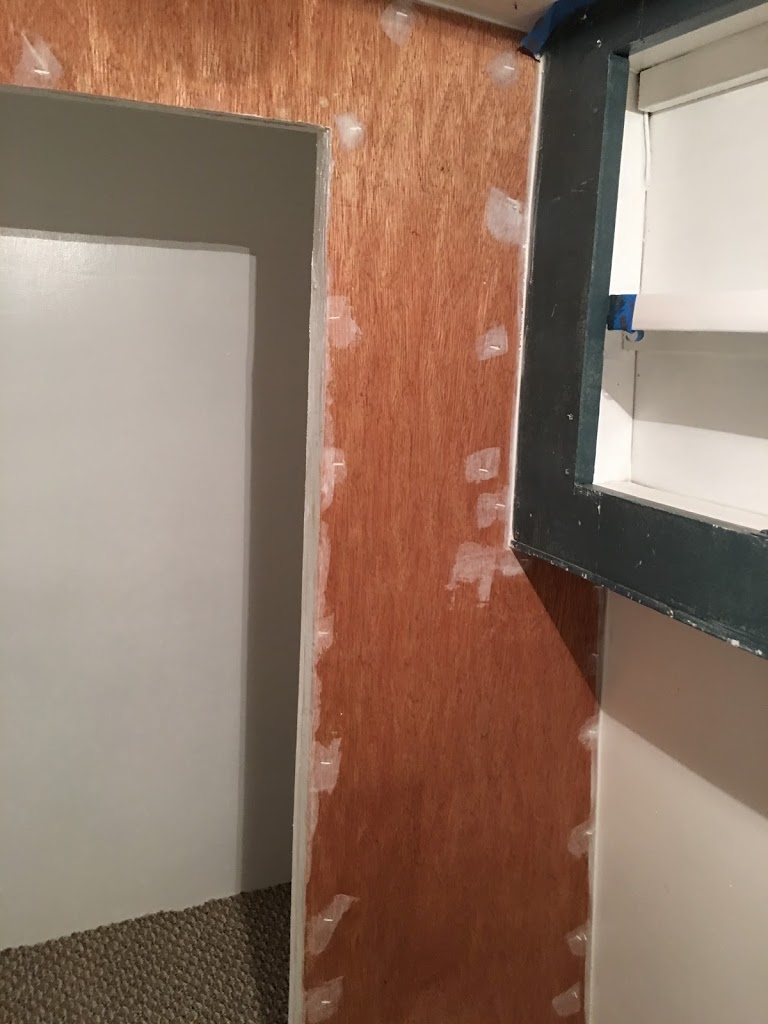
We really like the look of butcher block countertops. The easiest way to get them was to buy from Ikea. I had to cut a few inches off the back but it was a perfect length. I used the sink as a template for the cutout and subtracted 1/2″ from that. I drilled holes for the sink bolts but found out later they weren’t long enough to put the nuts on under the countertop. I haven’t found a solution yet so the sink is just siliconed in. 

What do you do when your sink is dirty? Wash it in the sink of course.

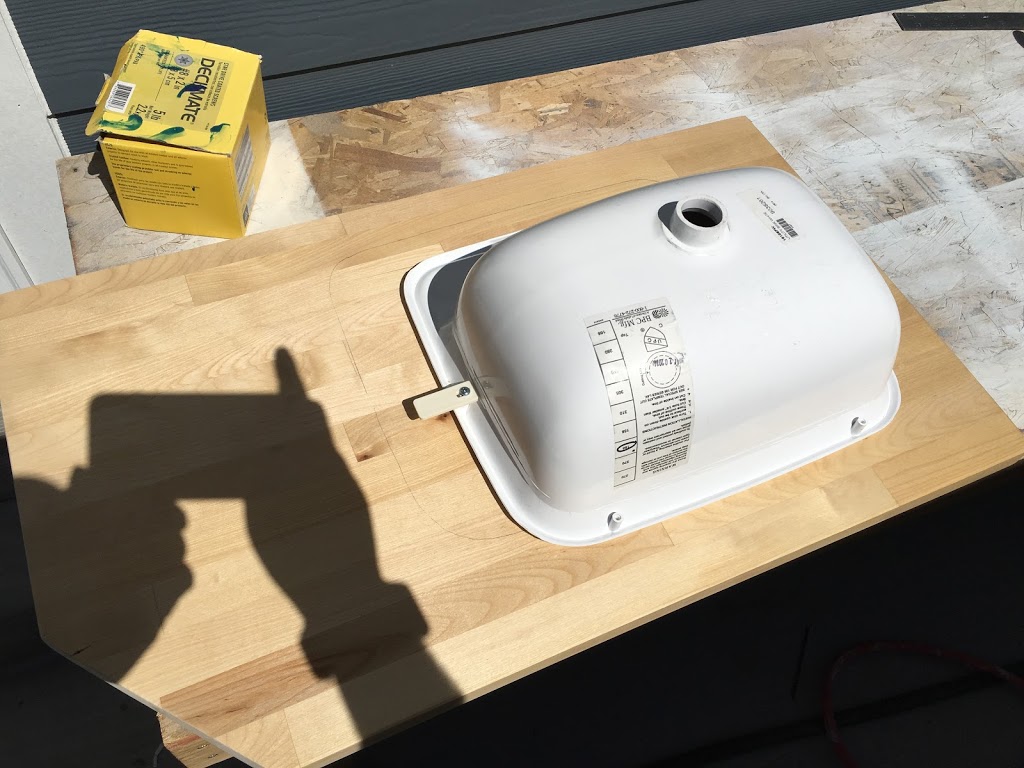
I used the sink as a a template and measured .5″ from the outside edge and marked a cut line with the square. I tried to leave as much surface to support the sink as possible. 

Trailer – Sink Vanity Build, Ikea Butcher Block Countertops

I built the sink vanity. I used the original height of the vanity and measured an appropriate distance from the toilet to make the space feel comfortable. The countertop behind the toilet is mounted on a hinge so you can lift it up so you can store things. 

I used this pool and spa vacuum hose to replace the filler tube to the water tank. I found out later you can get original filler tube from a trailer supply store. Oh well, it worked. 

Trailer – Replacing Broken Window With Custom Vinyl House Window

The largest window in the trailer was broken on the bottom. It was also bent and missing a piece. We weighed all of the options including a custom aluminum window mean for RVs or trailers. The size of the window does not match anything available for purchase. The trailer was built with square custom windows. We were unwilling to pay $500 for a window so we eventually ventured into a custom window shop and found a shallow flush mounted vinyl window that was good enough for our trailer. It cost $145. I decided to mount it from the inside of the frame instead of screwing through the flange. I put butyl tape and ProFlex caulking under the flange before I placed the window in the opening. I tried to pull the window in as much as possible before screwing it in place. 

It turned out pretty good. The screen will actually be on the outside of the window. This worries me a bit so we’ll see how it turns out. 

Trailer – Build RV Closet, Template to Cut Non-Square Plywood

Here’s a bit of the process I used to build the closet and cut the plywood face for the closet. I used cardboard and painters tape to create a template to use to outline the plywood for cutting. I built the closet with two shelves. The shelves are split into two pieces so that they can all be removed from the closet to gain access to the water tank if necessary. I used a multi-tool and a rotozip with drywall bits to cut out the plywood face perfectly around the 2×2 framing. 

Trailer – Allure Vinyl Flooring Installed, Creative Plumbing

We chose Allure Vinyl flooring for the trailer I wanted to get installed underneath as much of the cabinetry and furniture as I could. I had to get creative to support the toilet mount since I couldn’t figure out how to remove the flange from the tank when I installed the subfloor. The vinyl flooring is a lot heavier than I expected it to be. I don’t regret the decision but it’s something you’ll want to facto for. I’m not sure if pergo or other manufactured flooring is any lighter. The Allure flooring looks like it will hold up very well and looks very nice. 

Allure vinyl flooring – Pacific Pine

Trailer – Painted Windows, Installed Shower Panelling

We decided to paint the windows white to match our replacement vinyl window (future post). Taping off the glass was easy enough then we painted them with rustoleum paint+primer. 

I should have used a LOT more glue. The key is to spread it out across the entire surface of the plywood. It turned out ok but isn’t as smooth as I would like.