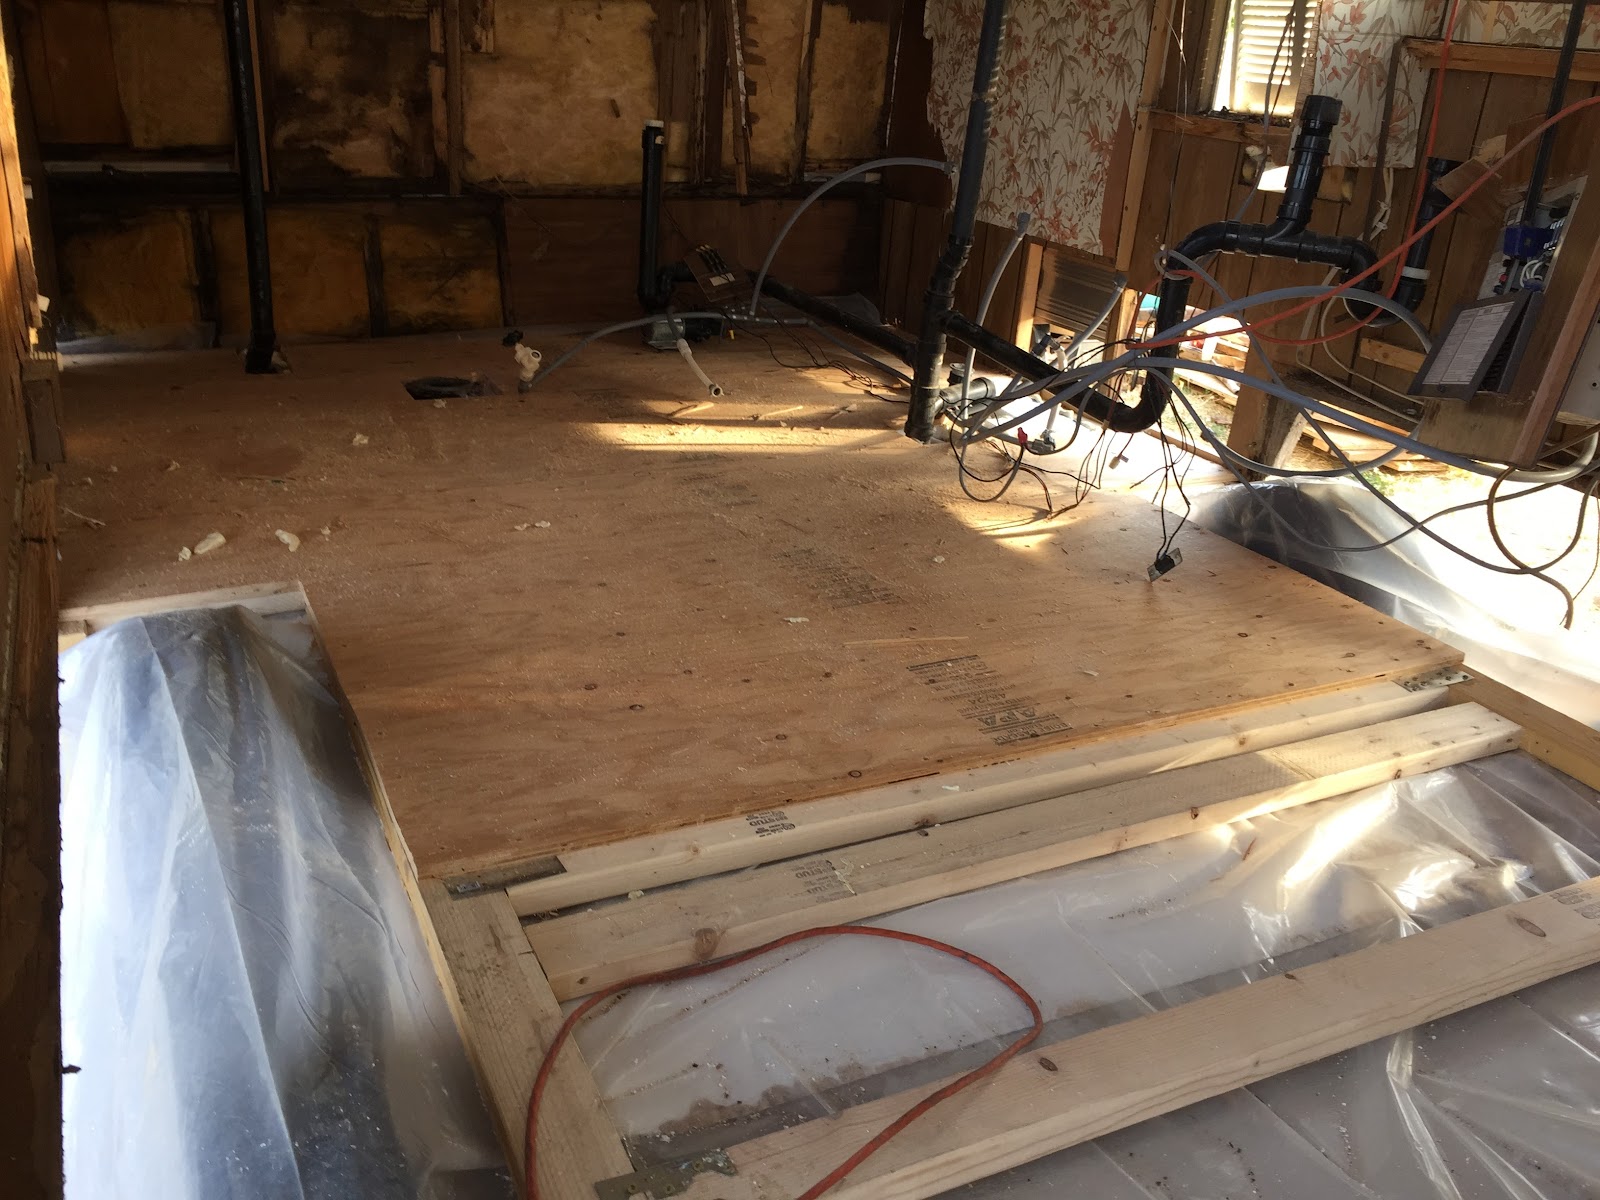
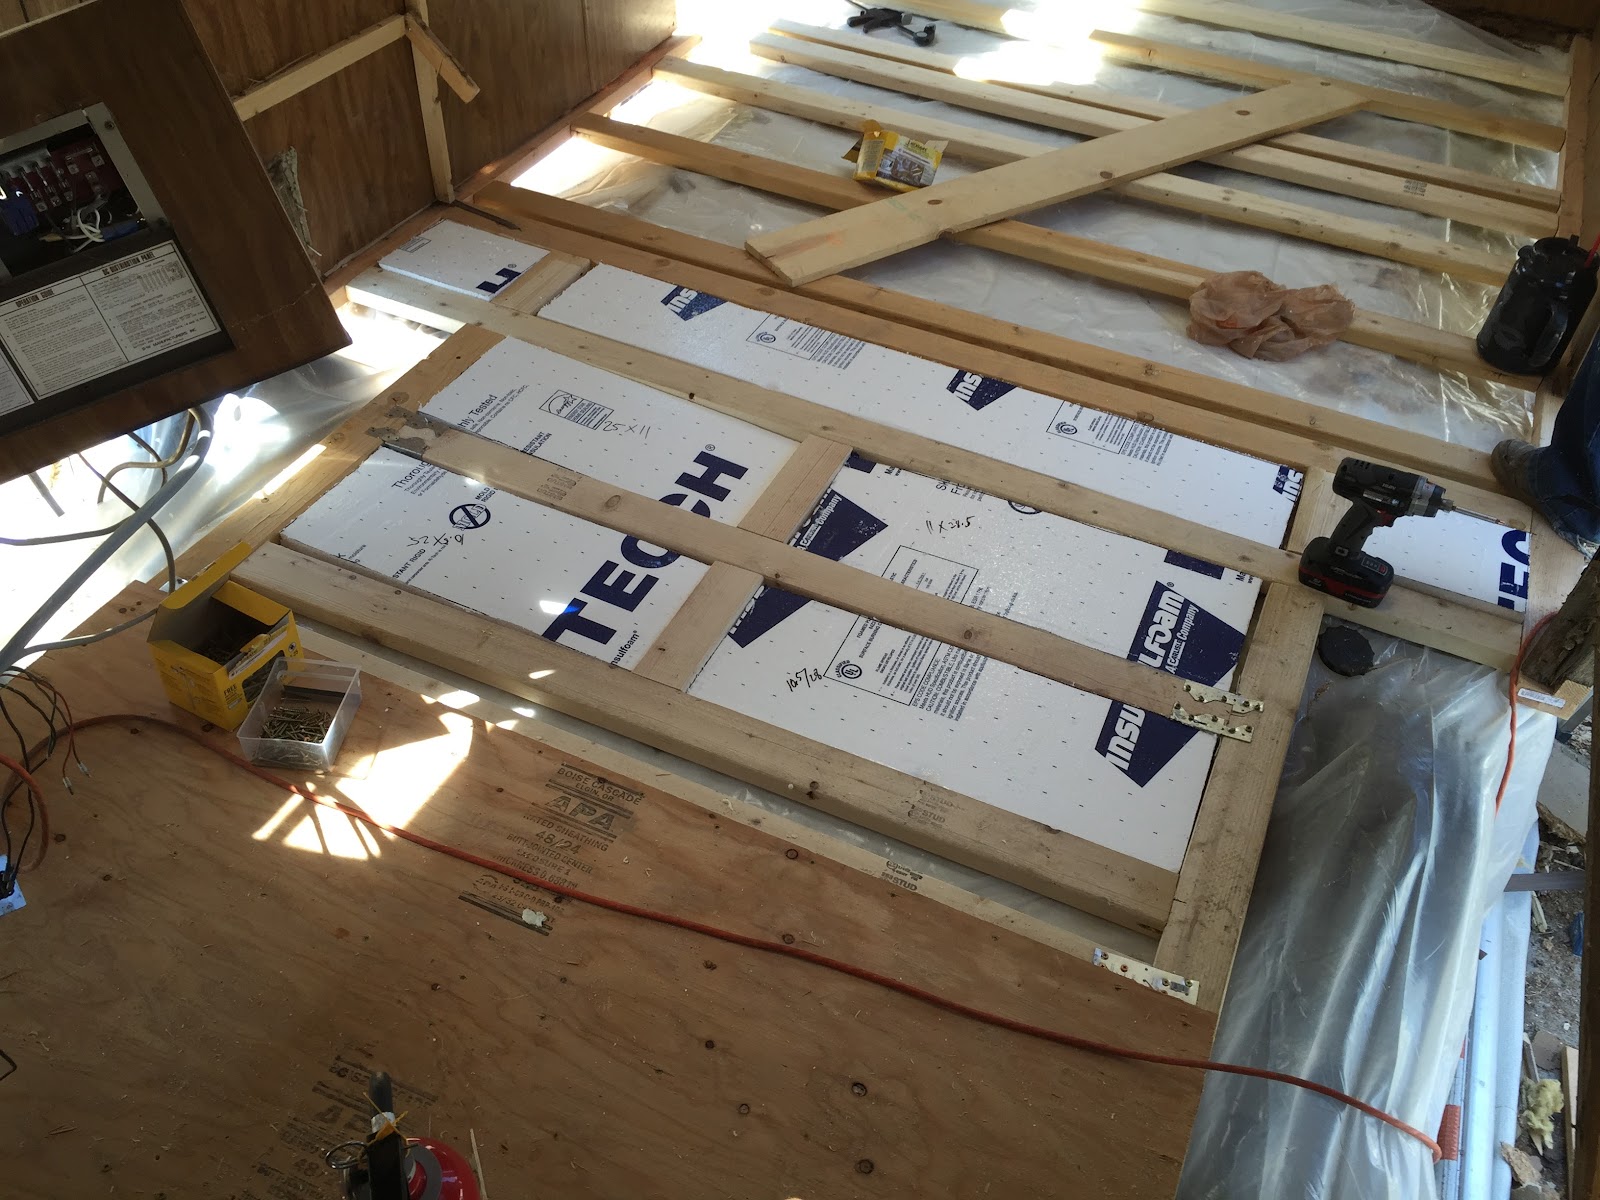
So this is how I rebuilt the floor with 2x4s and 3/4″ plywood:
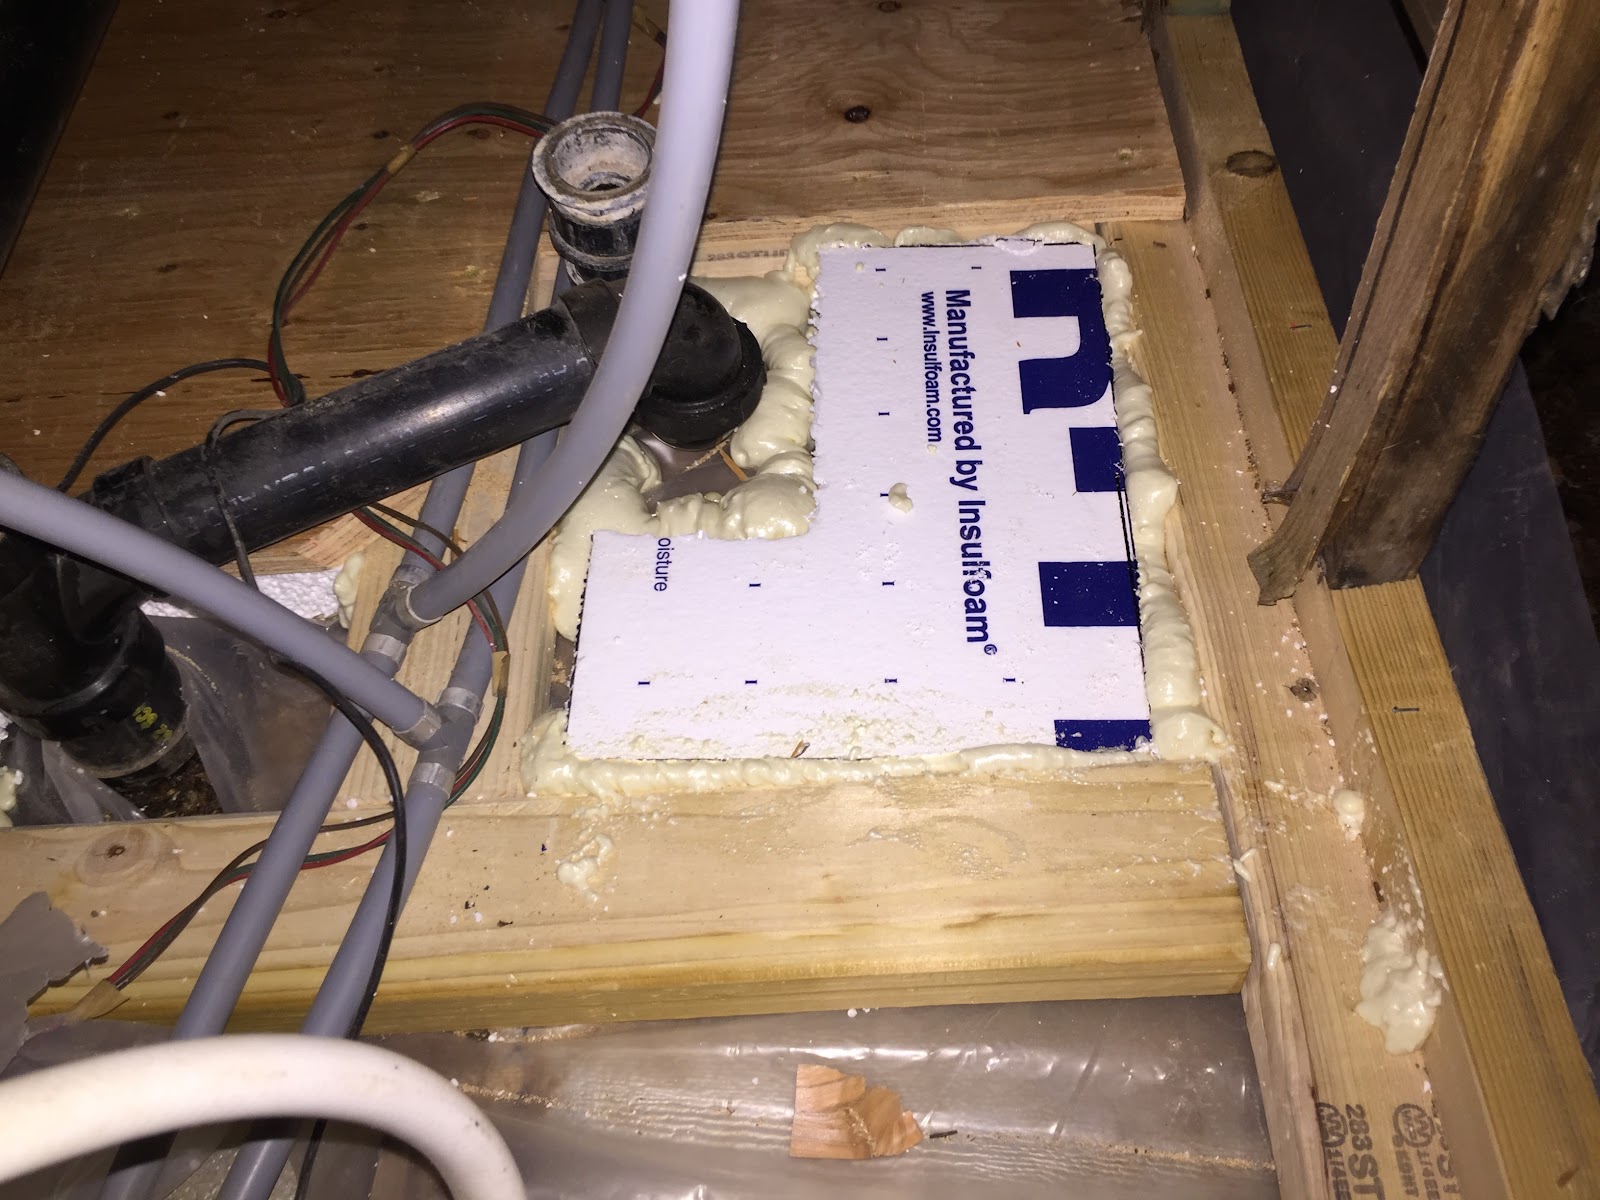
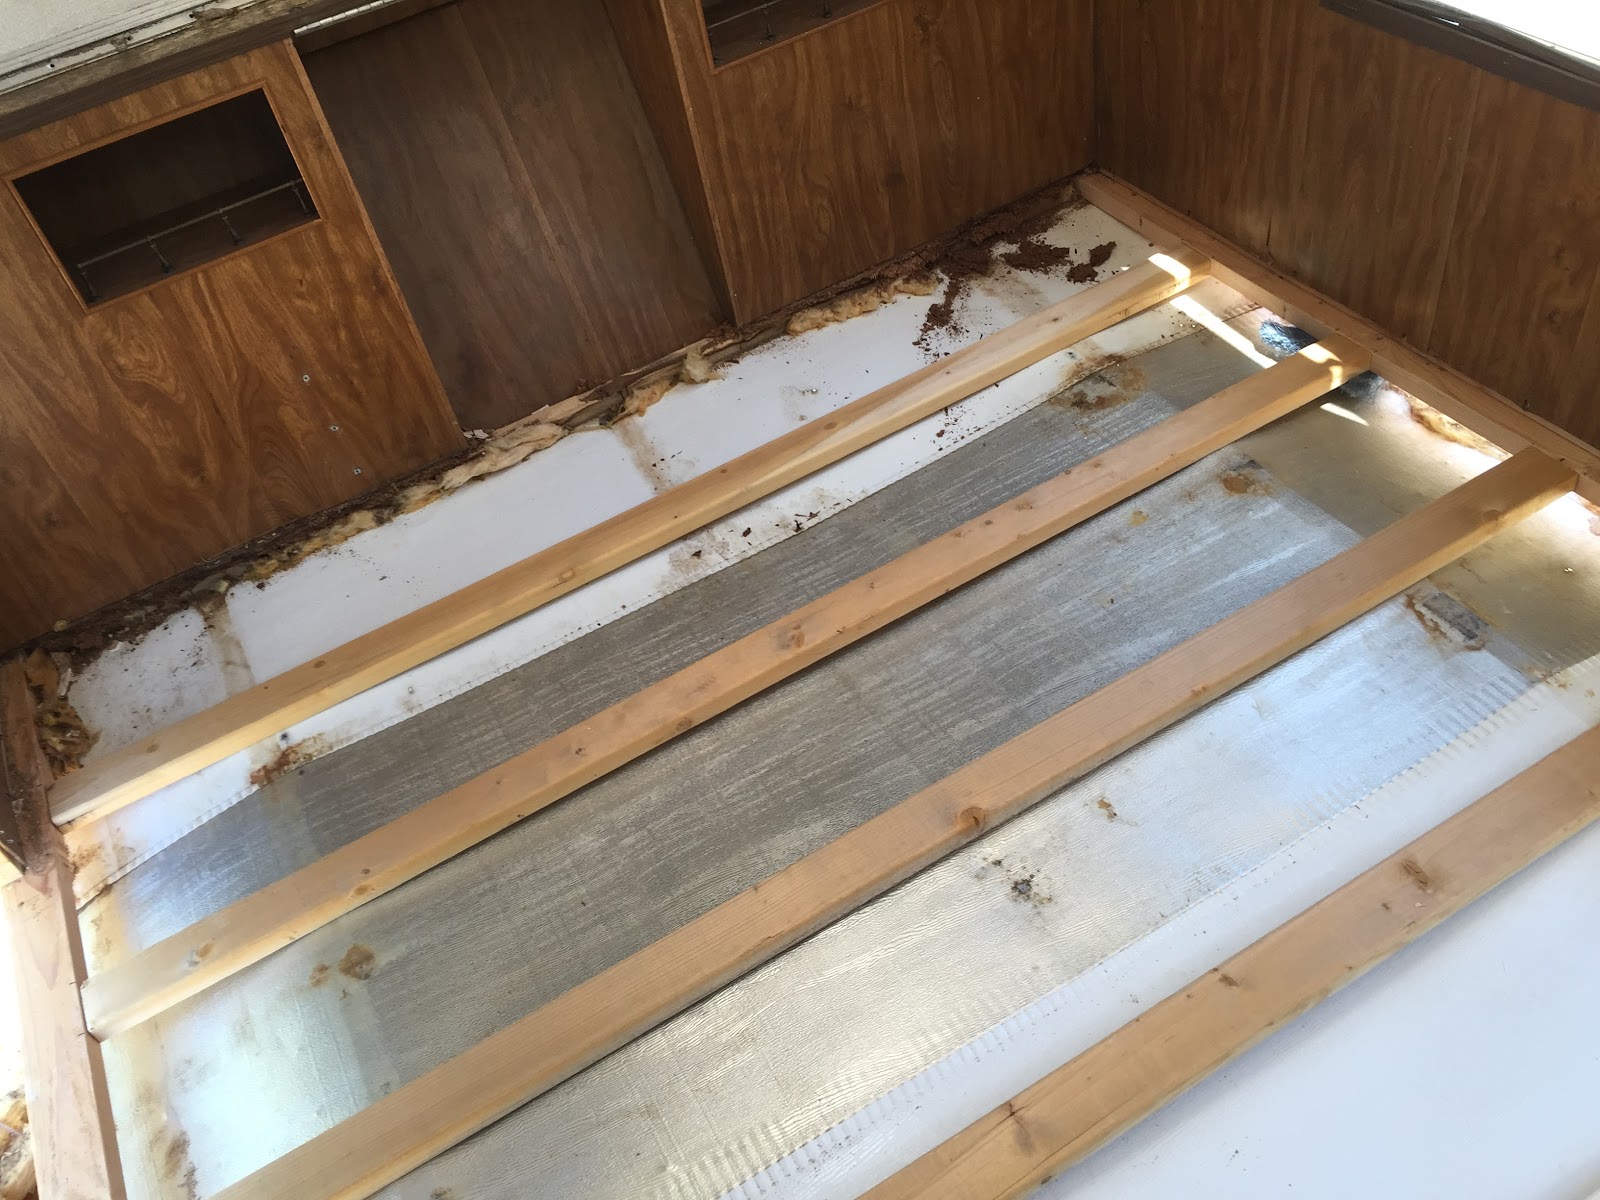
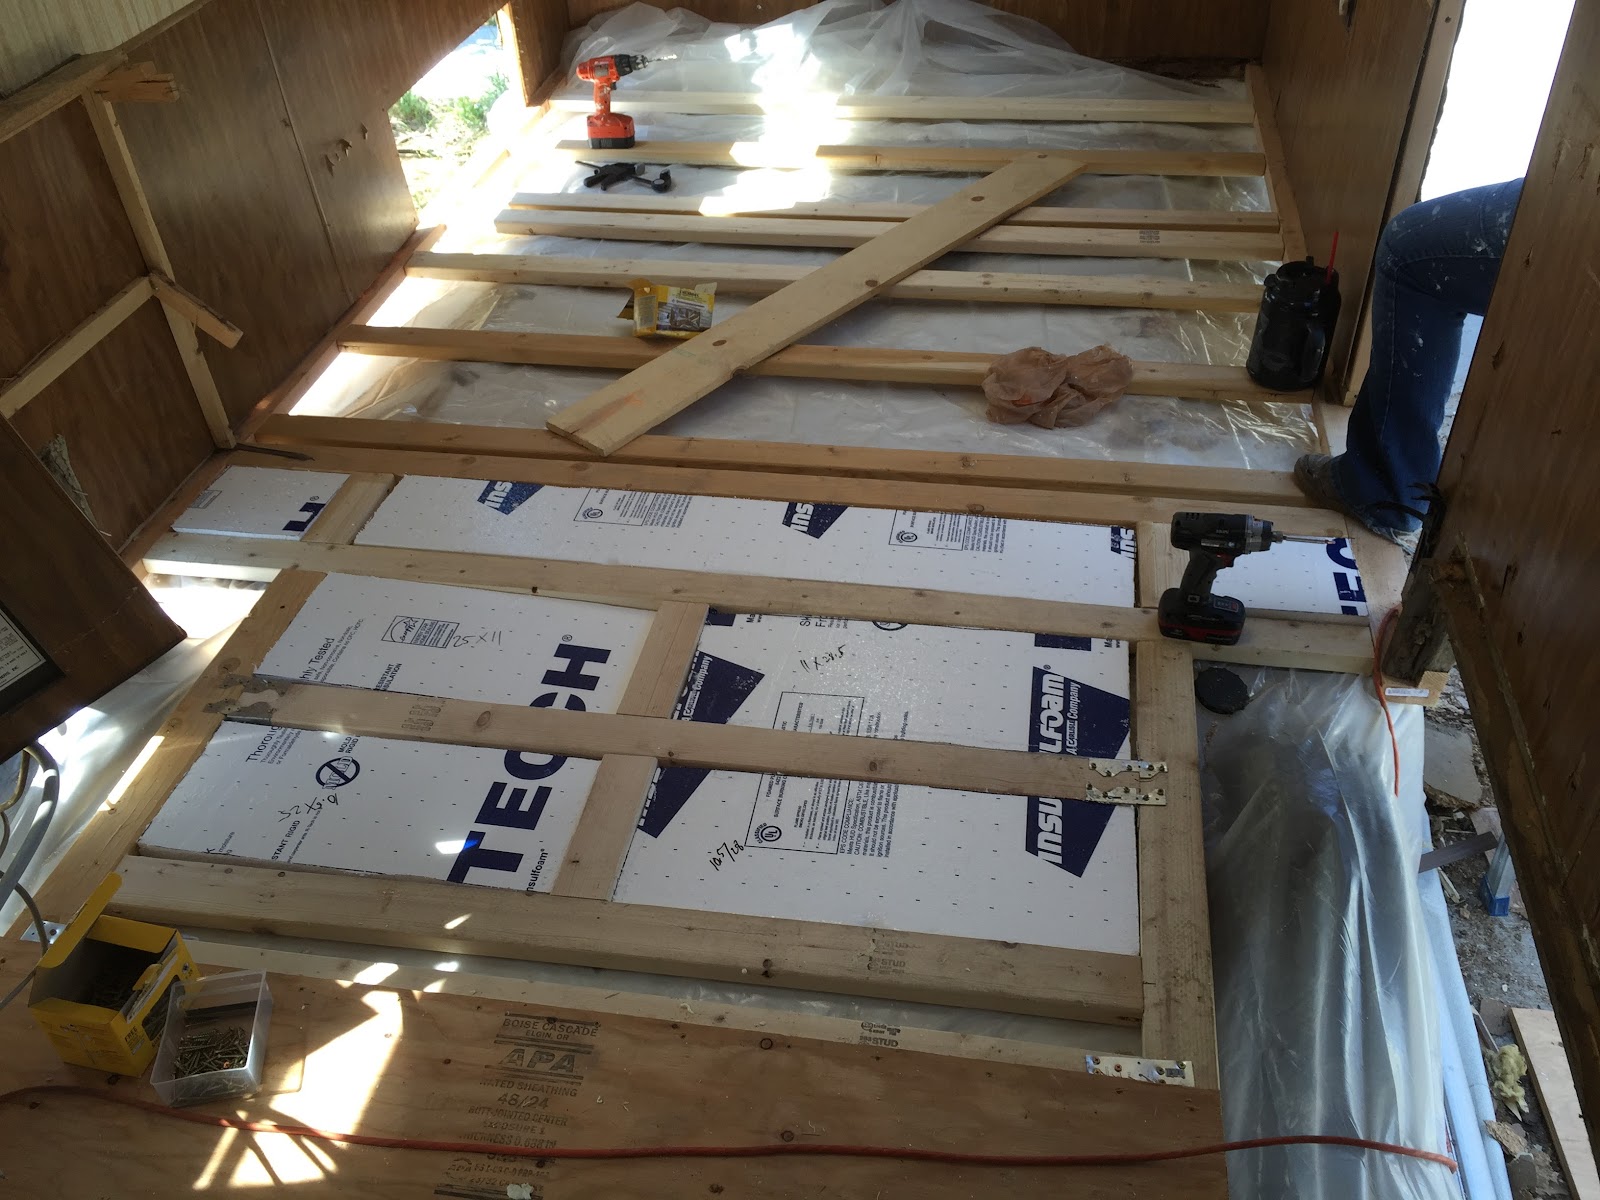
Here’s a good shot where you can see how the flat 2×4 acts as a surface for the subfloor to screw into. You can see the 2×4 floor joists (I would have loved to stand them up for added support but couldn’t change the height of the floor without causing a lot of other work). You can also see the type of foam insulation used and how I filled the gaps with spray foam.
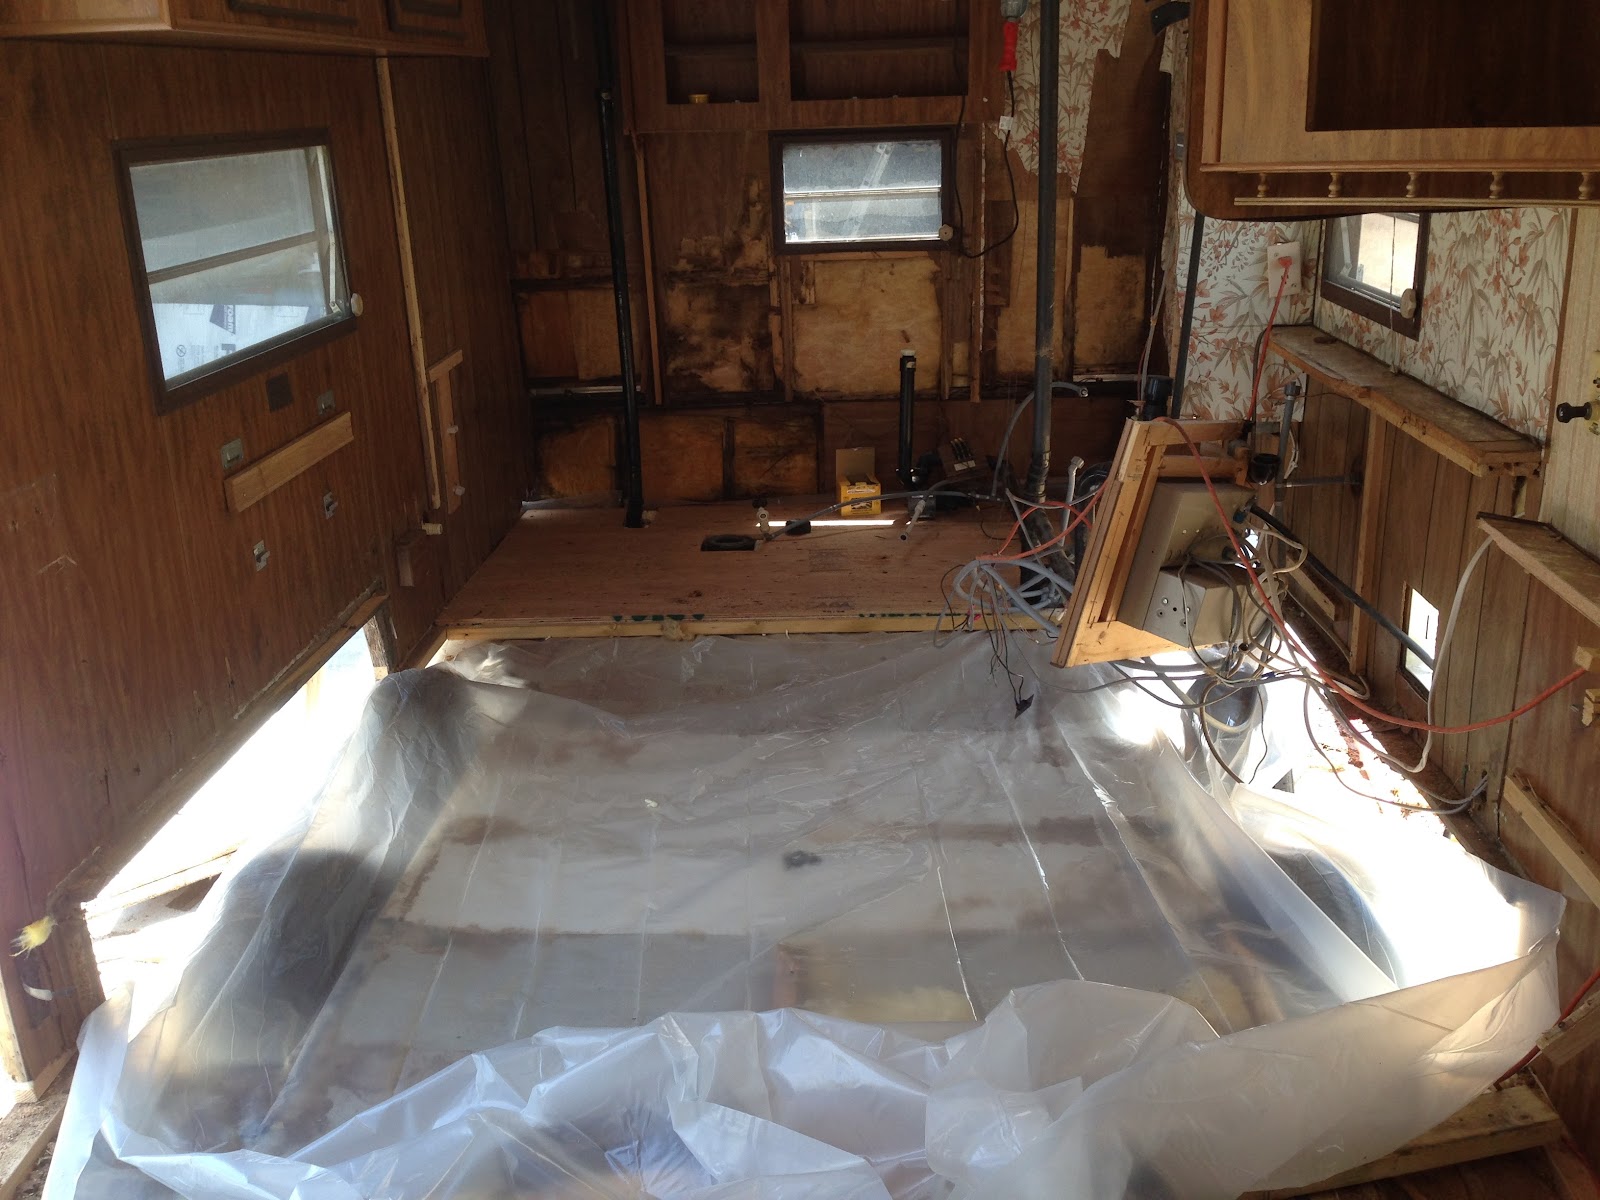
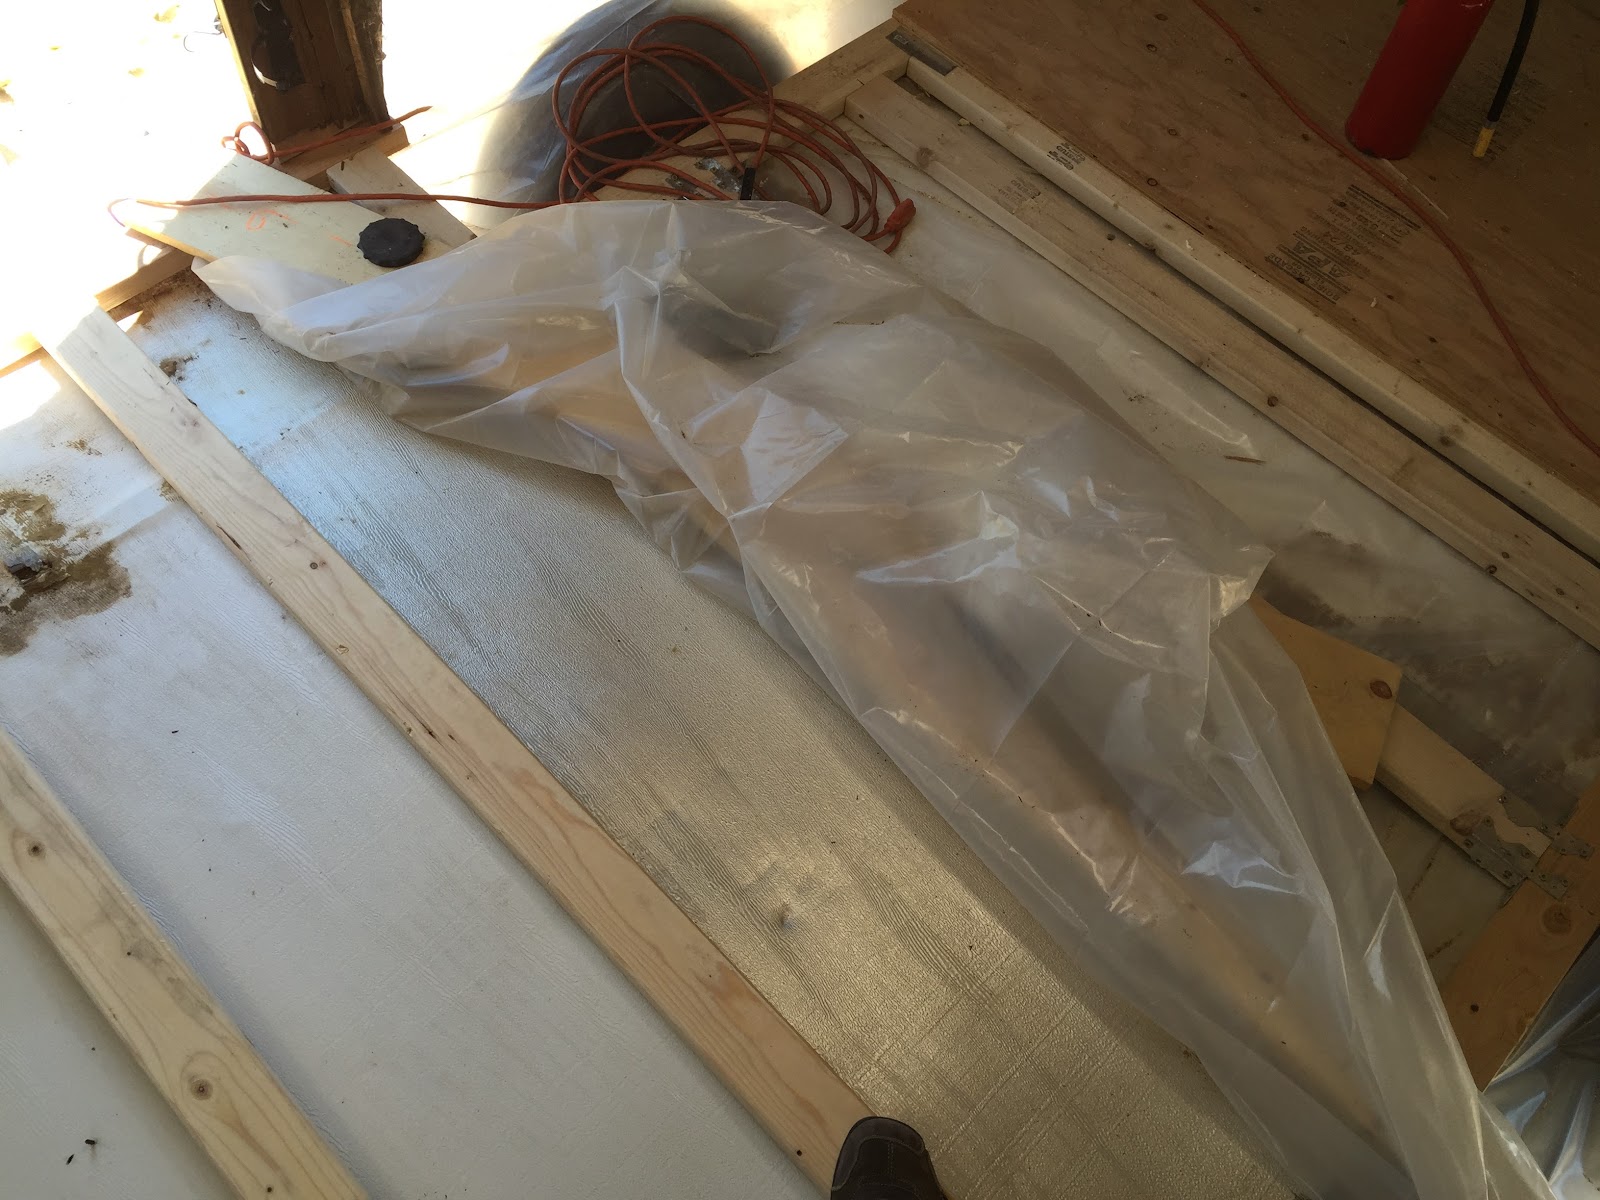
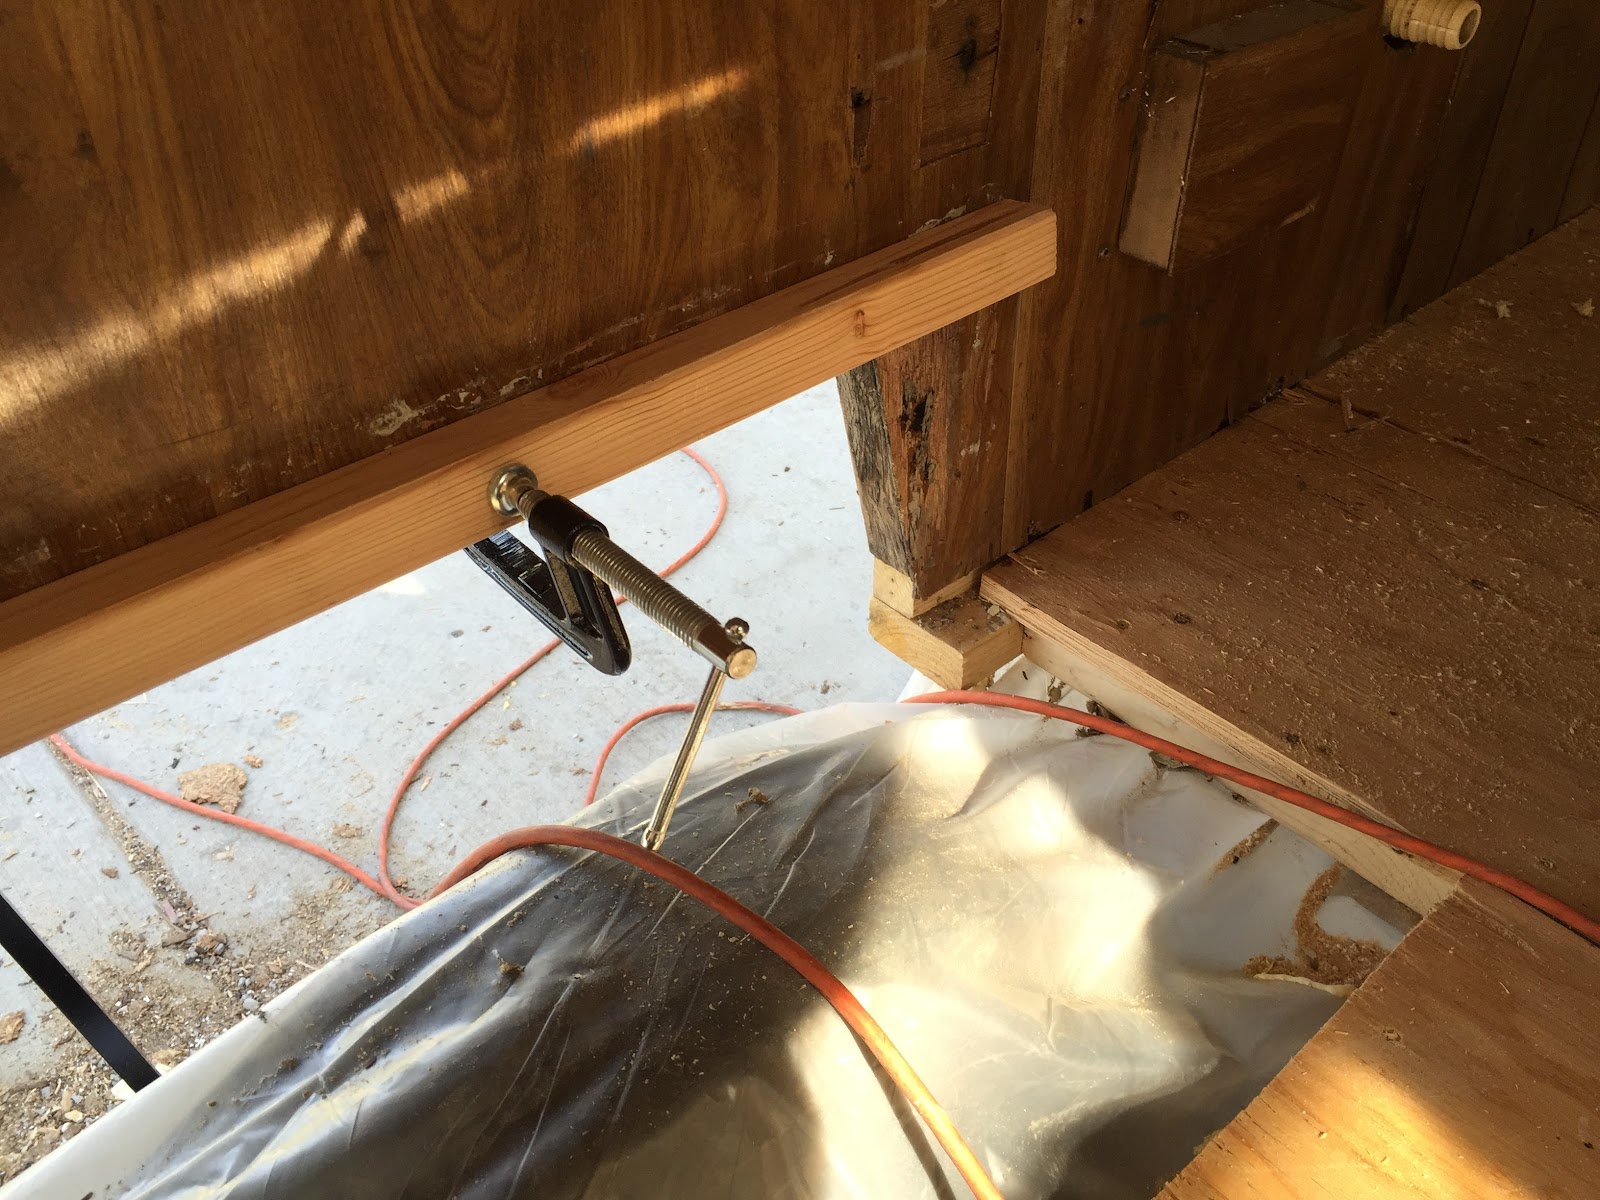
I added plastic over the original aluminum and under the wood.
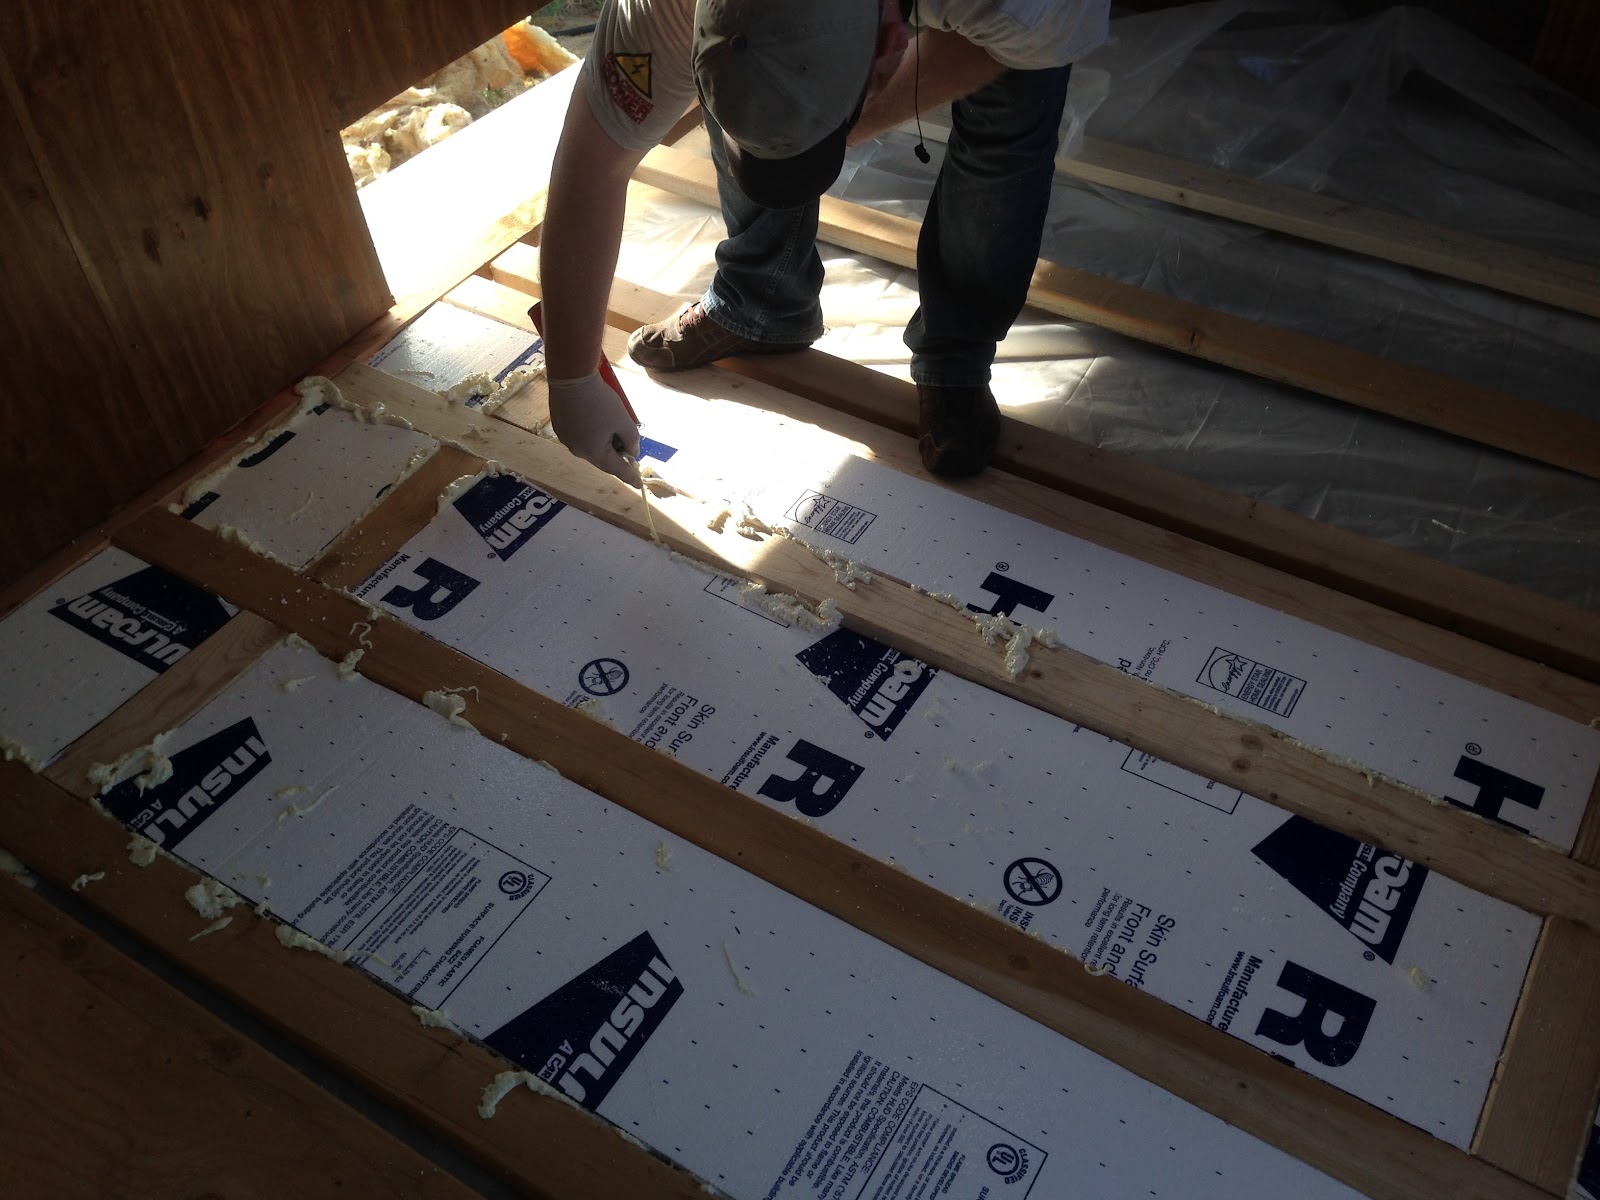
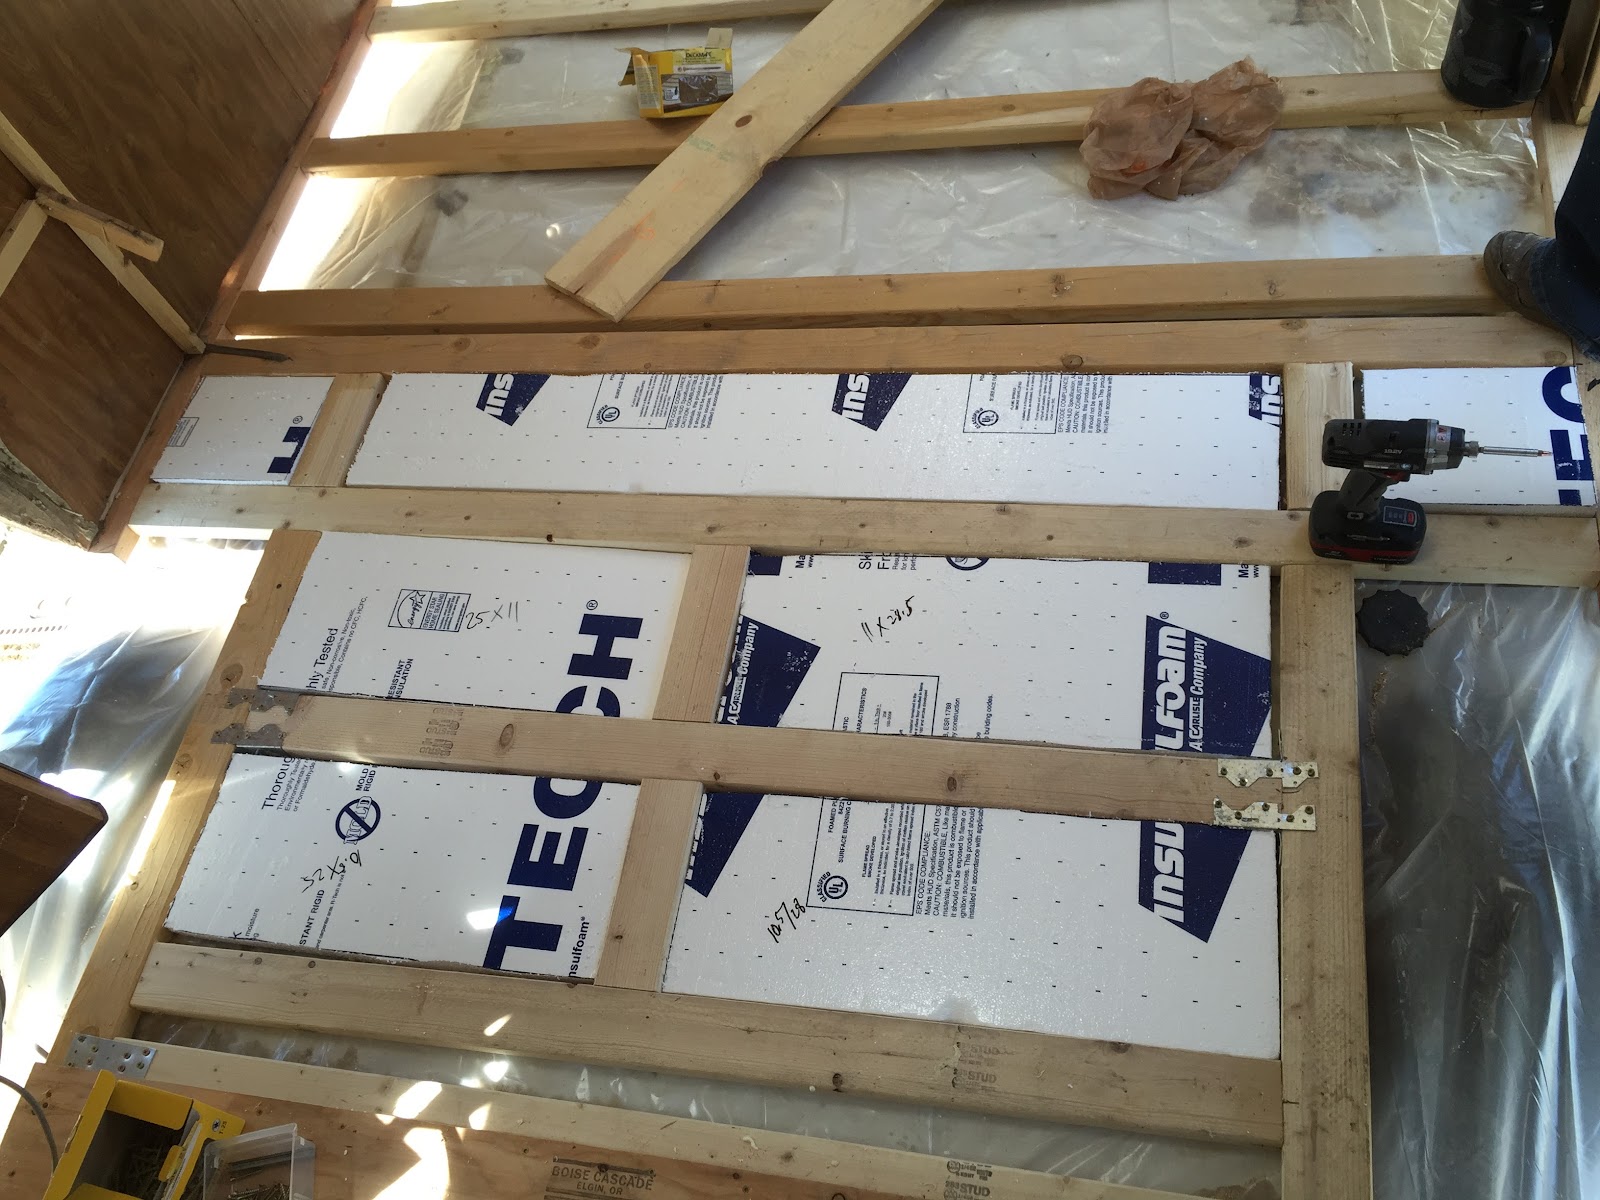
Add 1 1/2″ insulation and spray foam.
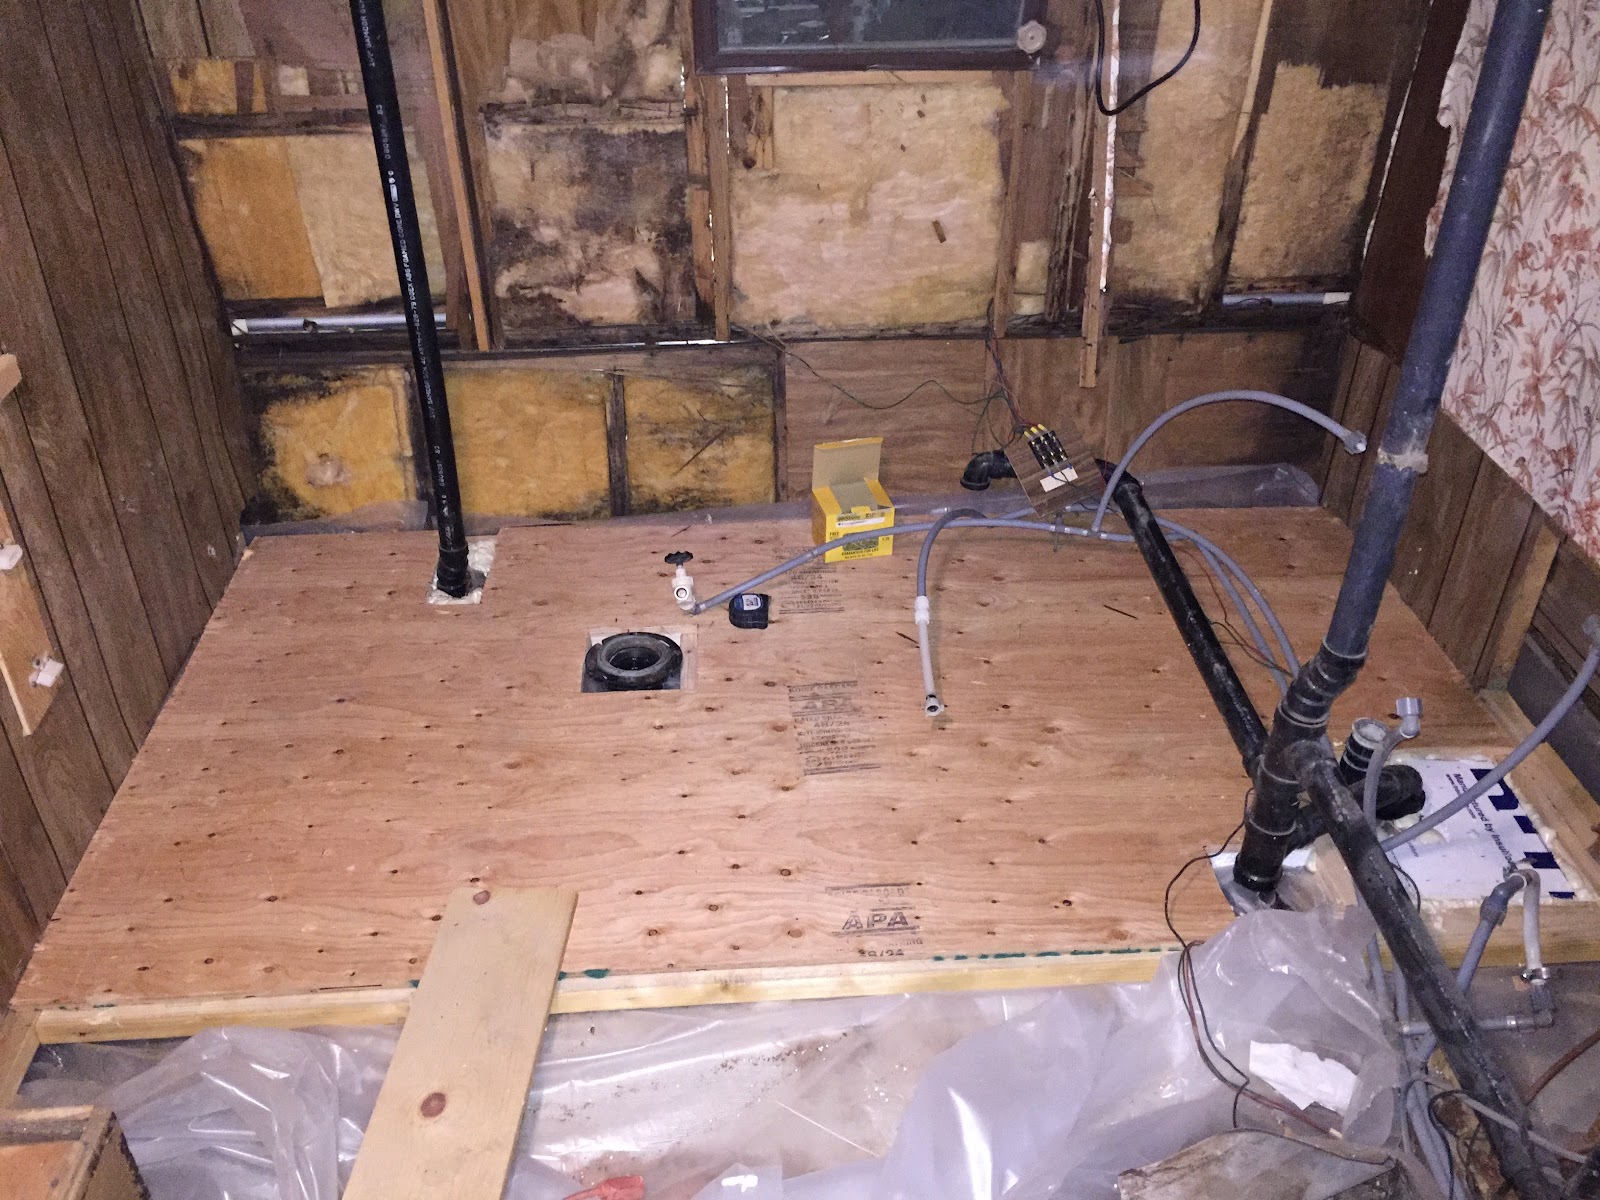
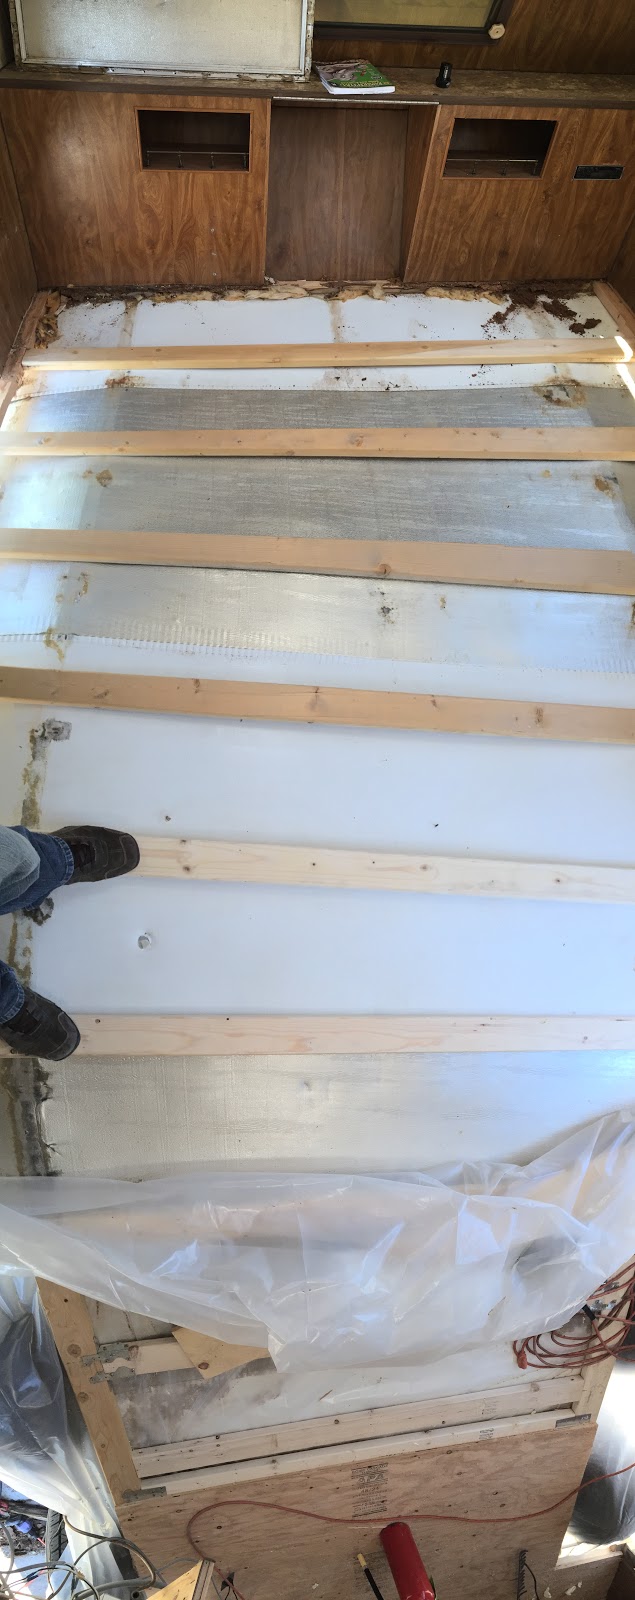
Tricky subfloor install around all the plumbing (I really did not want to re-do that as well).
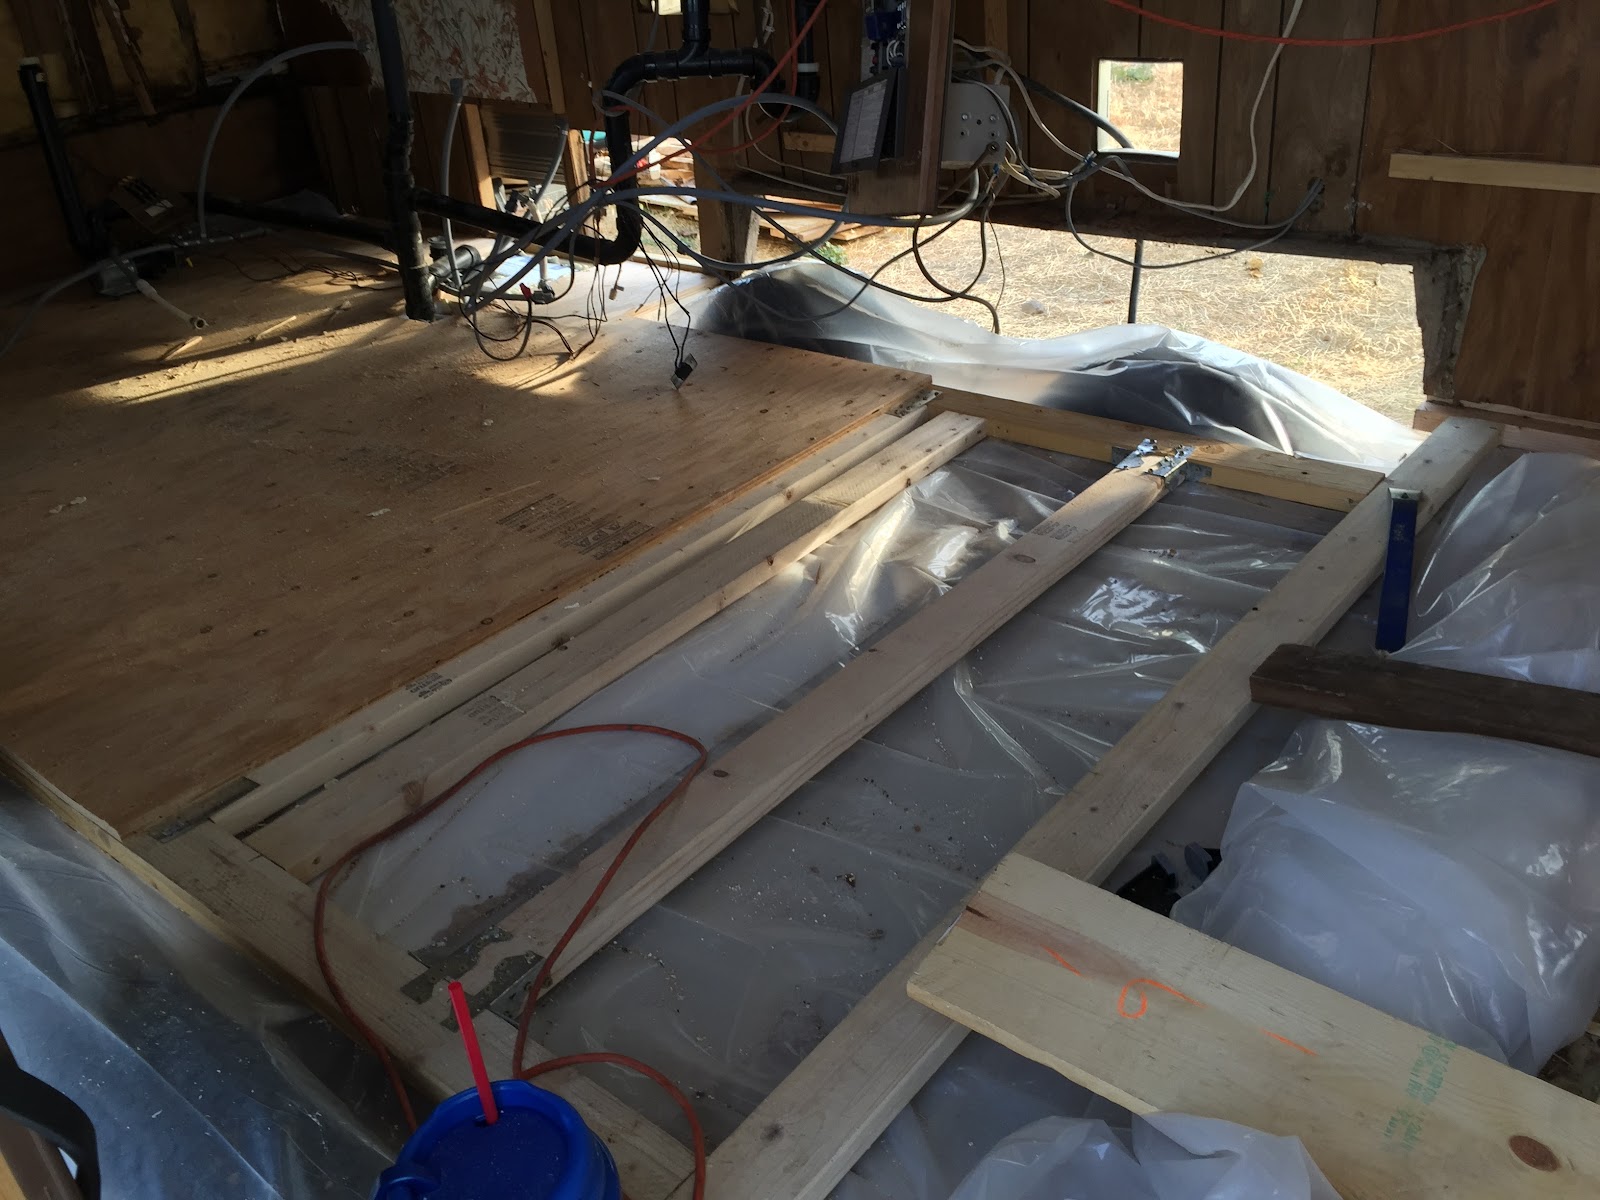
Some brackets added for strength through the wheel well area.
I chose to run floor joists perpendicular to the frame as opposed to parallel with the frame. I’m not sure why but most trailers run the floor joists parallel to the frame. I decided my design would offer more support for the walls which were seriously sagging below the frame height. I am satisfied with the finished result of the floor. Very sturdy (not perfect) and easy enough to build.
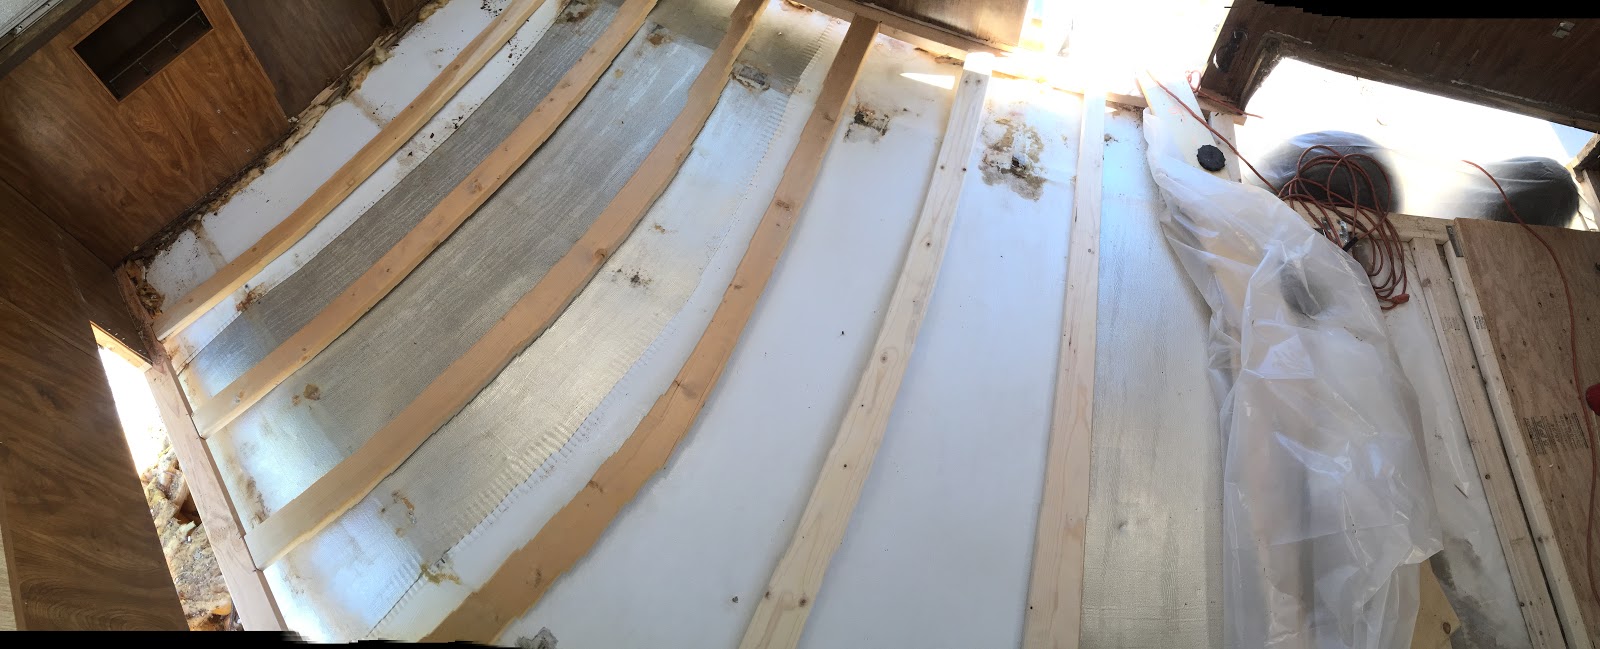
The panoramas look a little wonky but give a wider perspective.
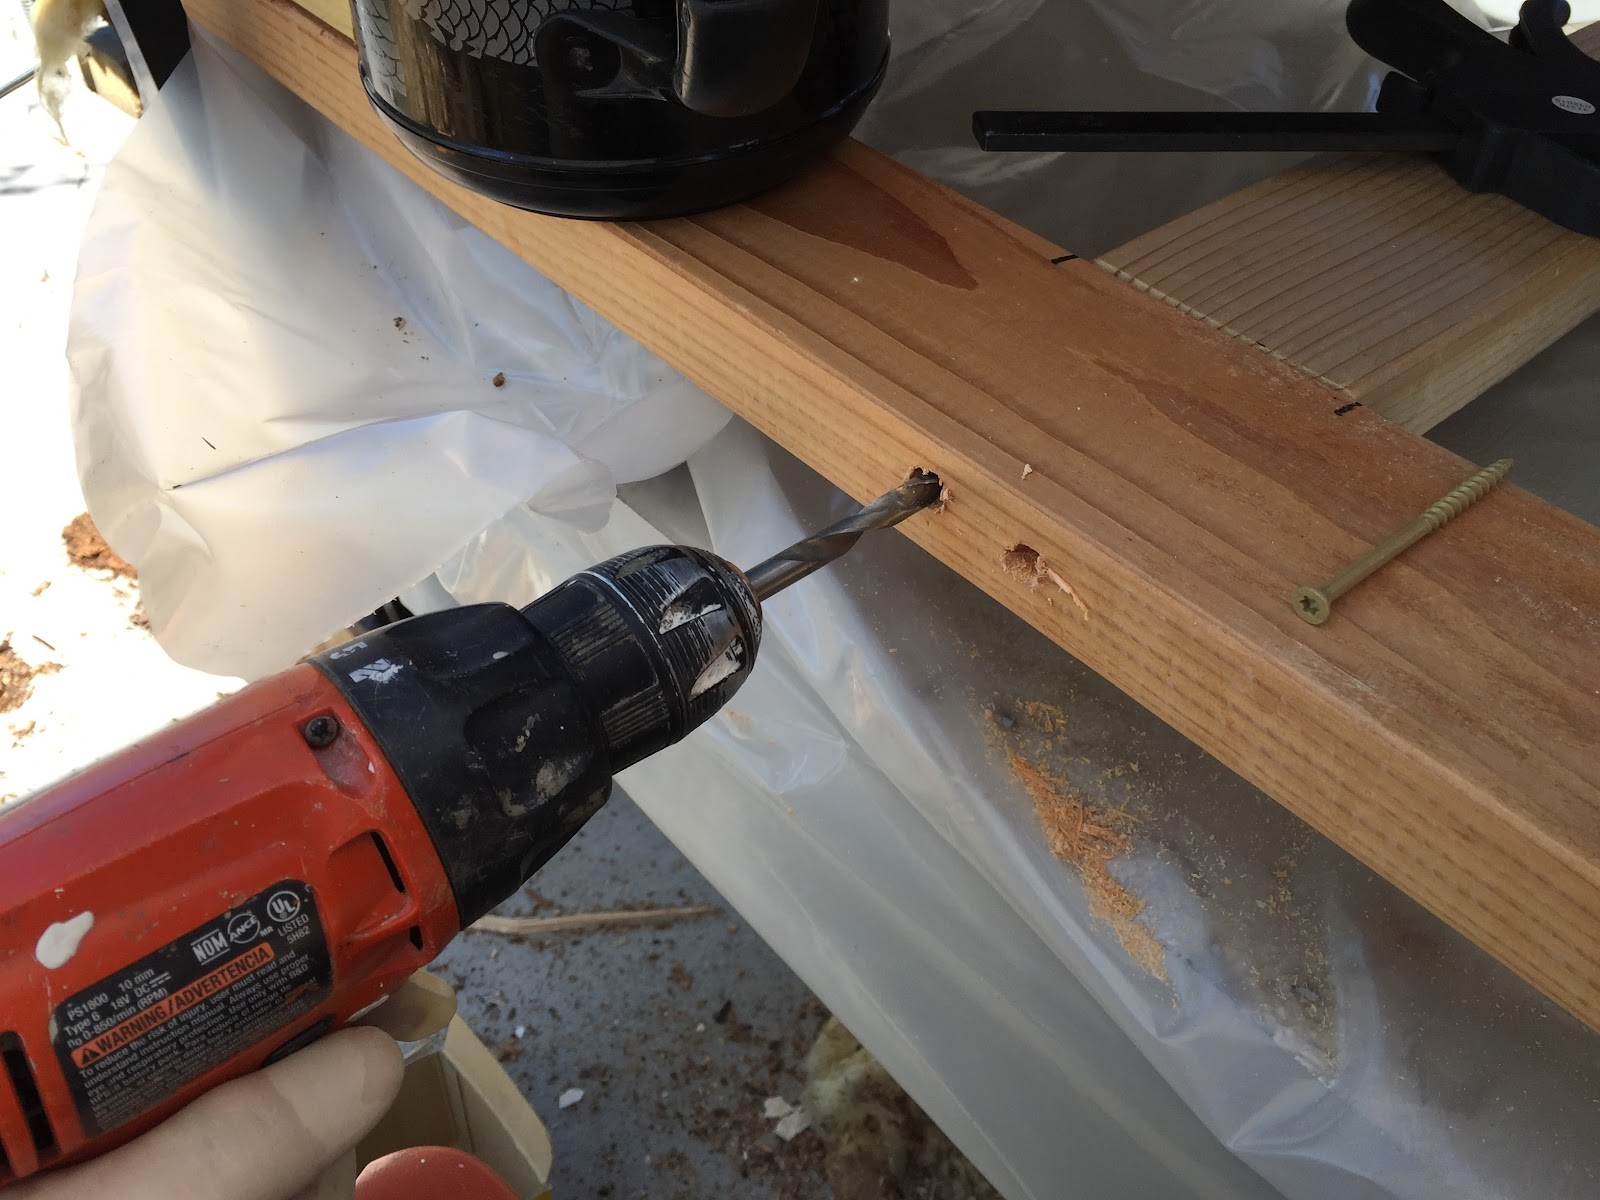
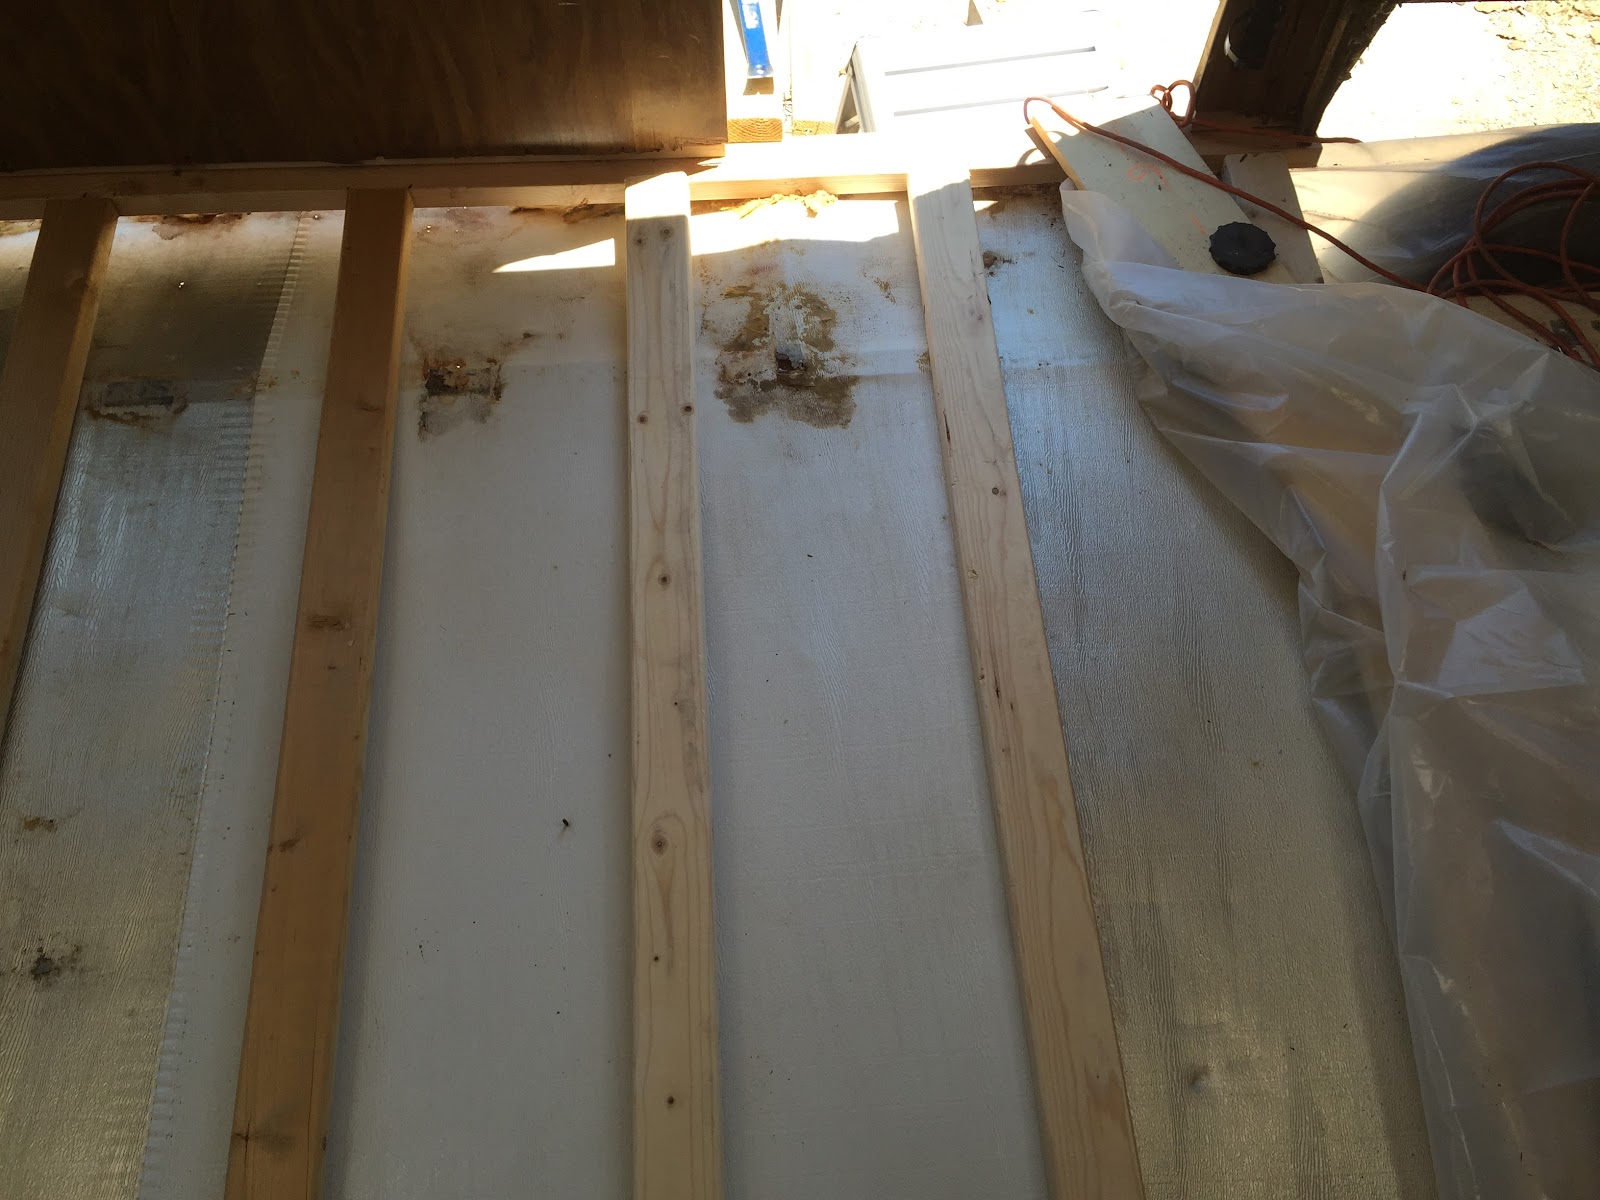
I drilled in half way before using decking screws (water resistant, stronger than brass grabbers) then screwed the floor joists in to the bottom plates.
Plastic foam and 3/4″ plywood complete the job.

The bottom plate in the wall above the wheels was a bit dry rotted but not completely compromised so I glued and screwed a 2×2 on the interior to provide added support for the wall and new wheel well.
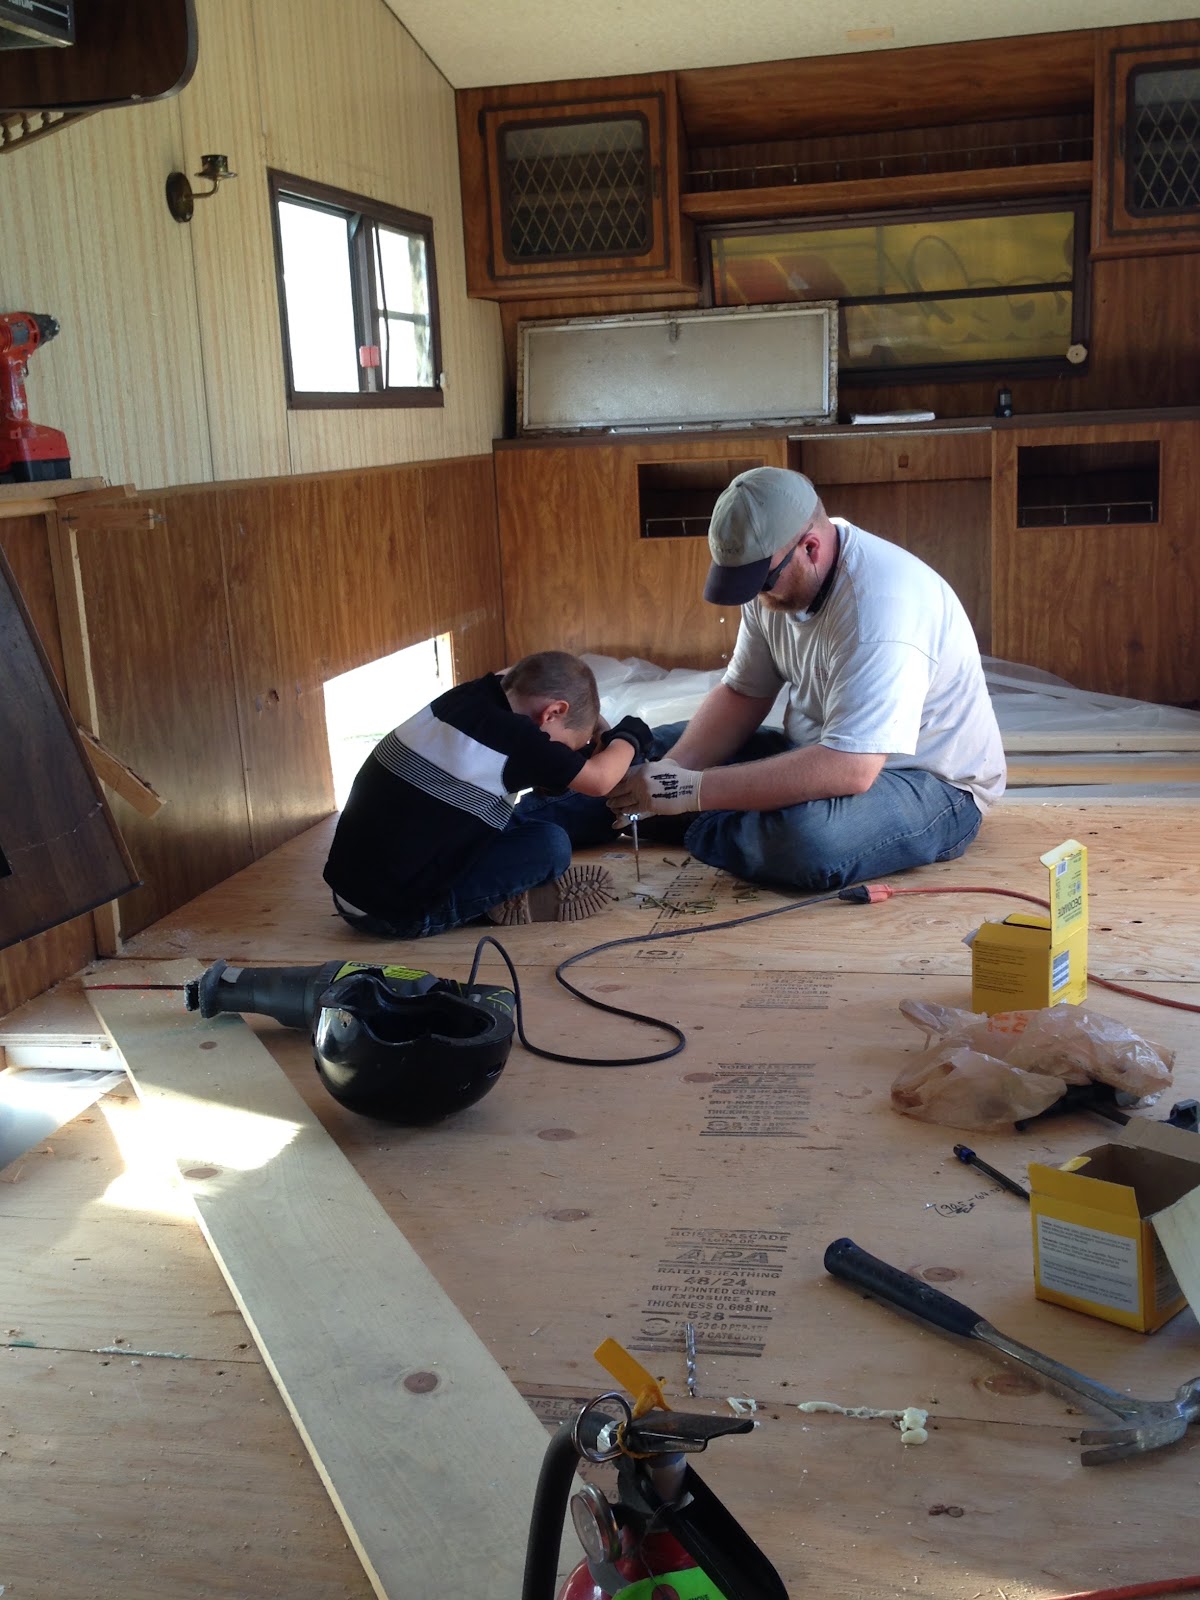
Finishing the new subfloor. A milestone in the trailer project.