Trailer – Replacing bottom of walls – new subfloor structure

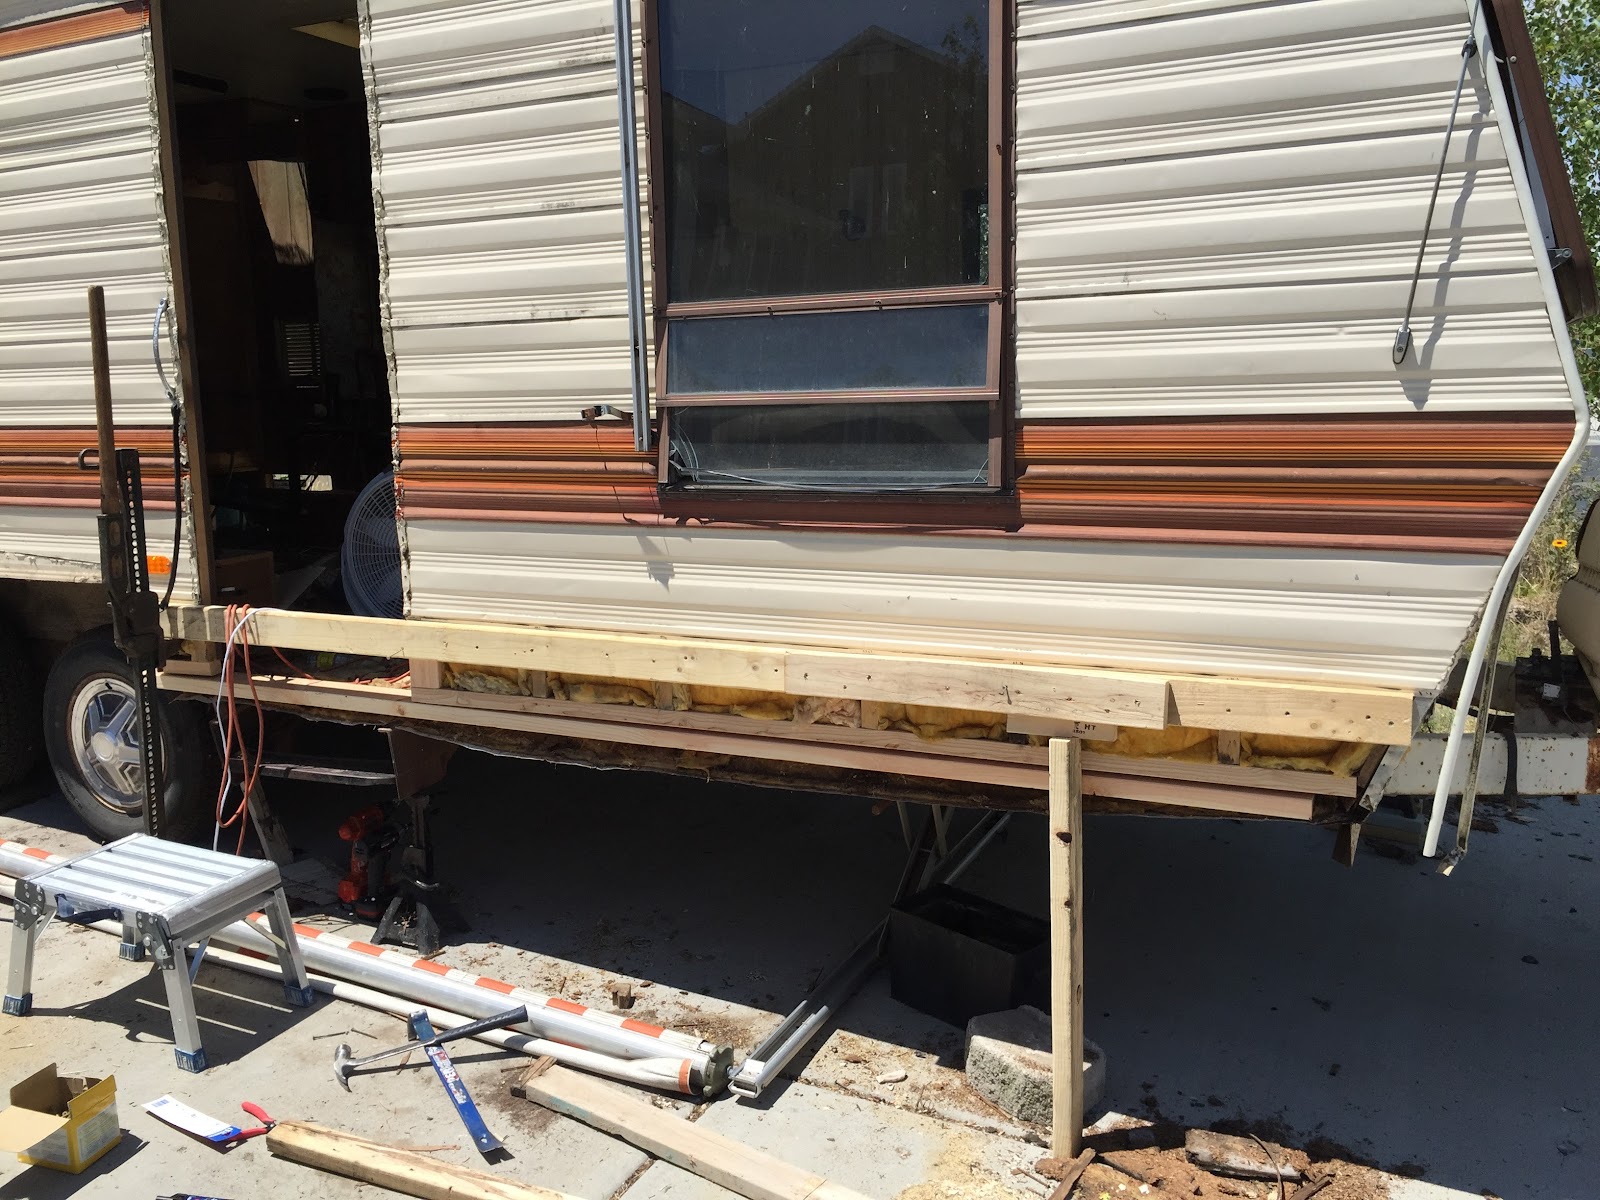
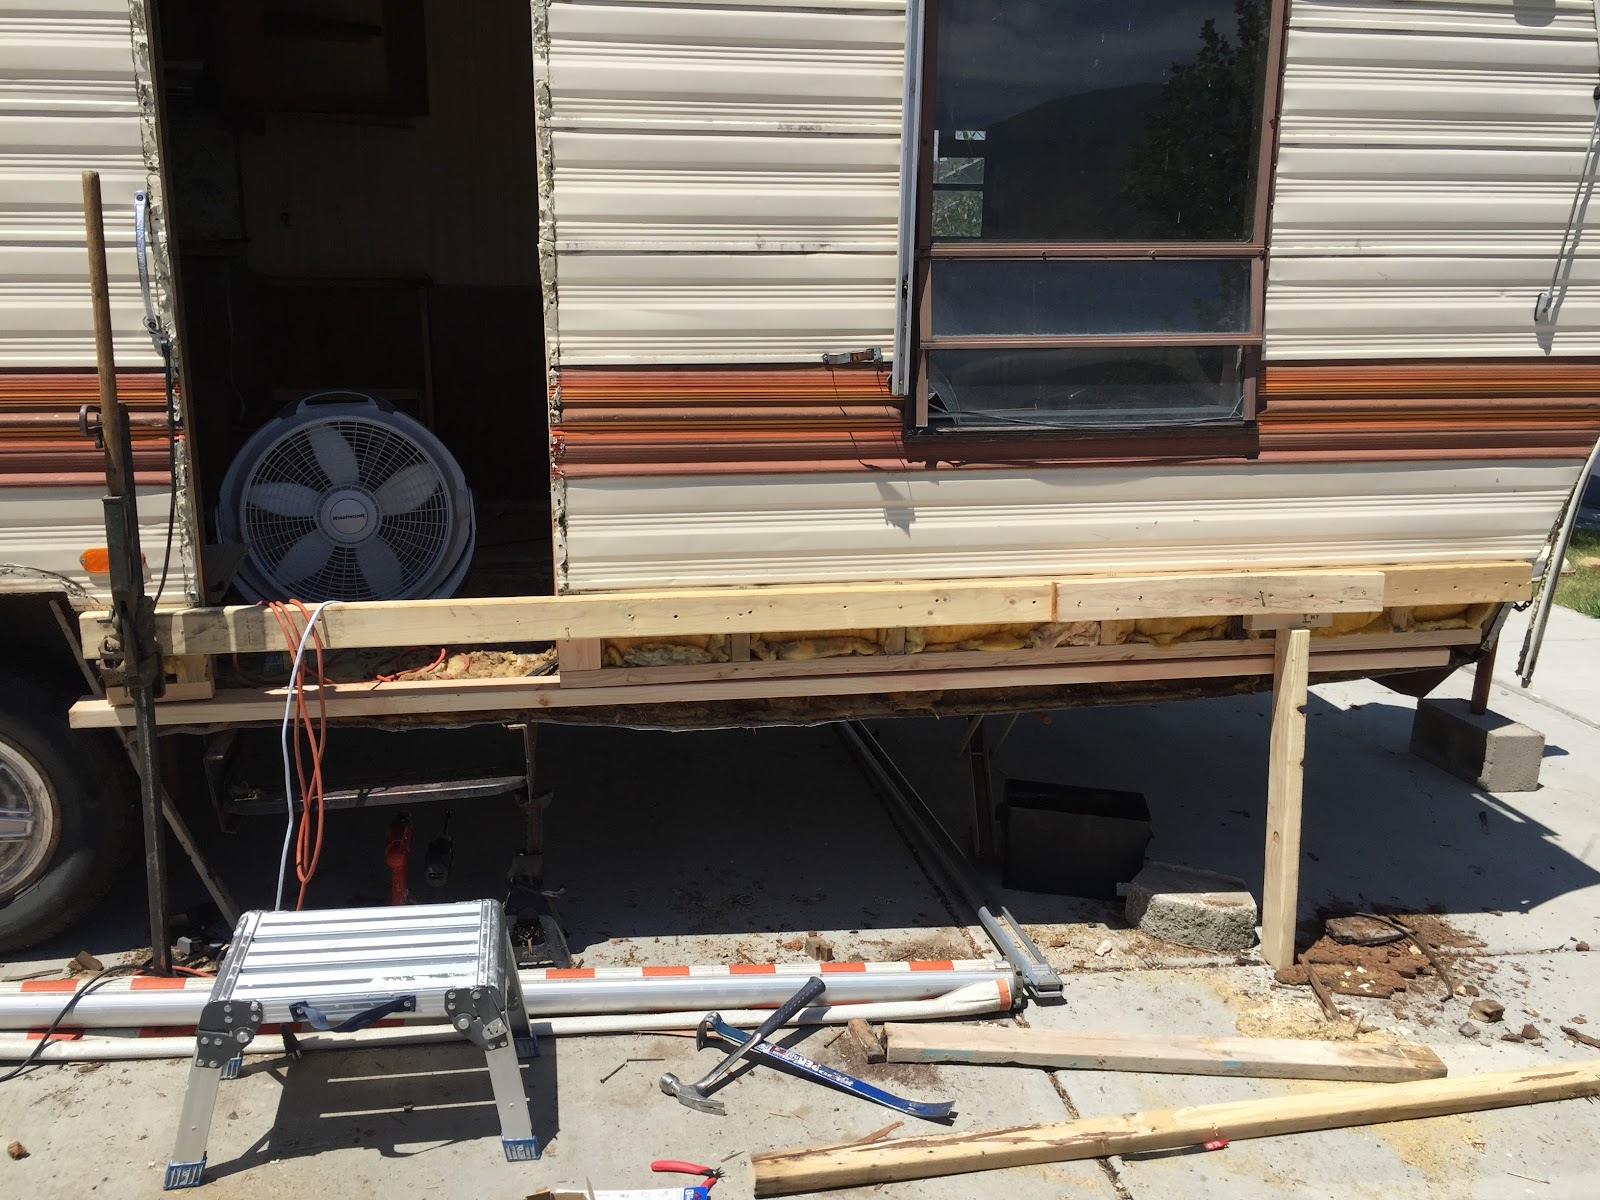
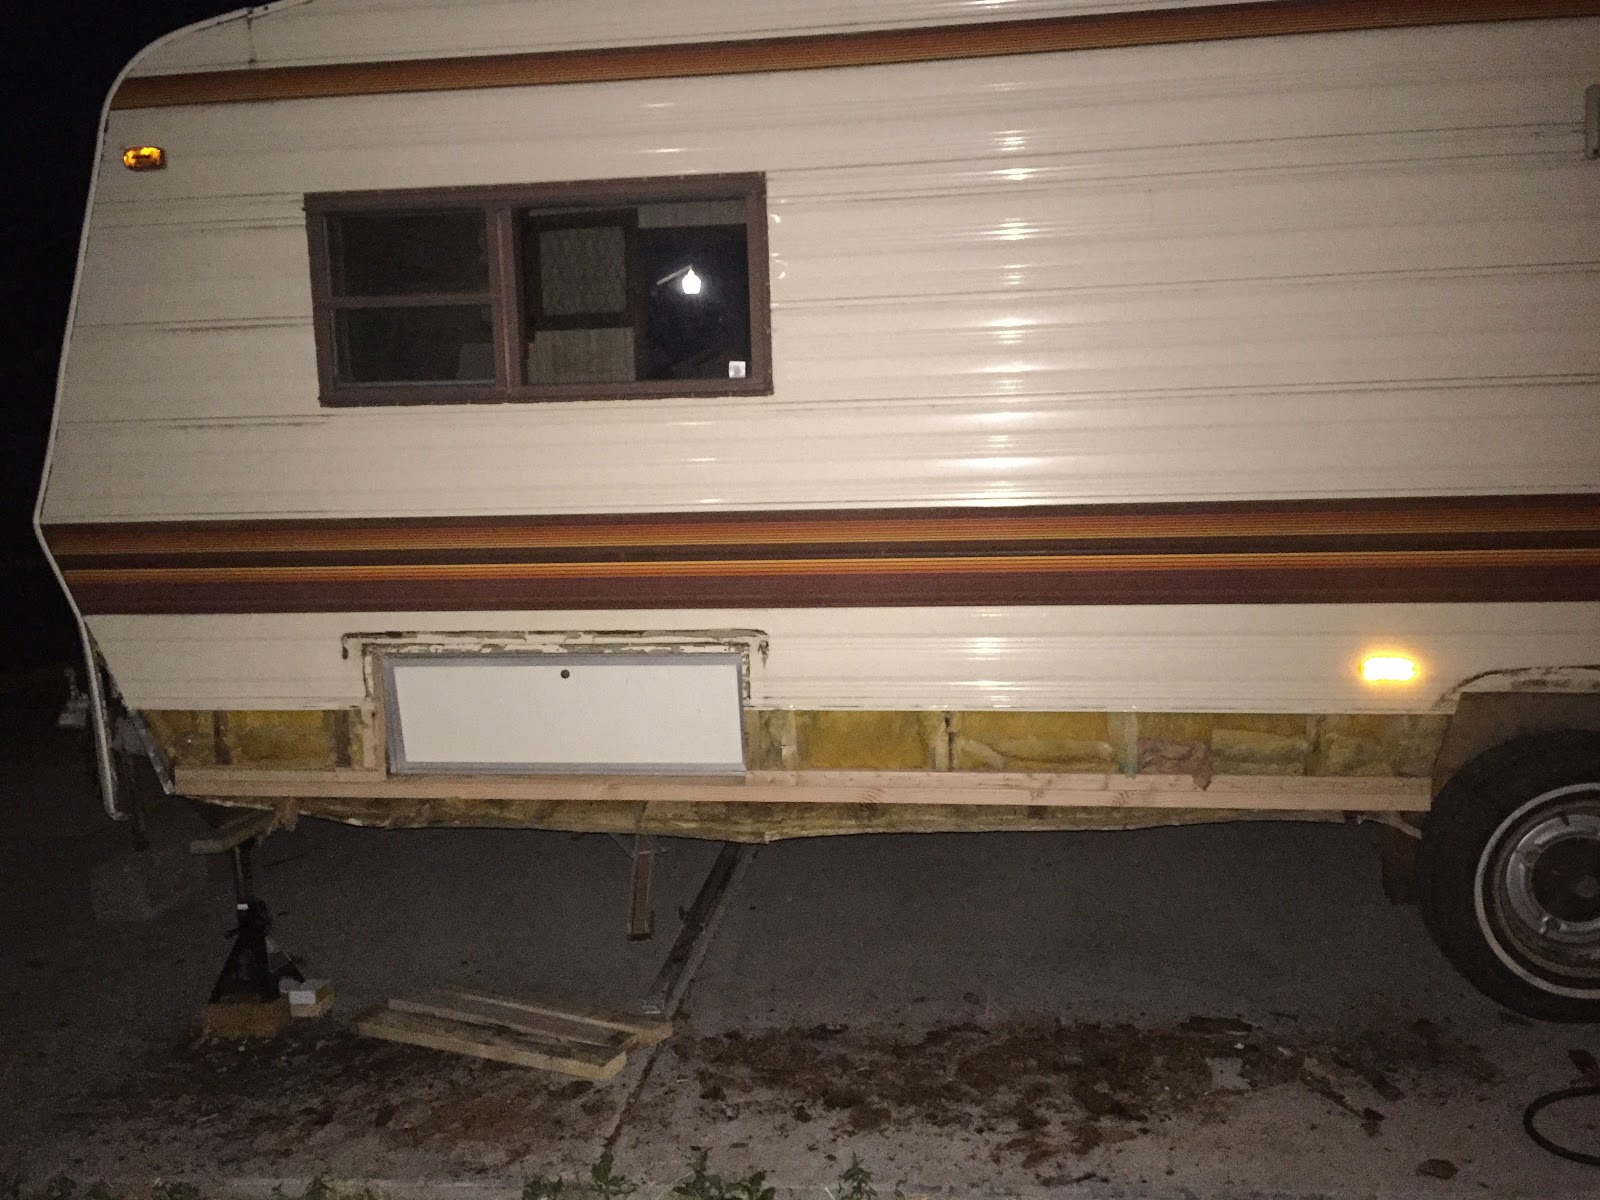
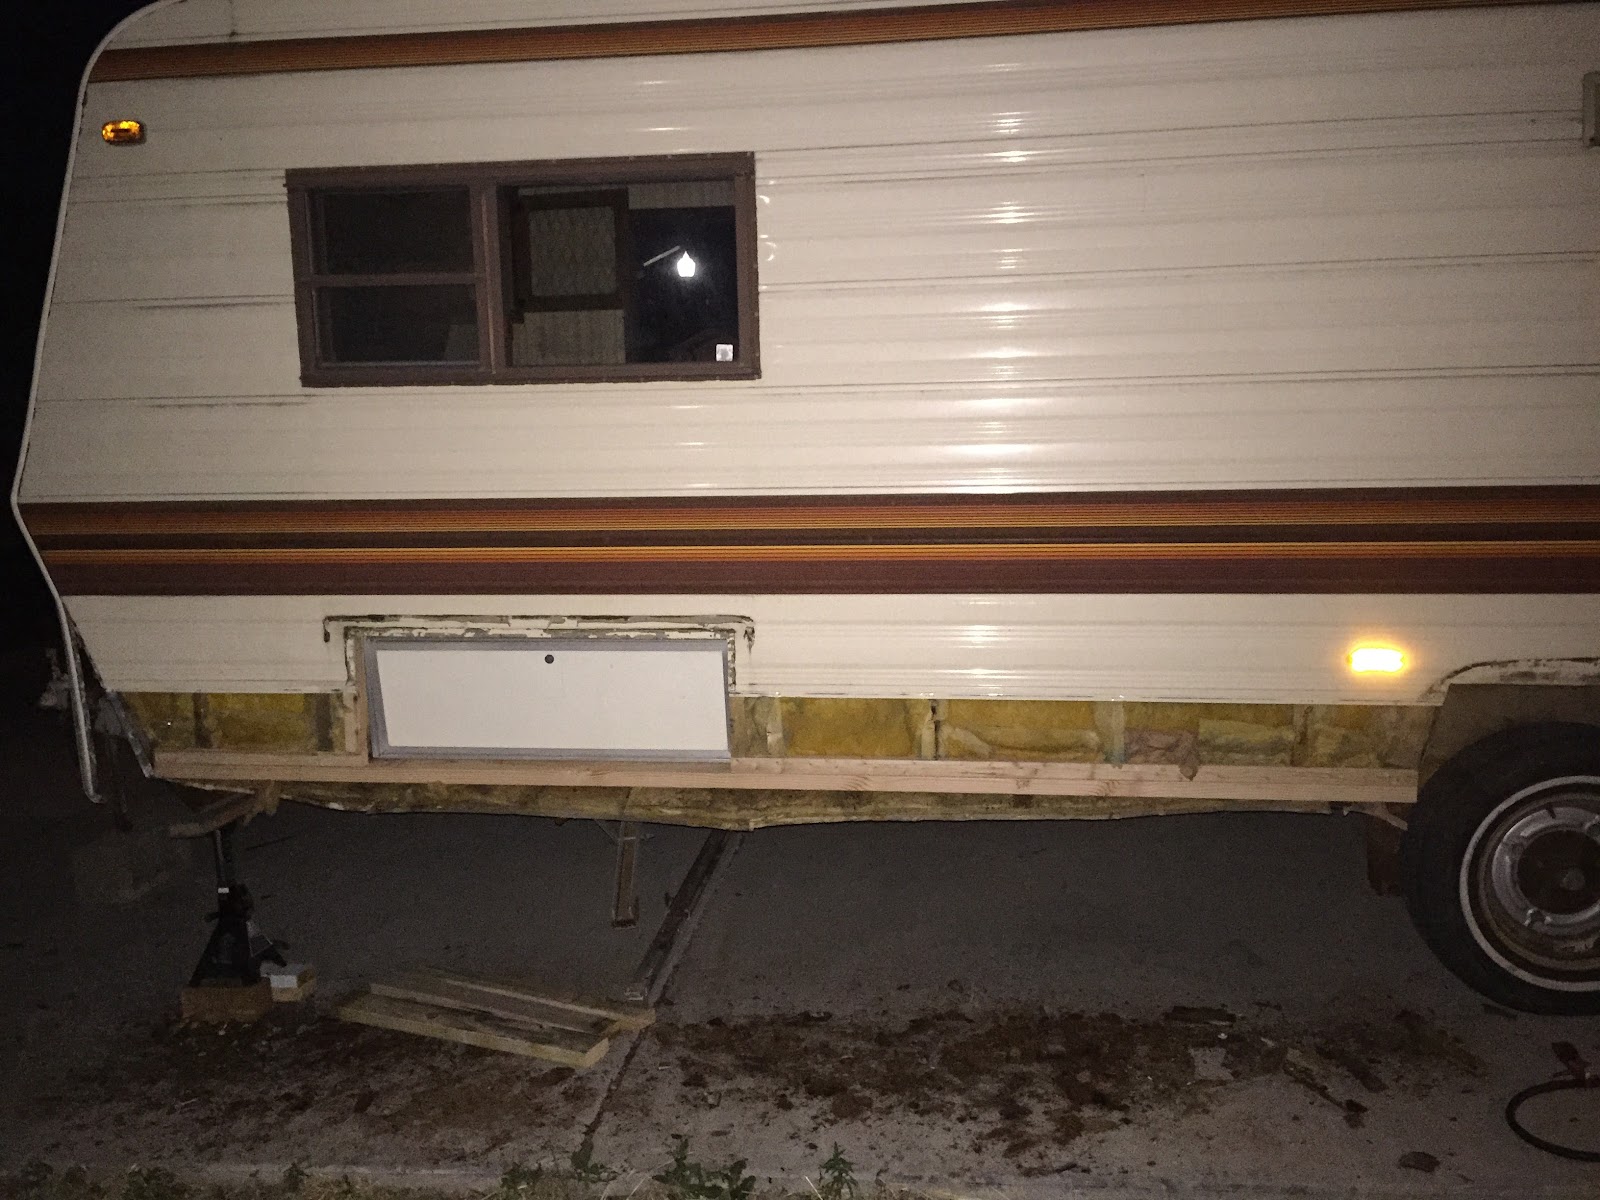
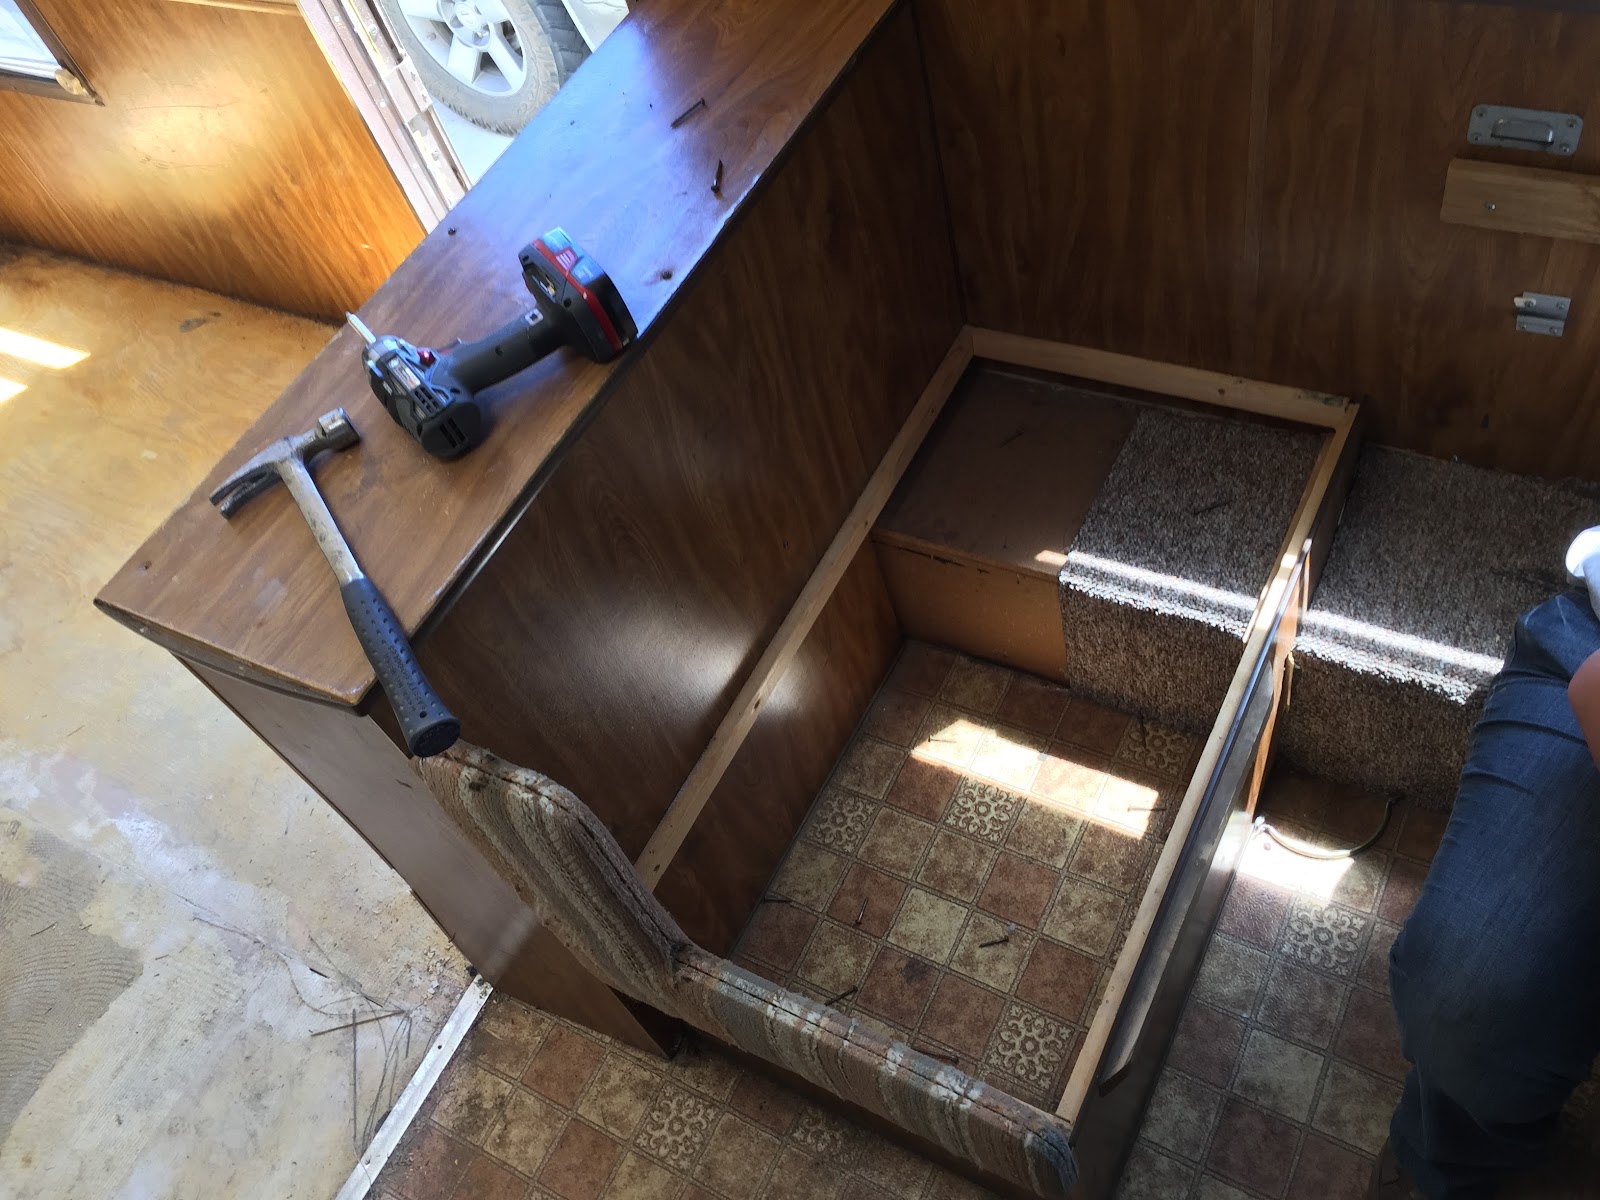
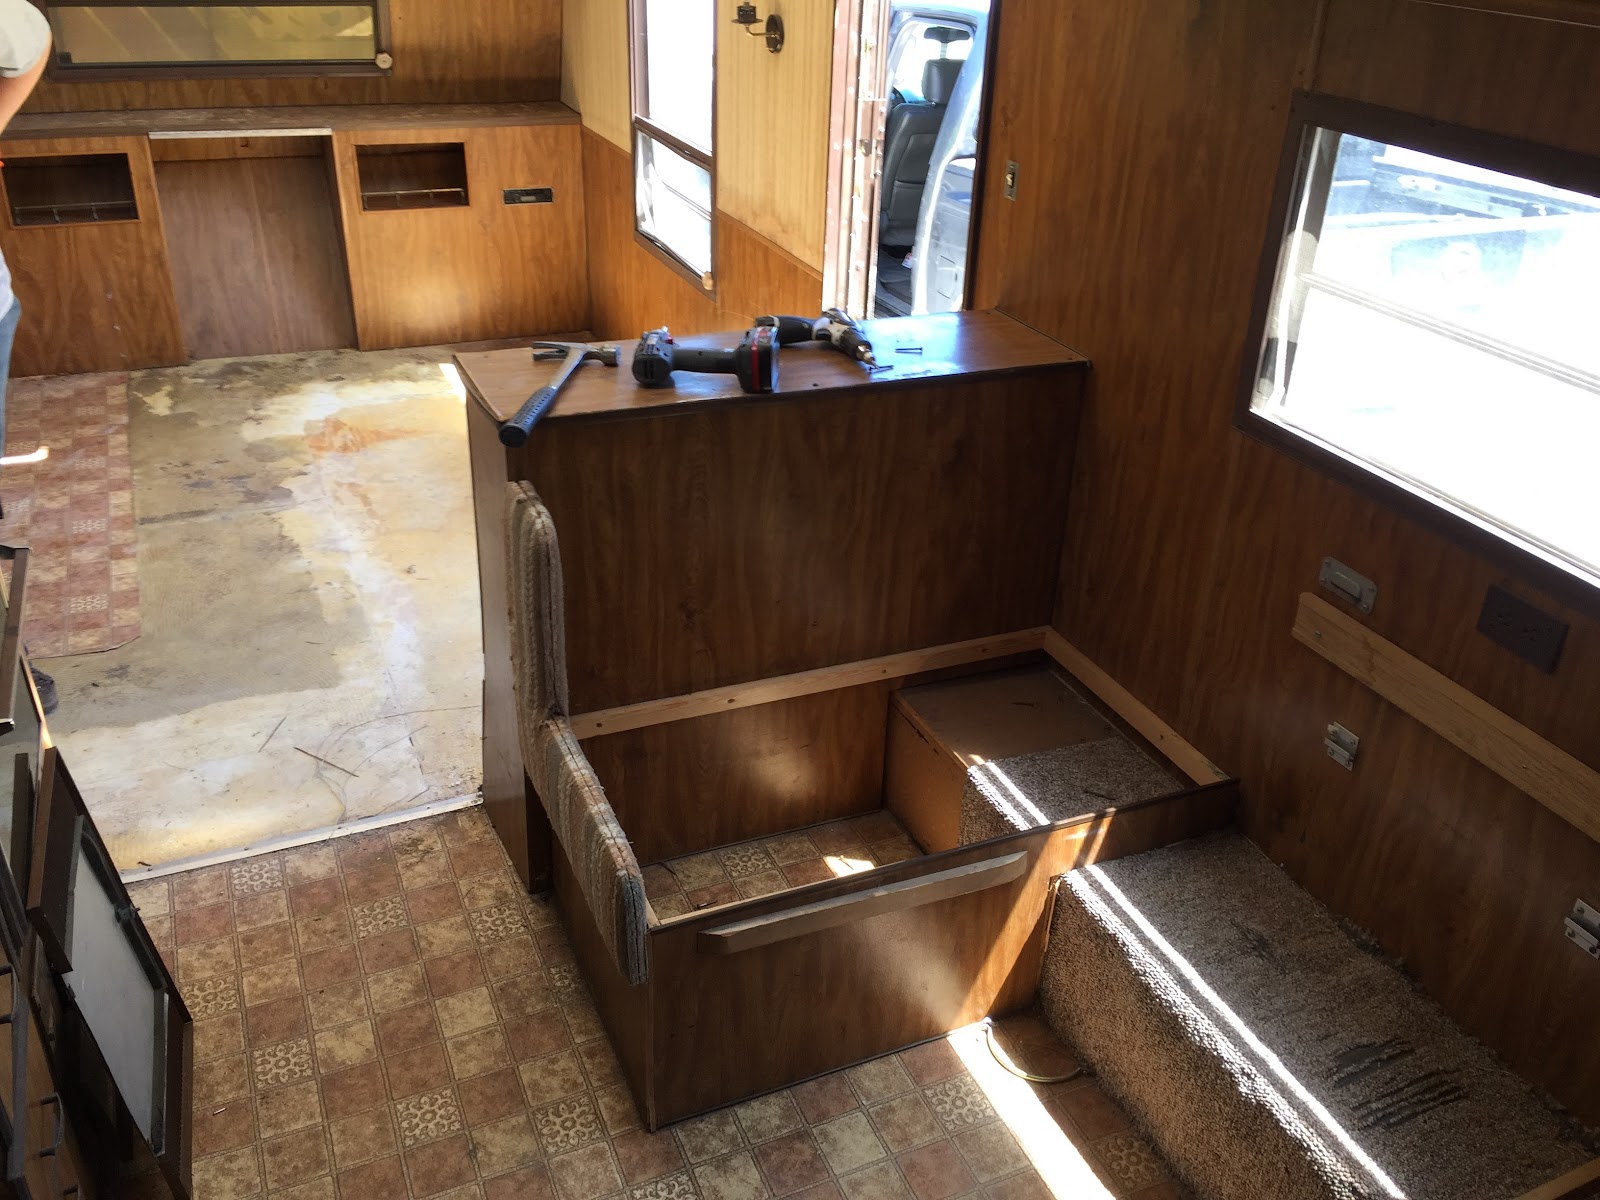
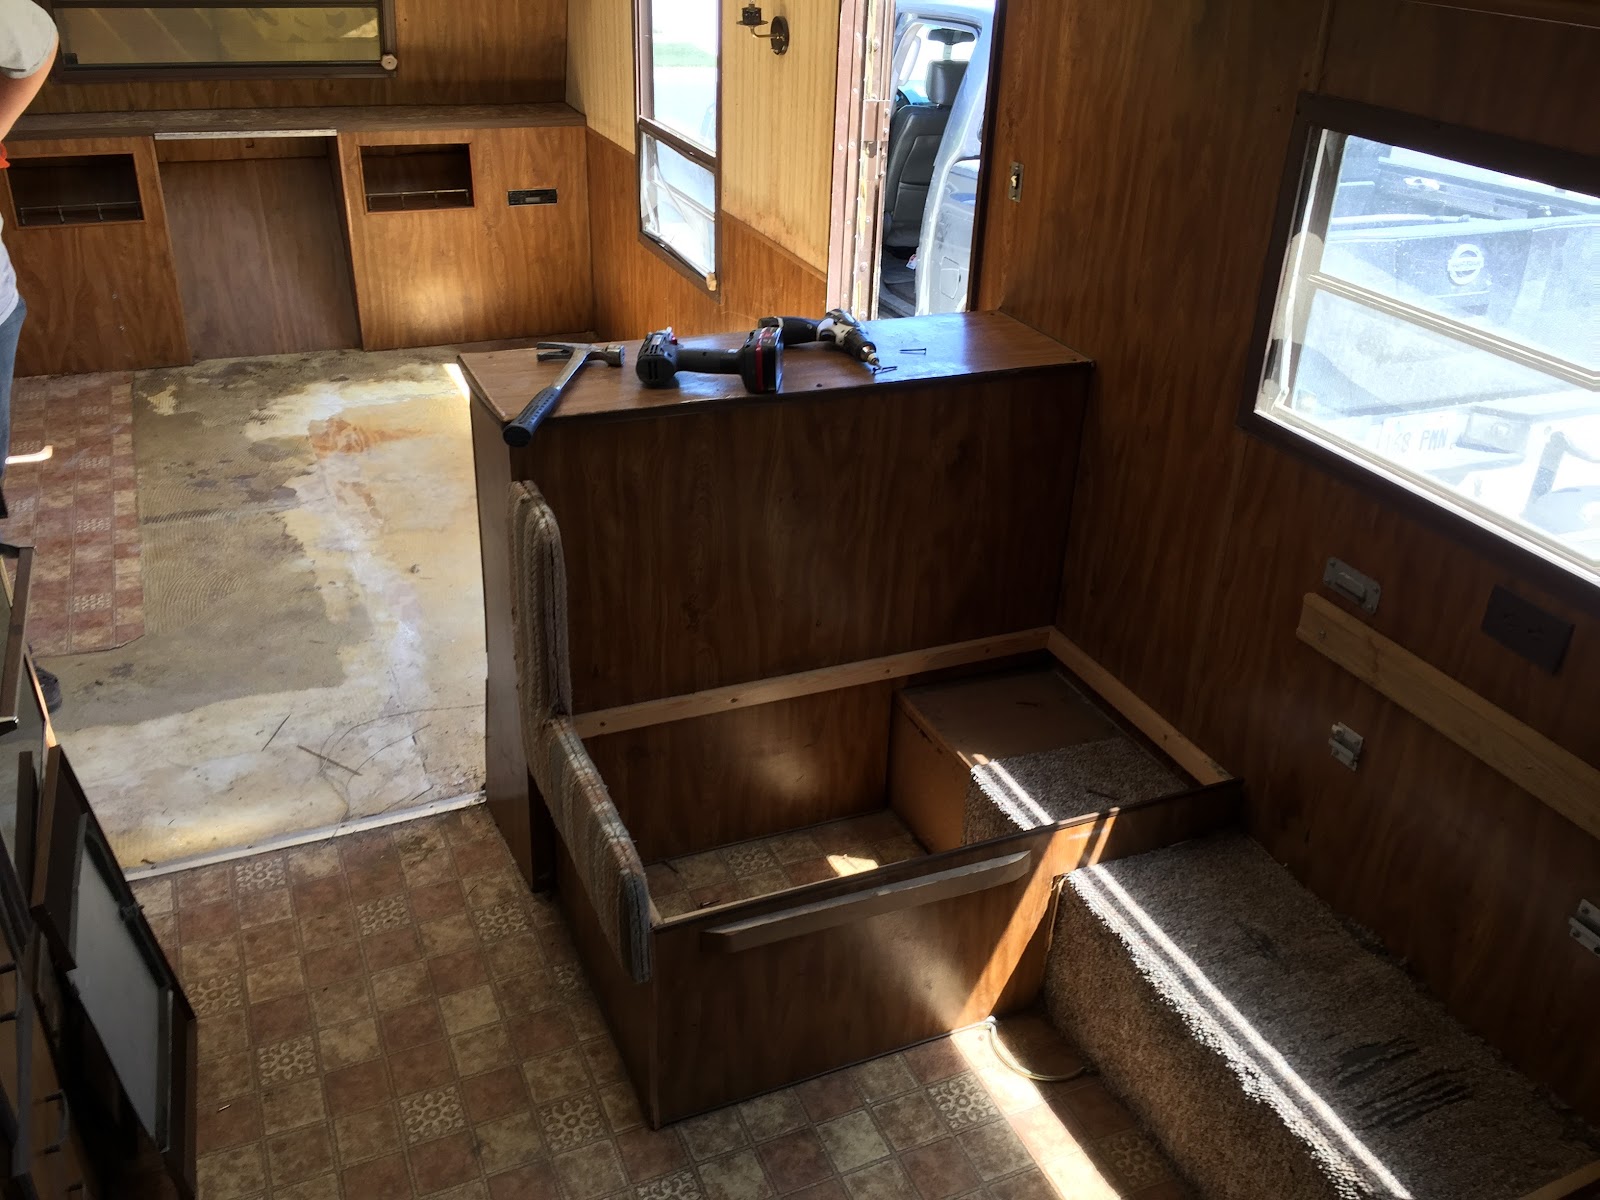
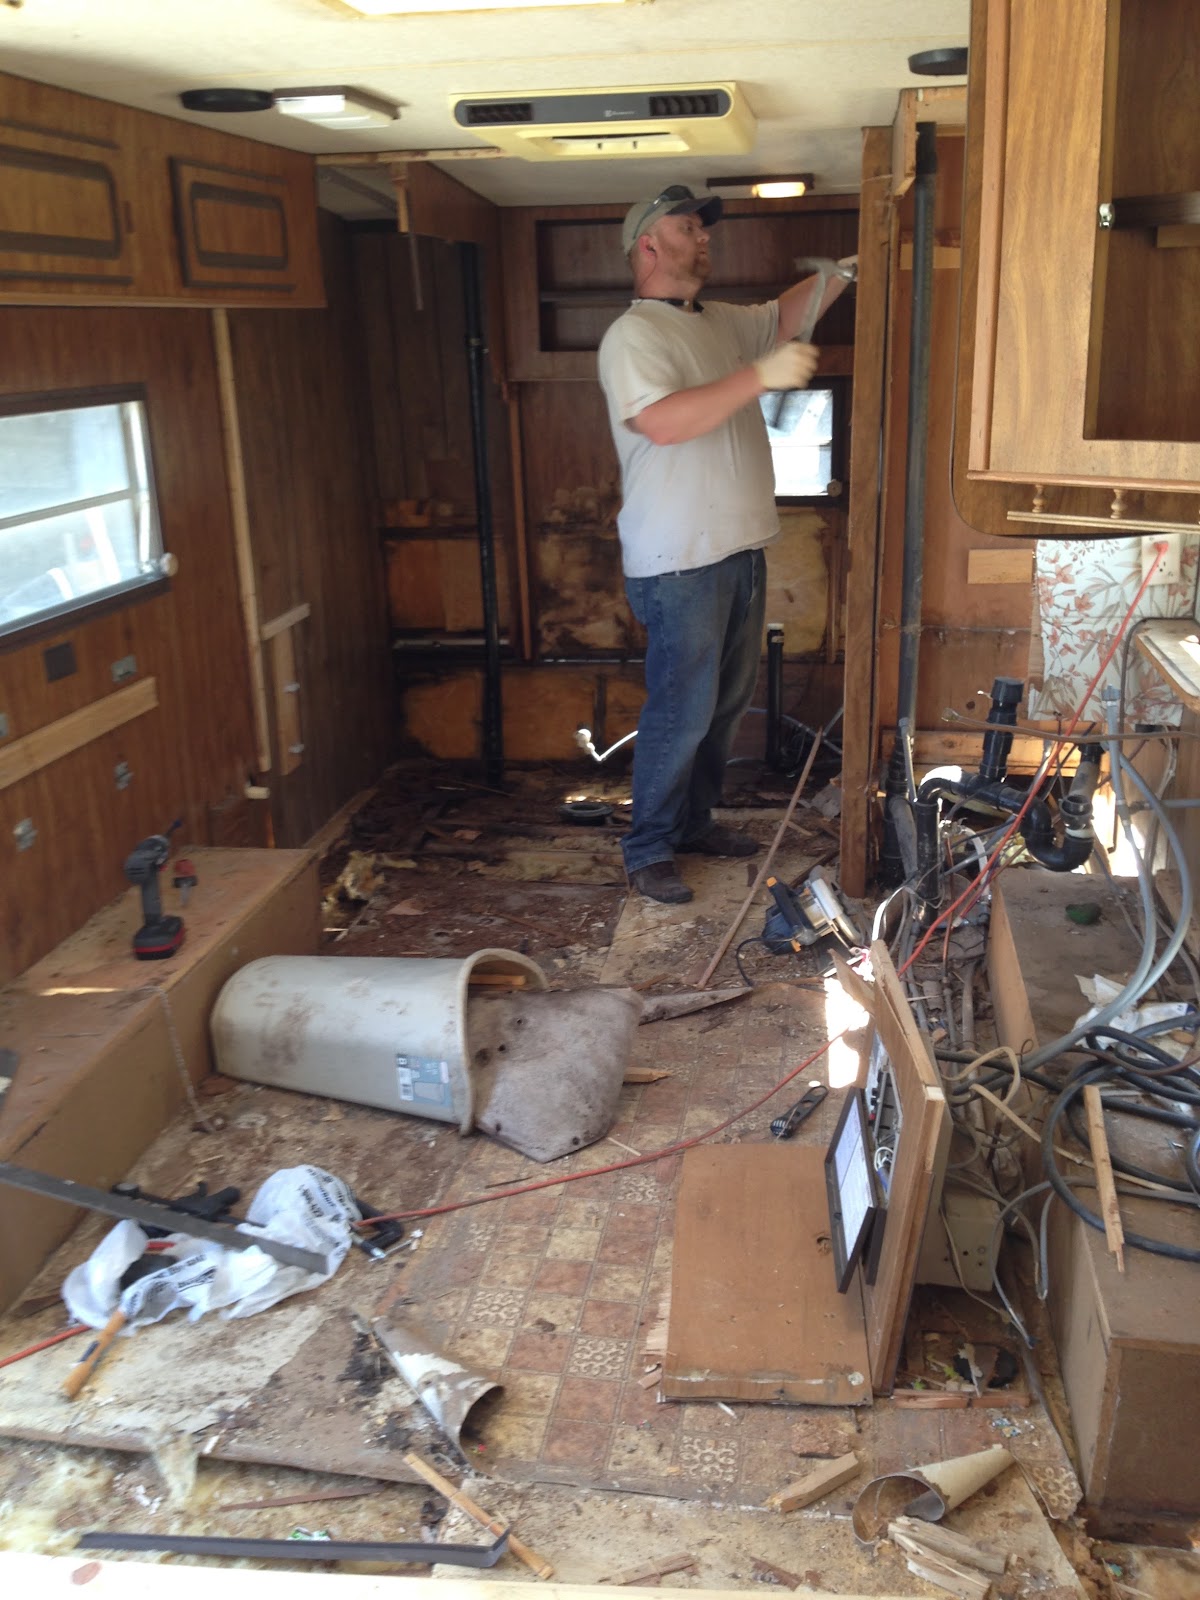
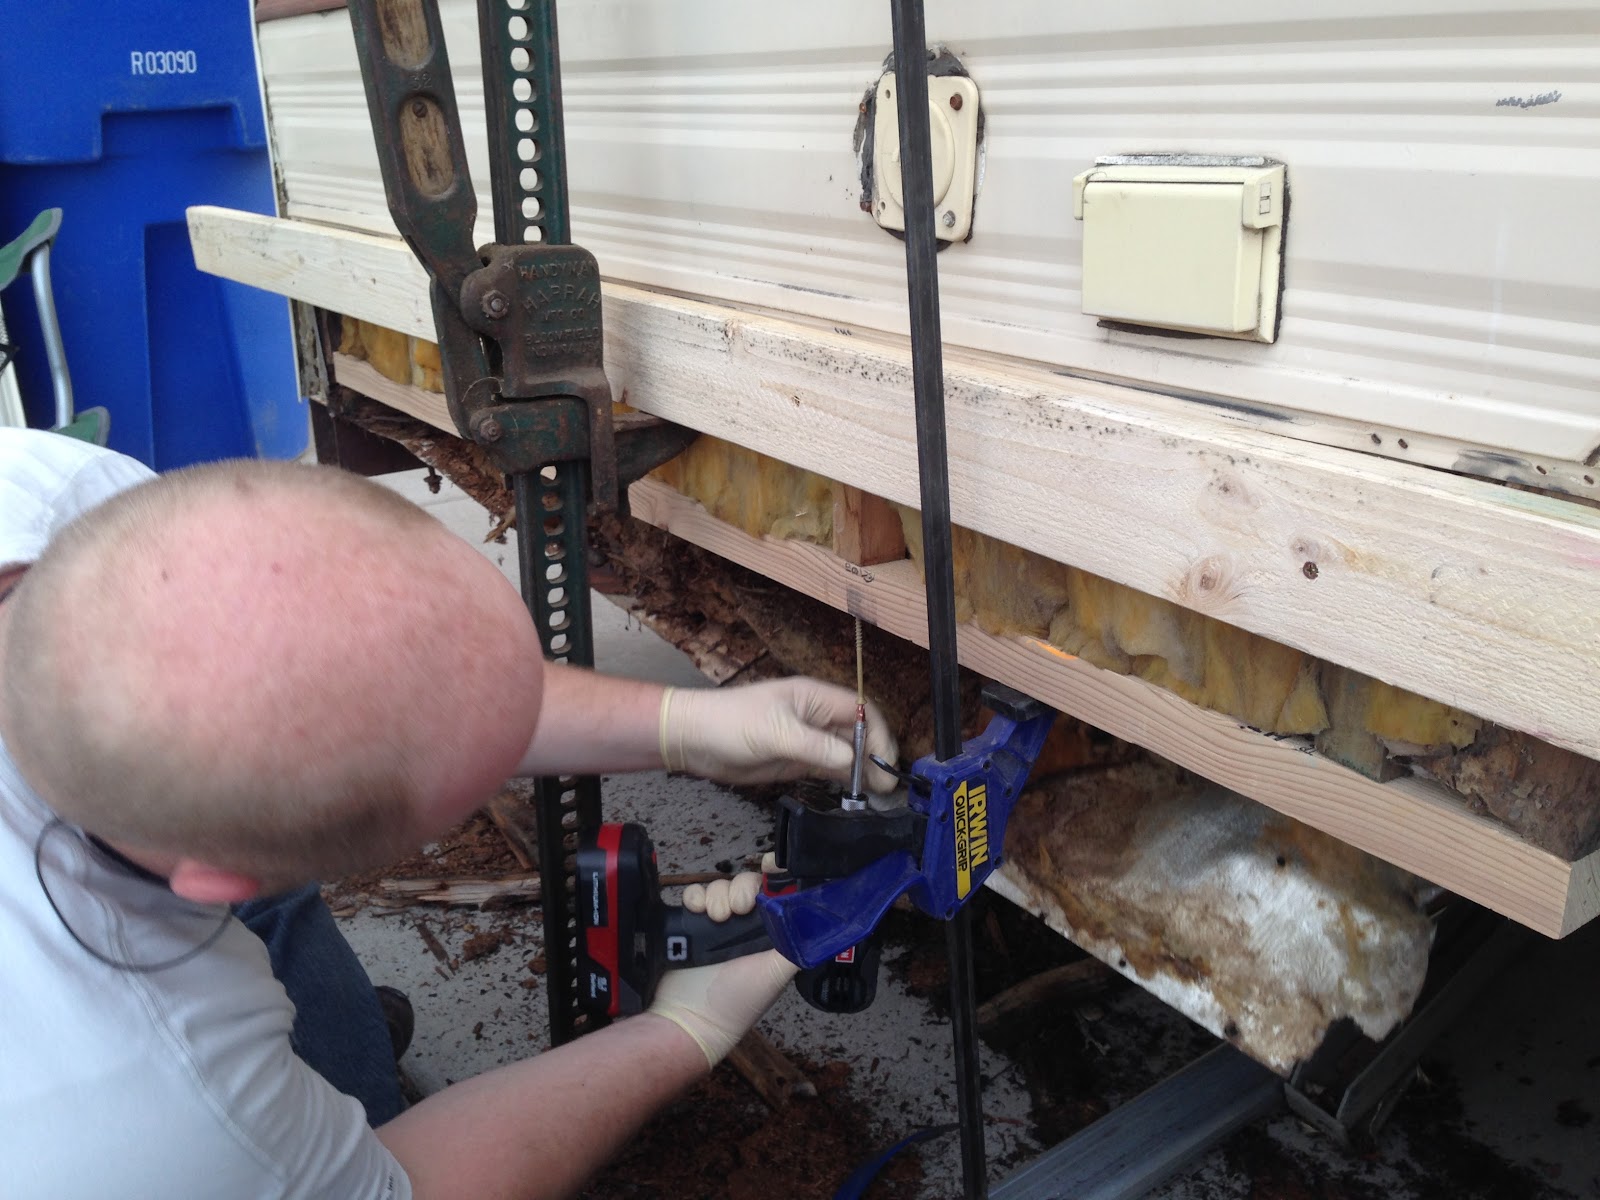
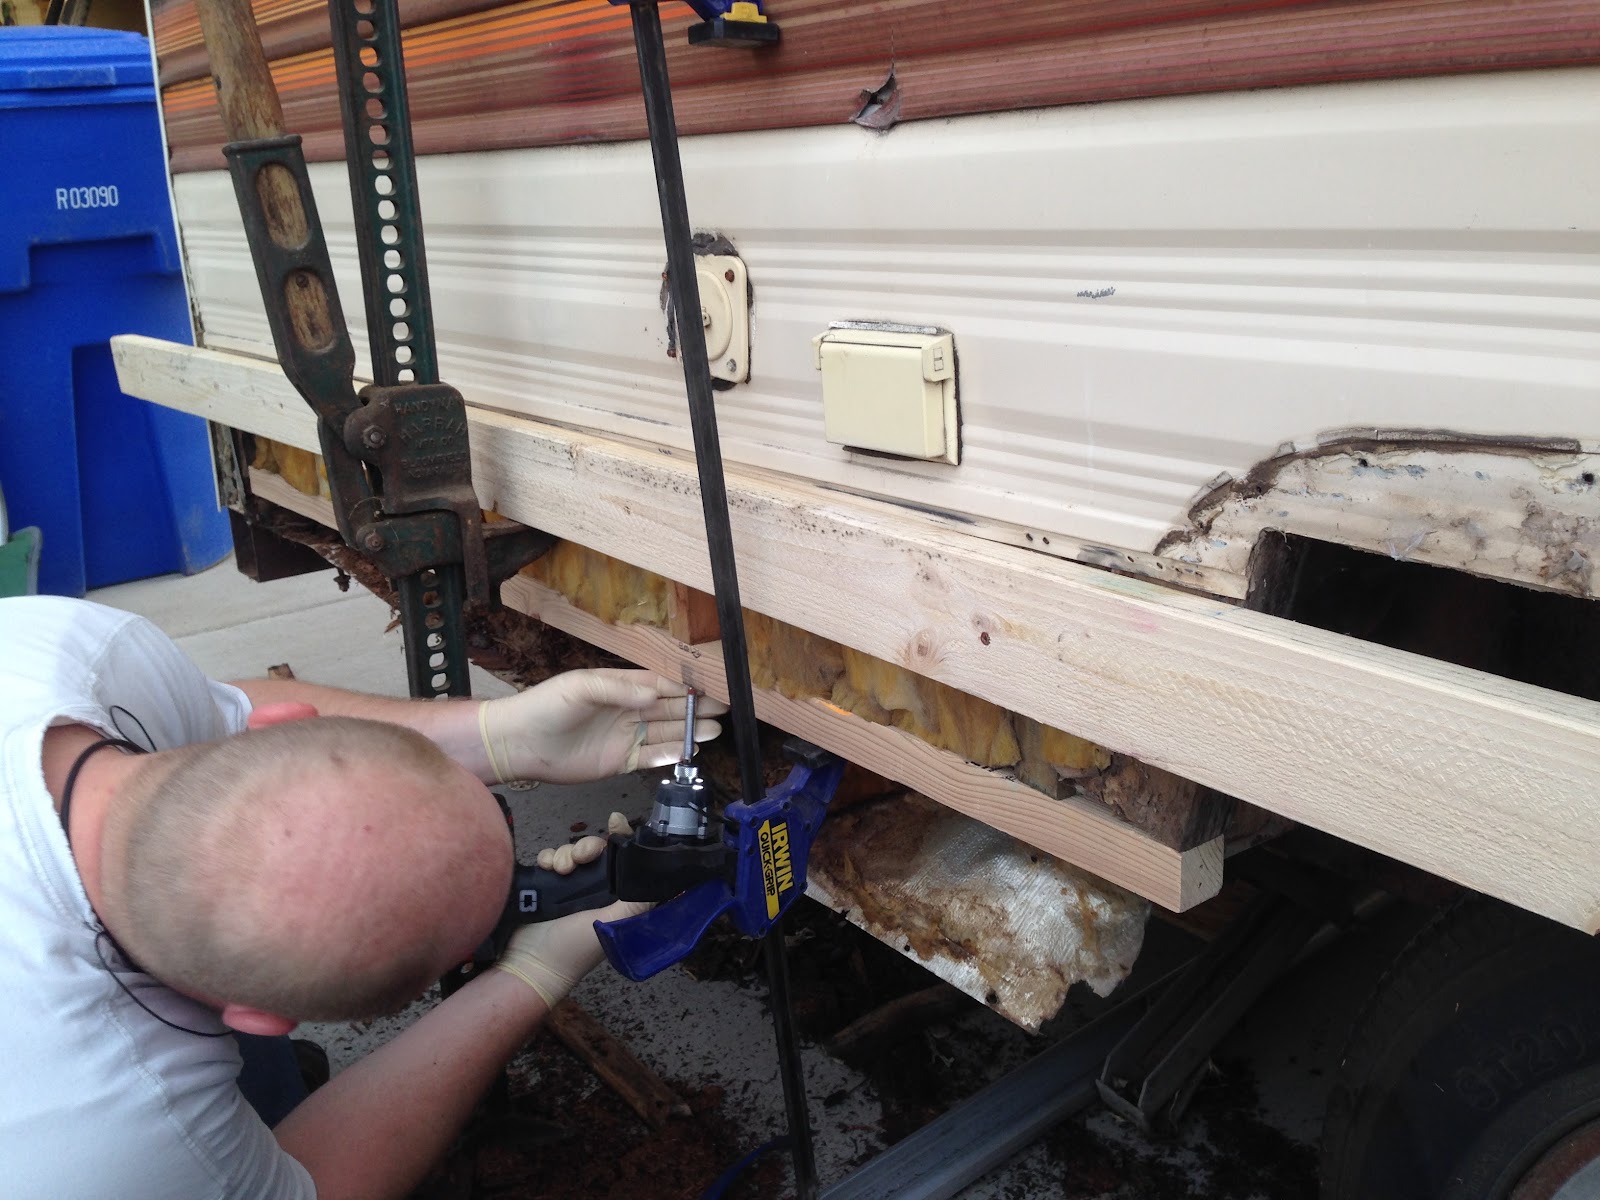
We wasted no time getting to work on the repairs. The old structure had a 2×2 on the bottom, then the 3/4″ particle board subfloor, and a 1×2 bottom plate sandwiched together under the studs. I decided to use a flat 2×4 on the bottom with a 2×2 bottom plate screwed up into the studs. The subfloor would no longer be part of the “sandwich” but would be screwed down into the exposed part of the 2×4. This would allow me to work around the plumbing with the new subfloor inside the trailer. You can see the dust on the ground that used to be the floor and bottom of the walls (completely rotted along the whole trailer). You can see I screwed a 2×4 into the studs and used a high-lift jack to support this section of the wall. I repaired each of the 4 wall sections separately. 

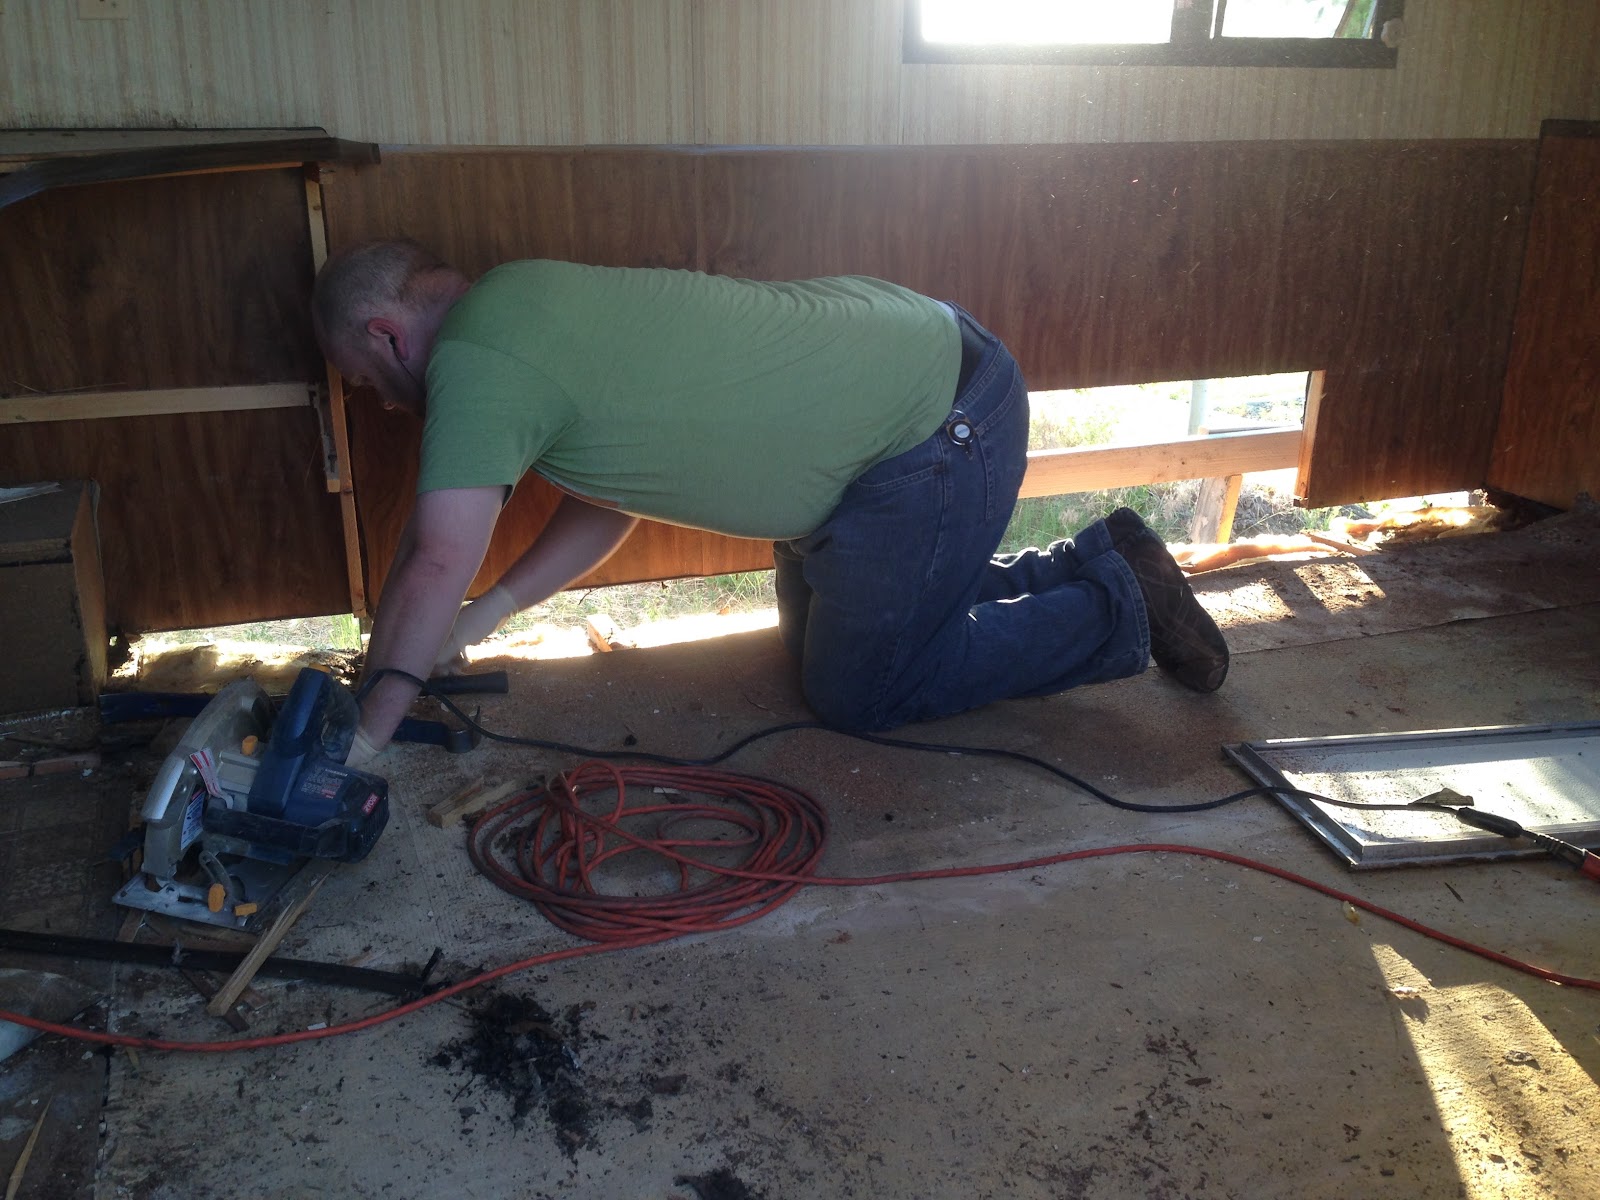
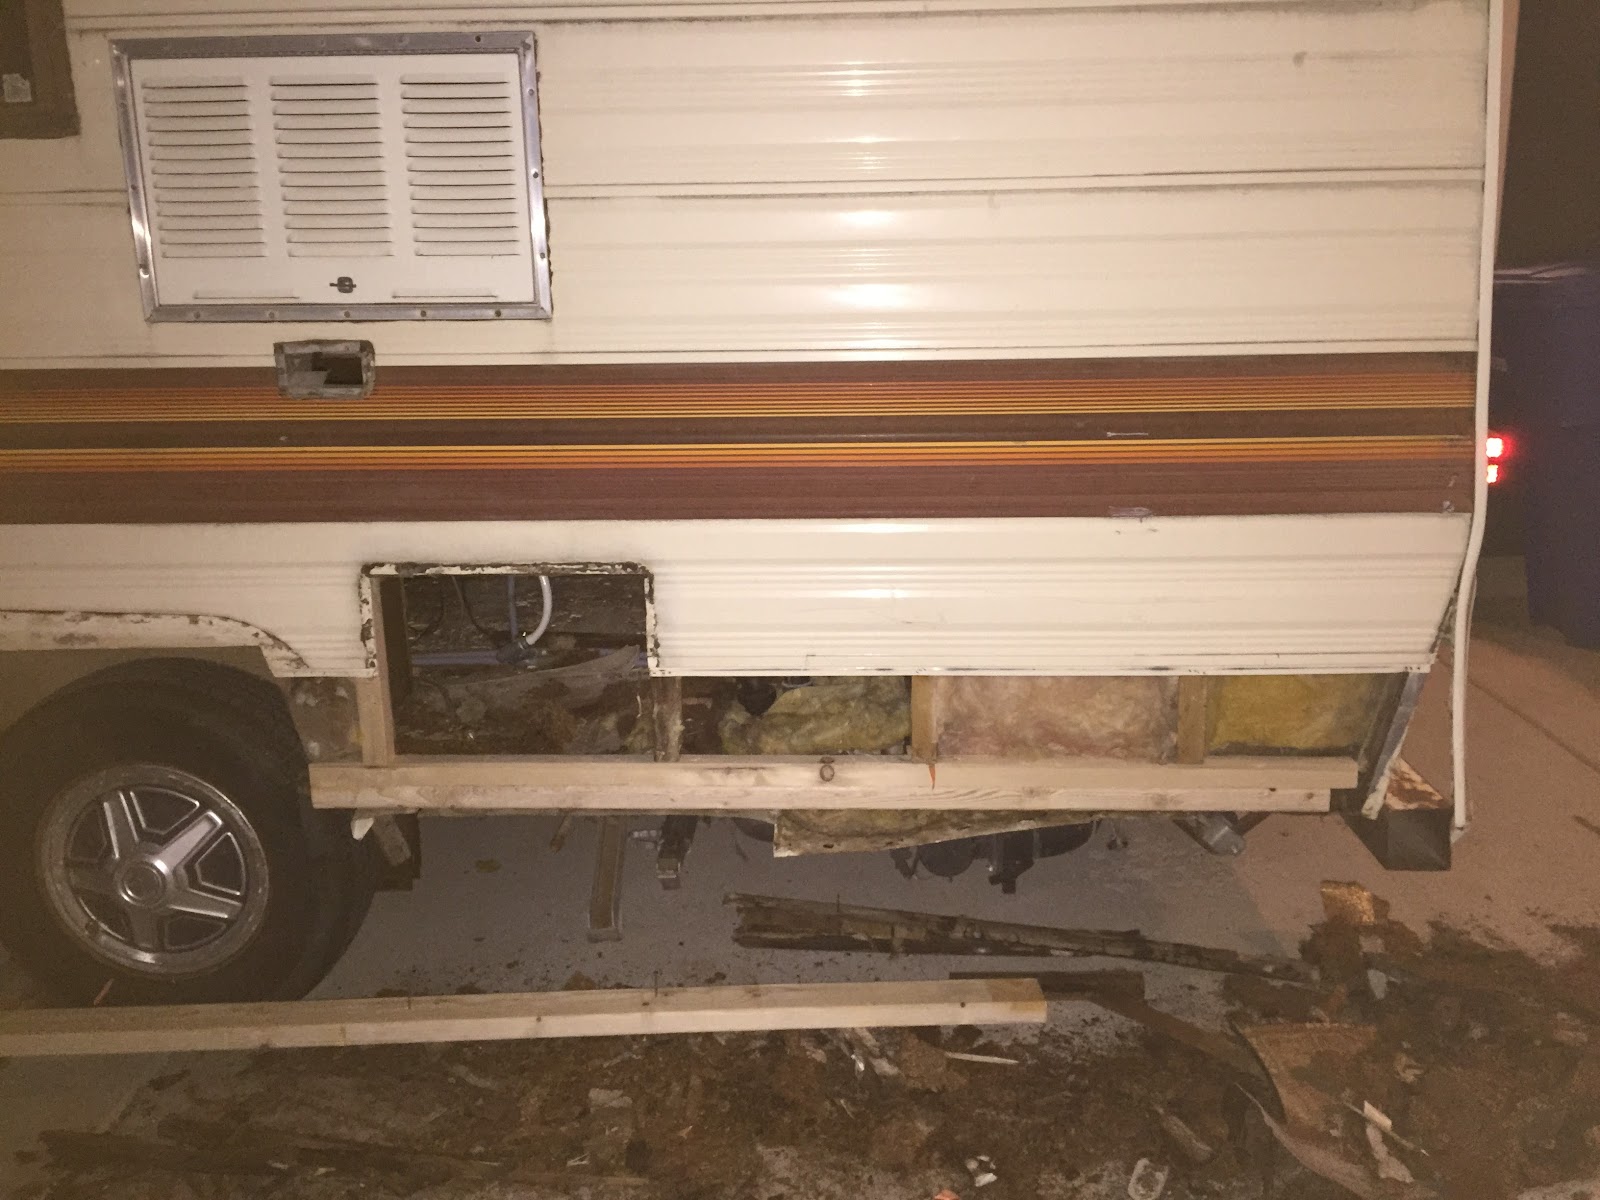
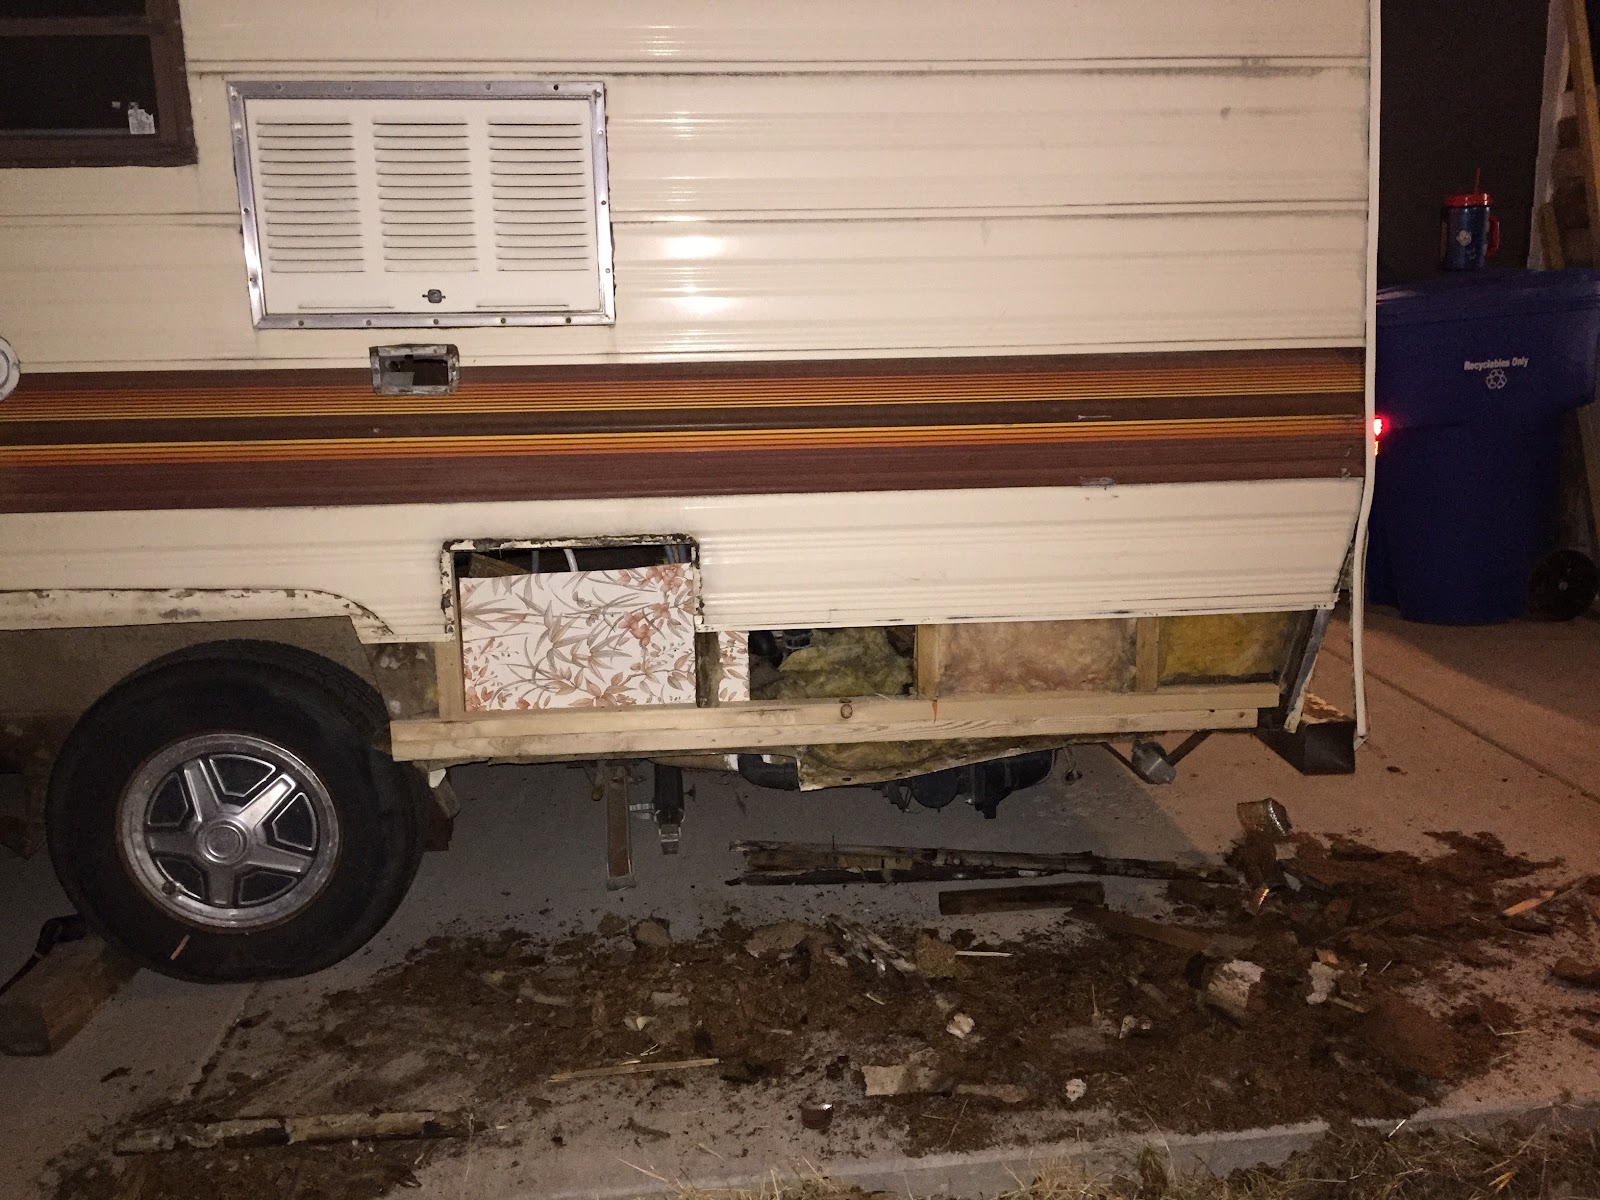
Here I had to cut out the repaired section of the subfloor. It was 3/4″ plywood and was much stronger than the rest of the floor. 

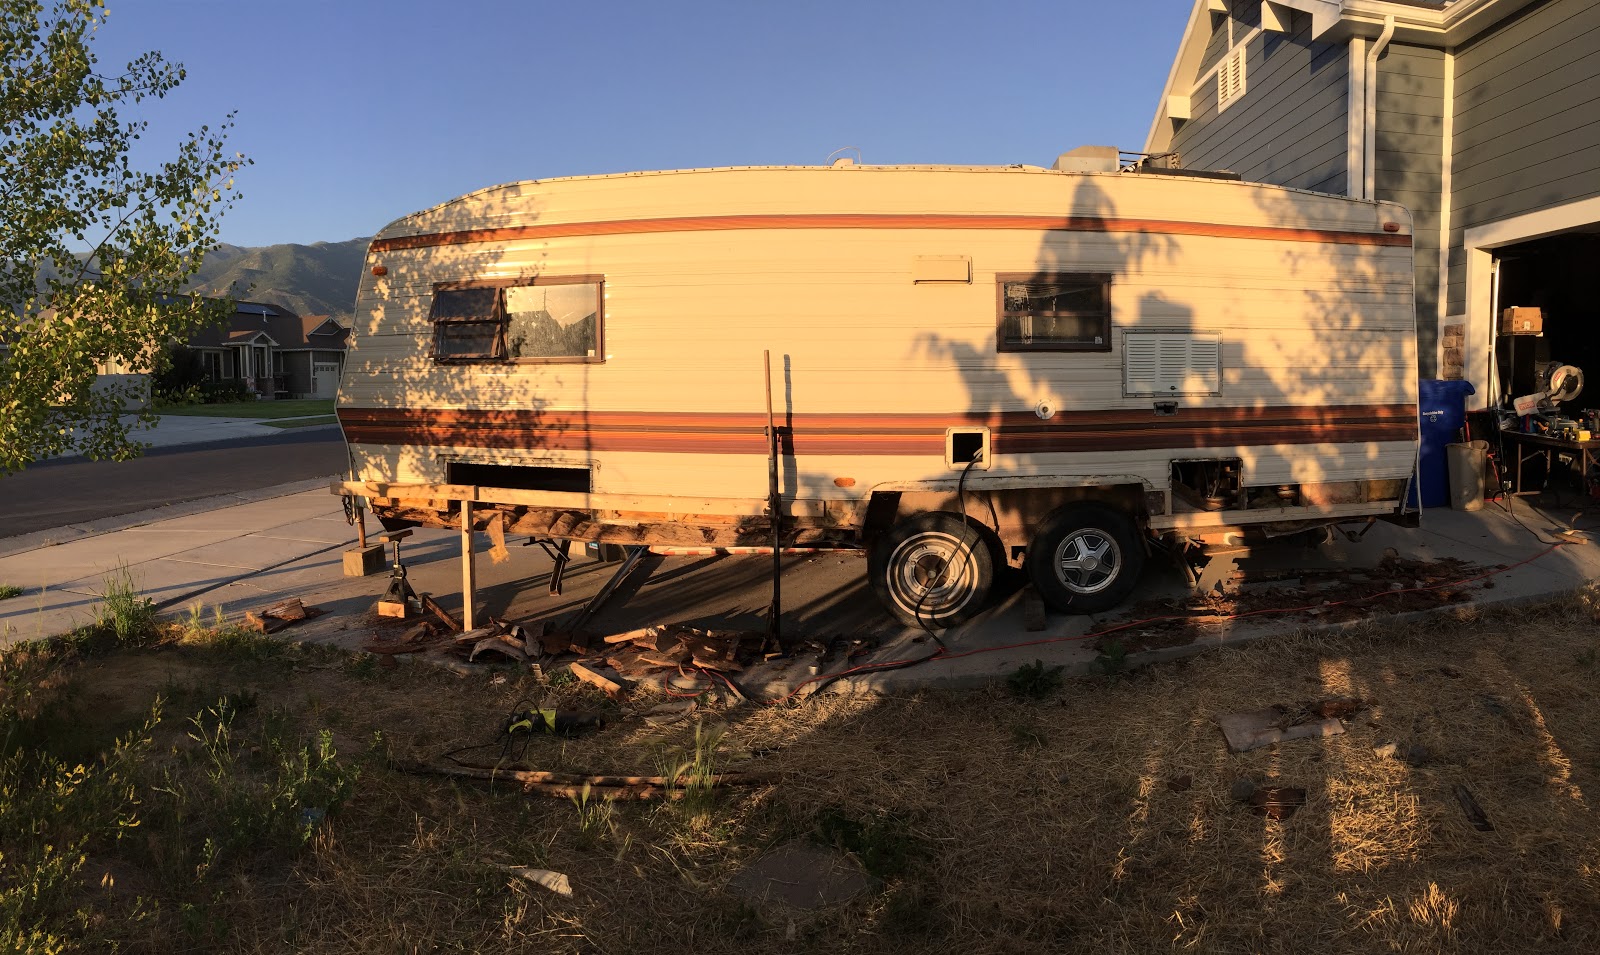
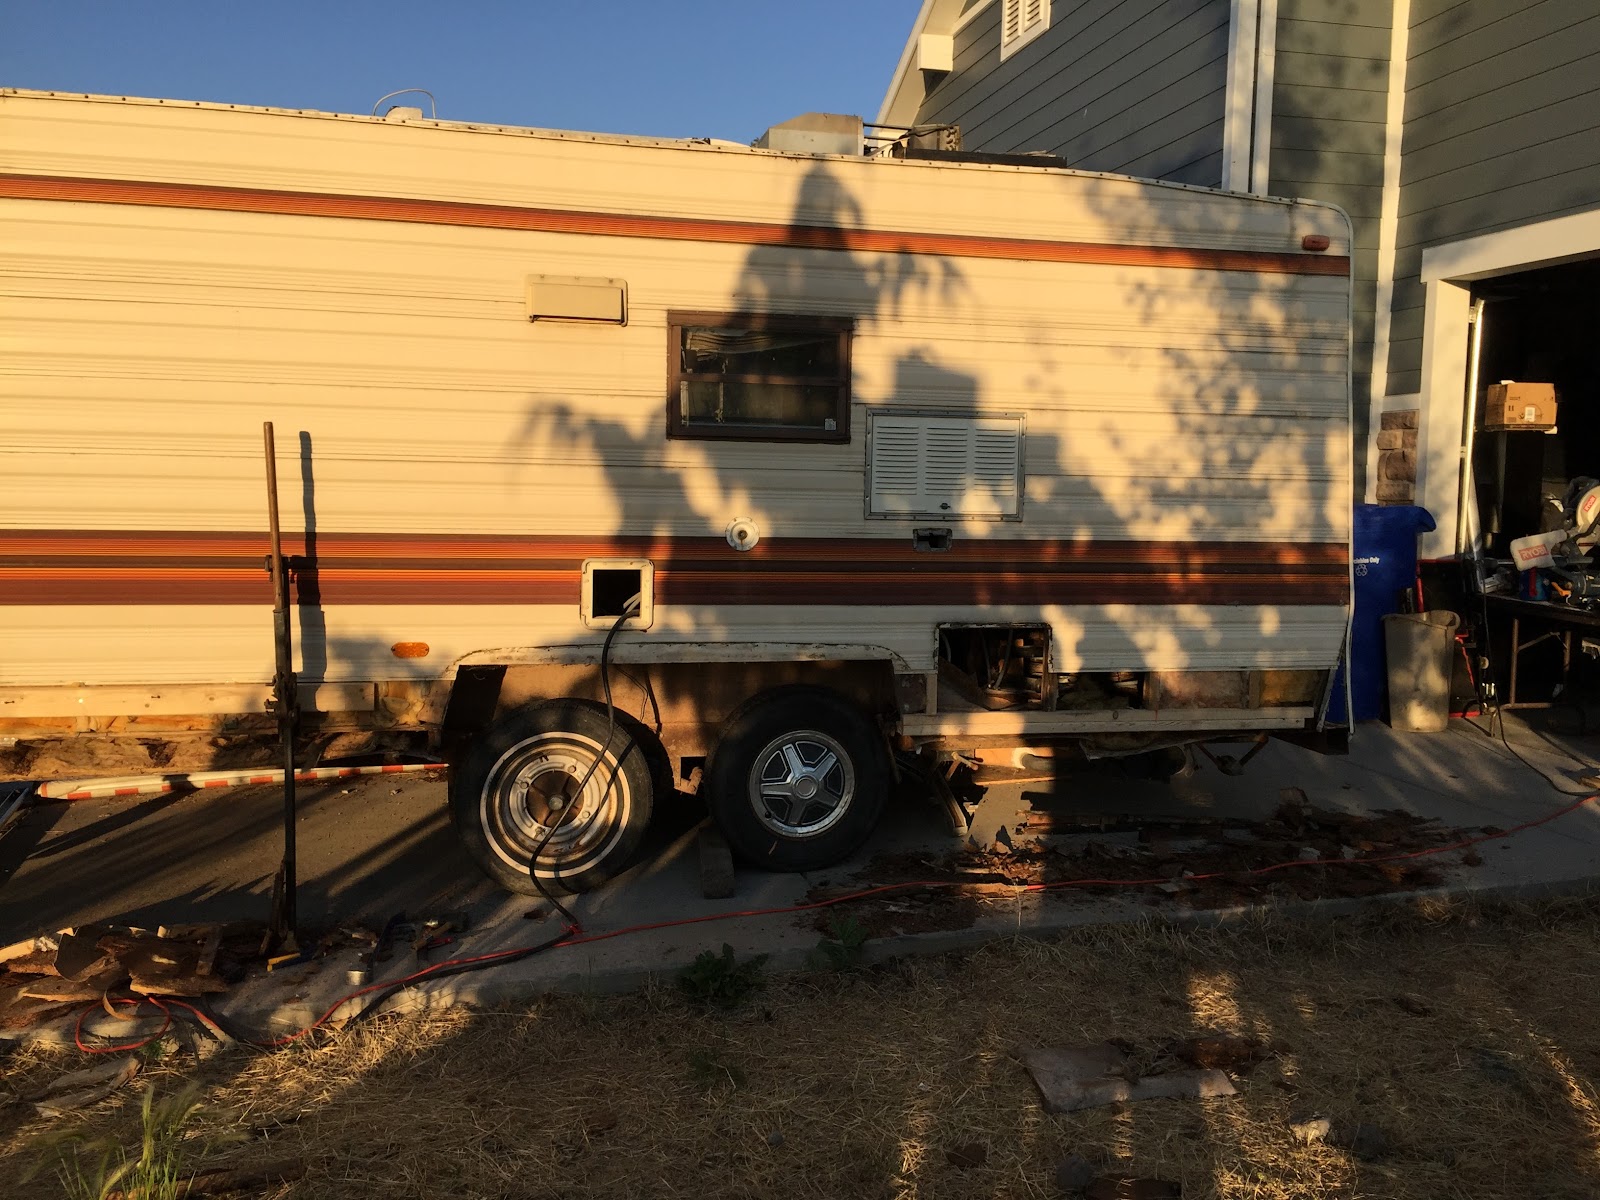
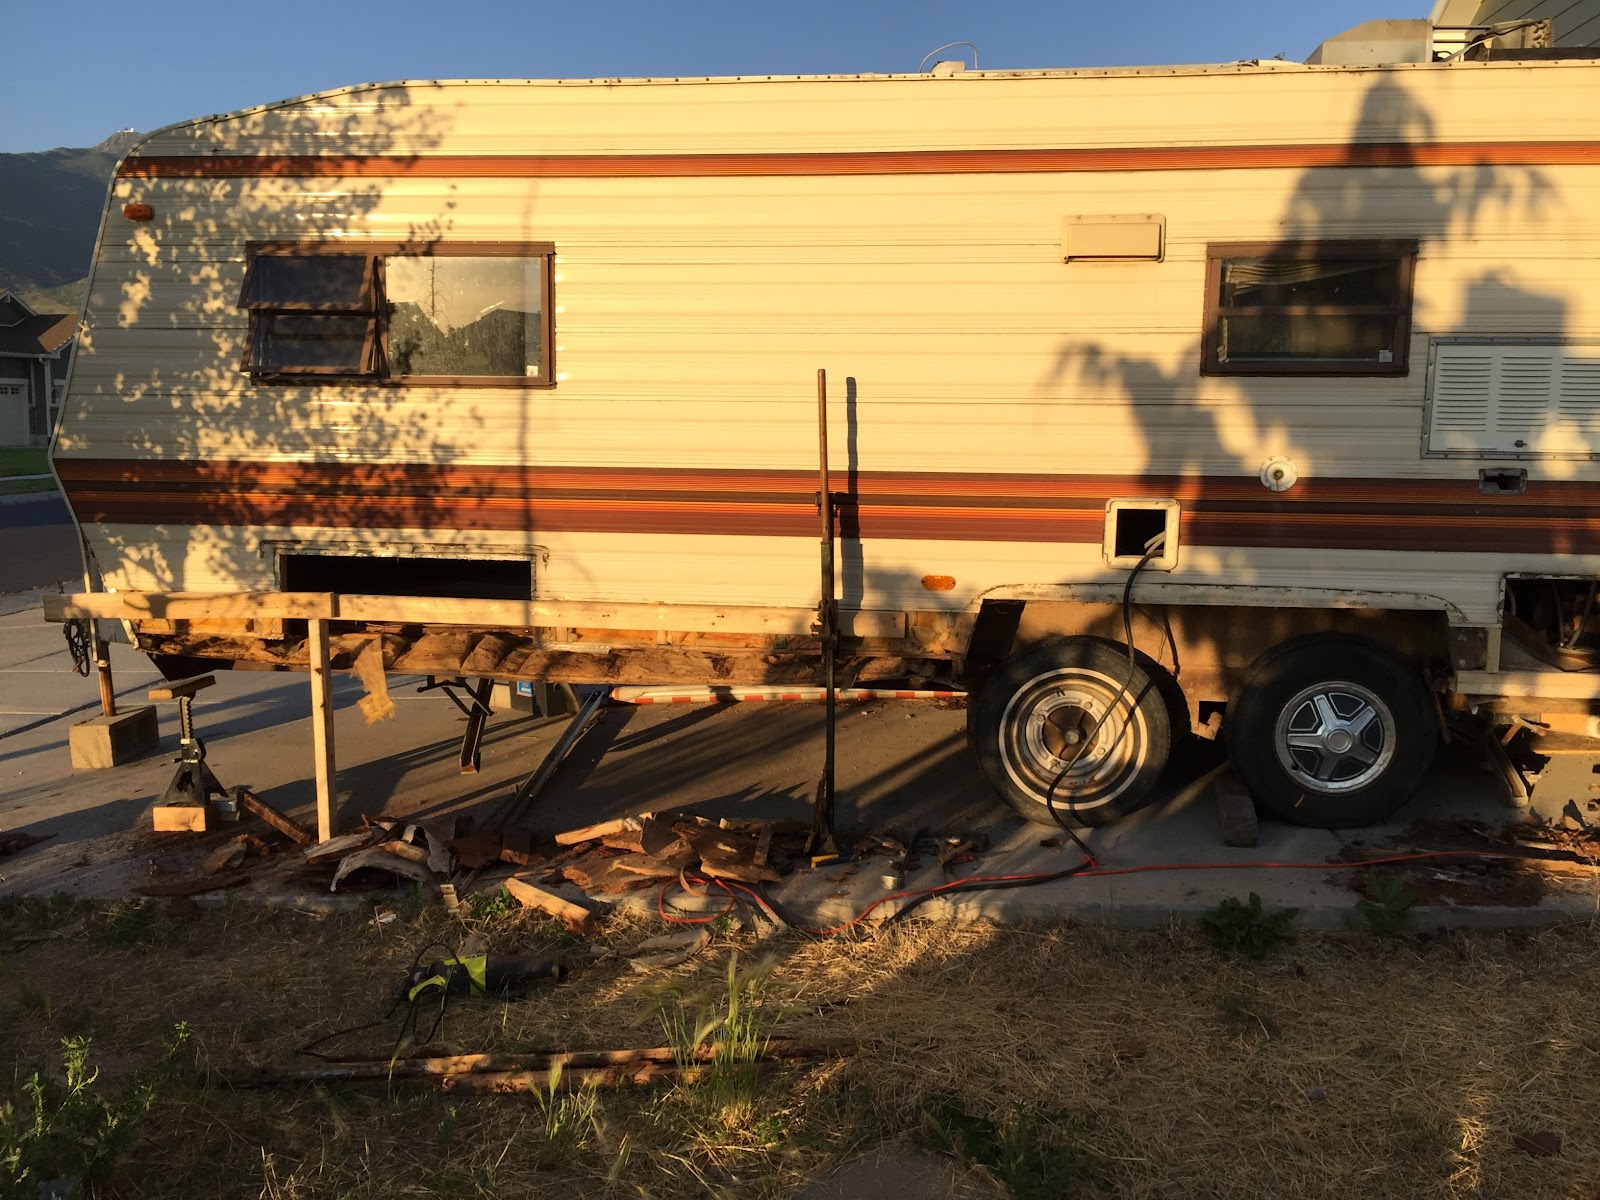
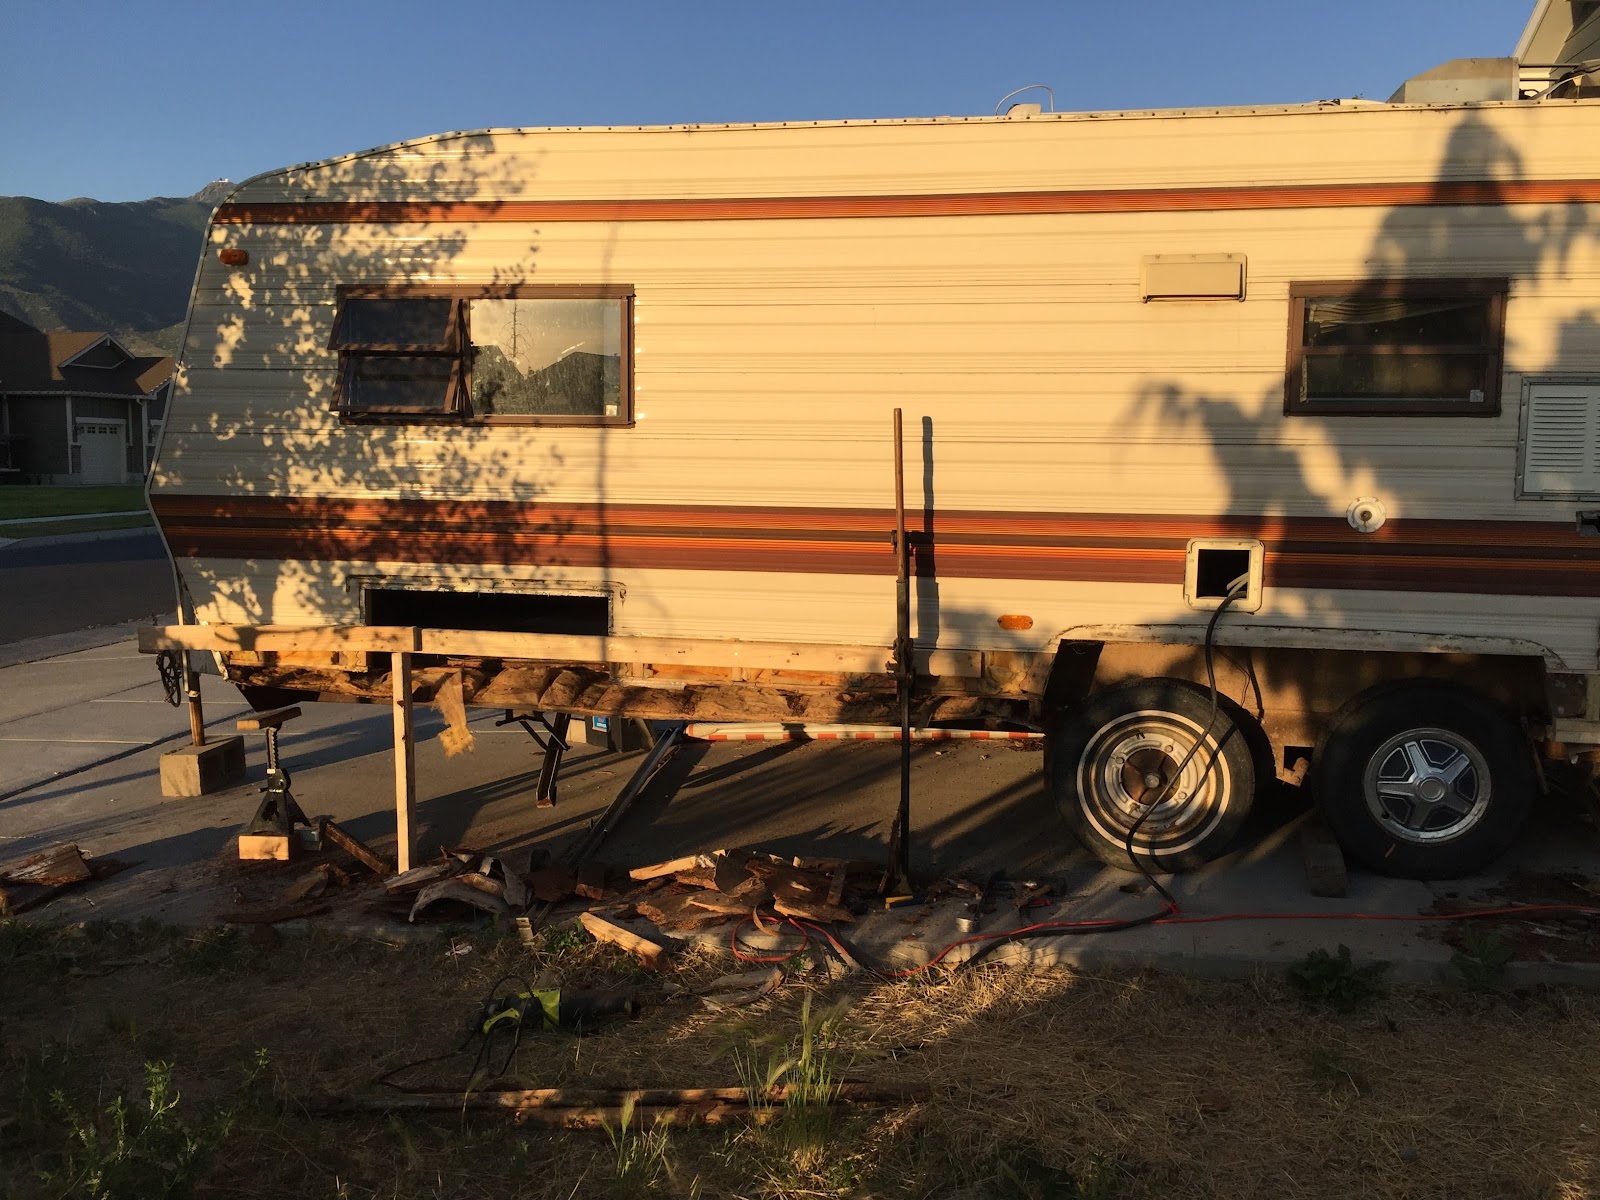
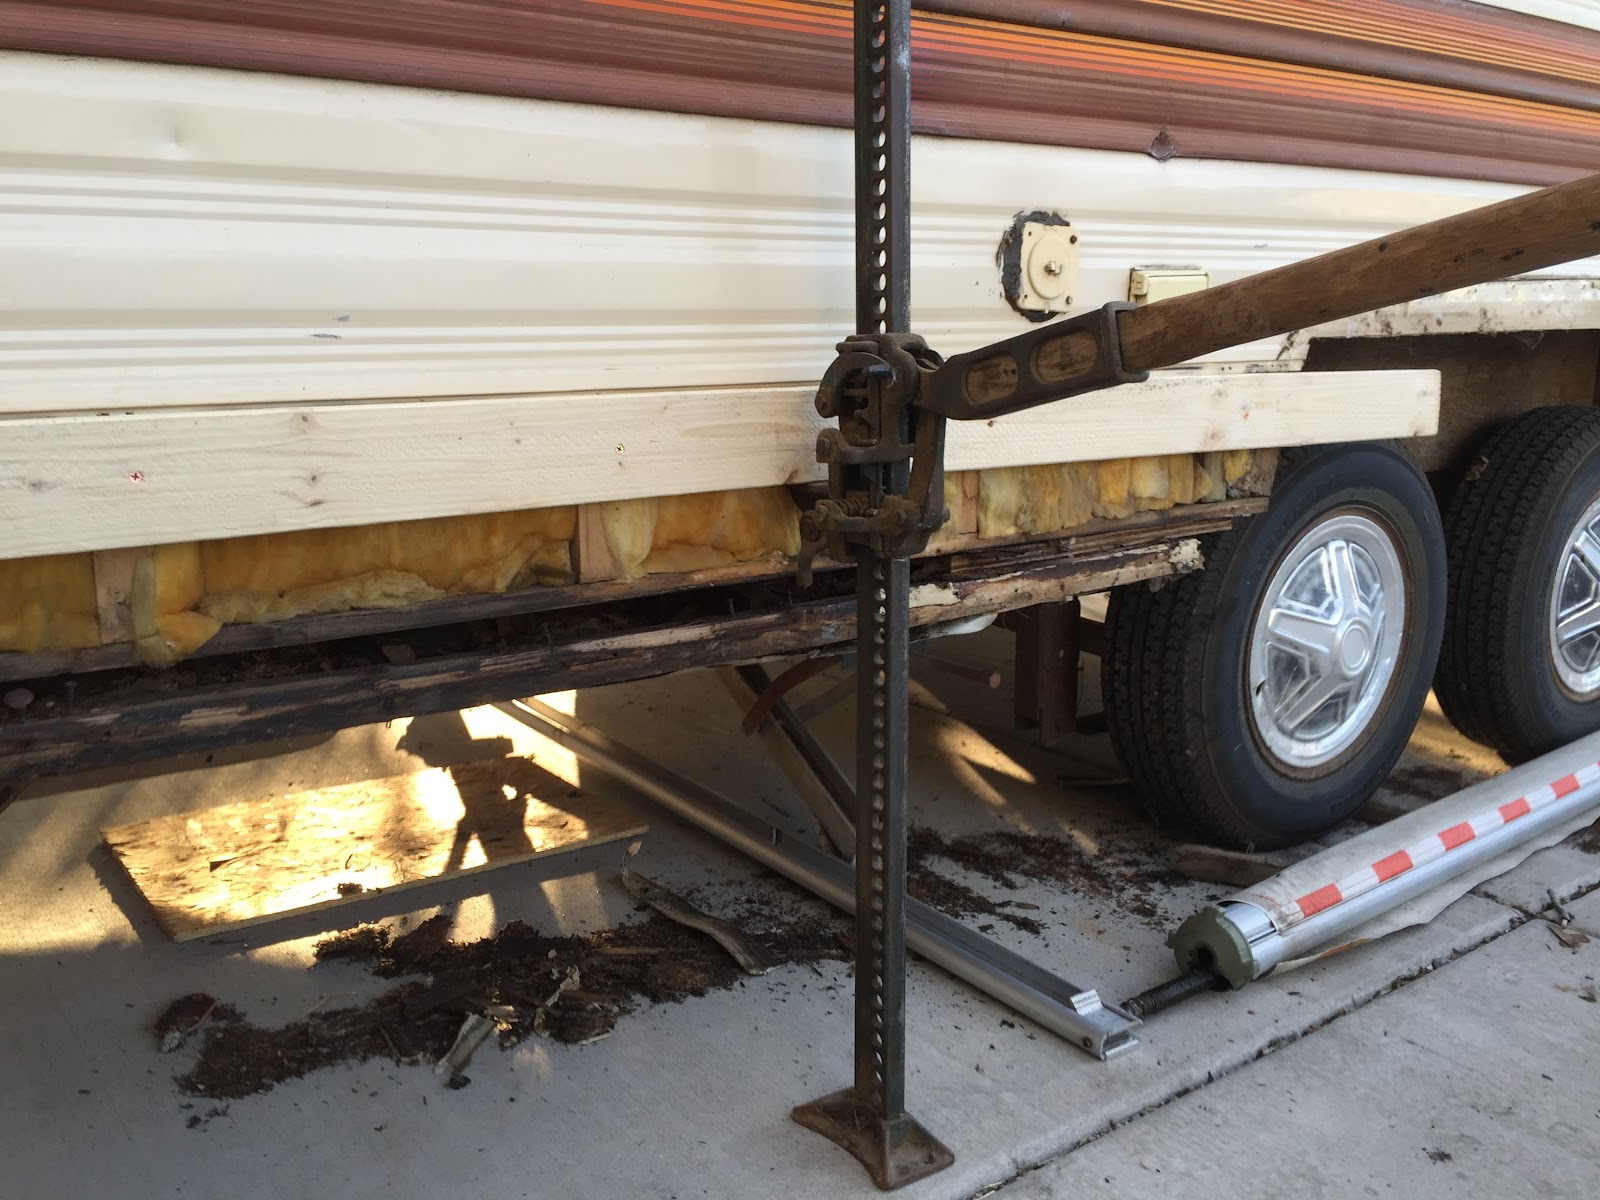
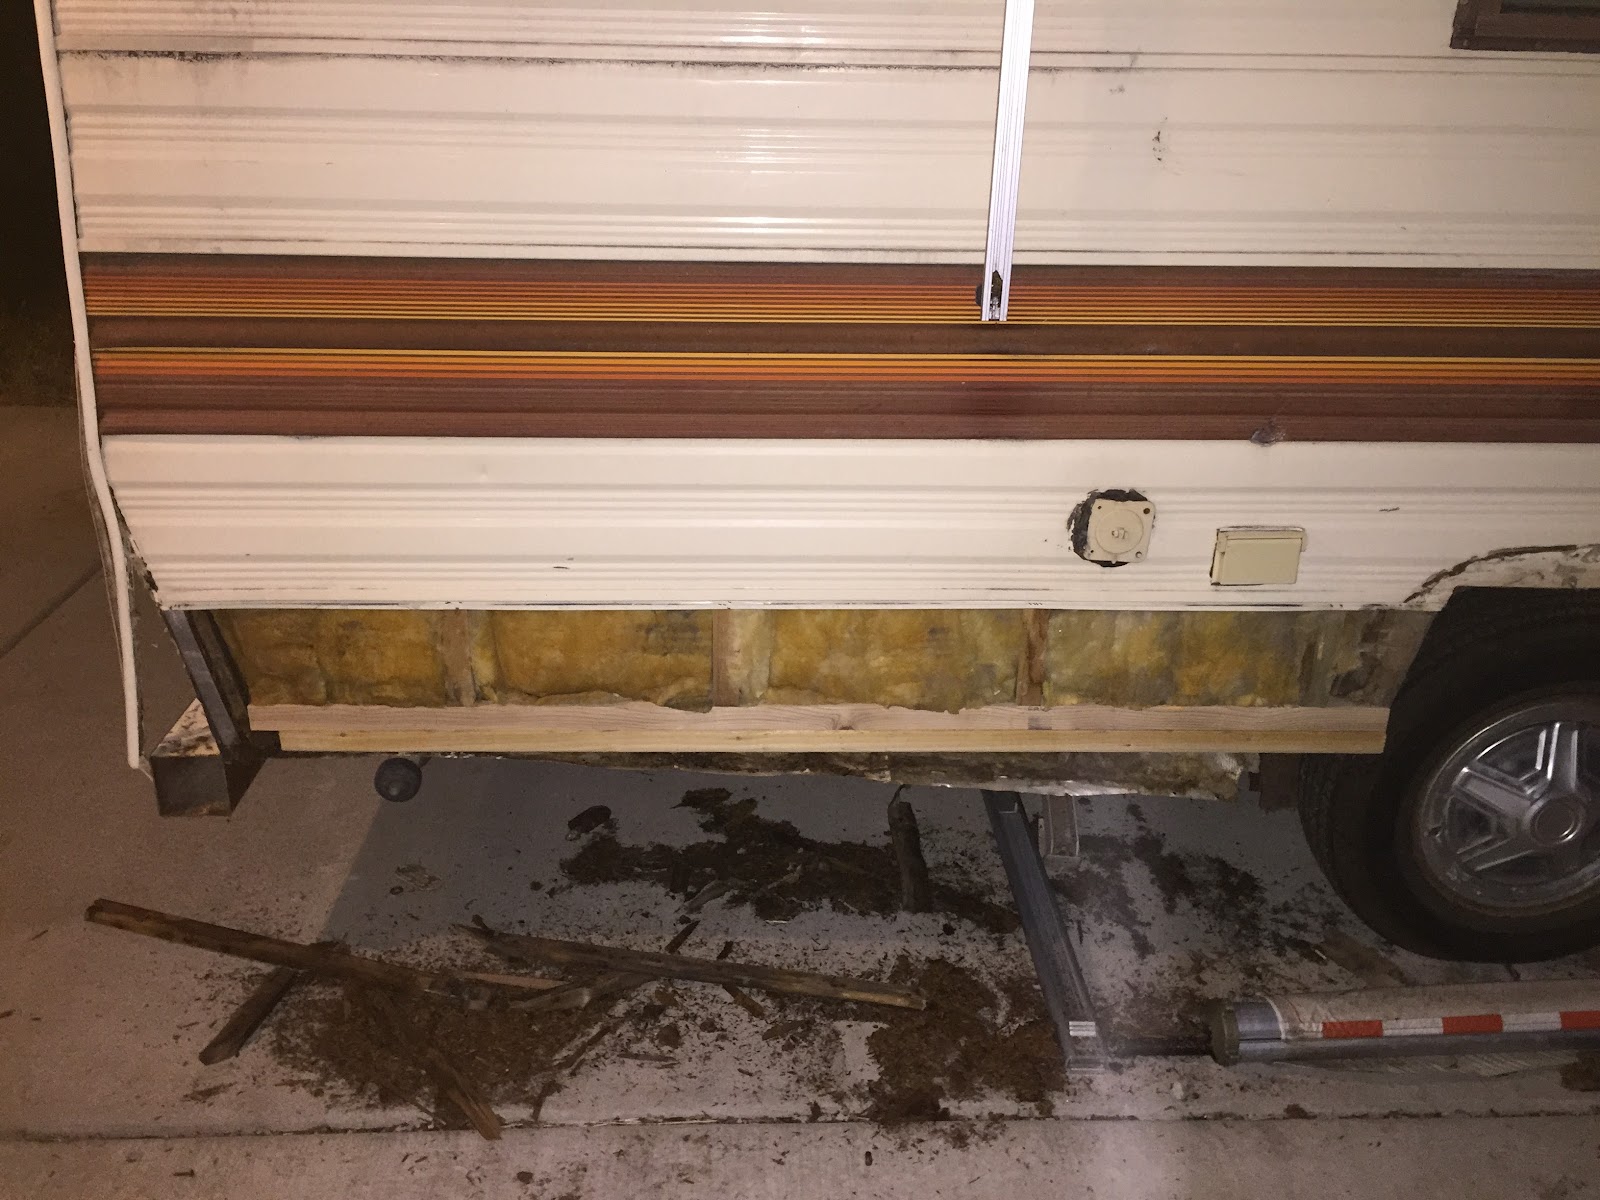
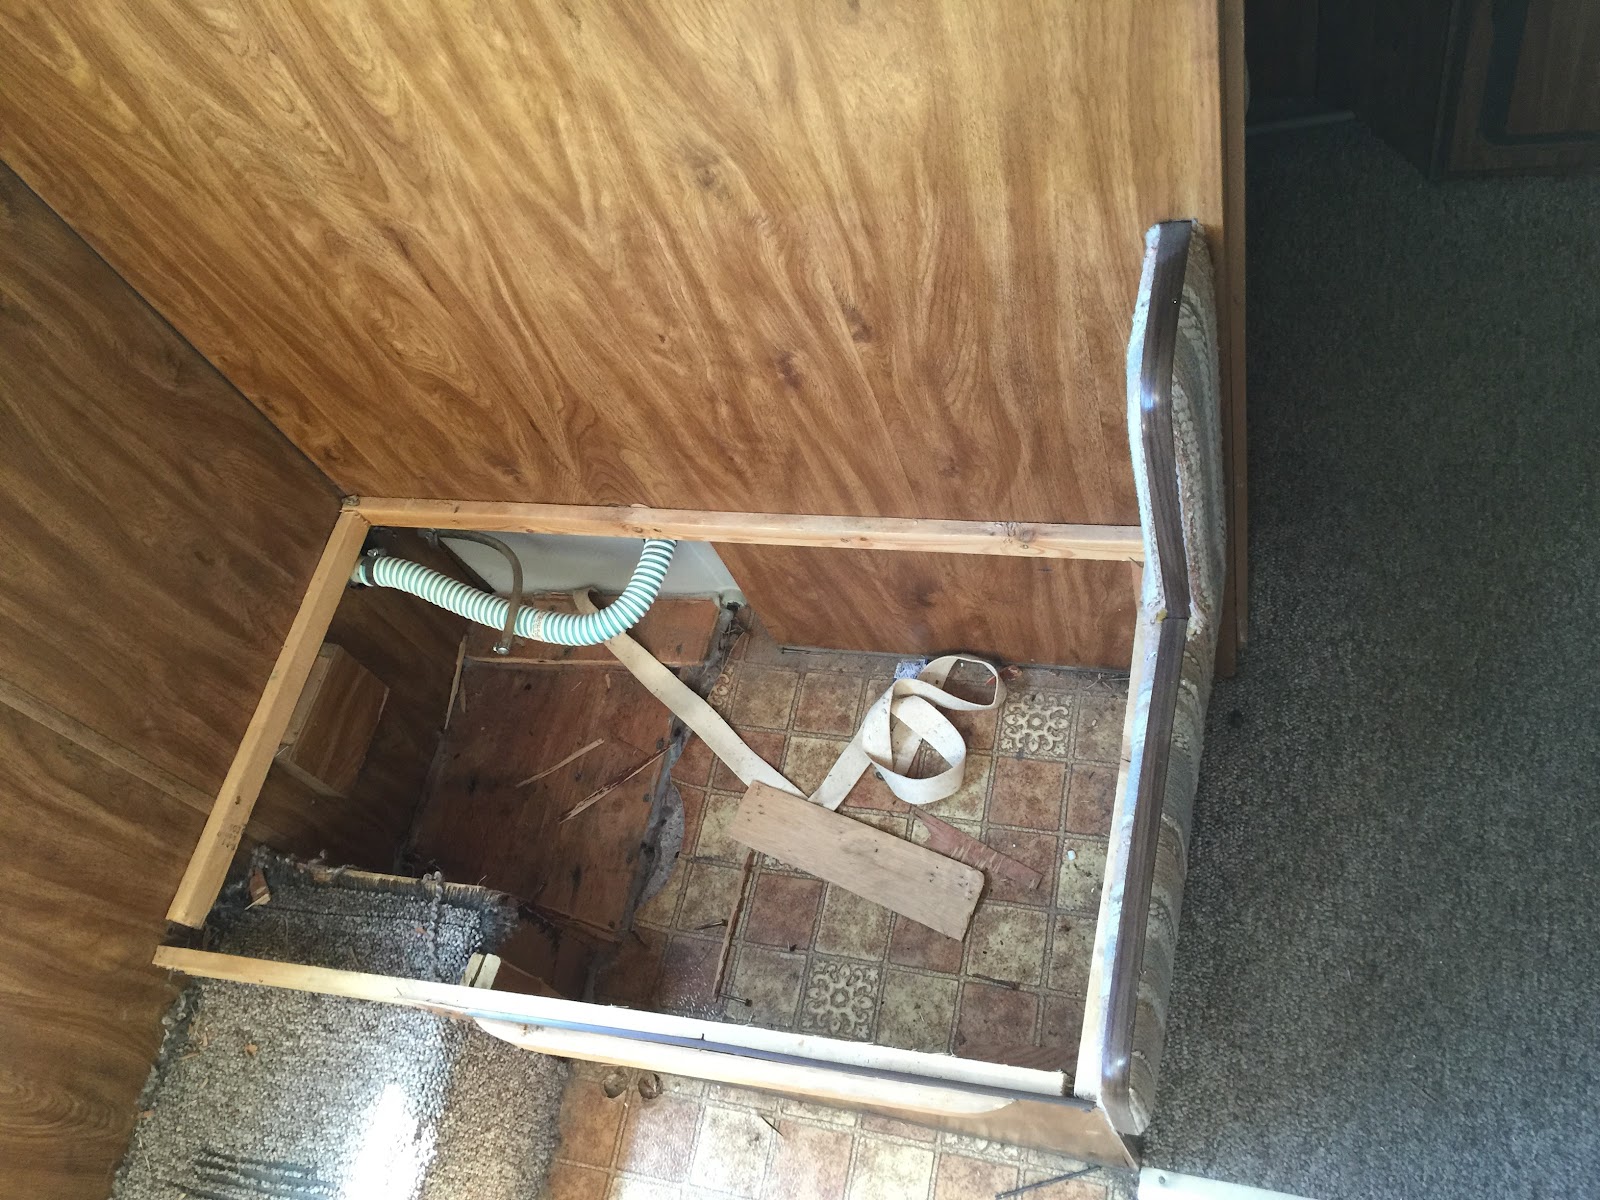
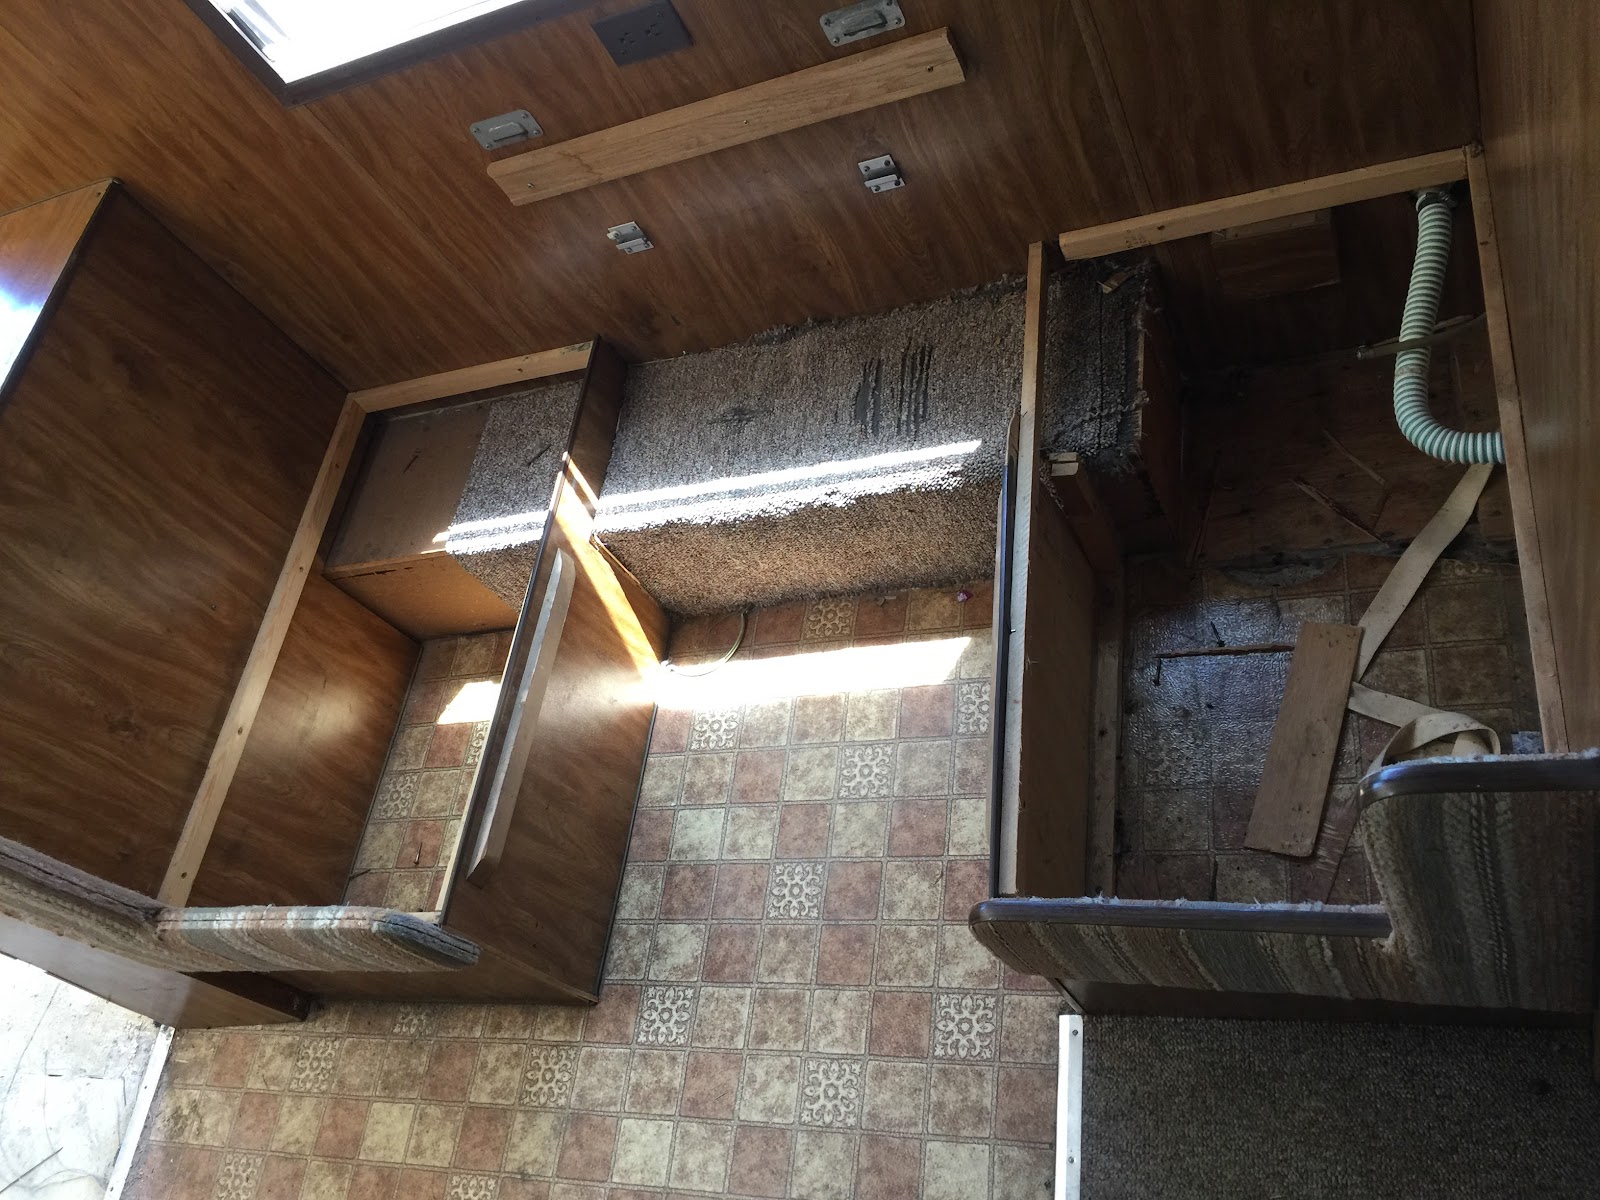
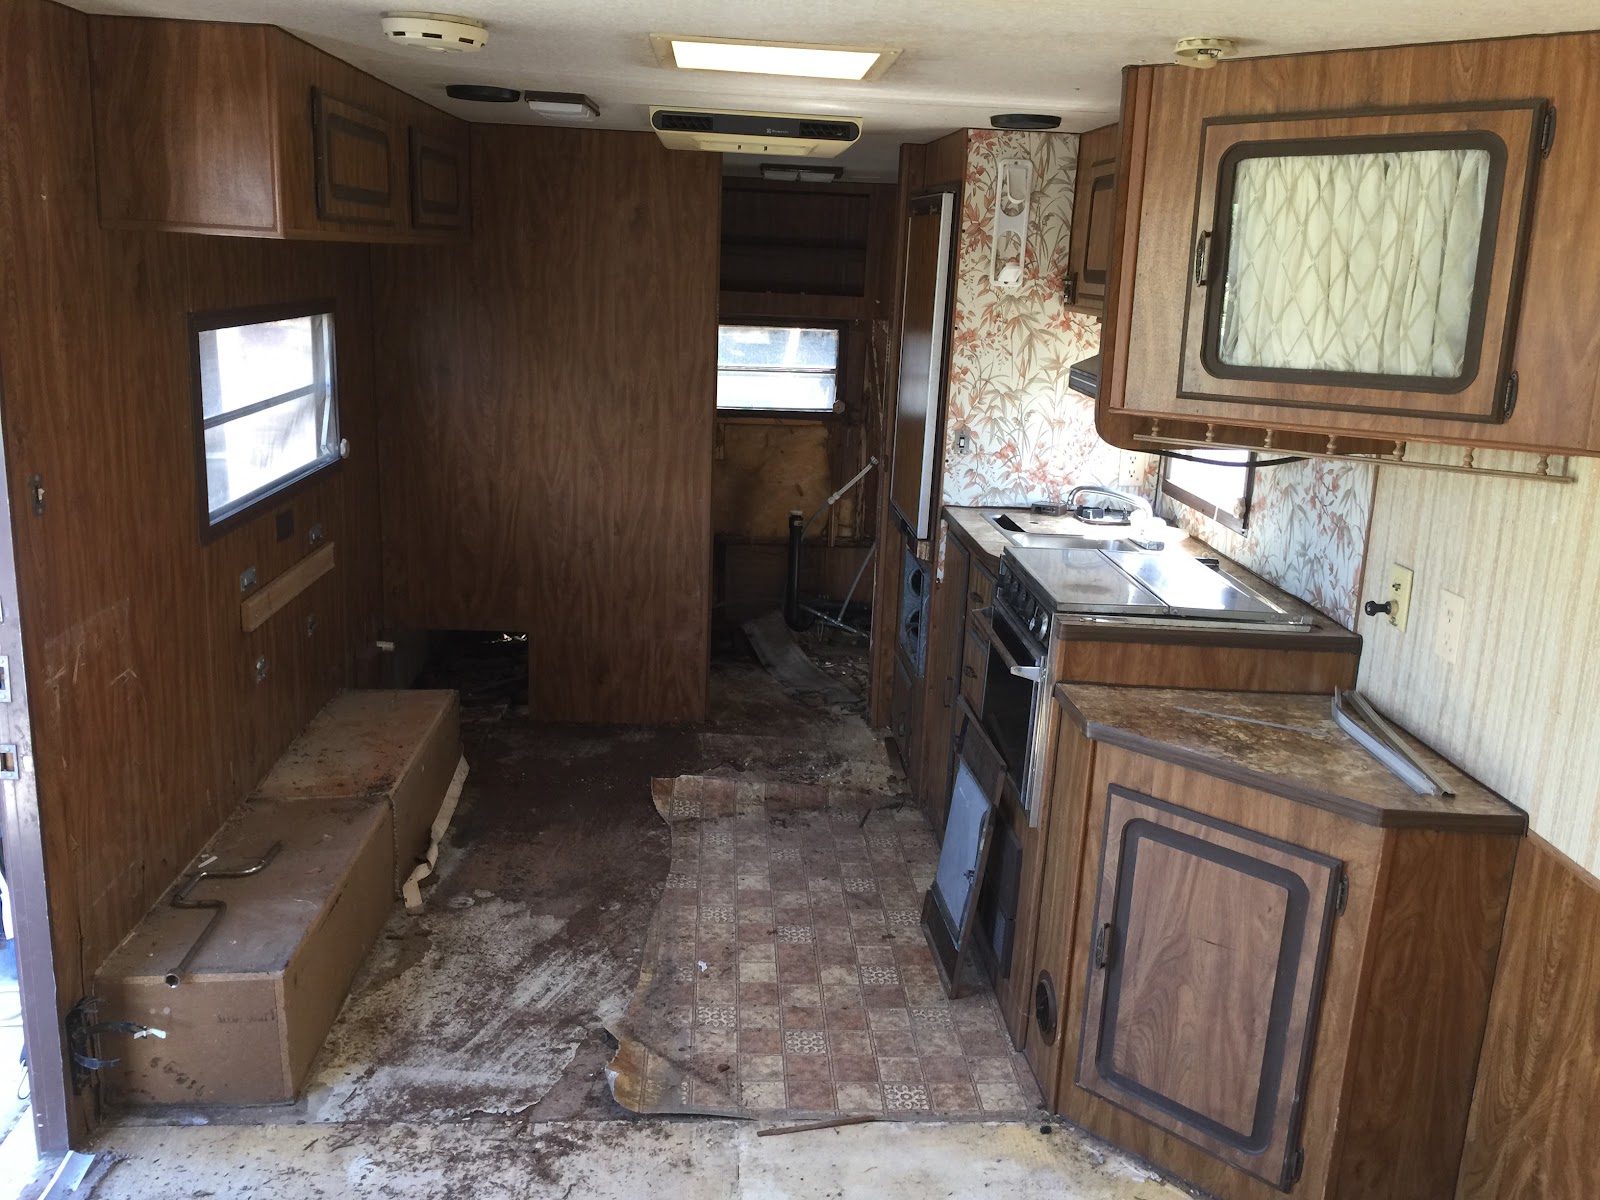
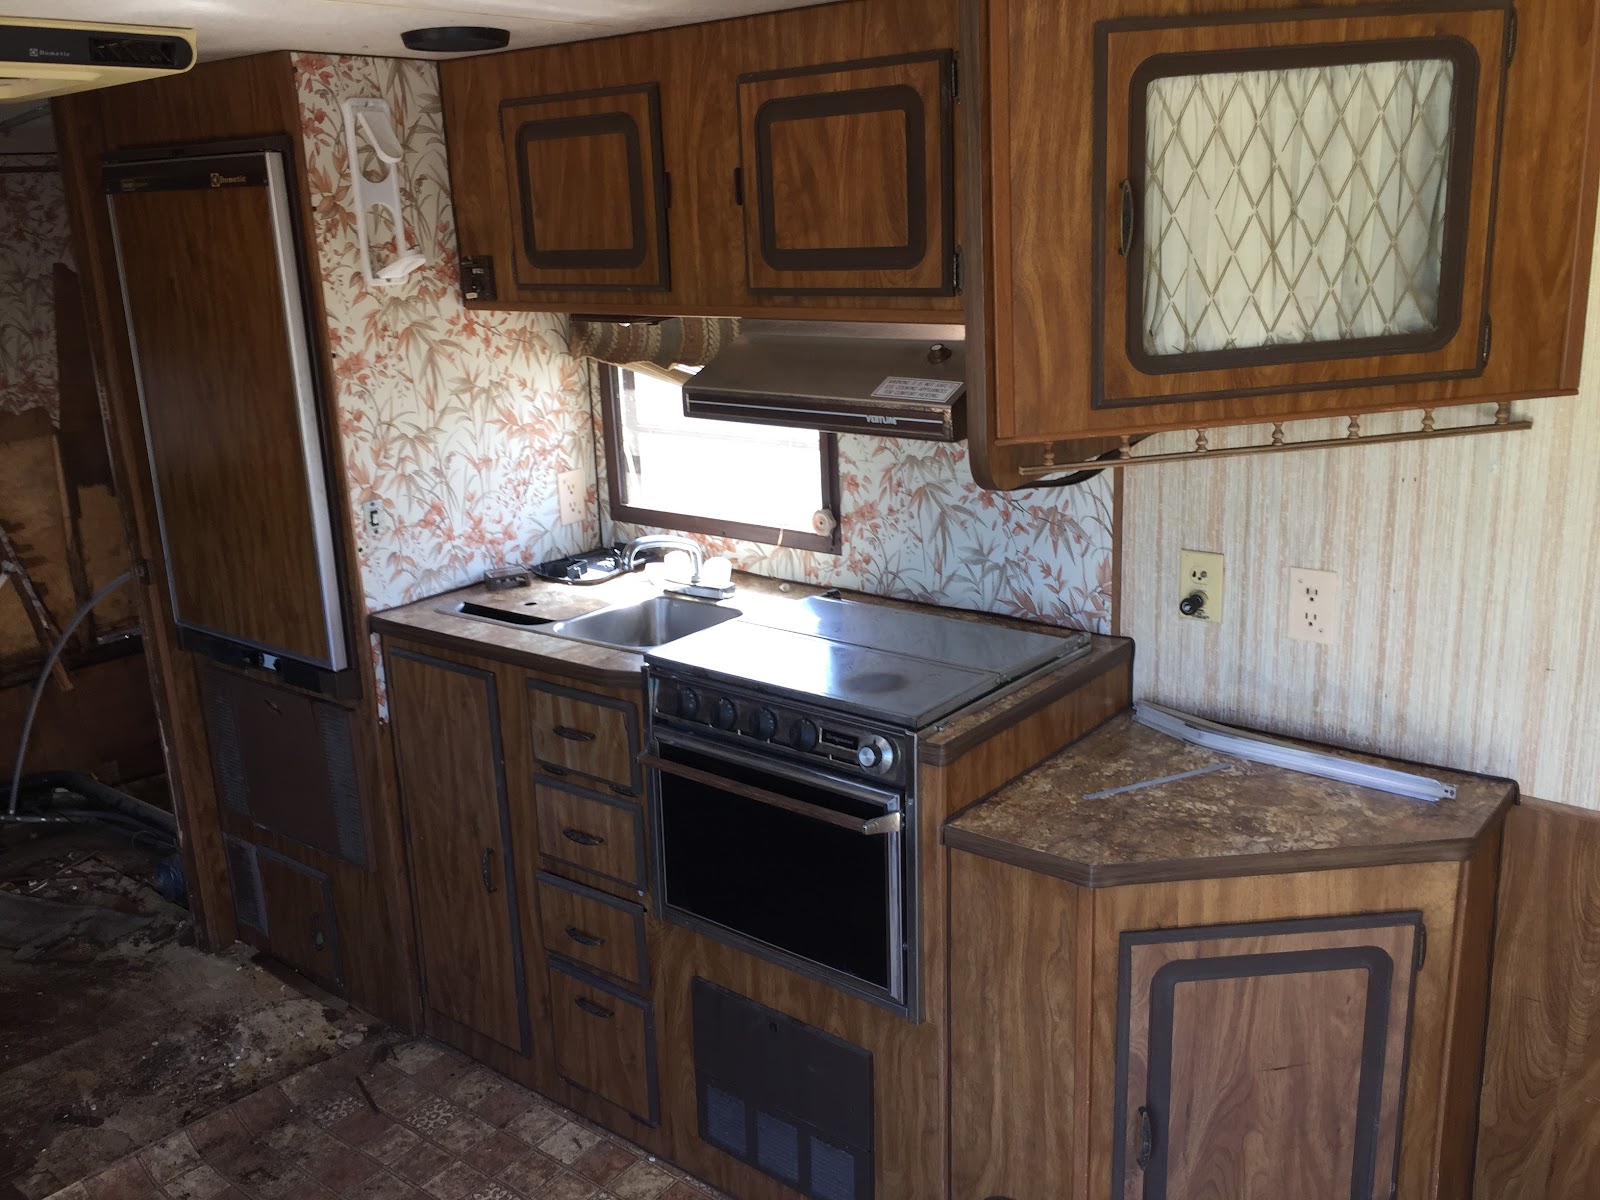
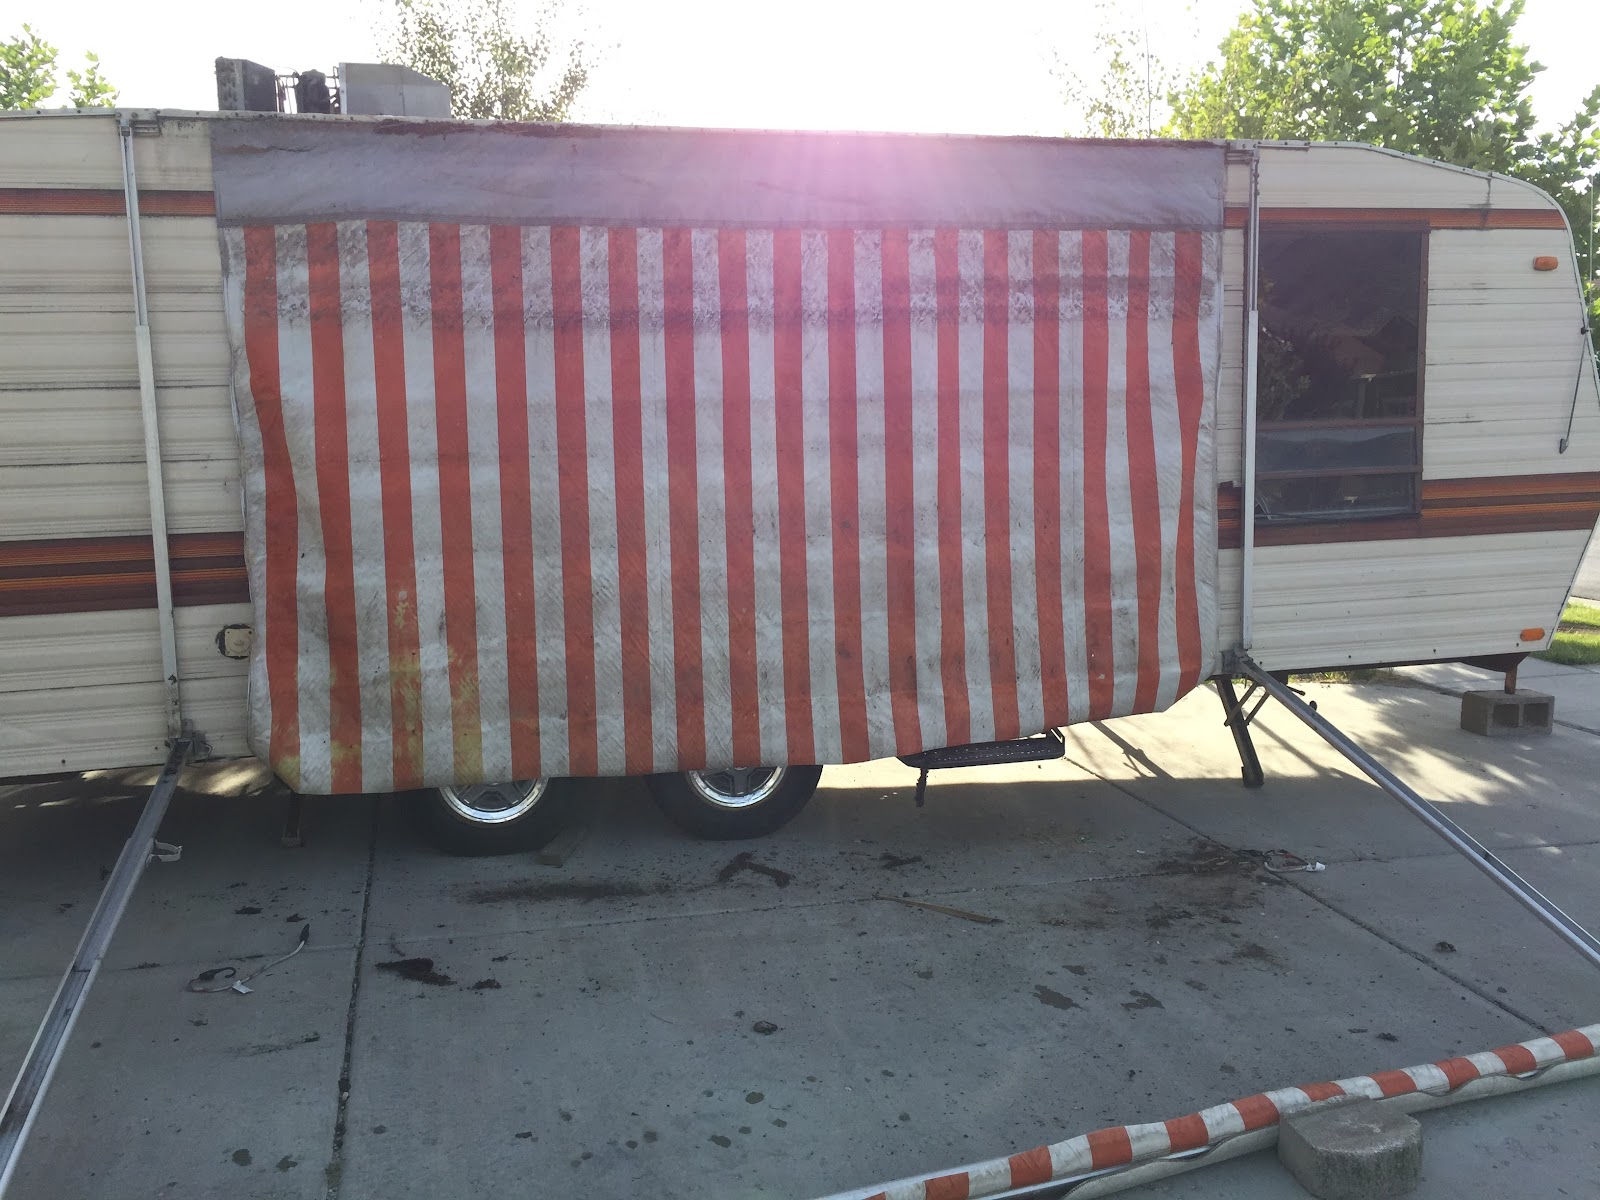
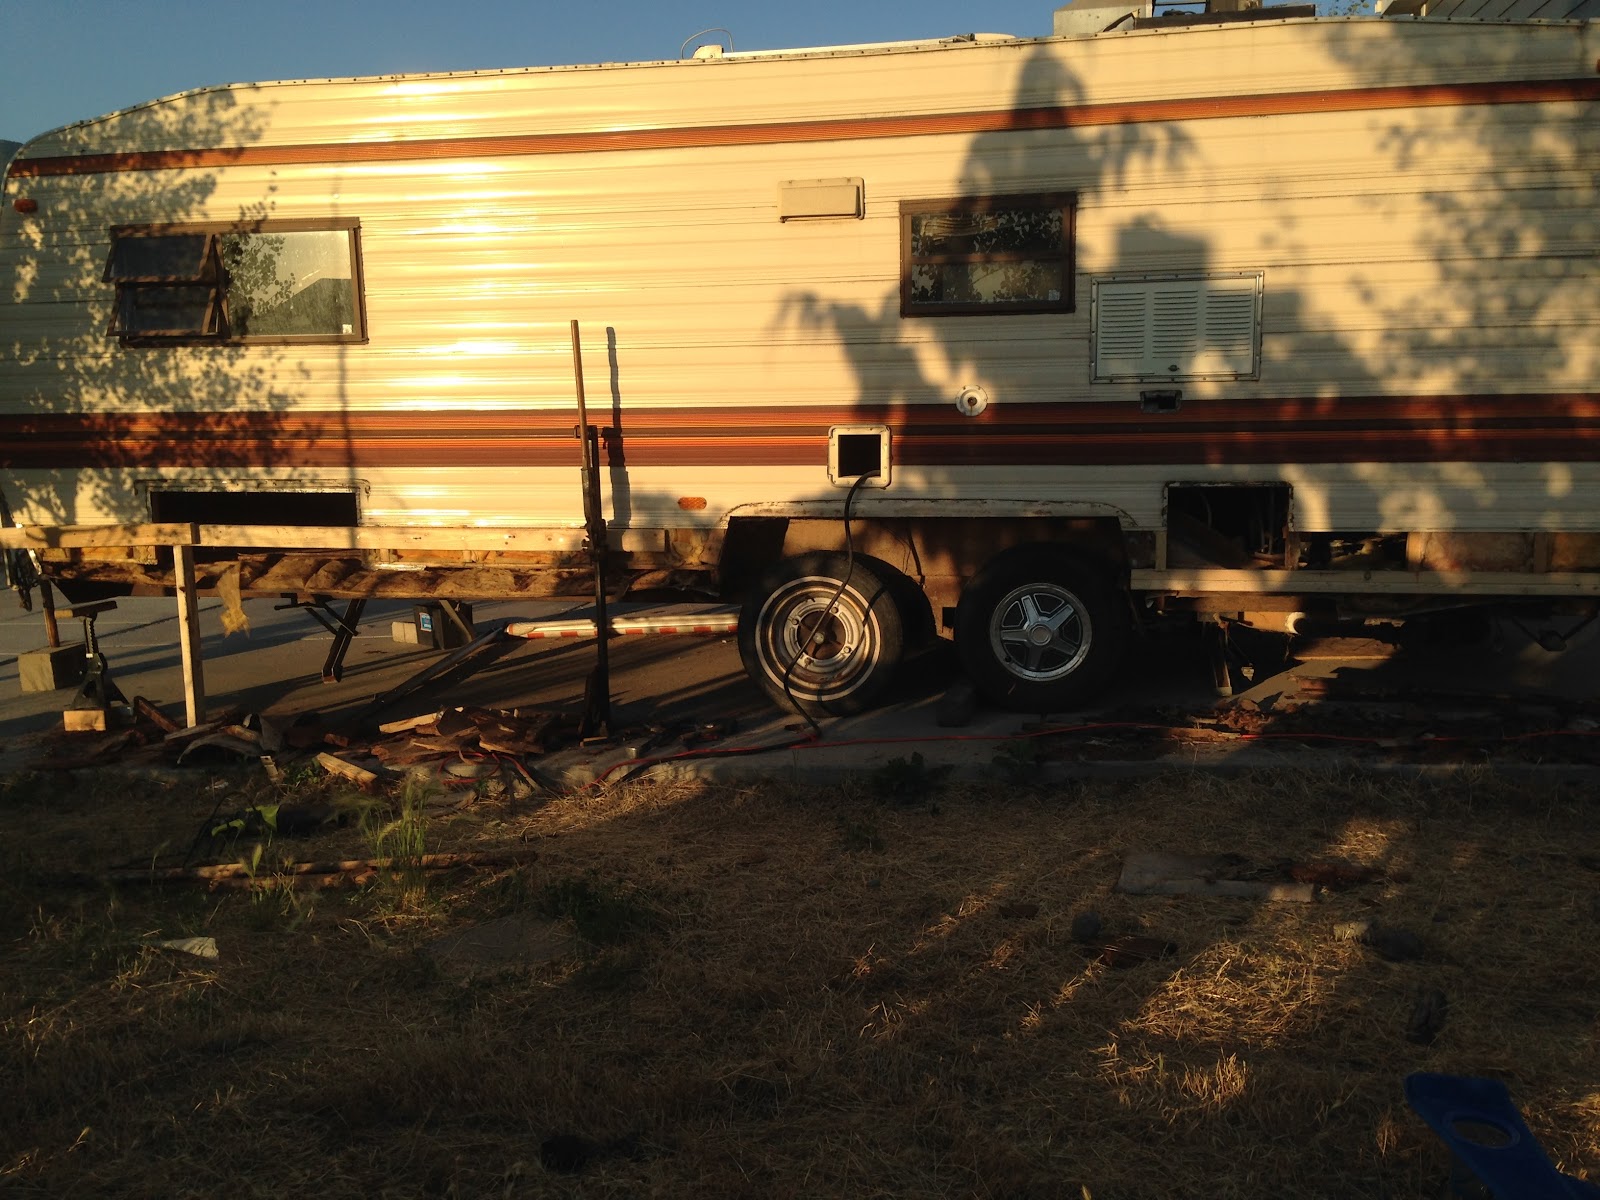
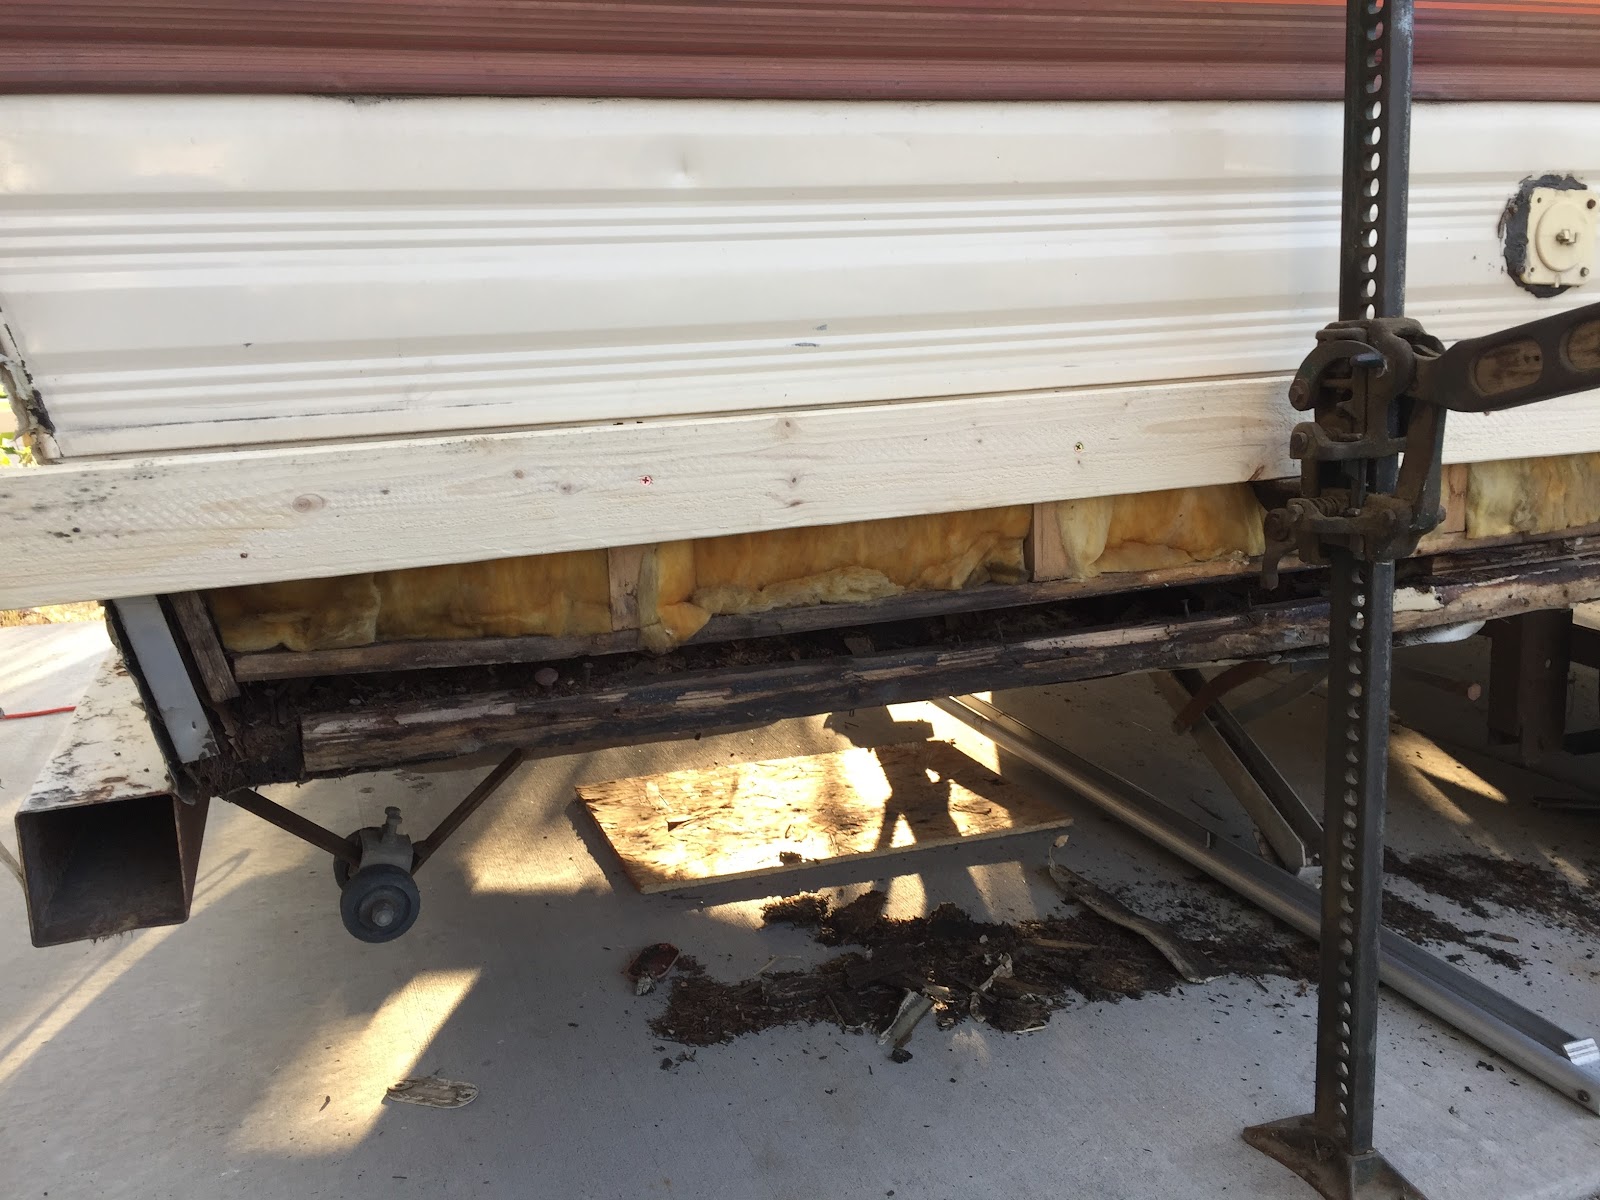
These pics really sum it up. The floor has disintegrated and caused a gap in bottom of the wall. 

All better now:

Trailer – We found the ROT!! – Disassembly & new items

Getting ahead of ourselves, we went to a few stores to look for items for our new travel trailer. We found a generator (which we eventually bought a year later) and a new toilet (which we eventually bought at a different store). 

We found rot, evident when we removed the cushions of the couch (the floor far from solid). We found the front and rear walls were also completely rotted (you could poke your finger through the walls). At this point we were pretty disheartened about our poor purchase. We didn’t want to have to do so much work on this project. Since we’ve been through a home remodel and 100’s of other smaller home and automotive projects we decided to push forward with the project no matter what. We made the choice to commit to finishing the project. 
Disassembly:

After pulling up the carpet we can see obvious repairs to the floor (new plywood). Most of the sub-floor in the trailer is particle board. I can’t think of a worse choice for longevity and stability.

When taking this picture I realized I would need to remove the entire kitchen to properly replace the floor structure. I was still in denial. 

The dust that used to be the floor is what convinced me we would need to rebuild the entire bottom structure of the trailer. To do so we would need to remove everything touching the floor in the trailer. 

The rear wall and both sides in the rear of the trailer were completely rotted. Future posts will show the wall rebuild. 

Most of the “floor” was broken up by hand, vacuumed, or swept out of the trailer. I can’t believe this thing made it home in one piece. 

Moldy old holly broken retractable shade removal.

Trailer – Bringing home the trailer – Before Pictures

Today we brought home the trailer… It’s a 1984 Petersen Excel 22′ travel trailer. It seemed like it was in pretty good shape with the exception of knowledge that the hot water heater had exploded and needed replacement. Well we were very wrong about the trailer being in good shape as you will see in pictures in future blog posts.

Before: