Trailer – Resurfacing Roof, Replacing Roof Vents, Elastomeric Roof Coating For Metal Roofs

First, I sprayed phosphoric acid on the surface of the roof, waited 30 minutes and then washed it off with water. I then applied the base coat. It took two coats to get good coverage. 
Koolseal elastomeric base/finish coat. I bought this from a trailer supply place for about a total of $120.
Before.

Base coat.

Replacing roof vents.

Finish coat.

Trailer – Replacing Rotted Front Wall

So the time has come to tackle the rotted front wall of the trailer. It was easy to remove the plywood panelling considering it had become delaminated. 

All of the tools, paint, caulking, and screws I’m using for the project.

Some saws and working space. 
I took off more of the front wall than I did the back wall (more rot). 

I used this method for both the front and rear walls to increase the wall thickness while using existing studs. 

All framed up and ready to put back together. I added some cross bracing and extra support for the corners. 

The plastic is pulled up from the bottom of the trailer. 

Lots of spray foam to fill in the gaps. 

Trailer – Dual Battery Setup, Tongue Painted, Load Balancing Hitch

I welded 2″ angle iron to the top of the frame to create a new battery tray. You can still see the old battery tray below which I later cut off. I need to run a new positive cable to the distribution box to support larger loads like an inverter. 
I had to remove the propane tank mount in order to properly place the brackets for the load balancing hitch. The propane tank plate got moved up a few inches on the frame. 

The hitch came with a 2 5/8″ ball but our trailer uses the 2″ ball. This thing was a pain to remove with the lock washer. 

Trailer – Demolishing and Rebuilding Rear Wall of Trailer

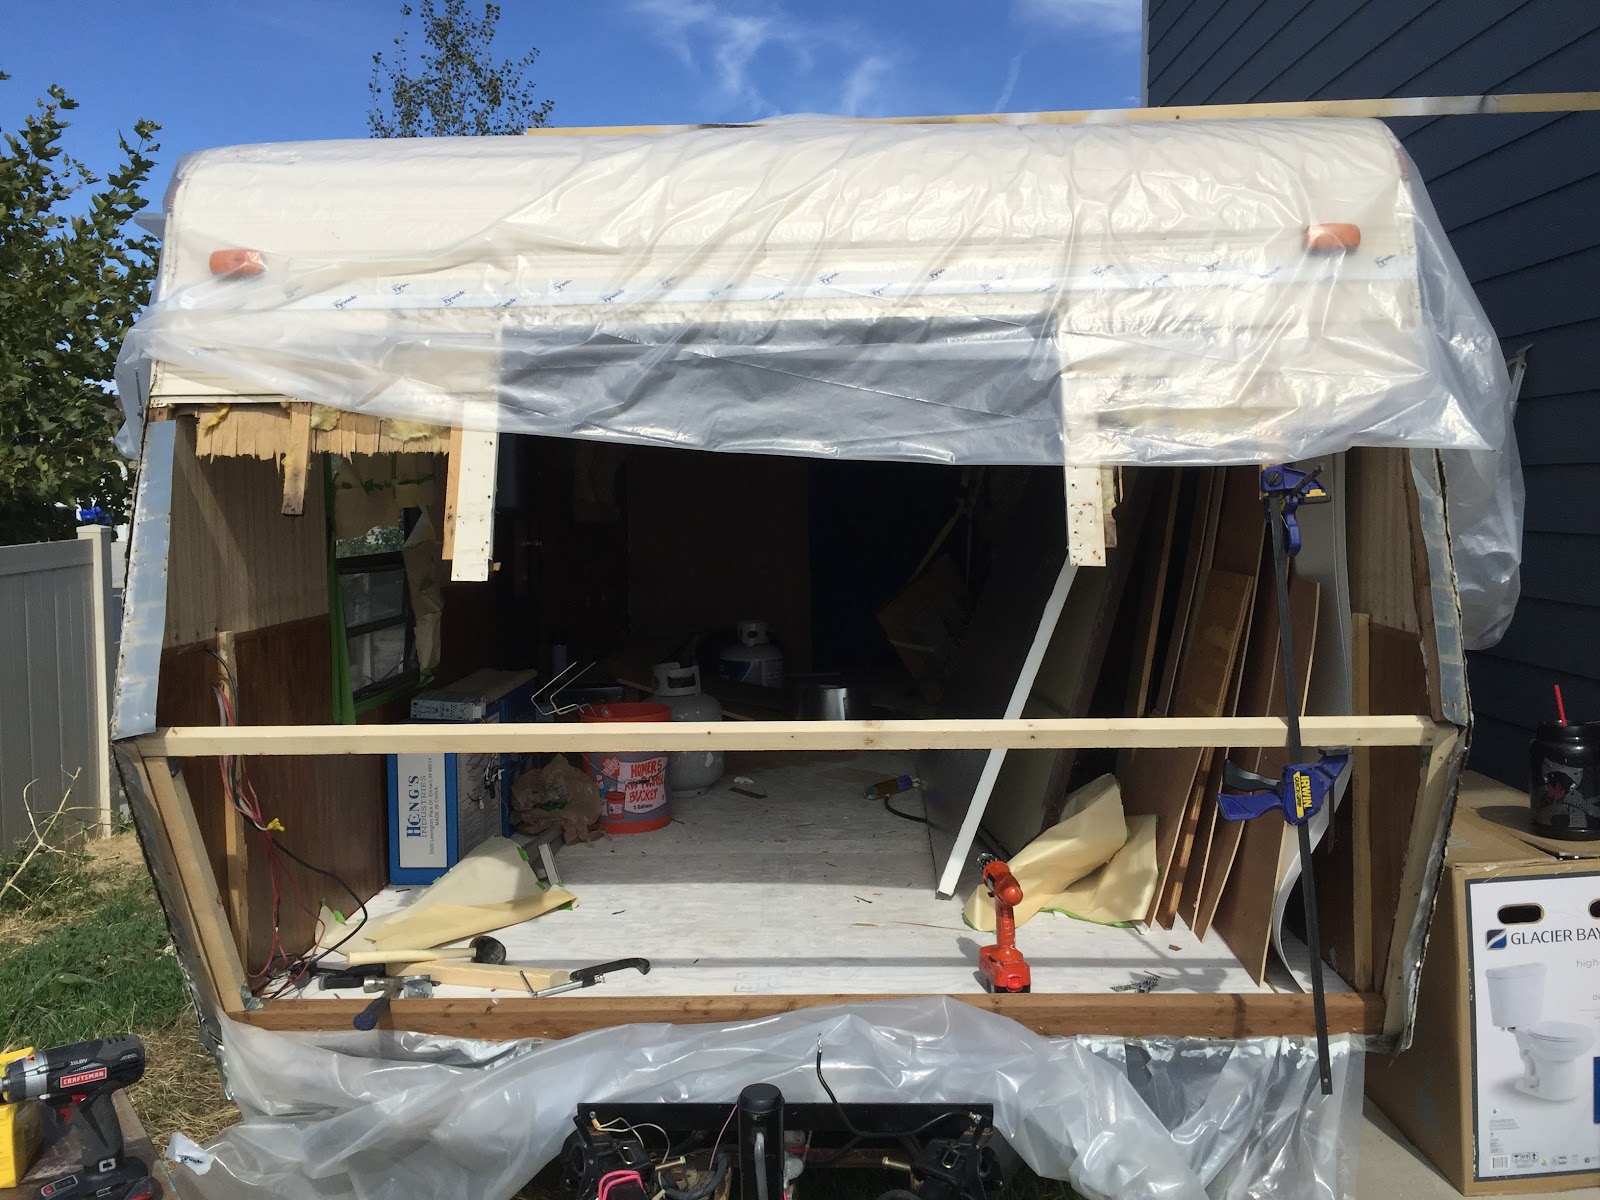
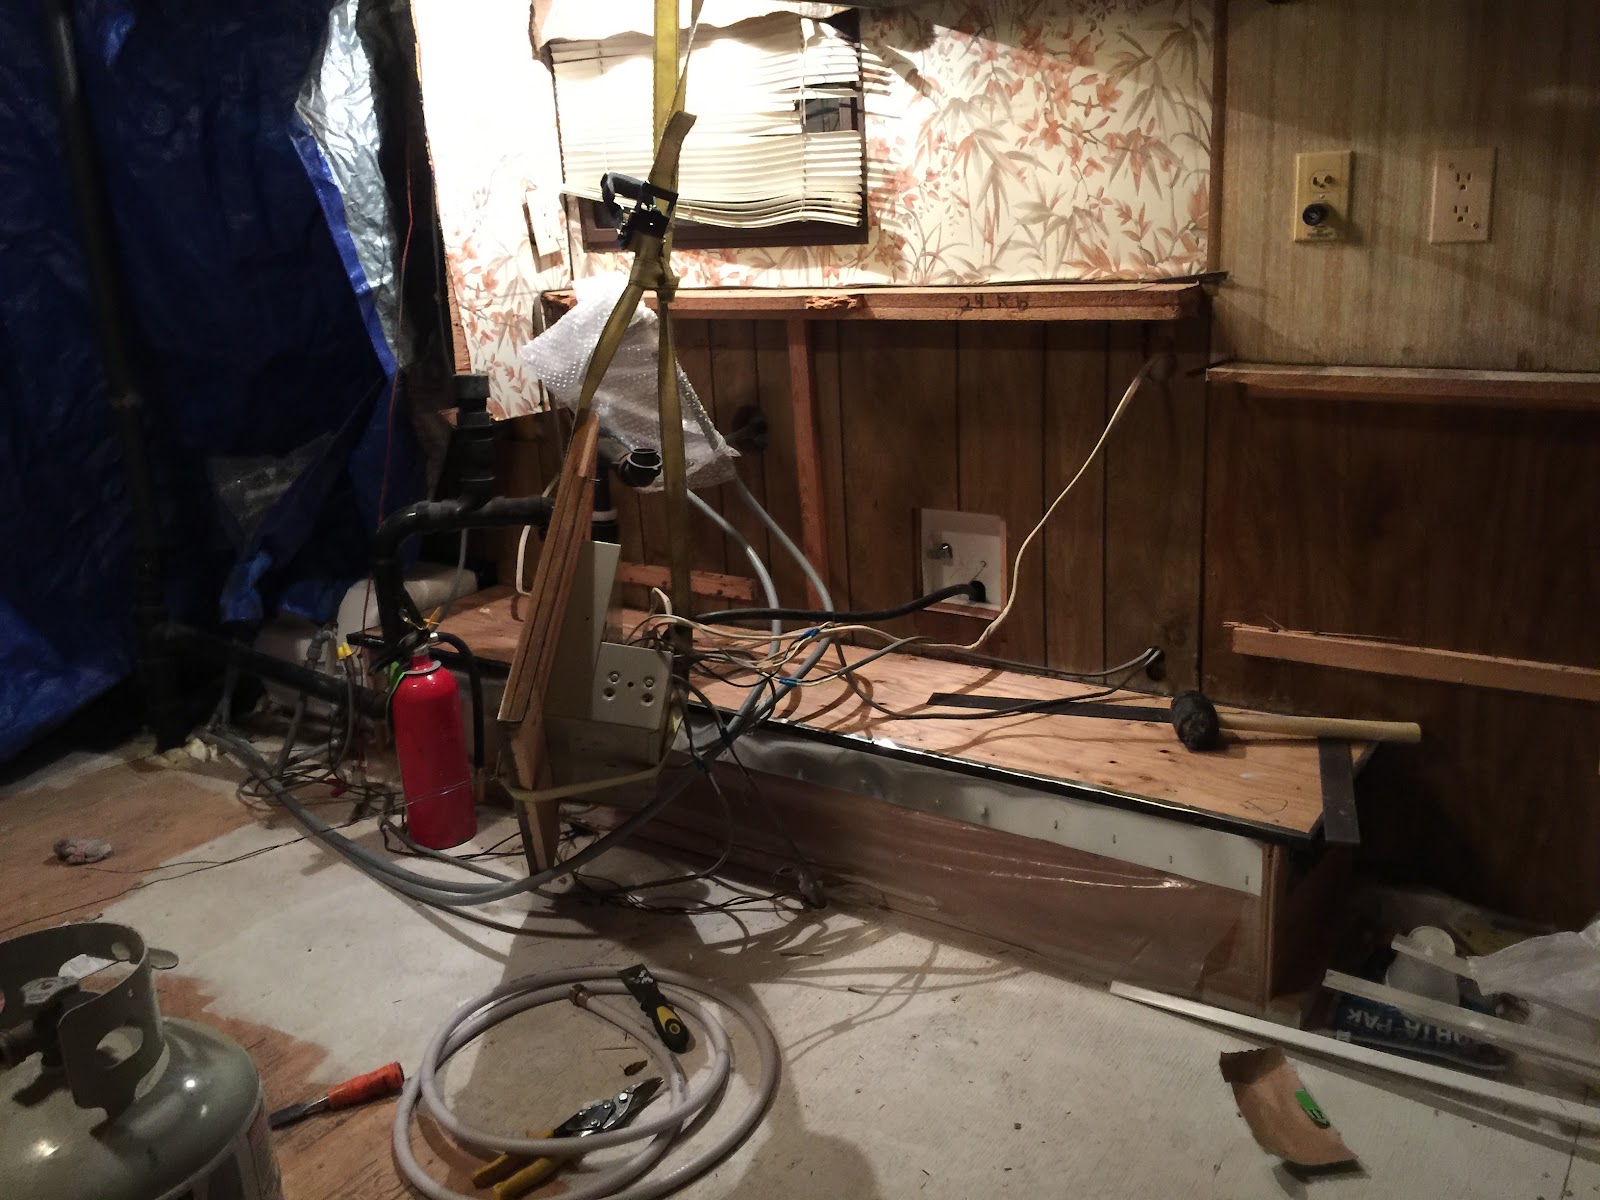
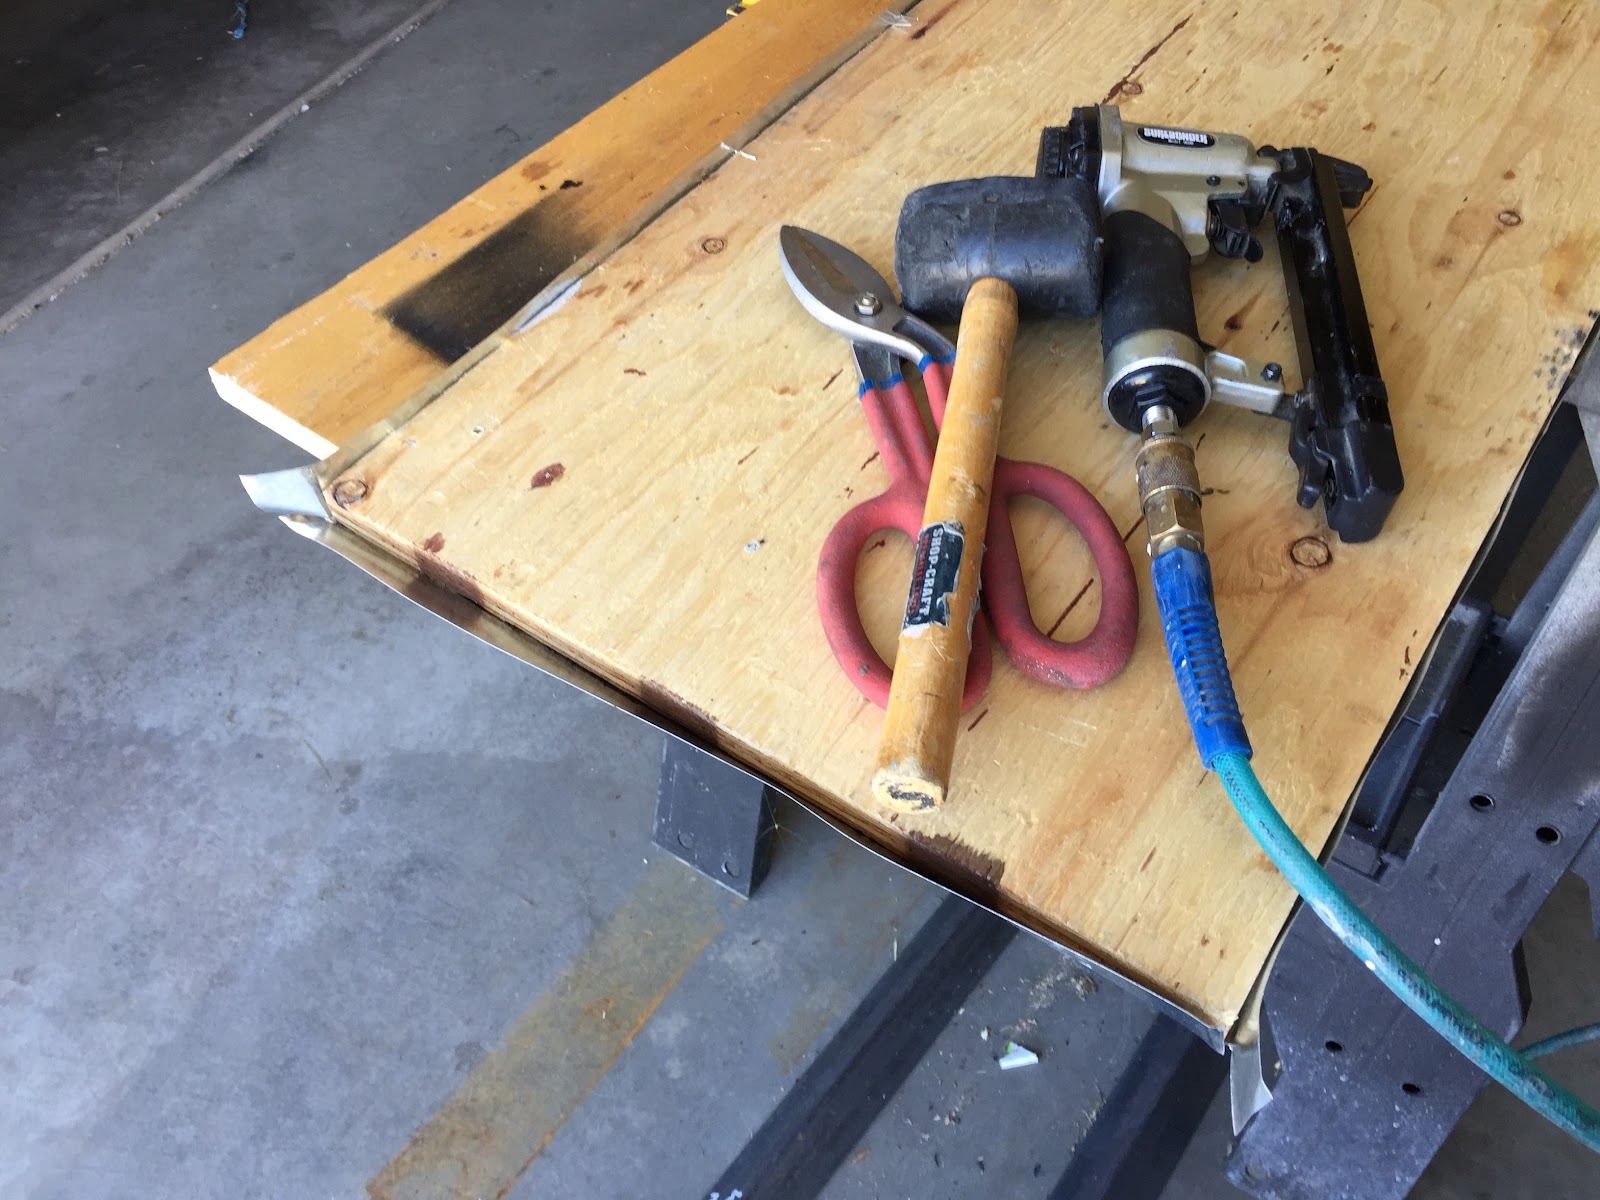
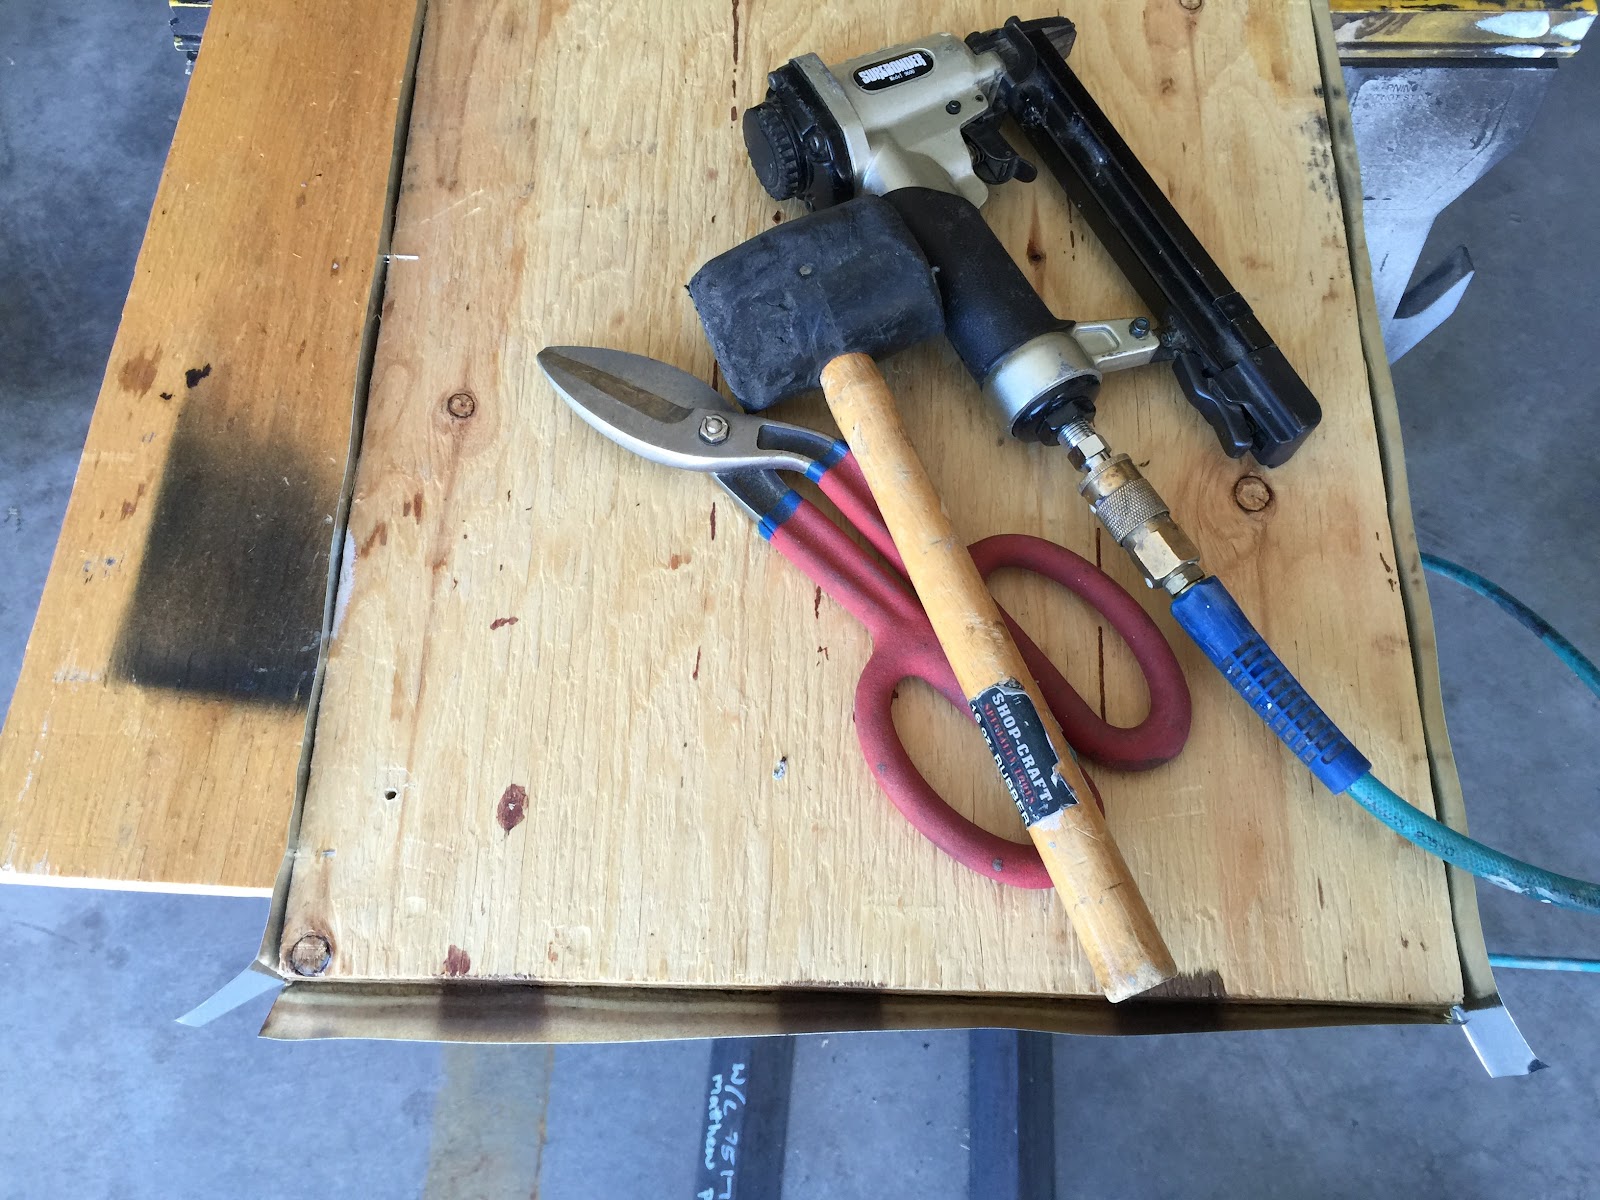
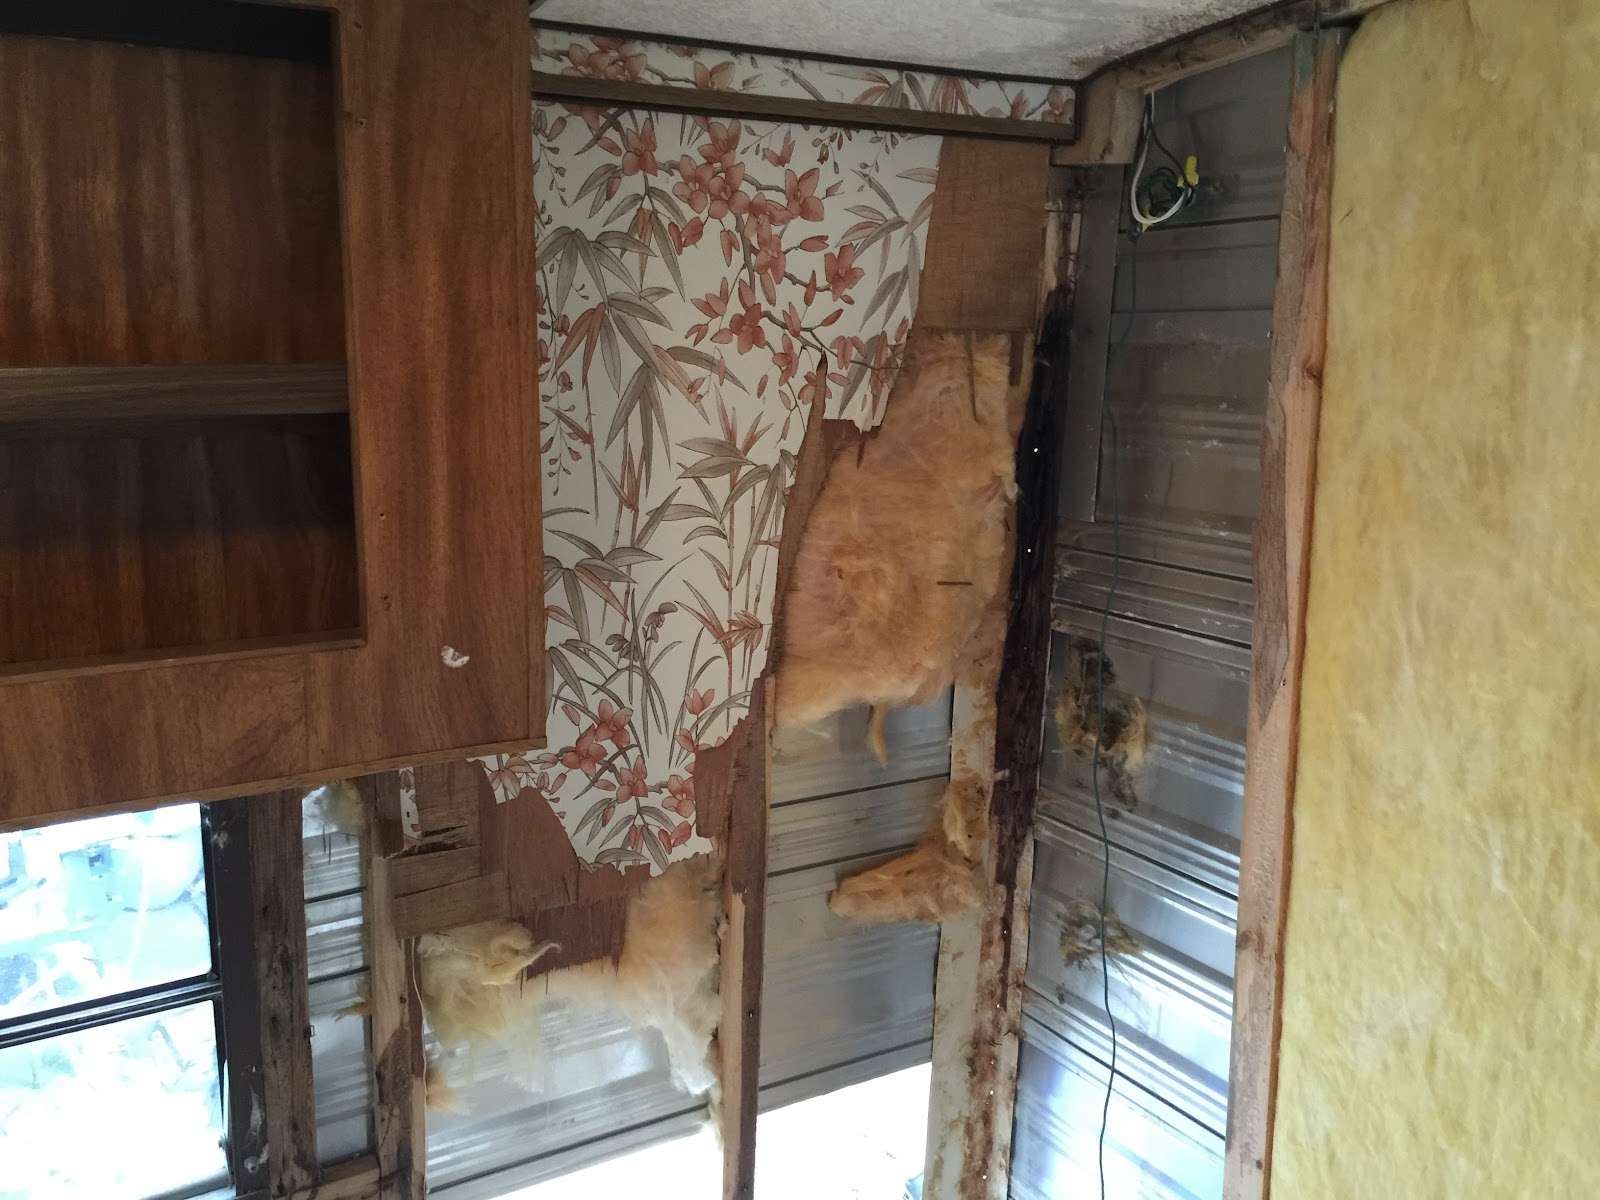
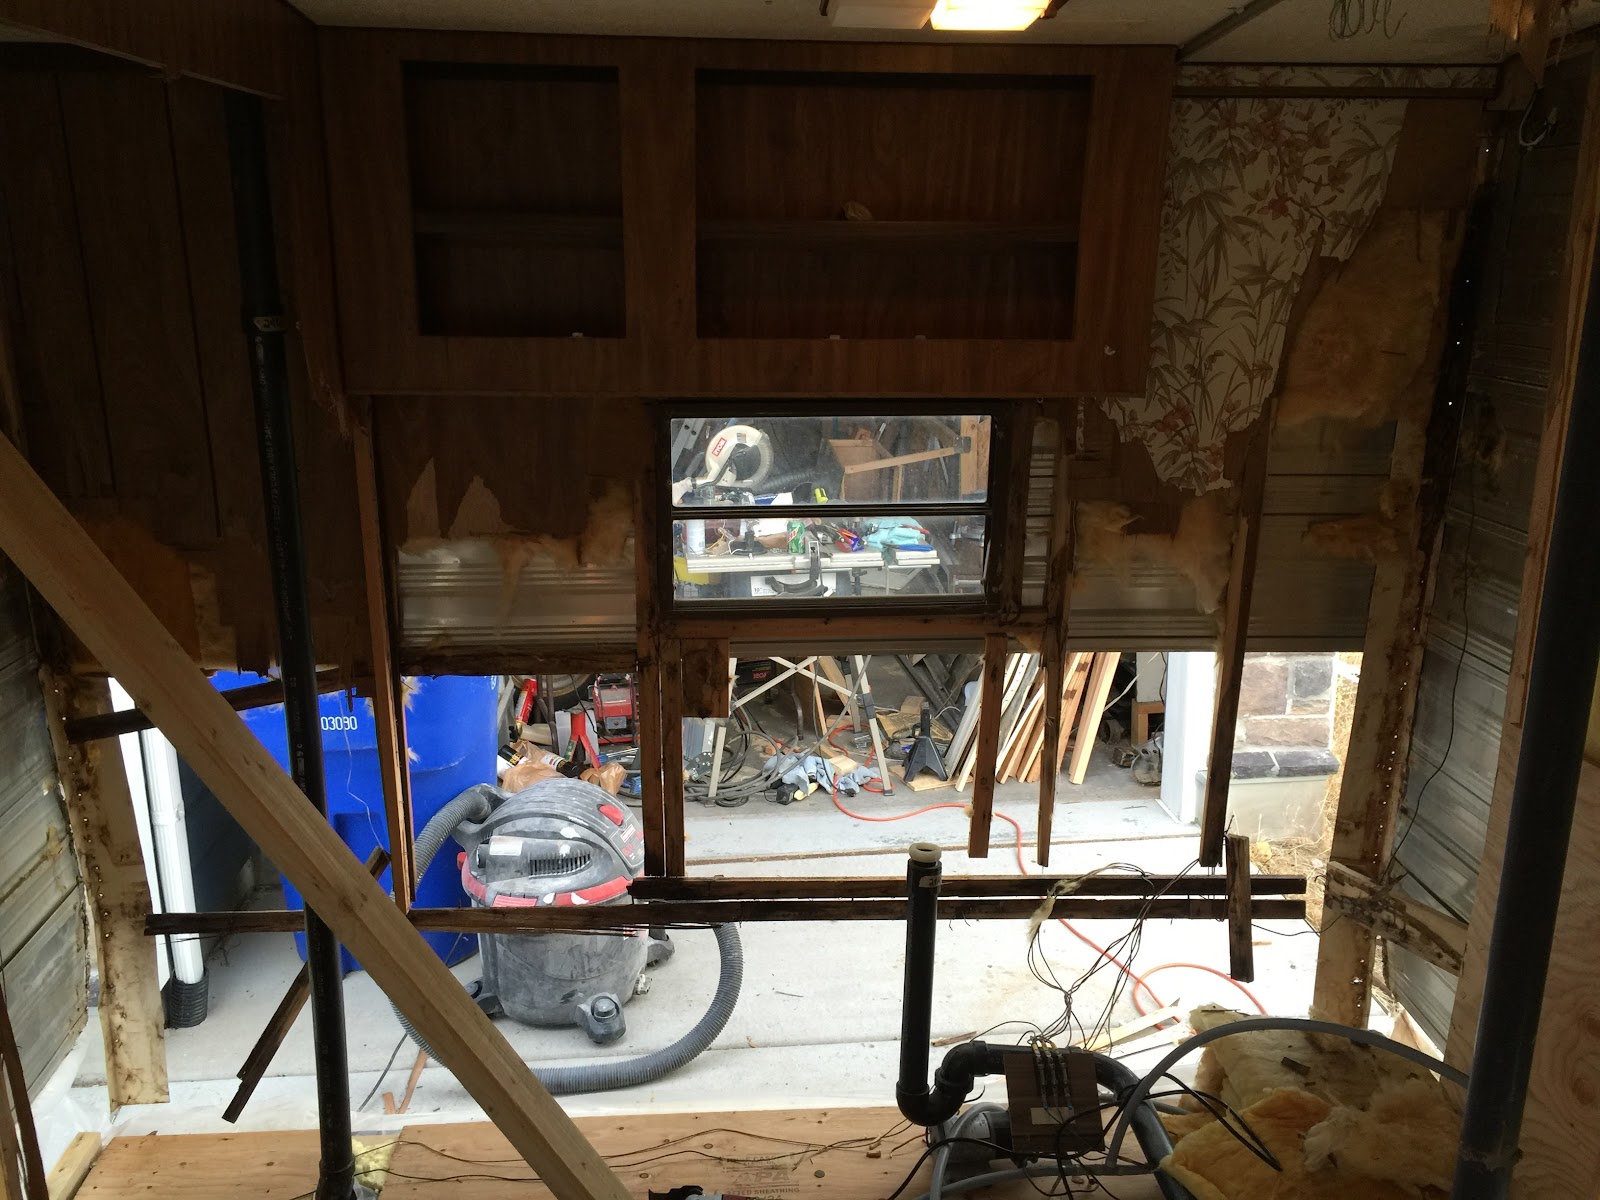
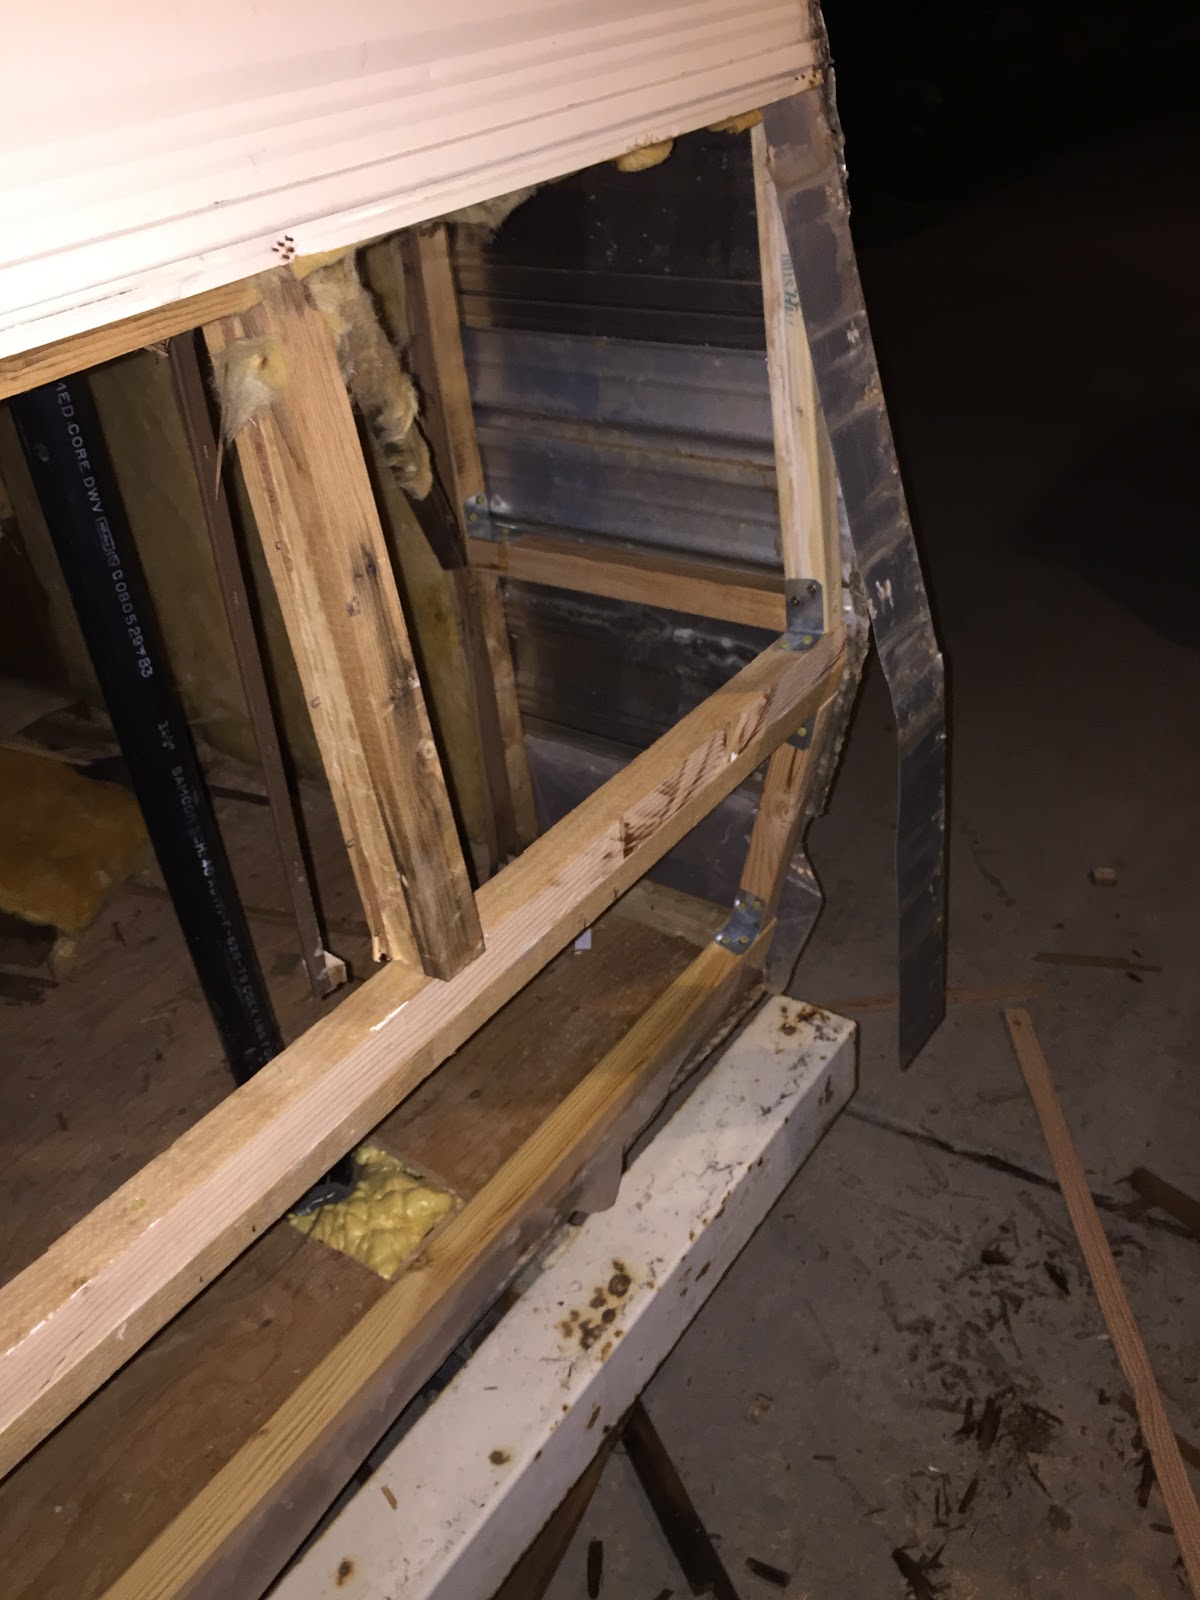
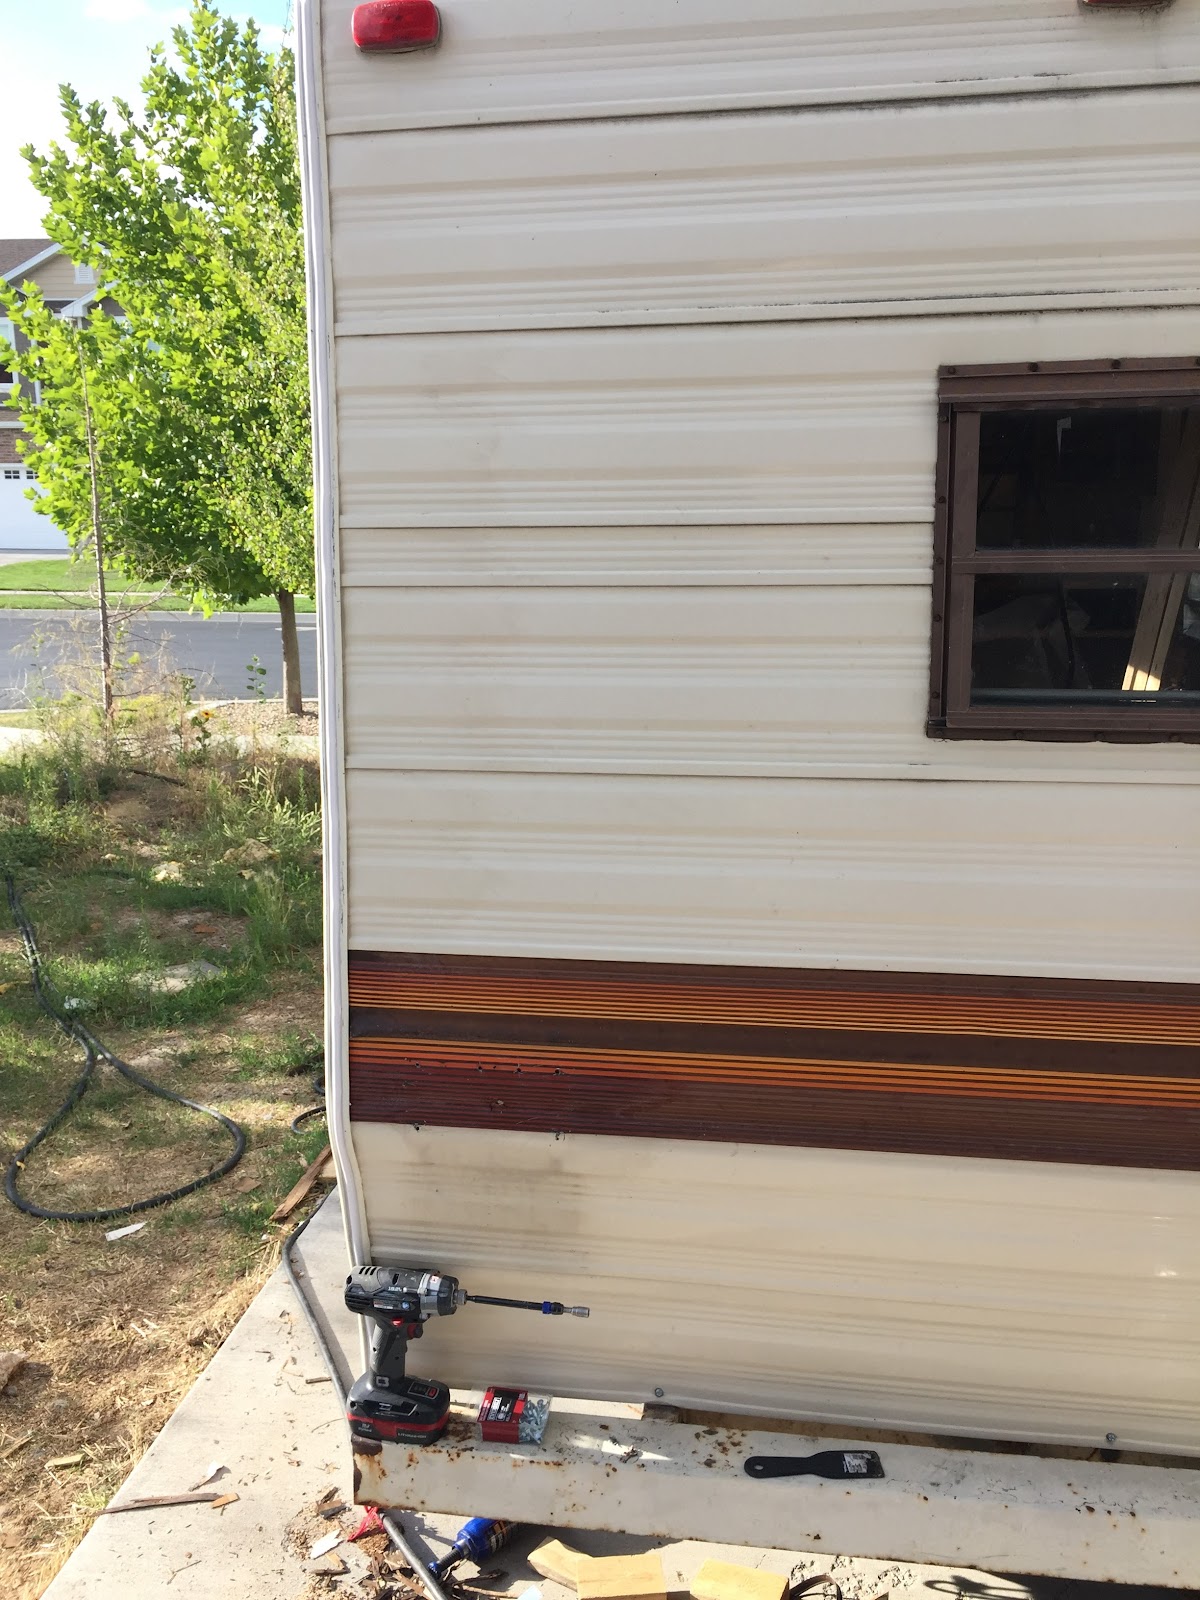
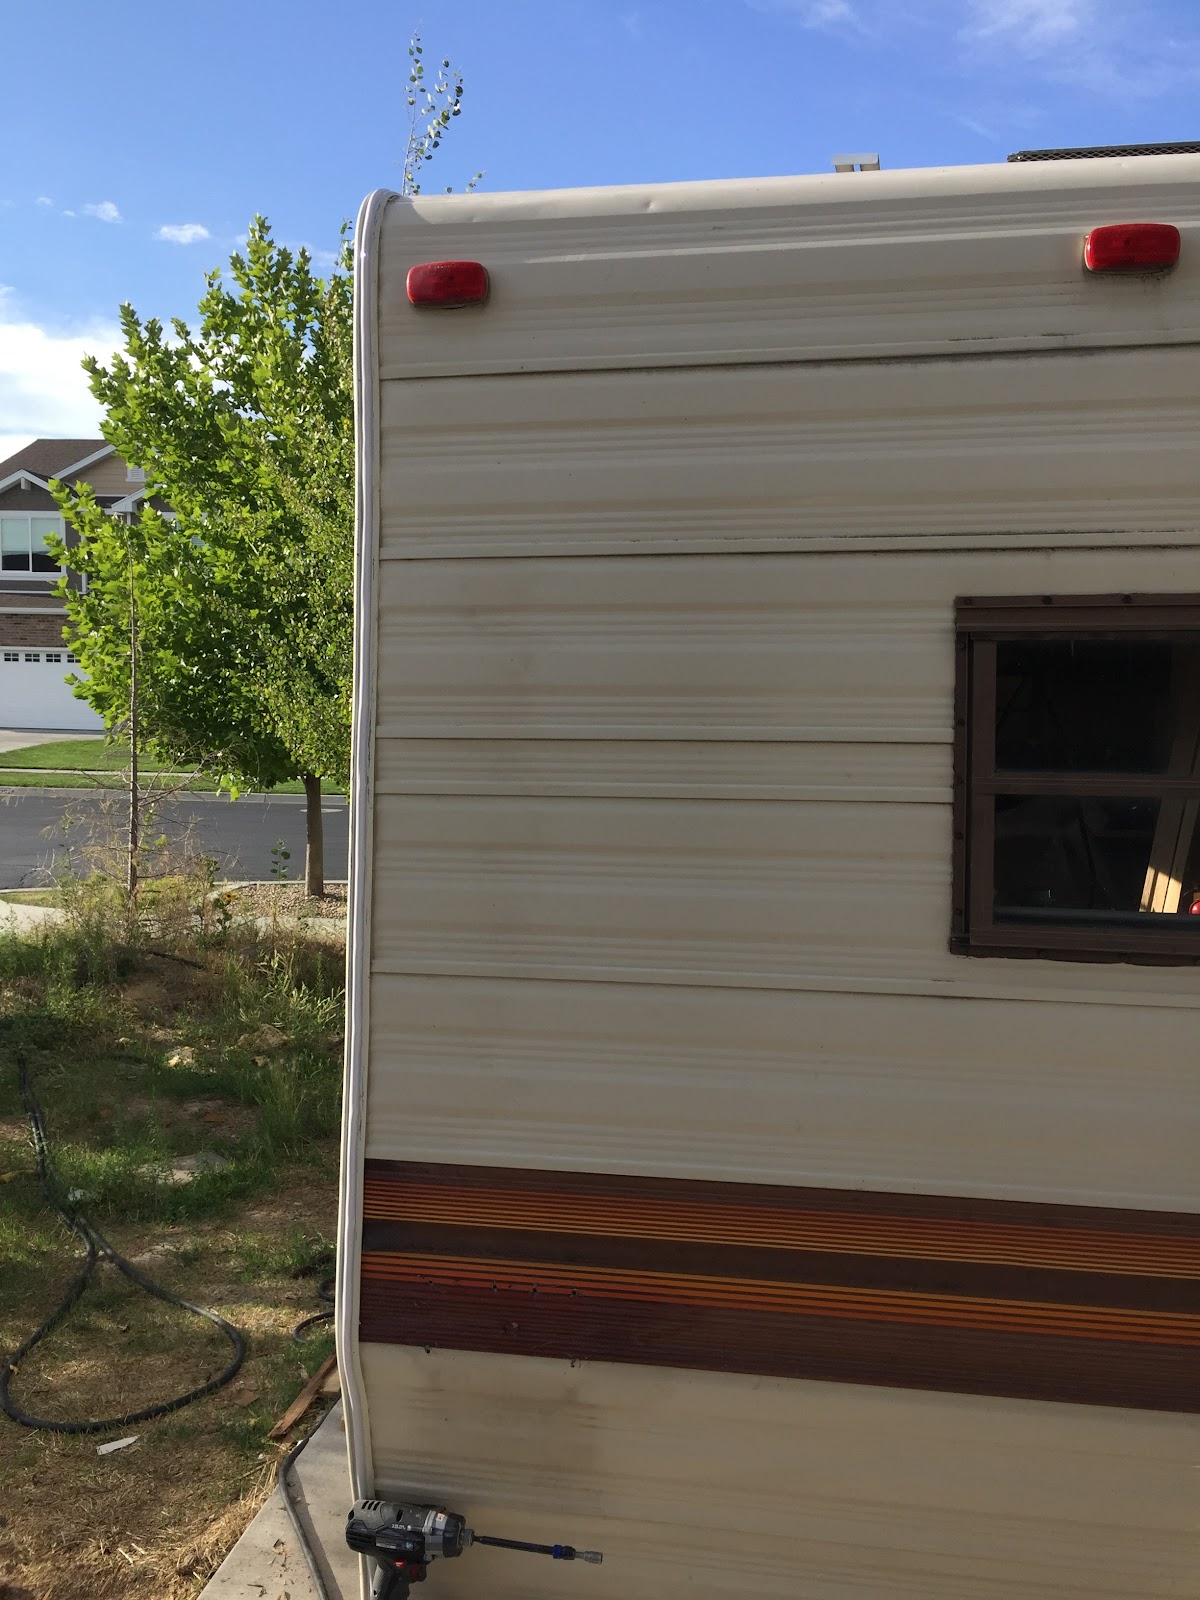
Rear wall disassembly and reassembly. I won’t narrate much of this but it was a pain getting the stables out of the aluminum siding without damaging it. It was also difficult to remove the J-trim on the corners of the trailer. 

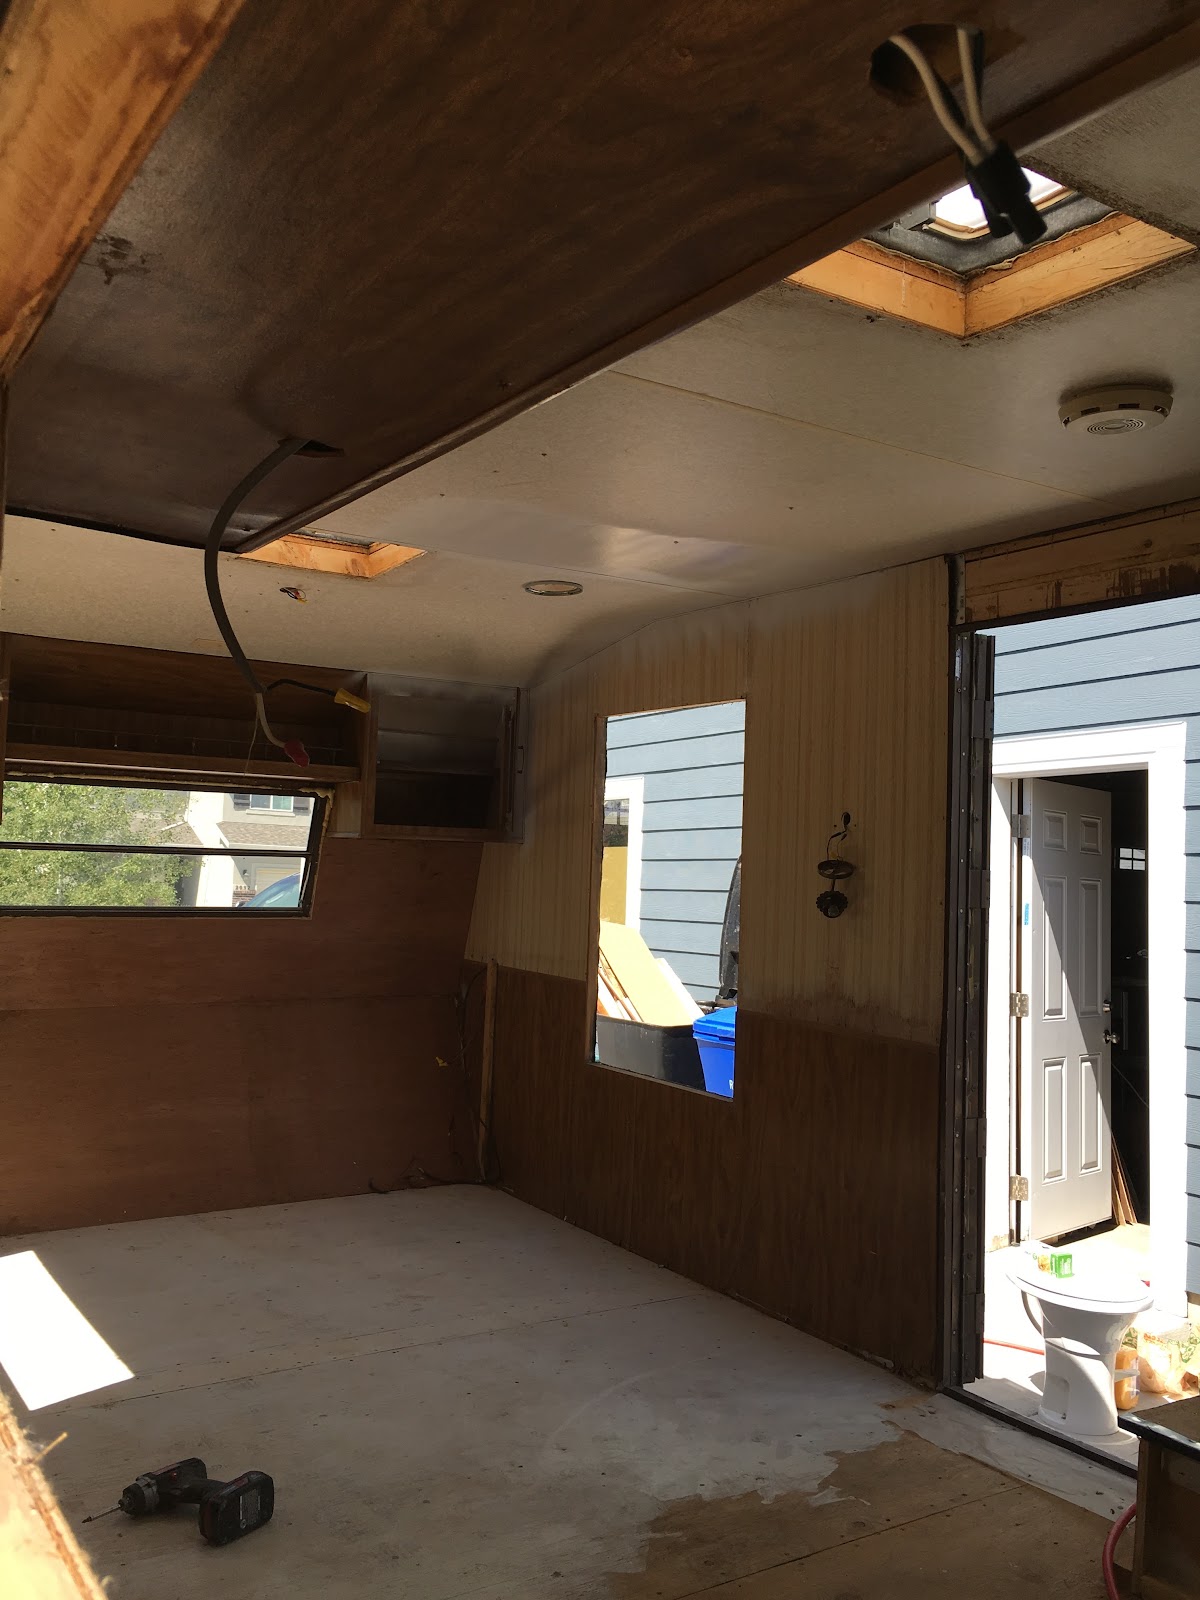
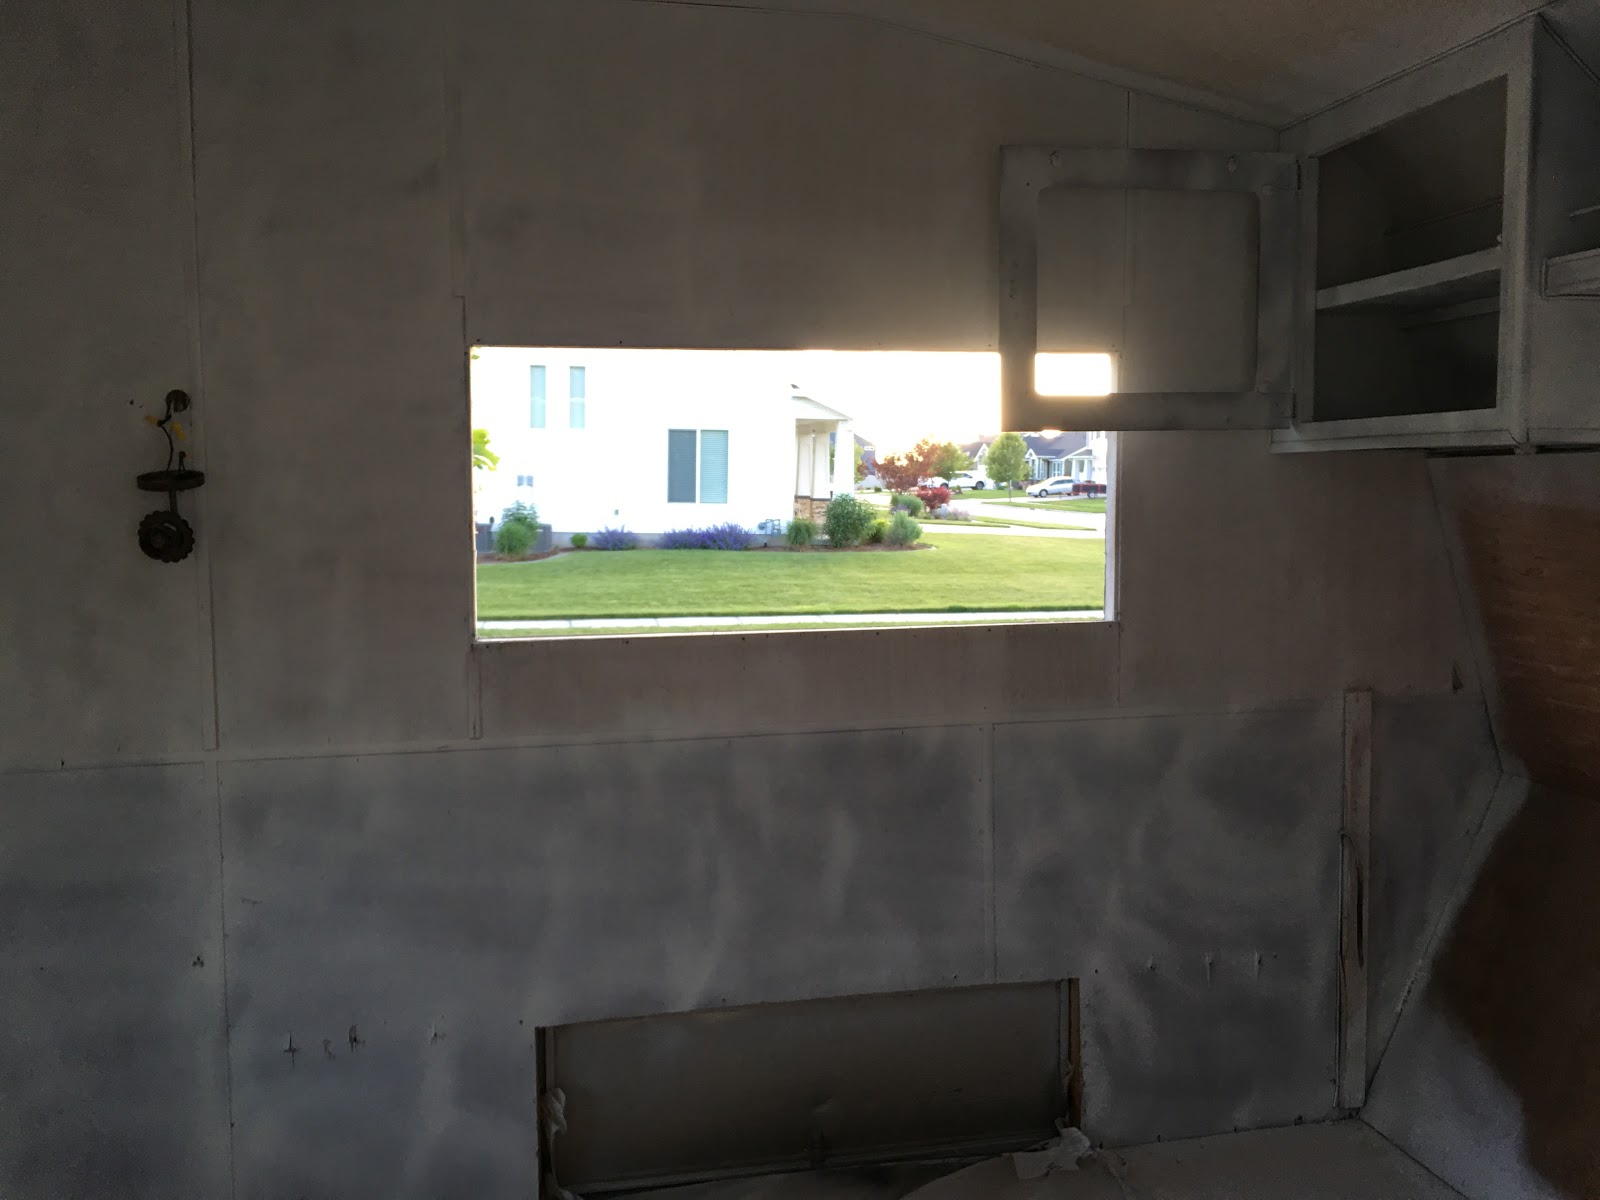
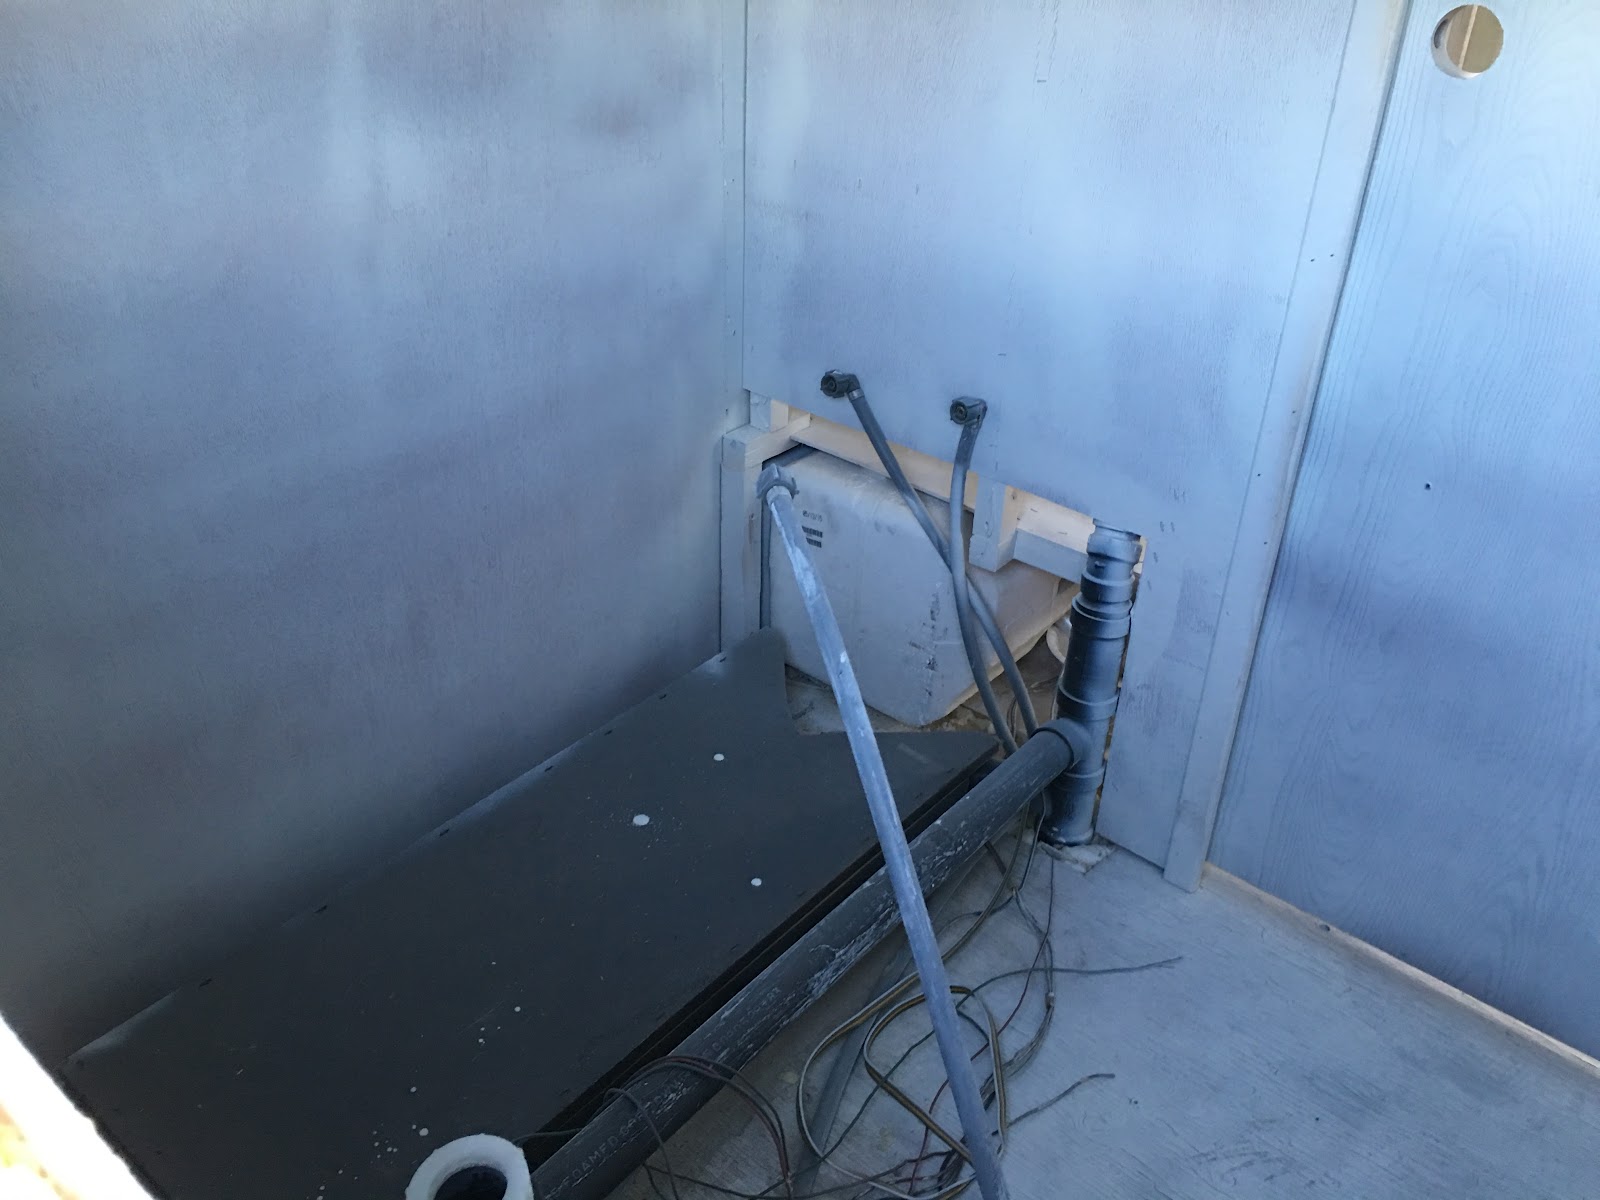
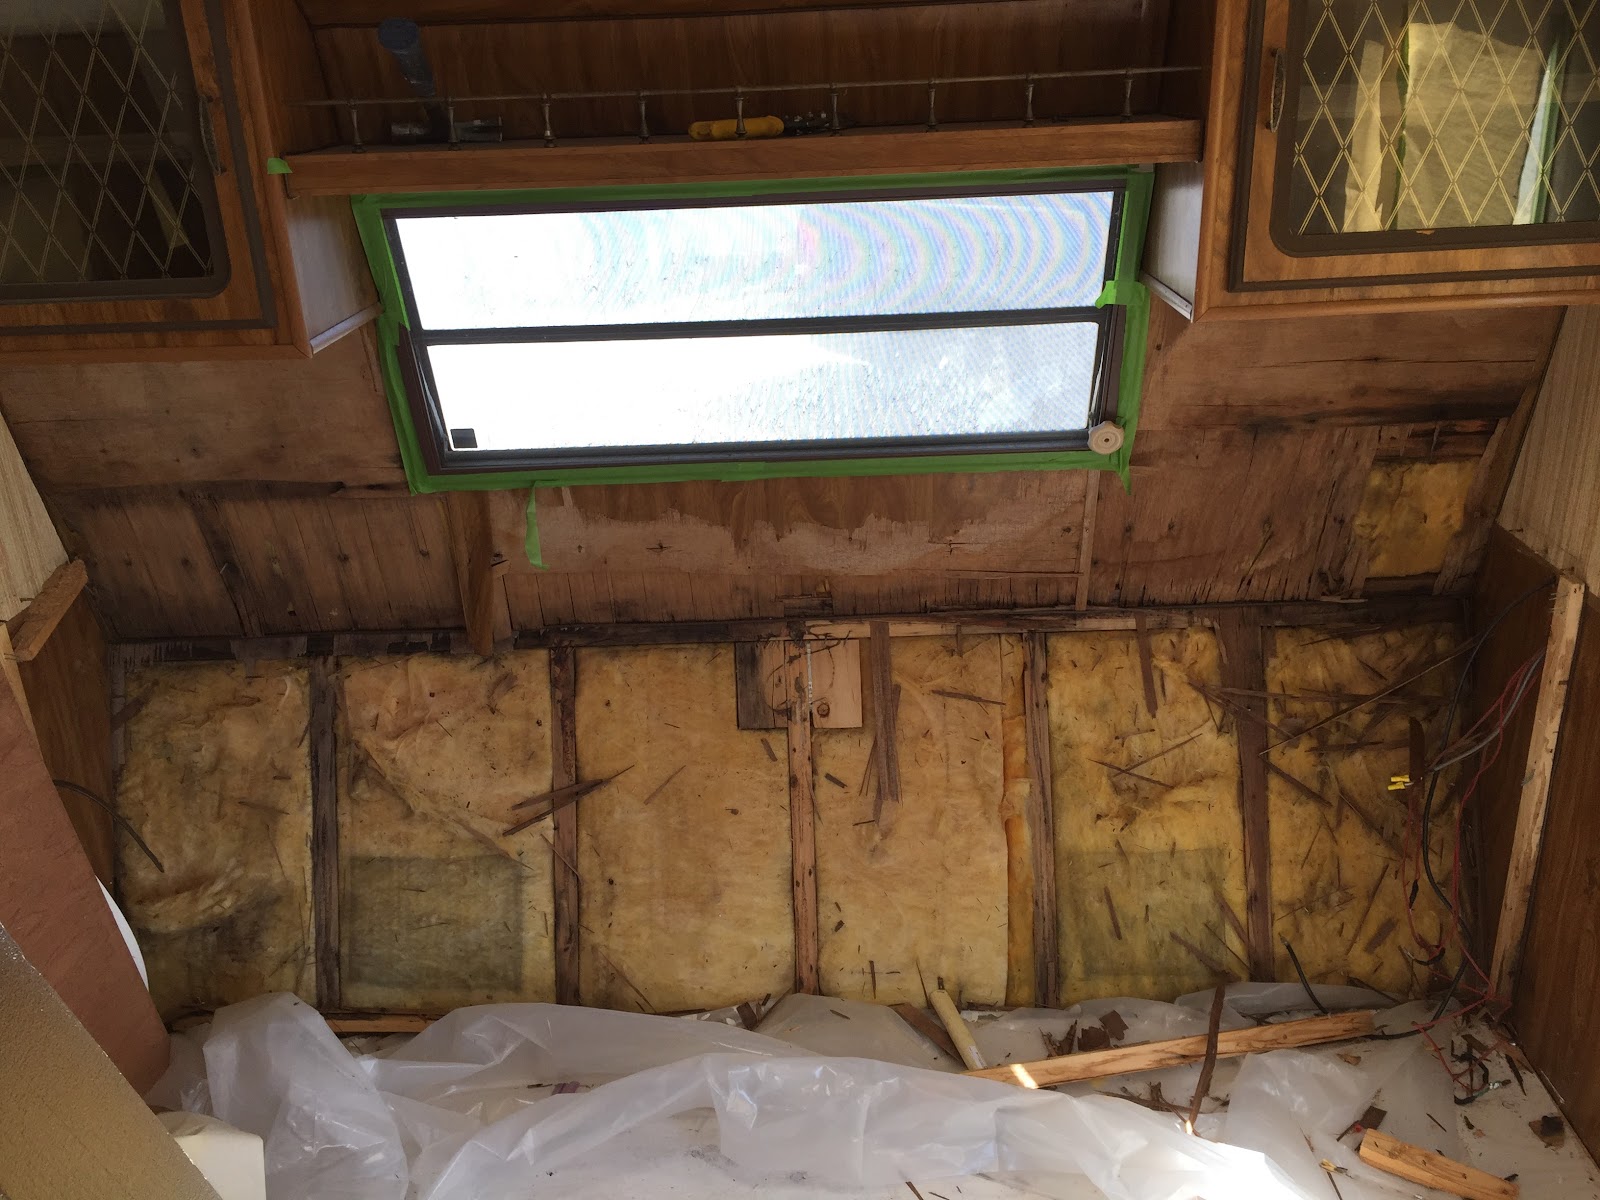
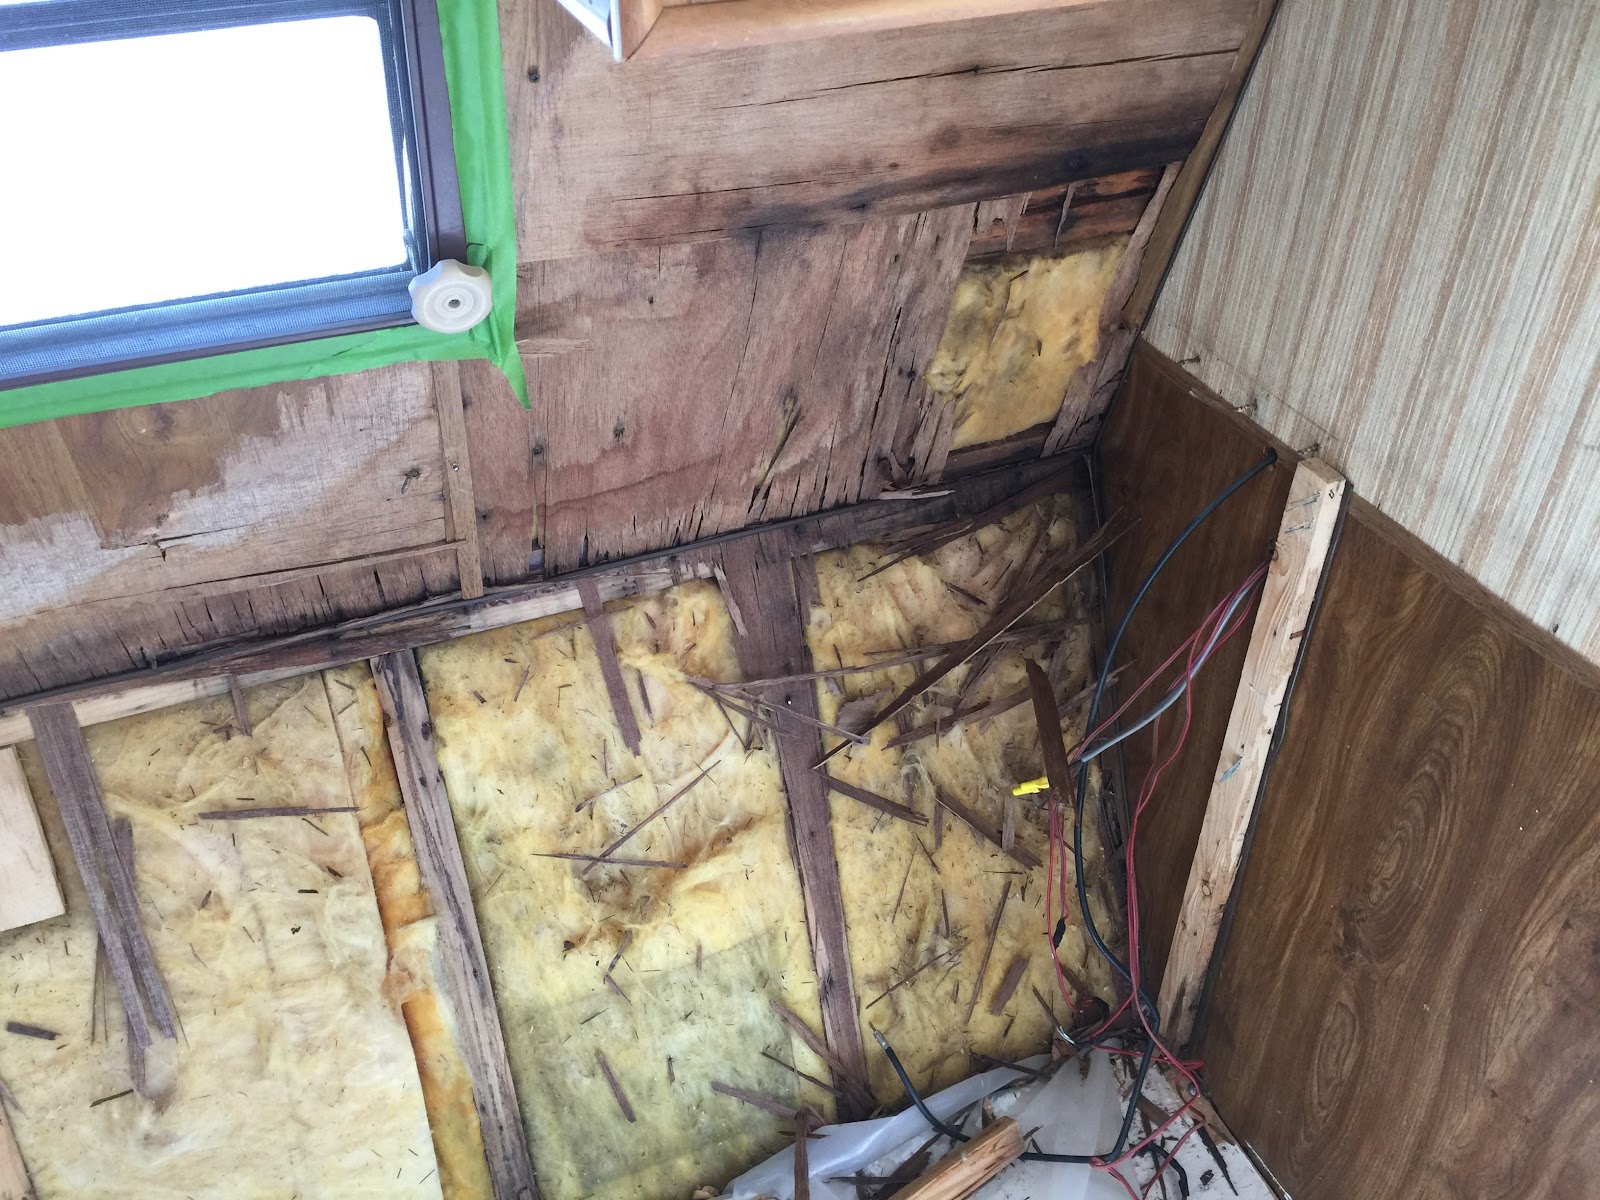
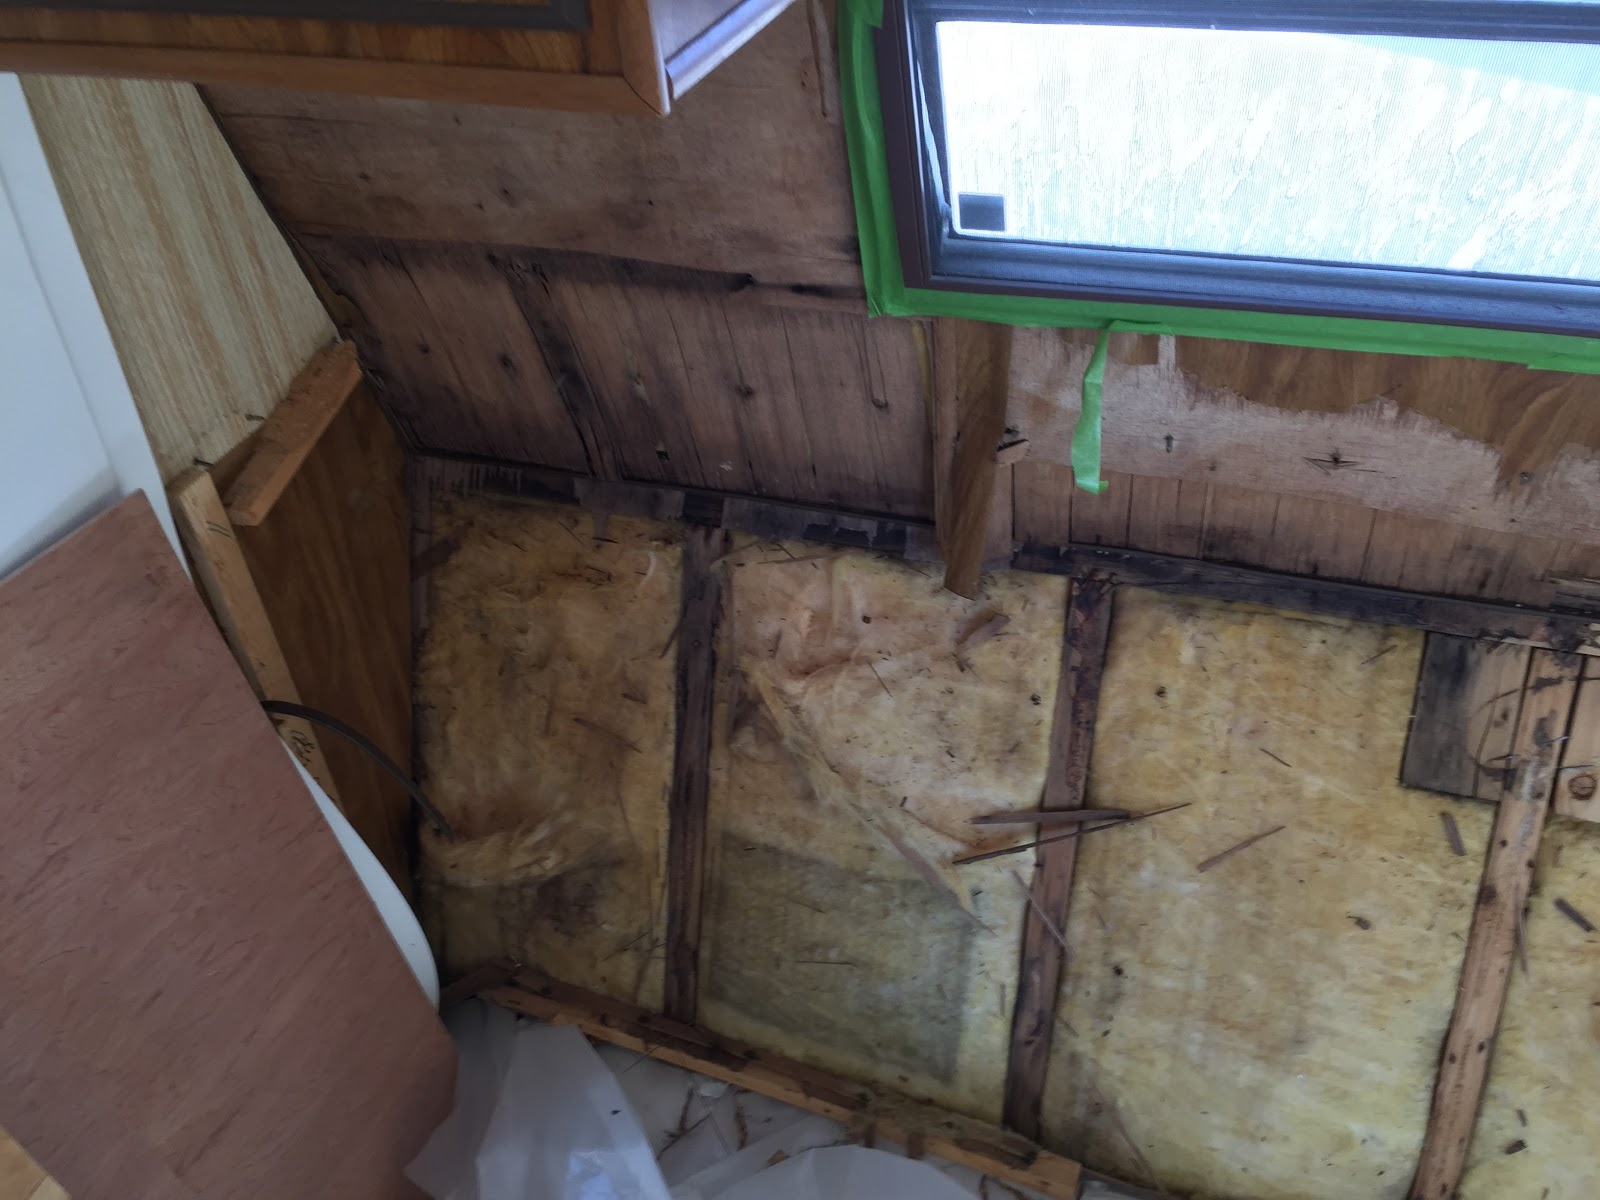
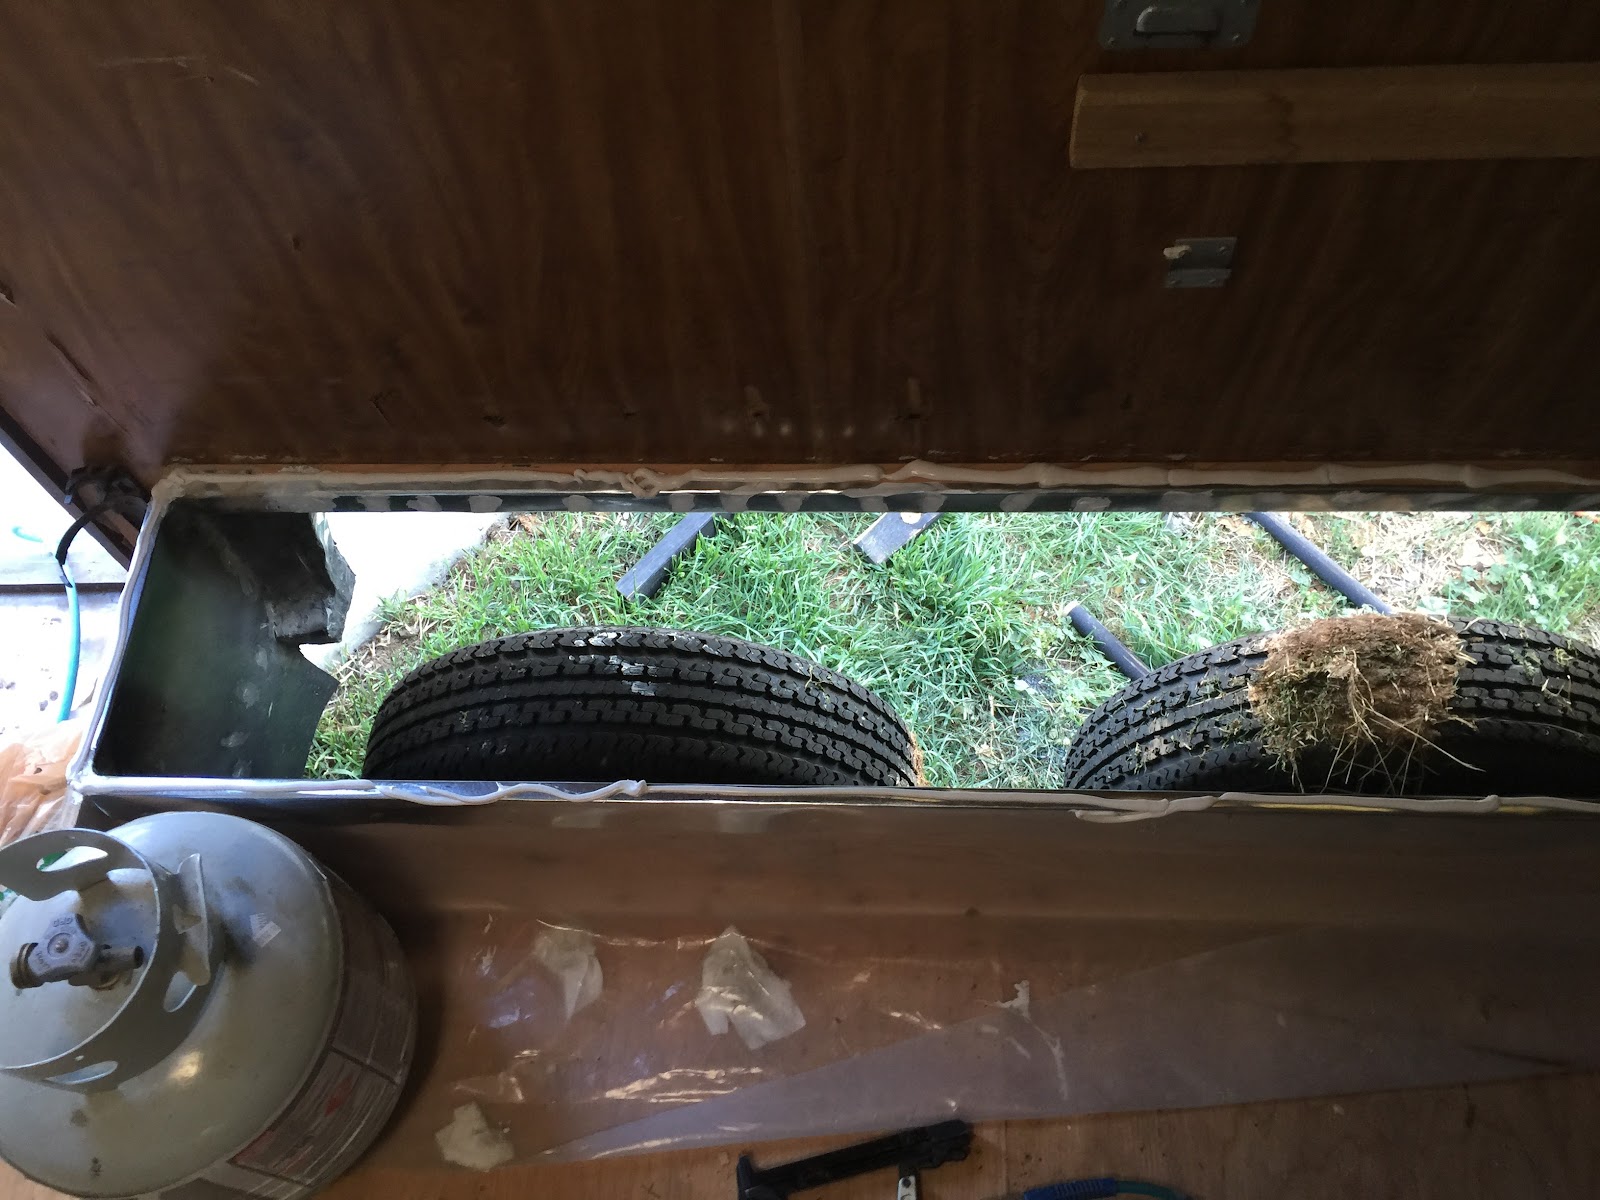
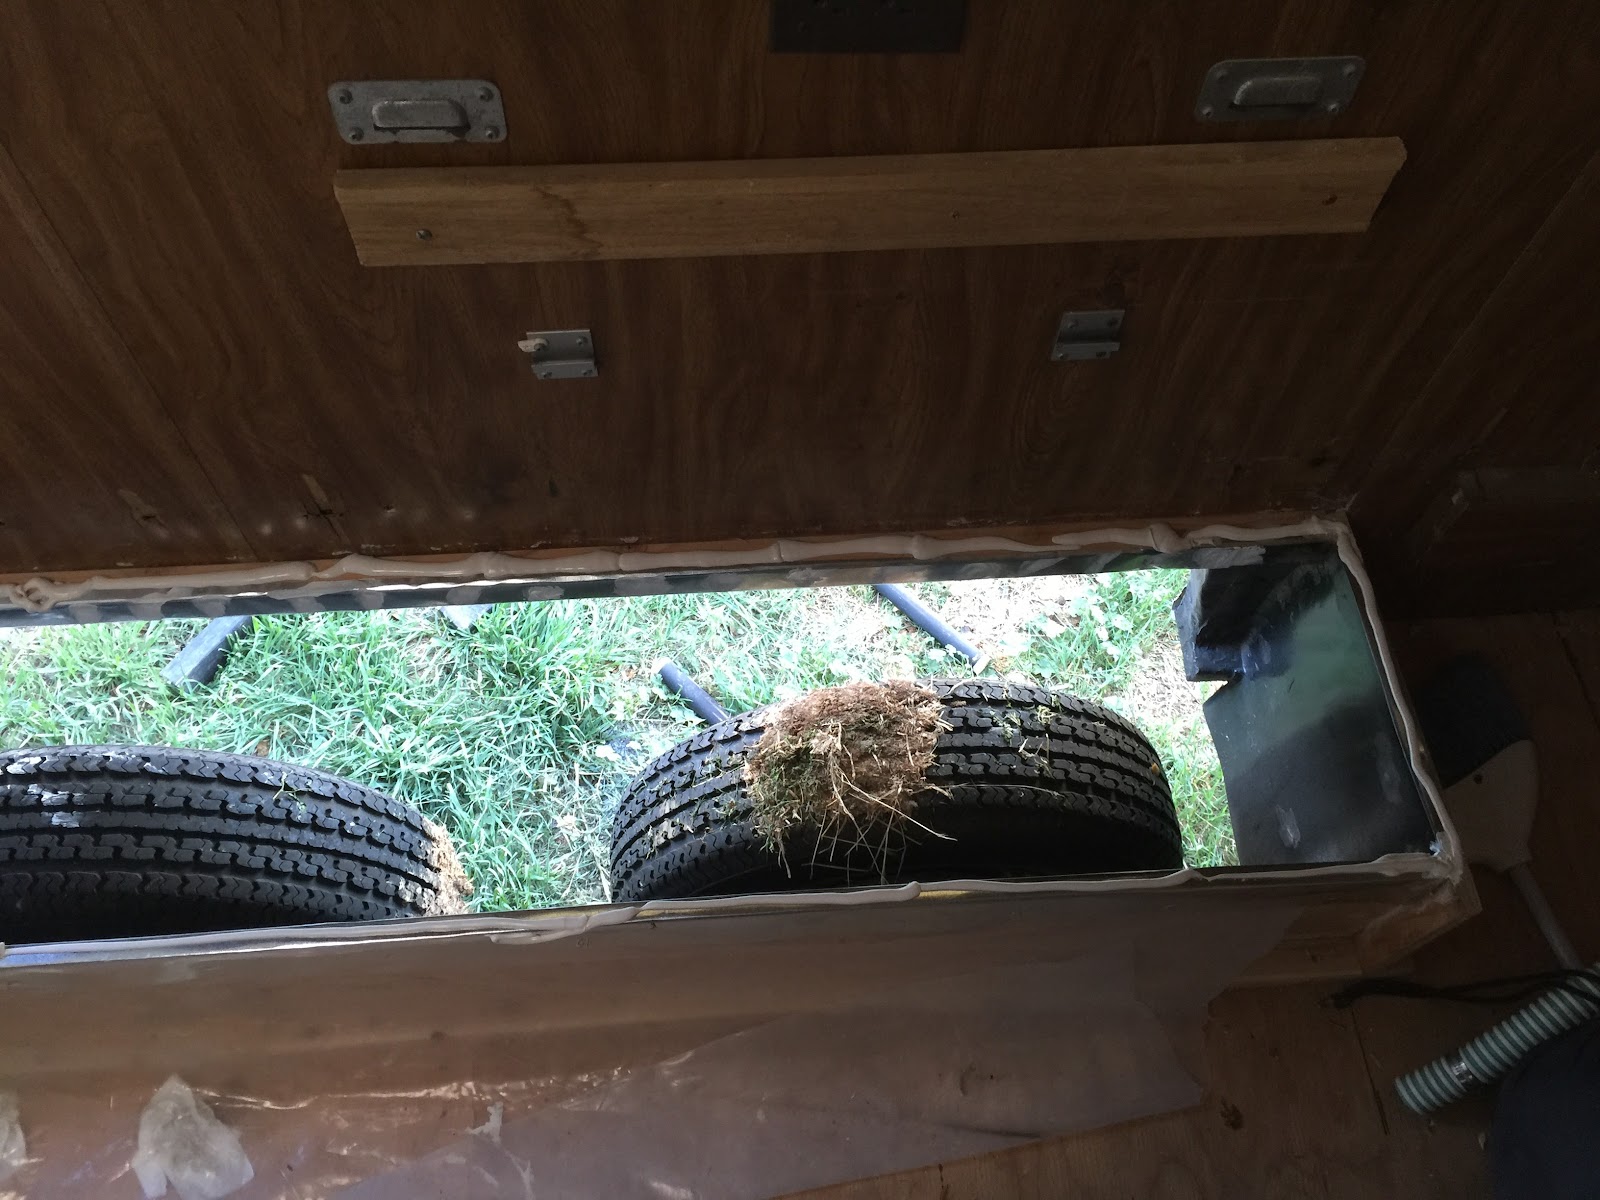
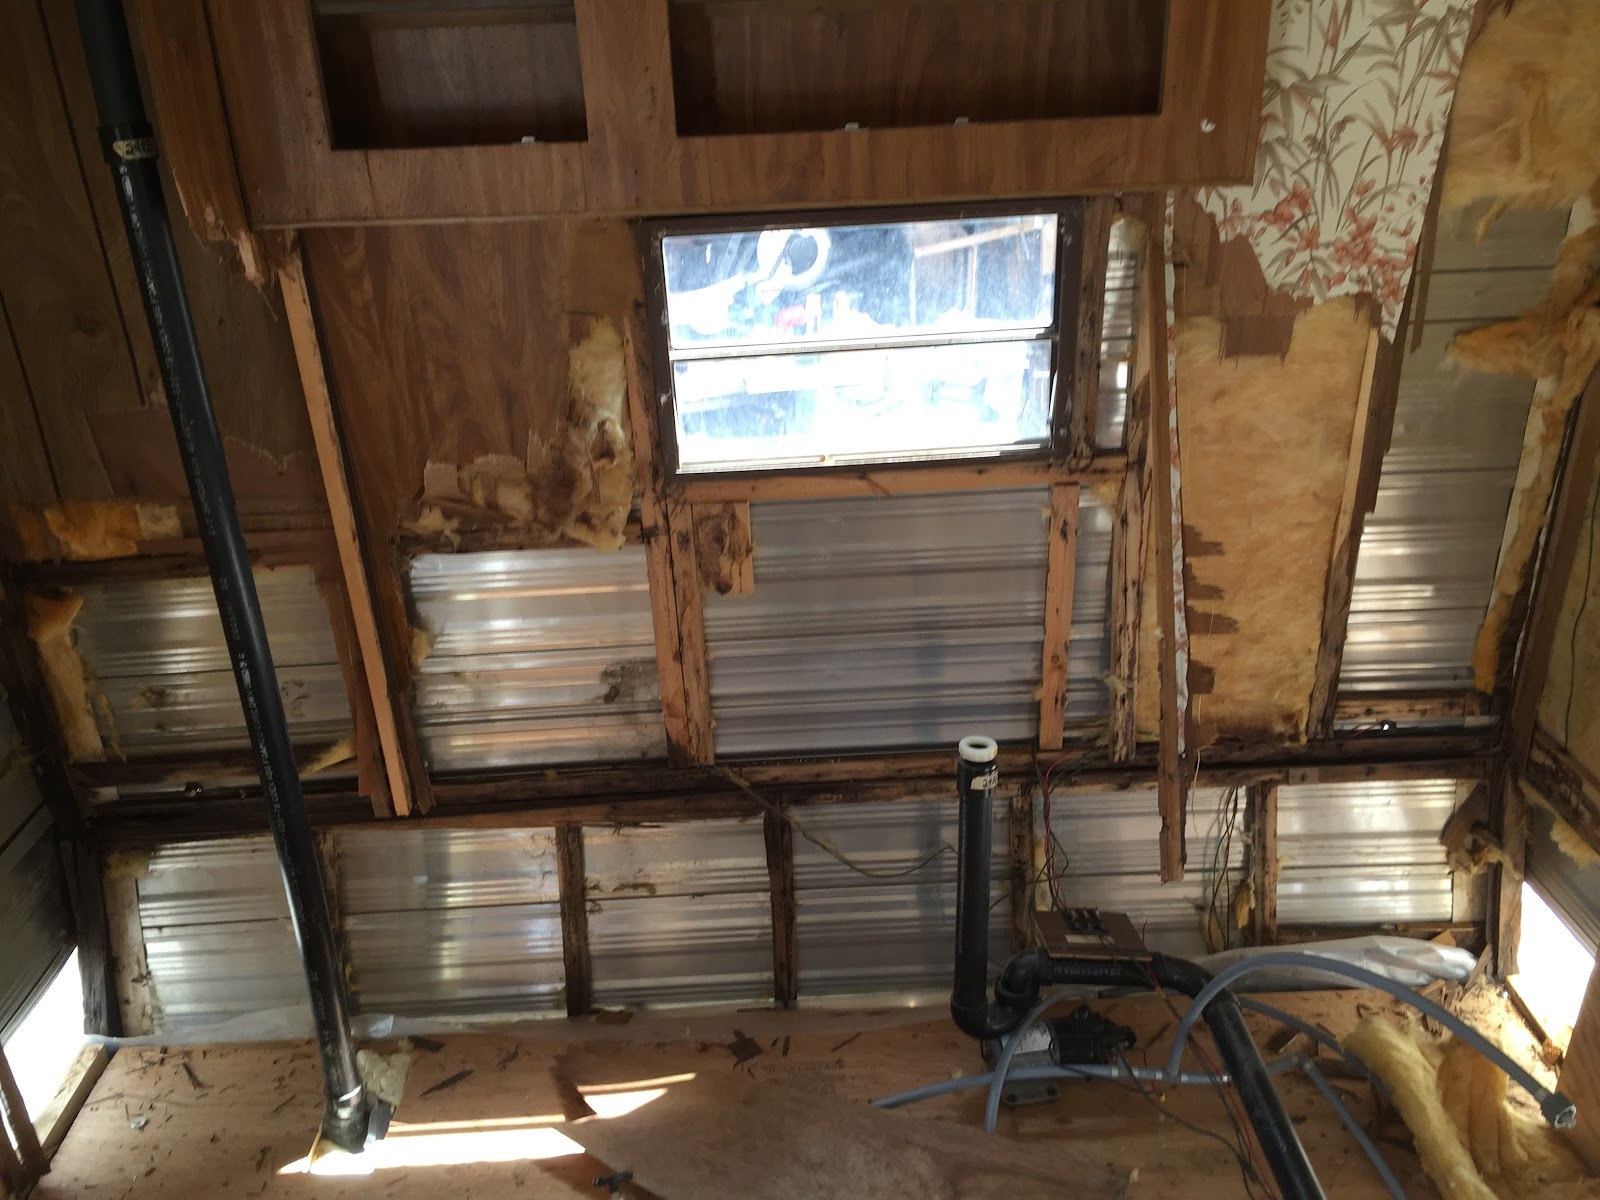
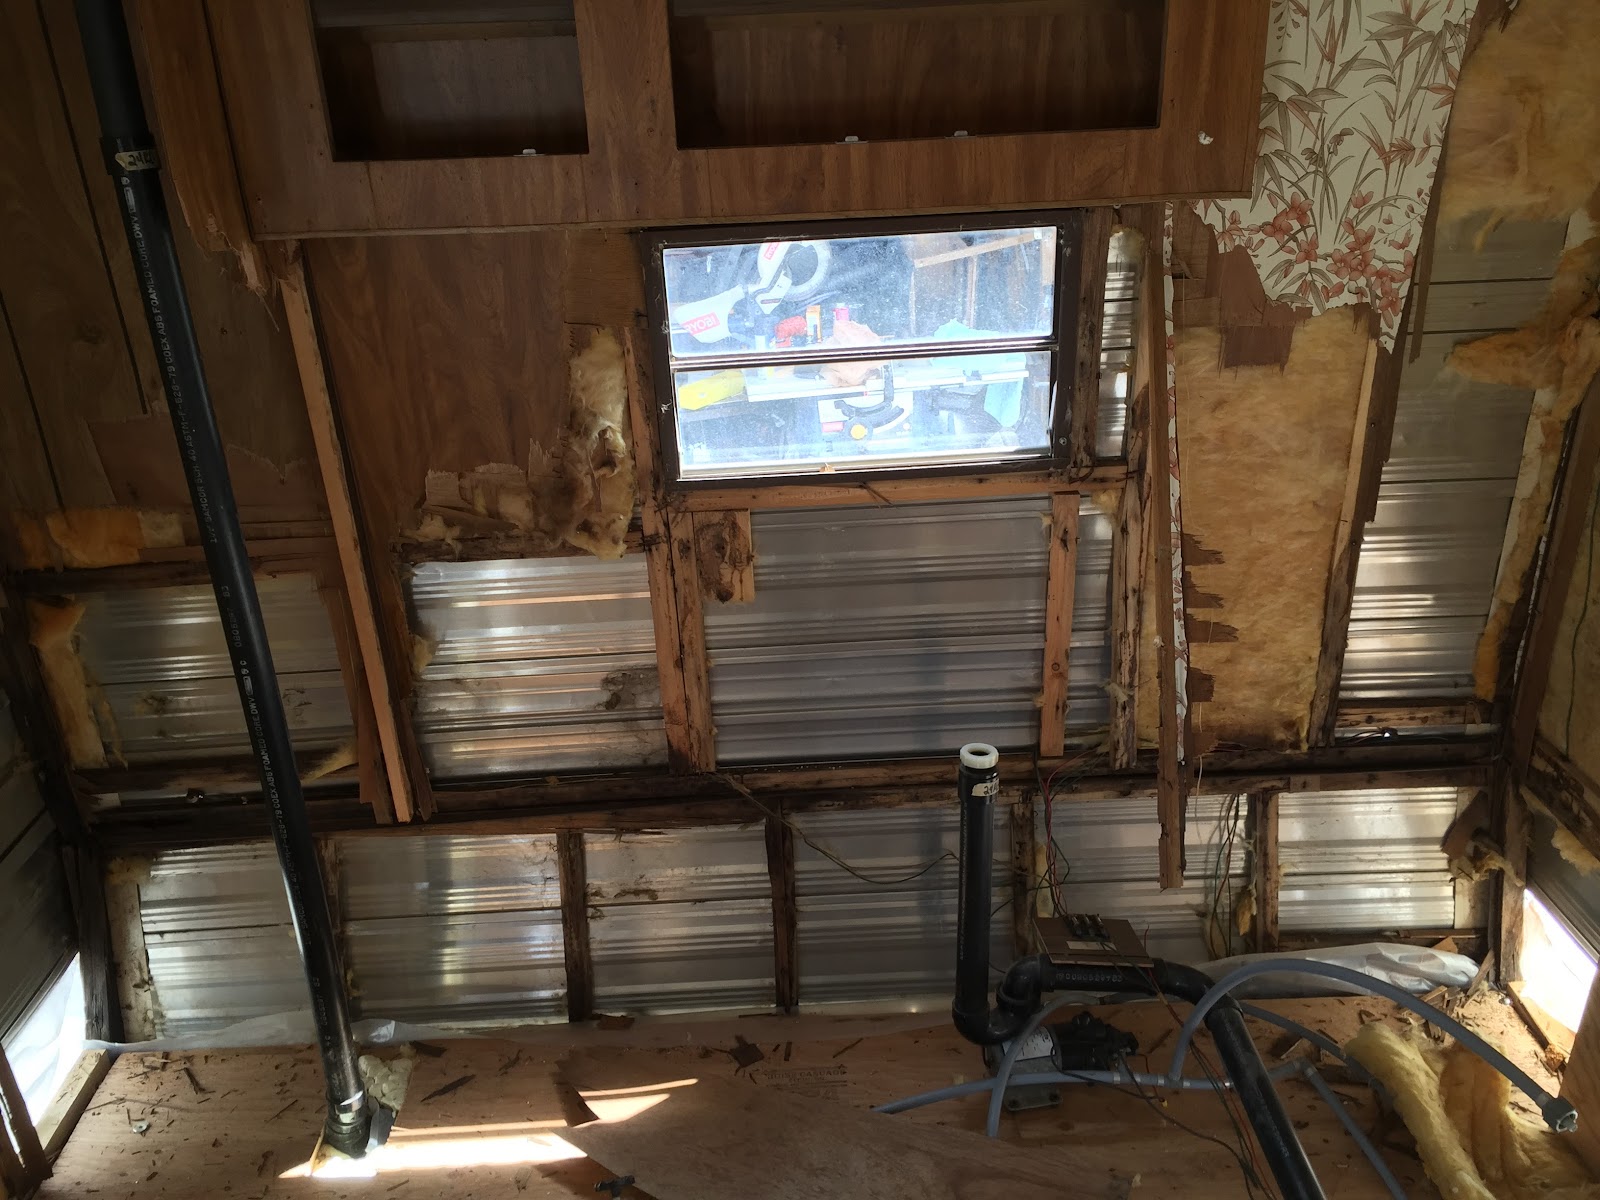
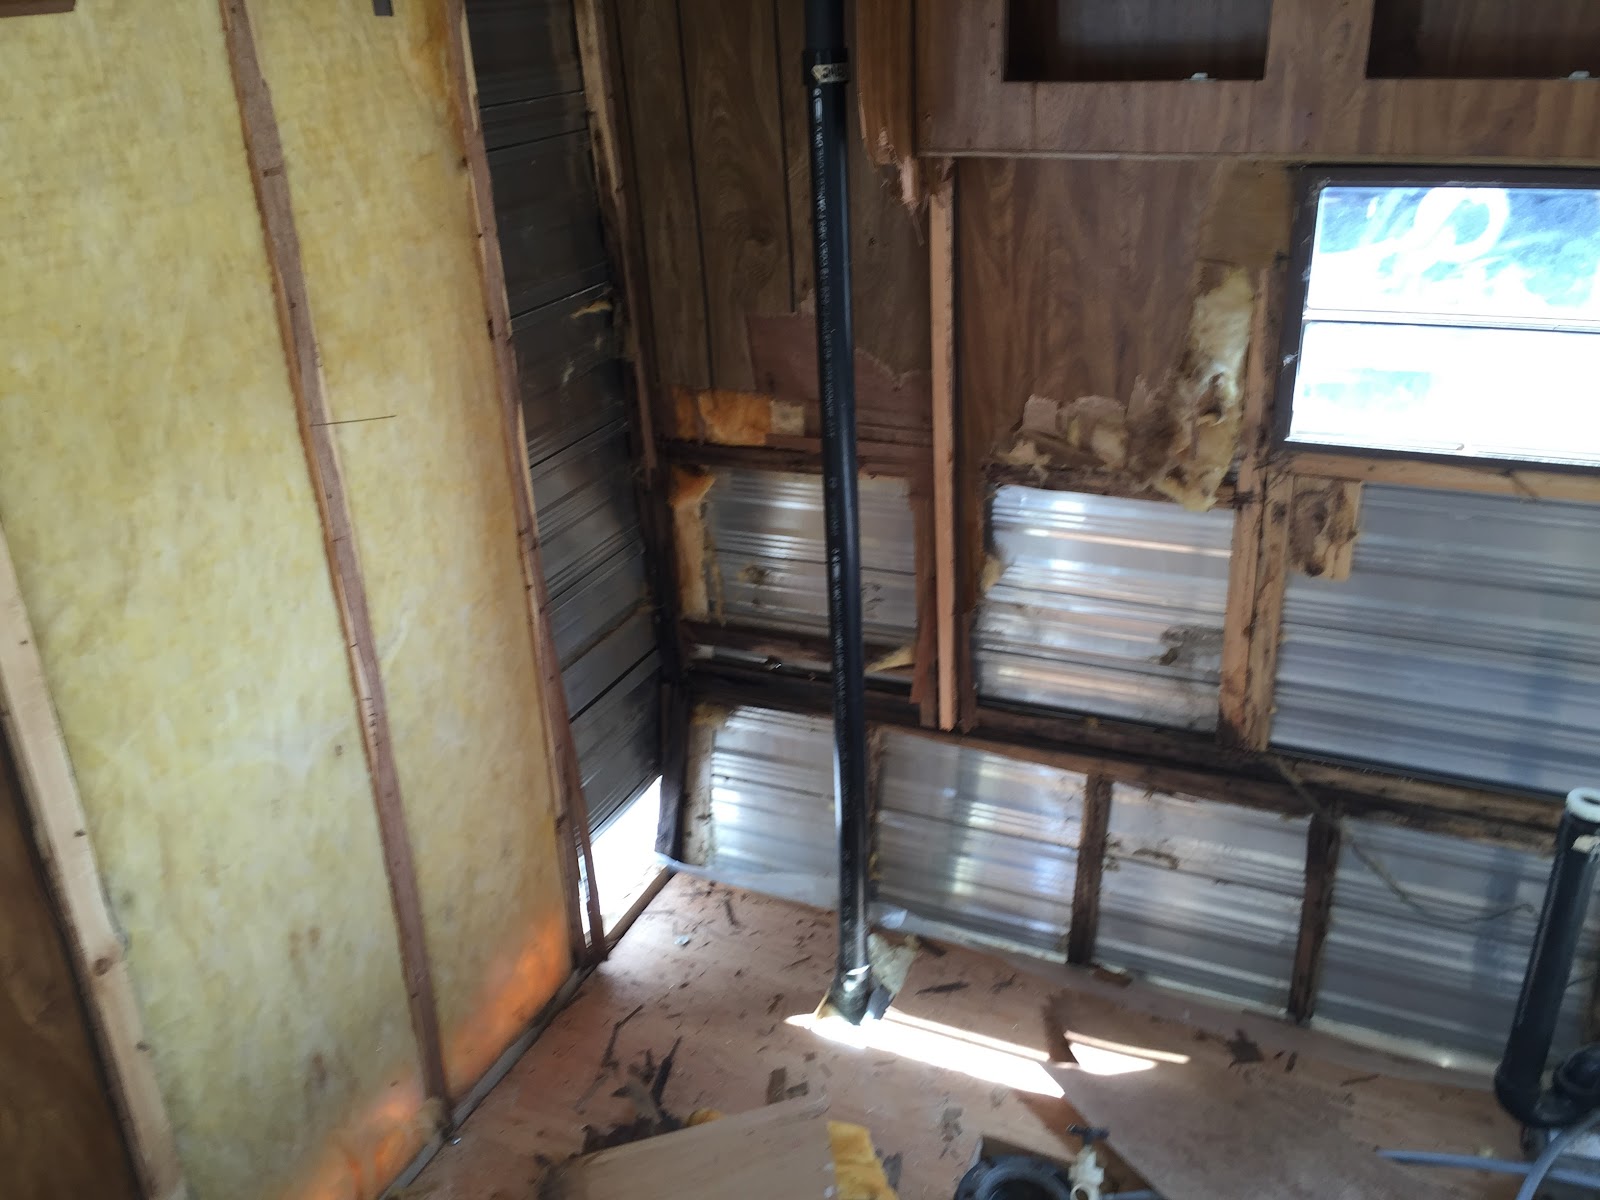
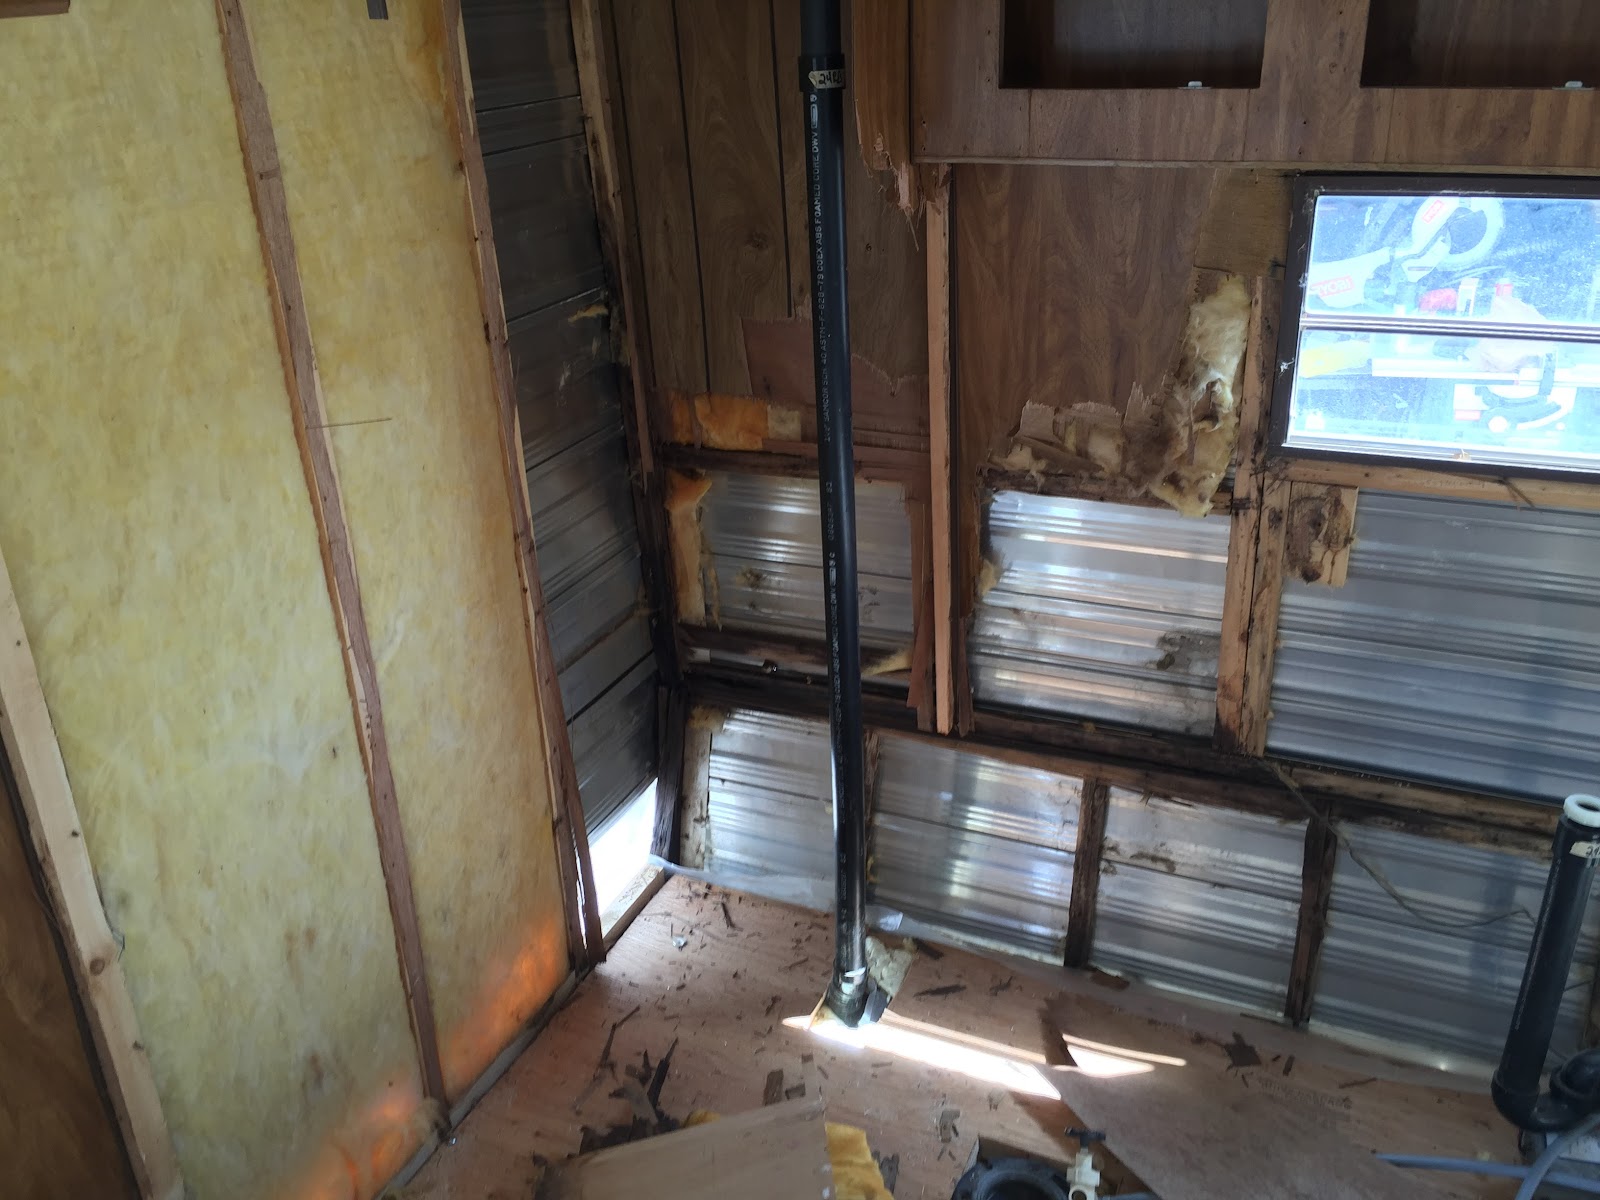
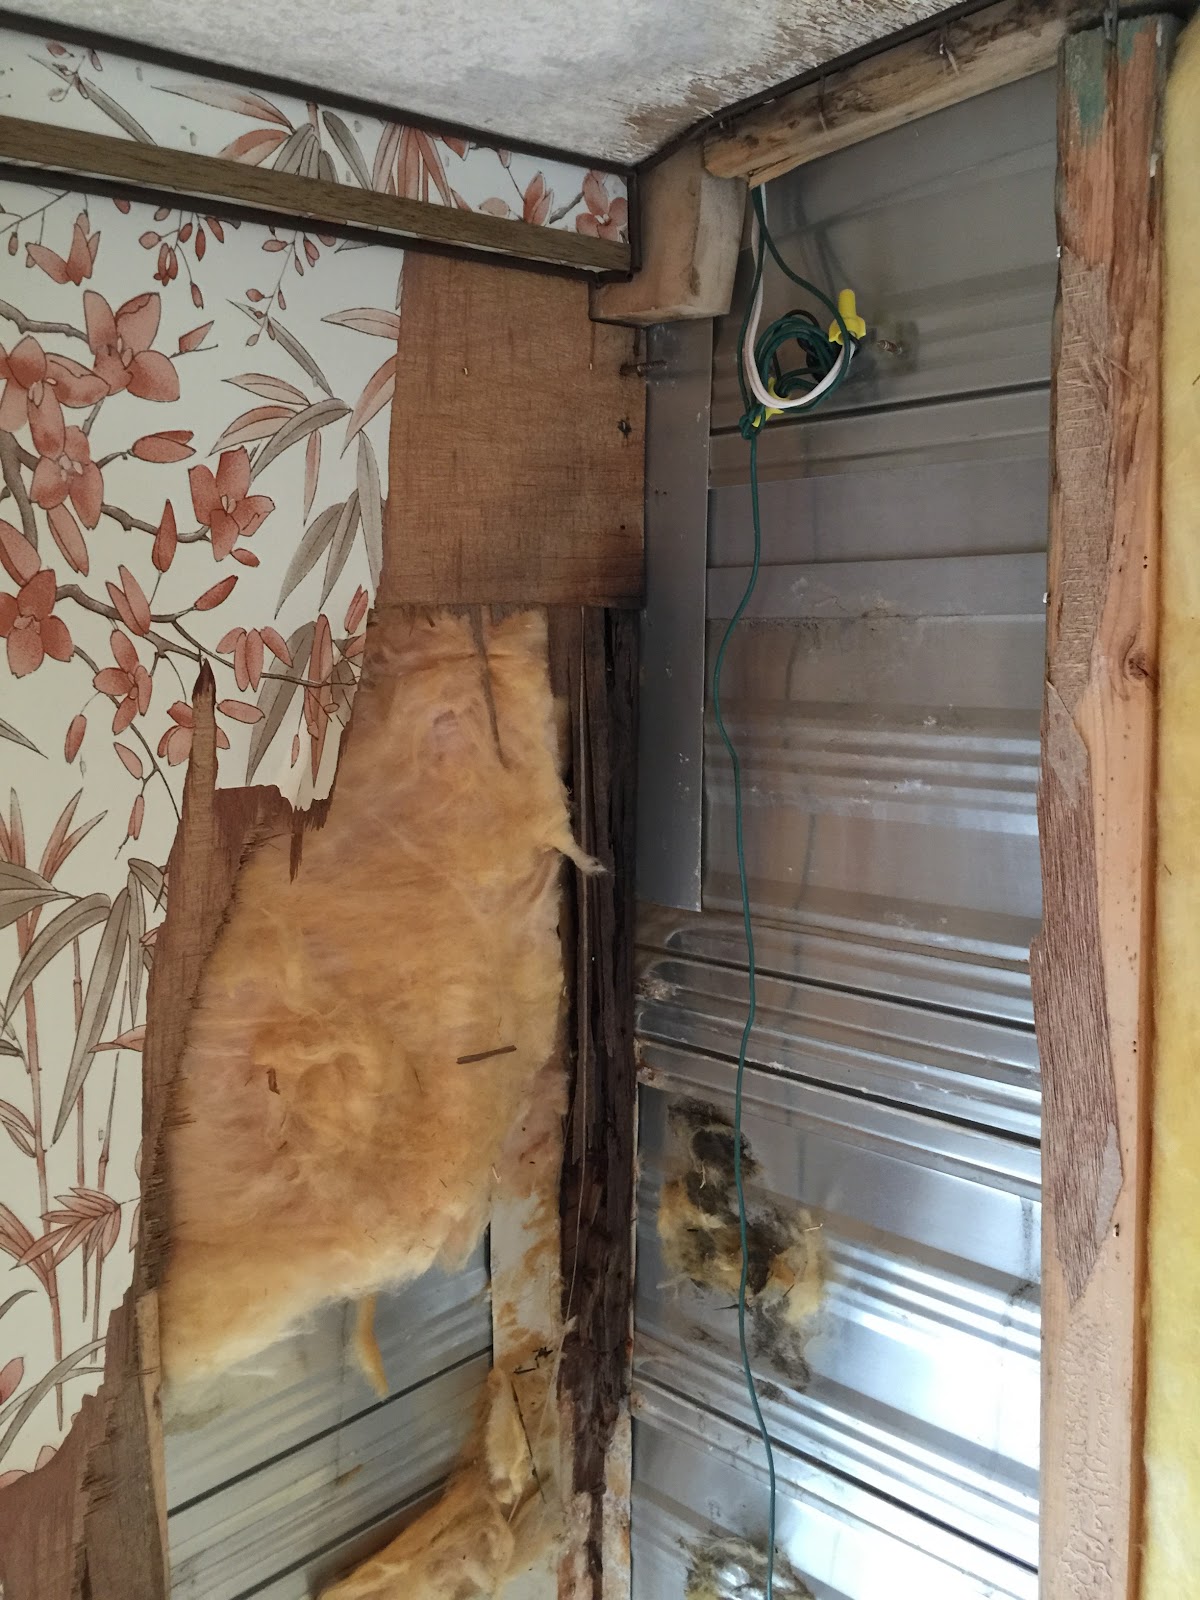
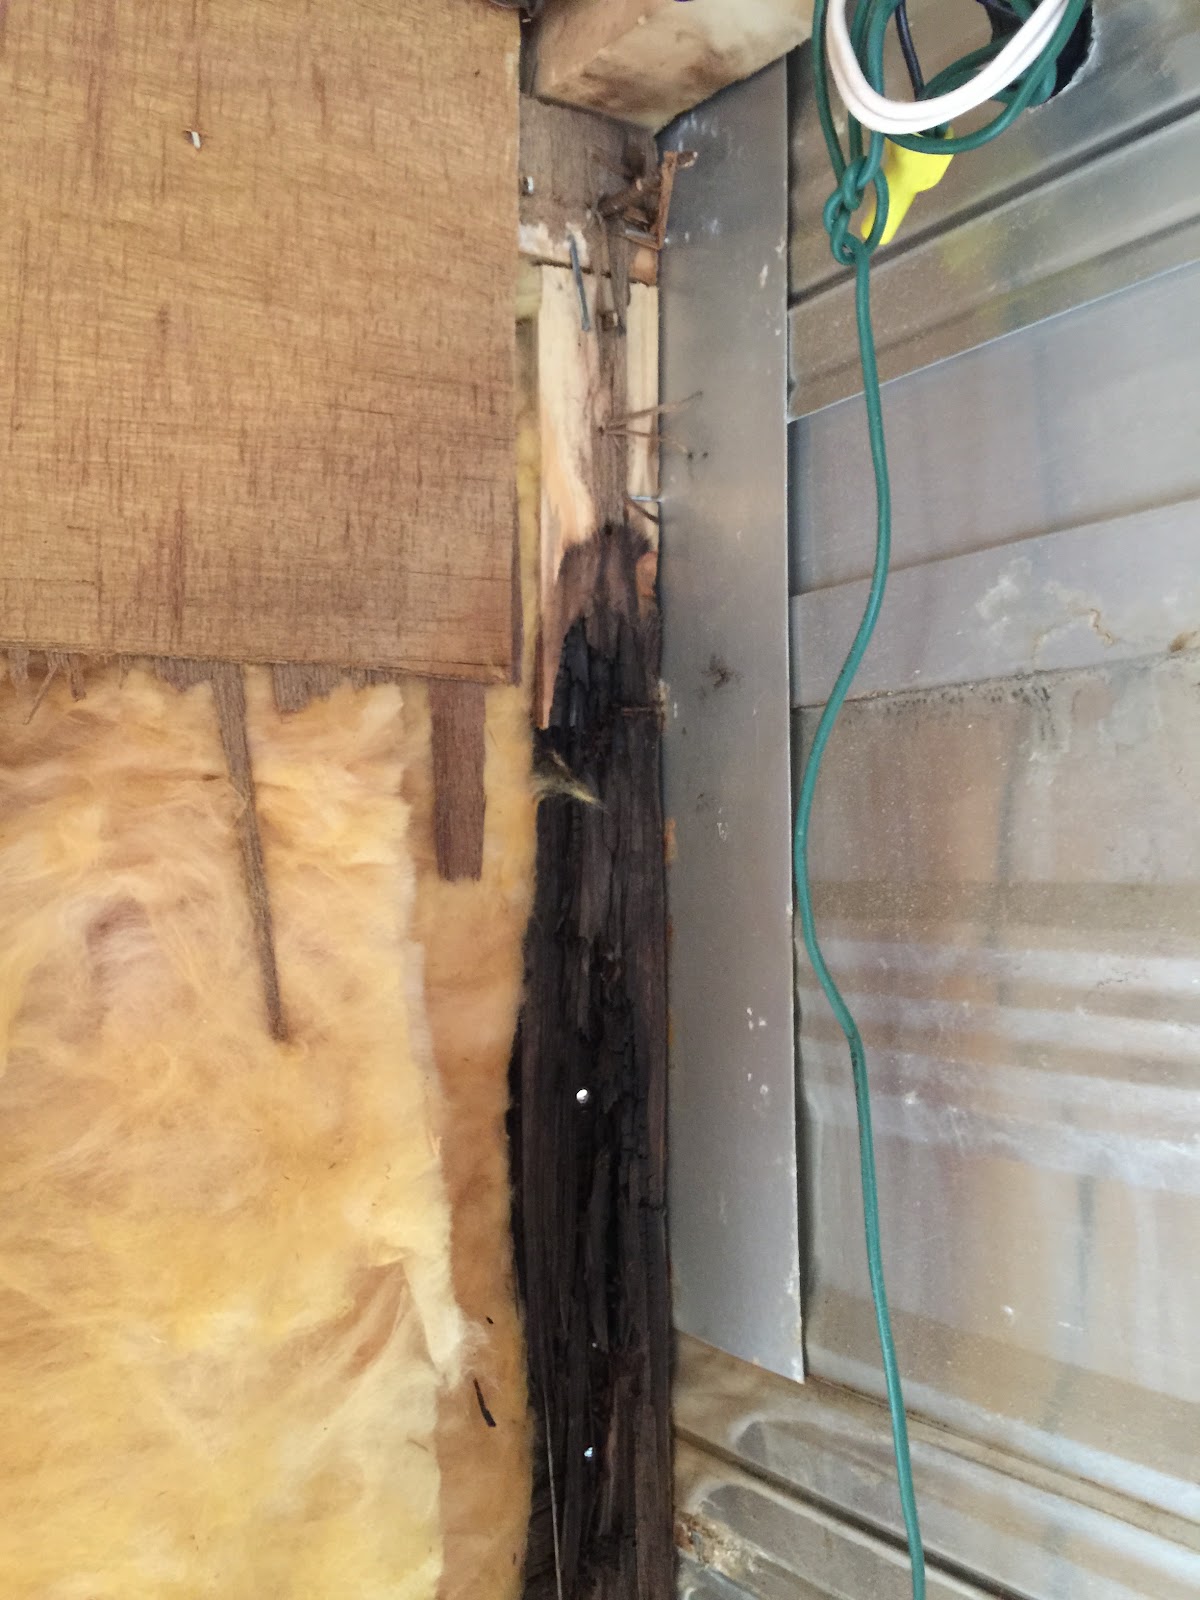
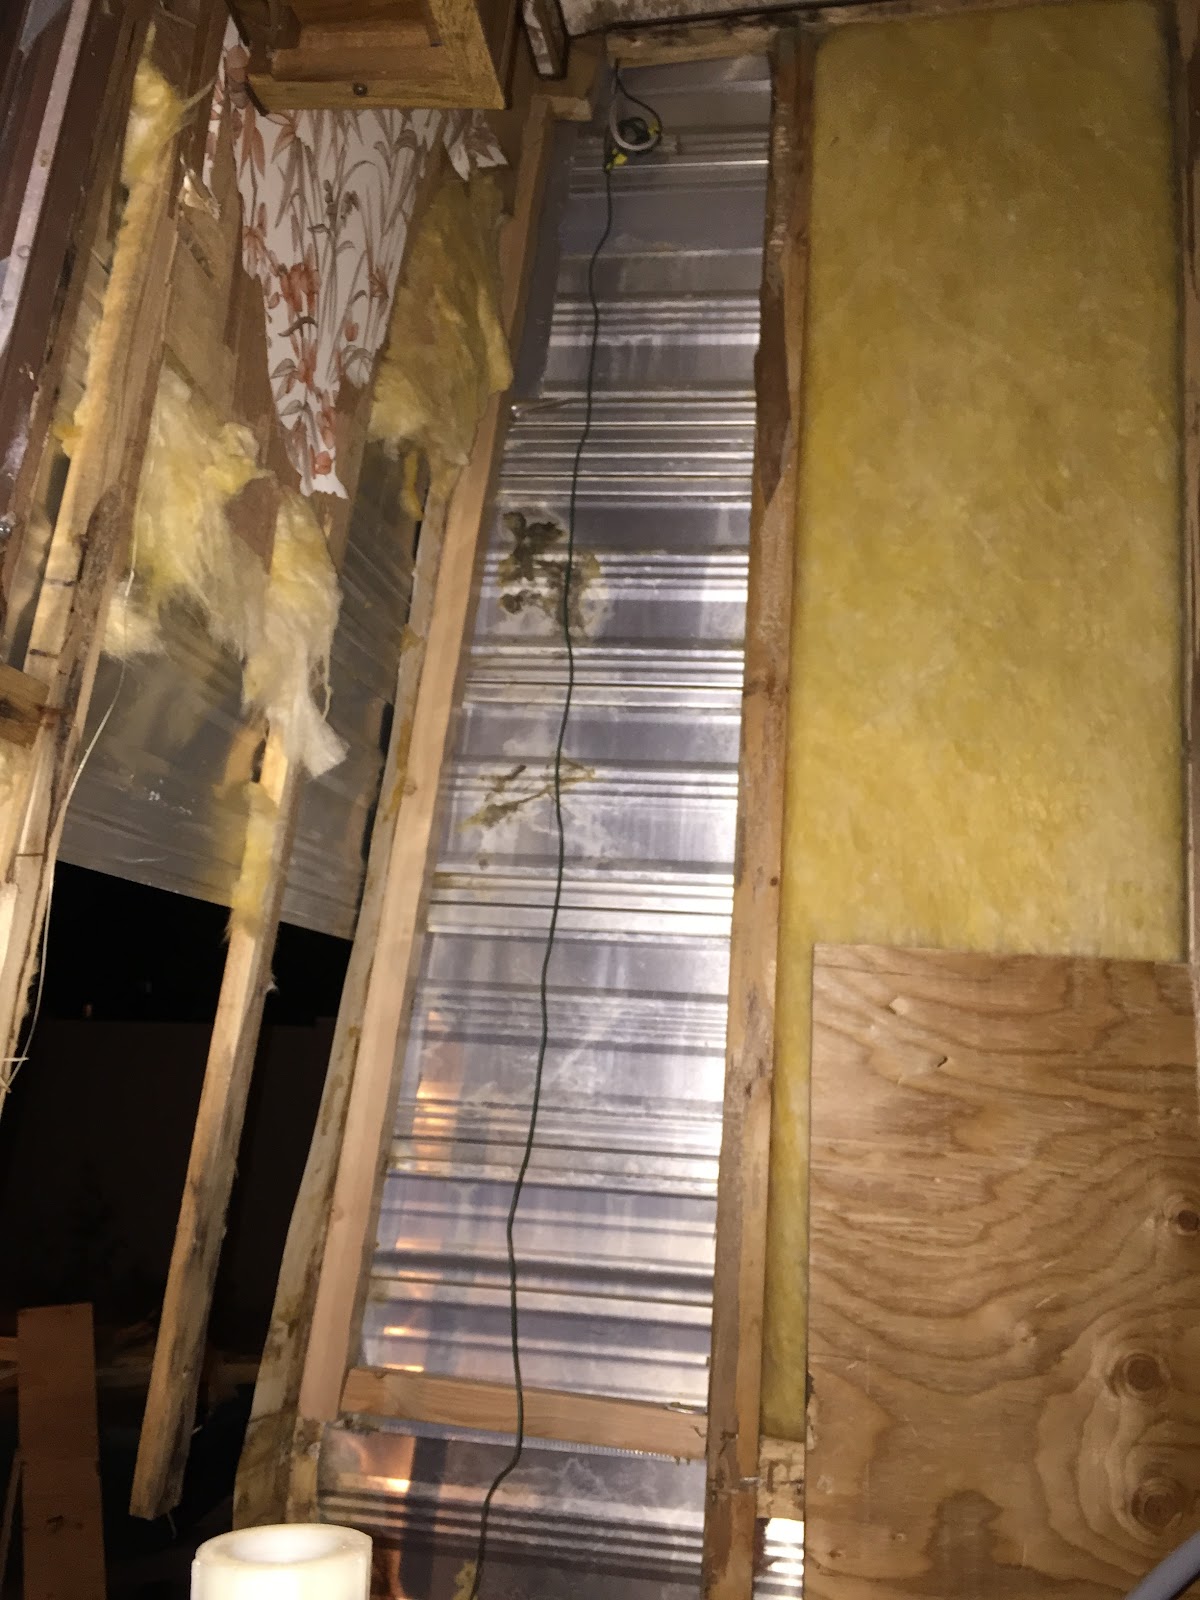
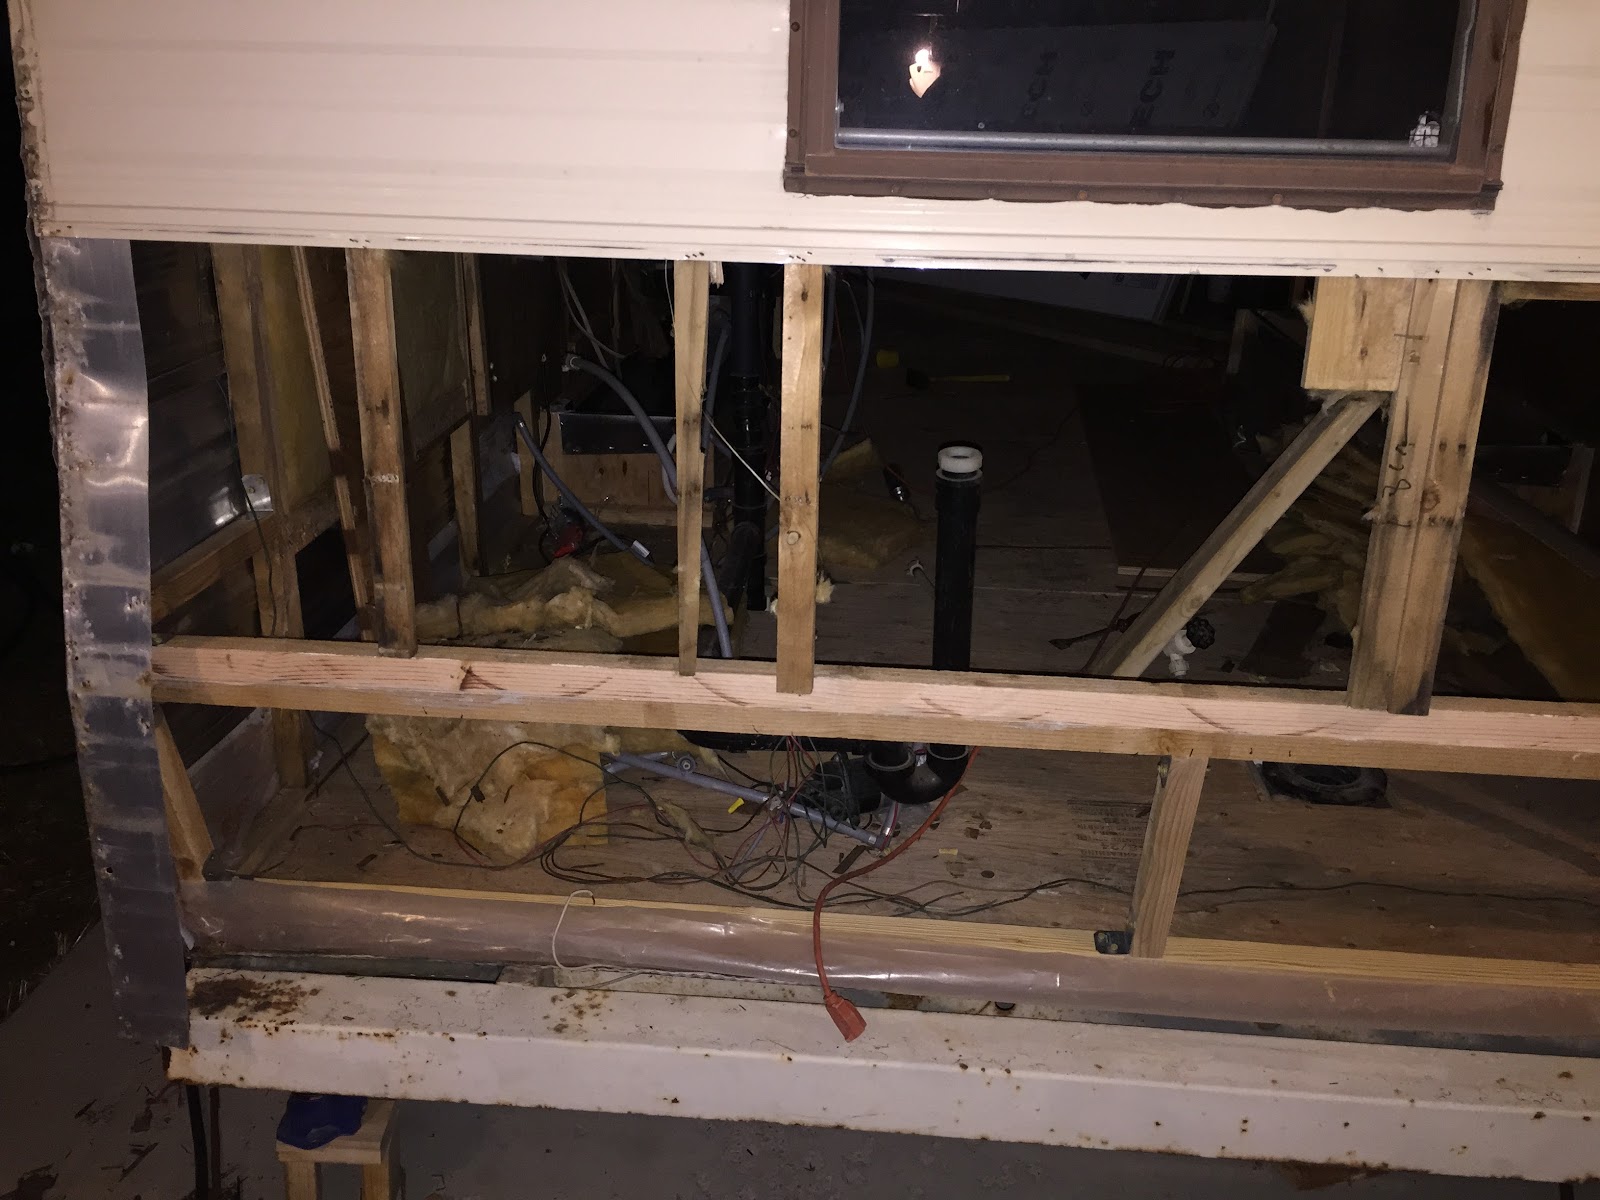
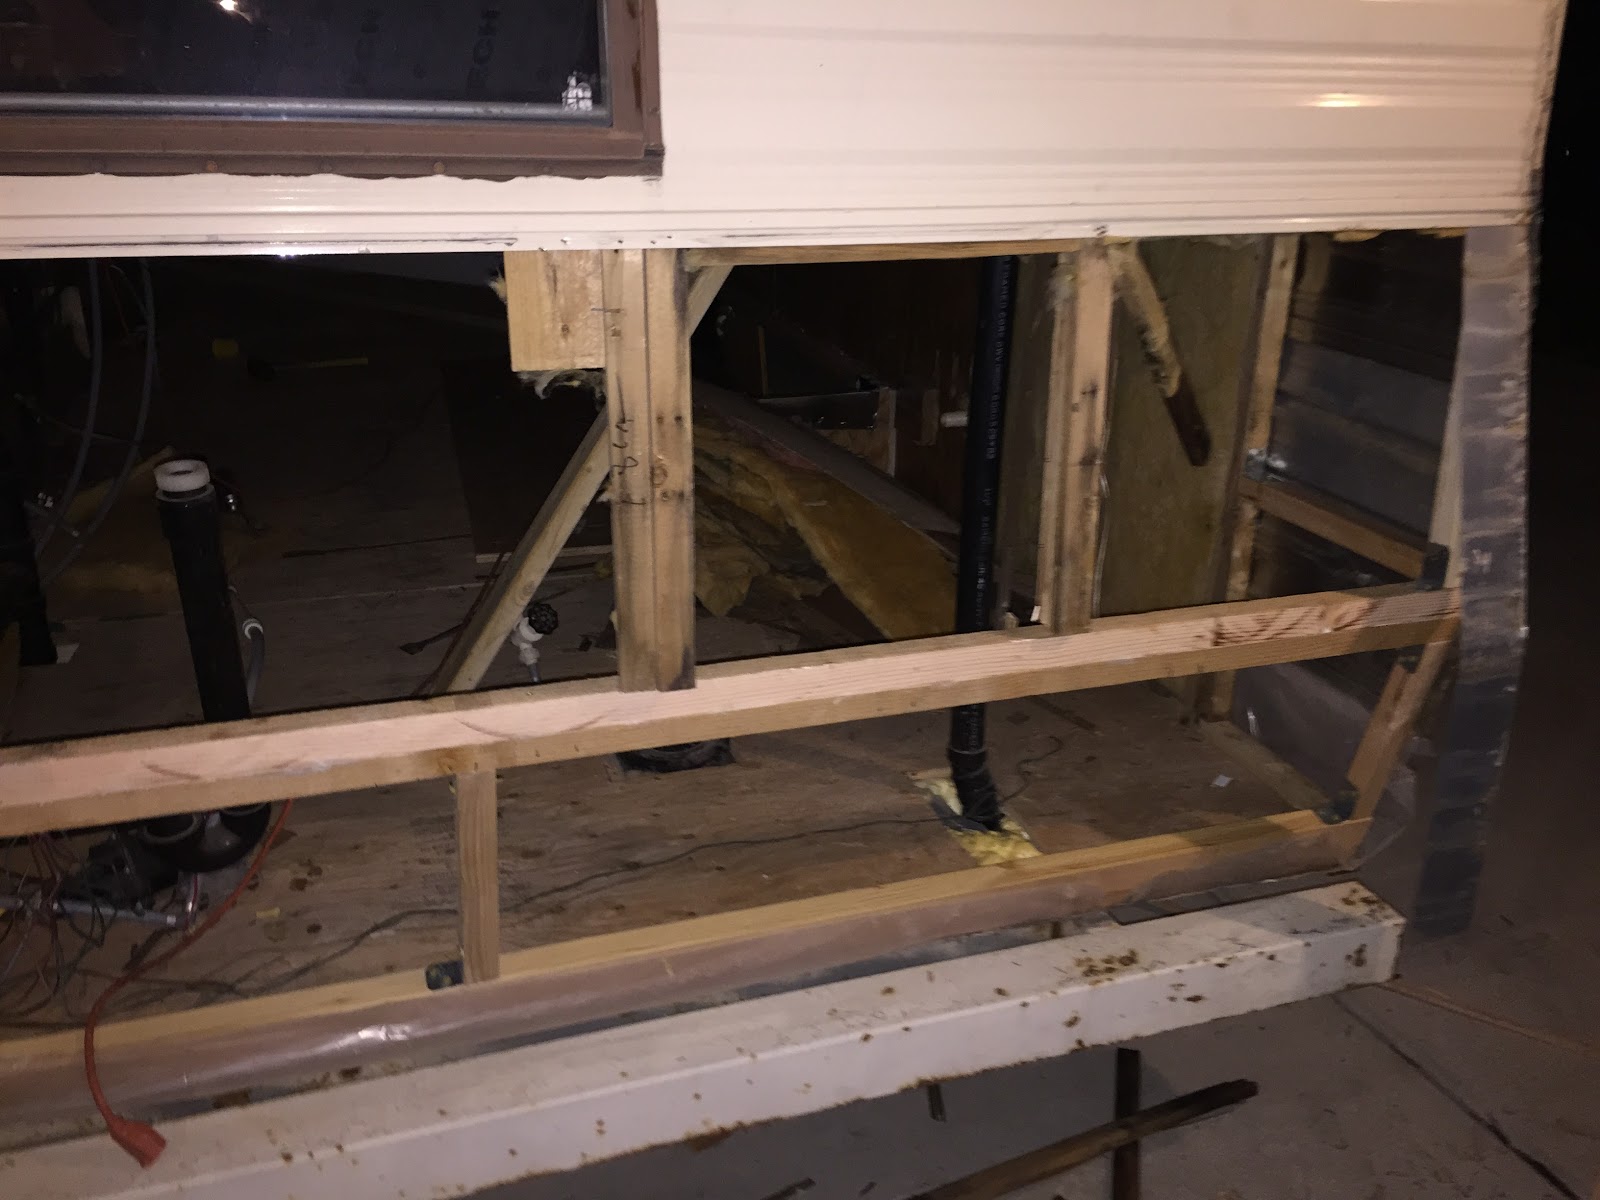
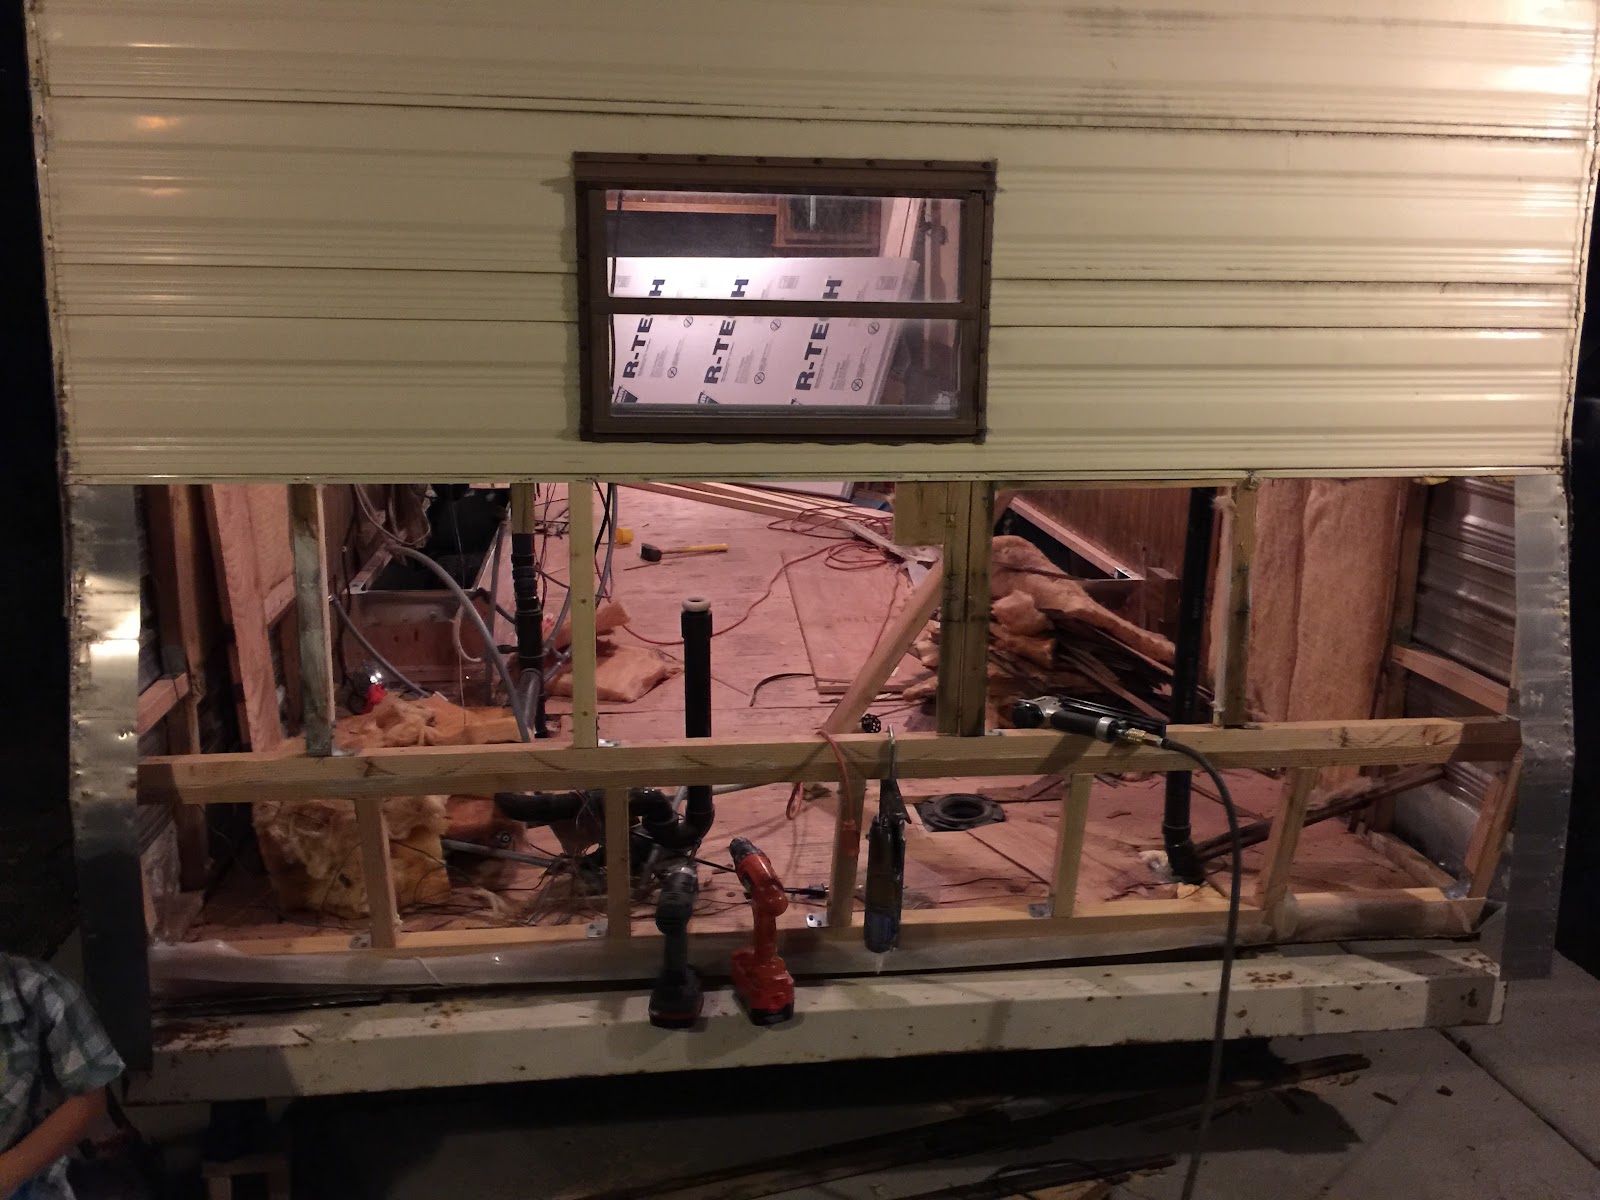
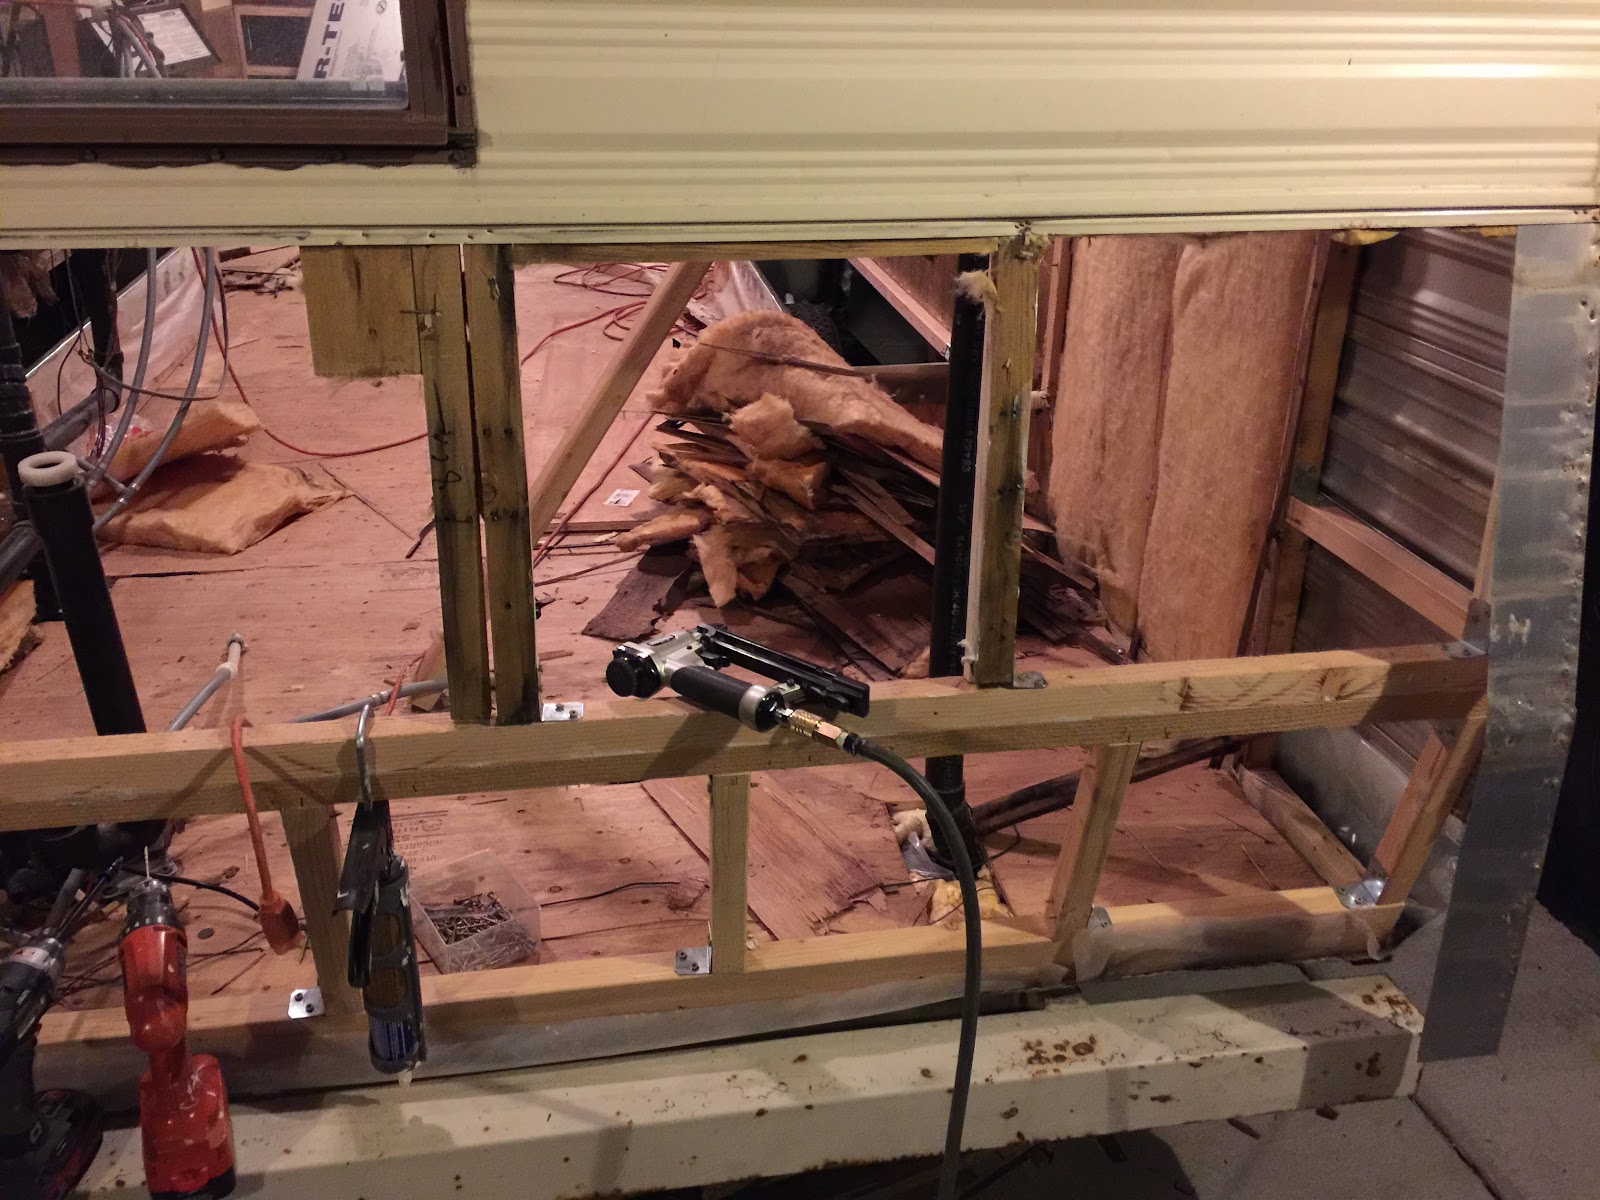
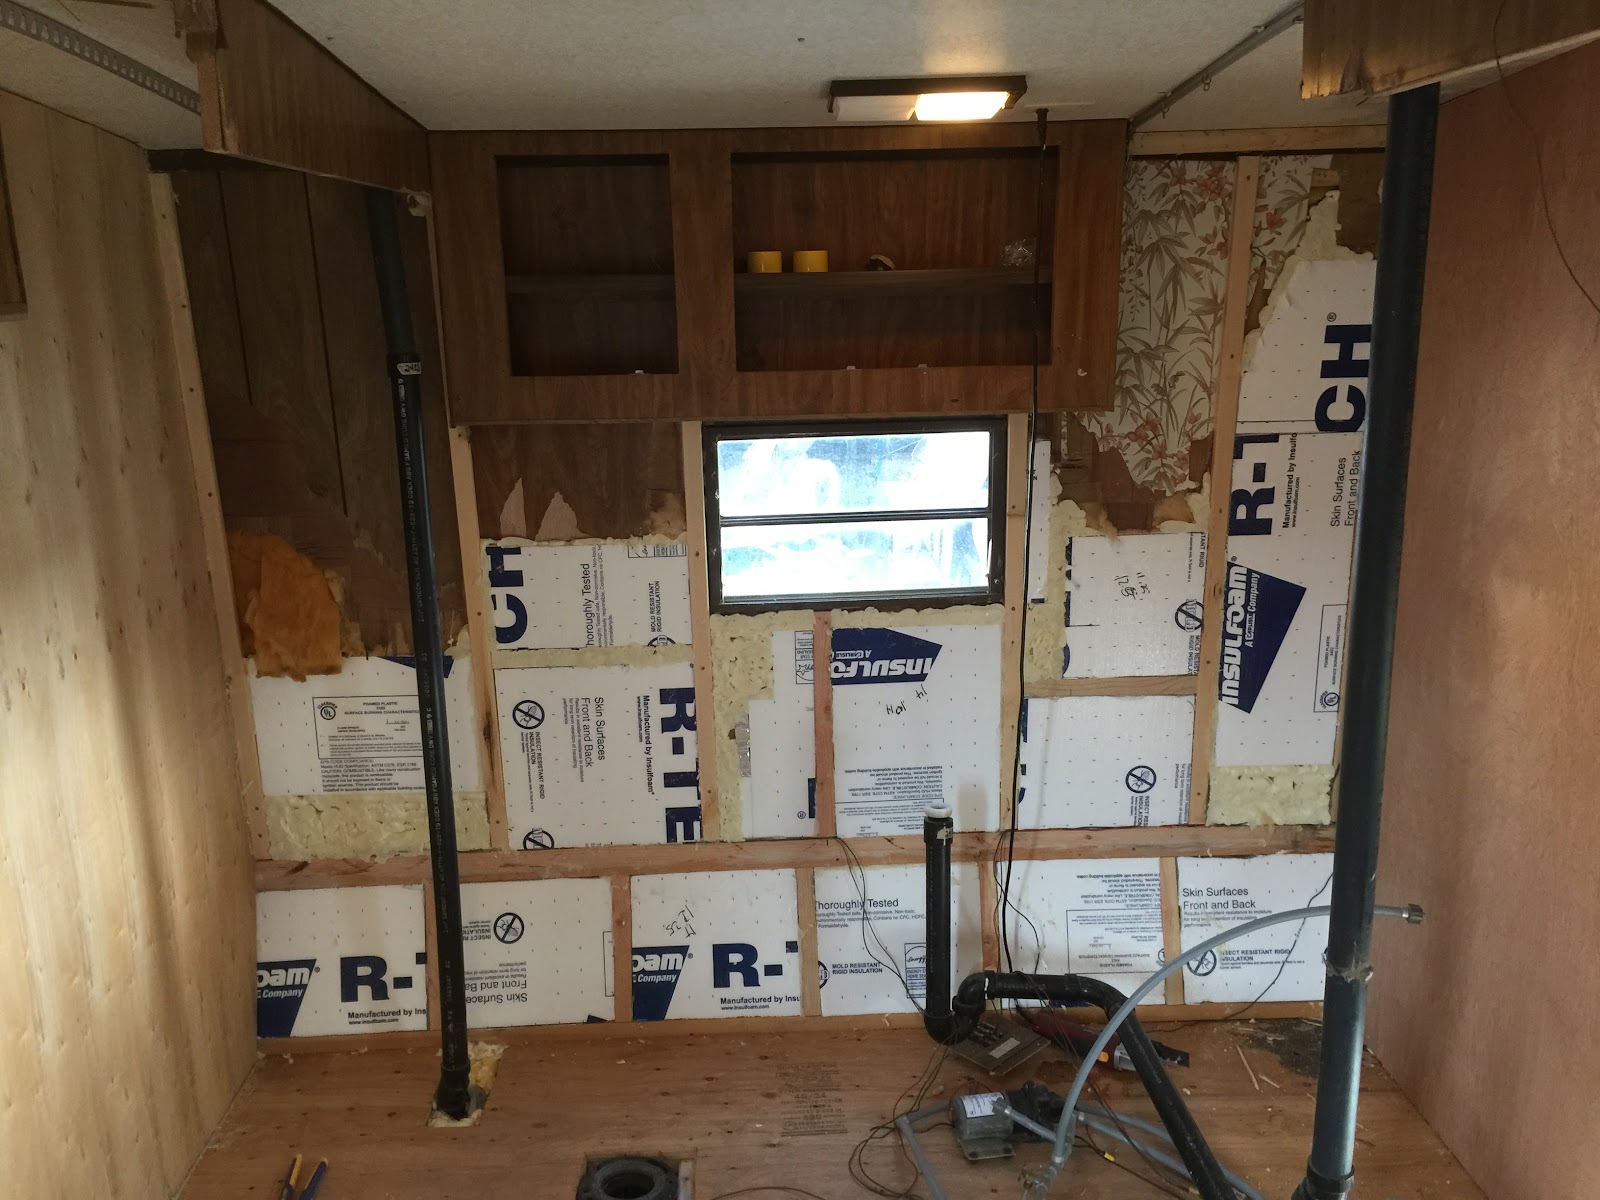
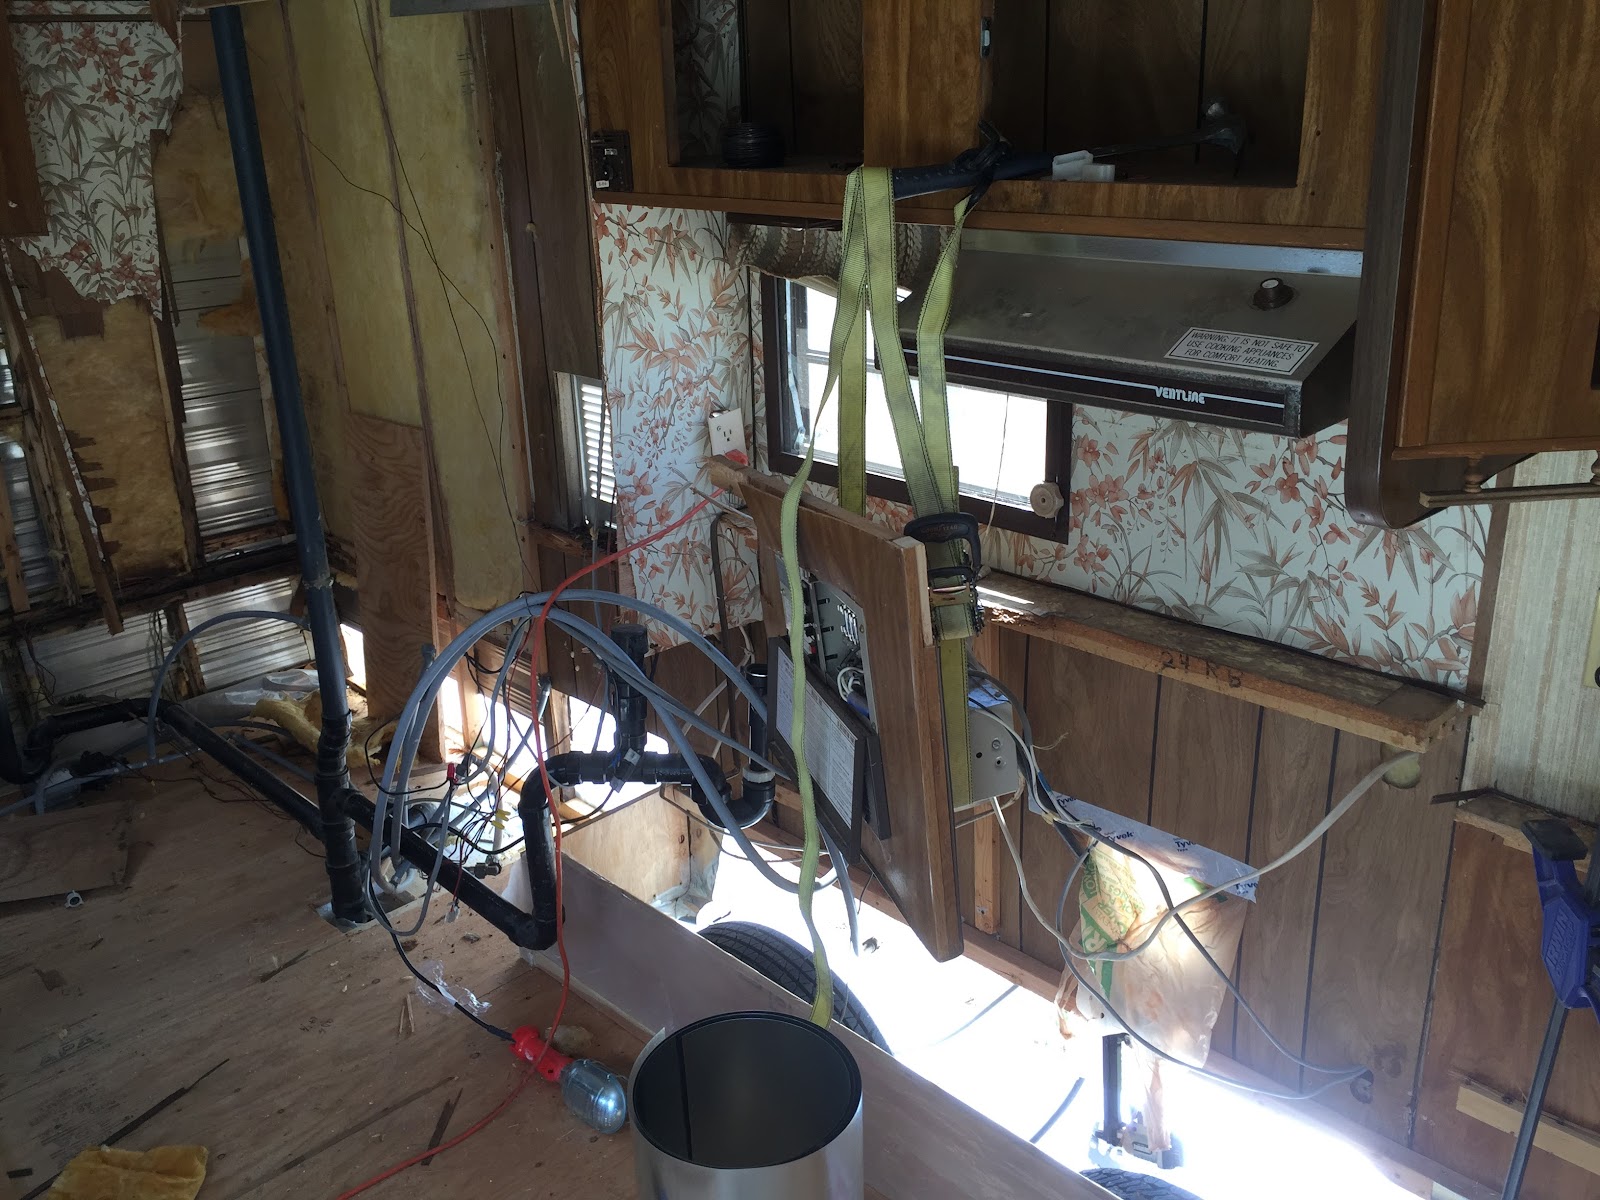
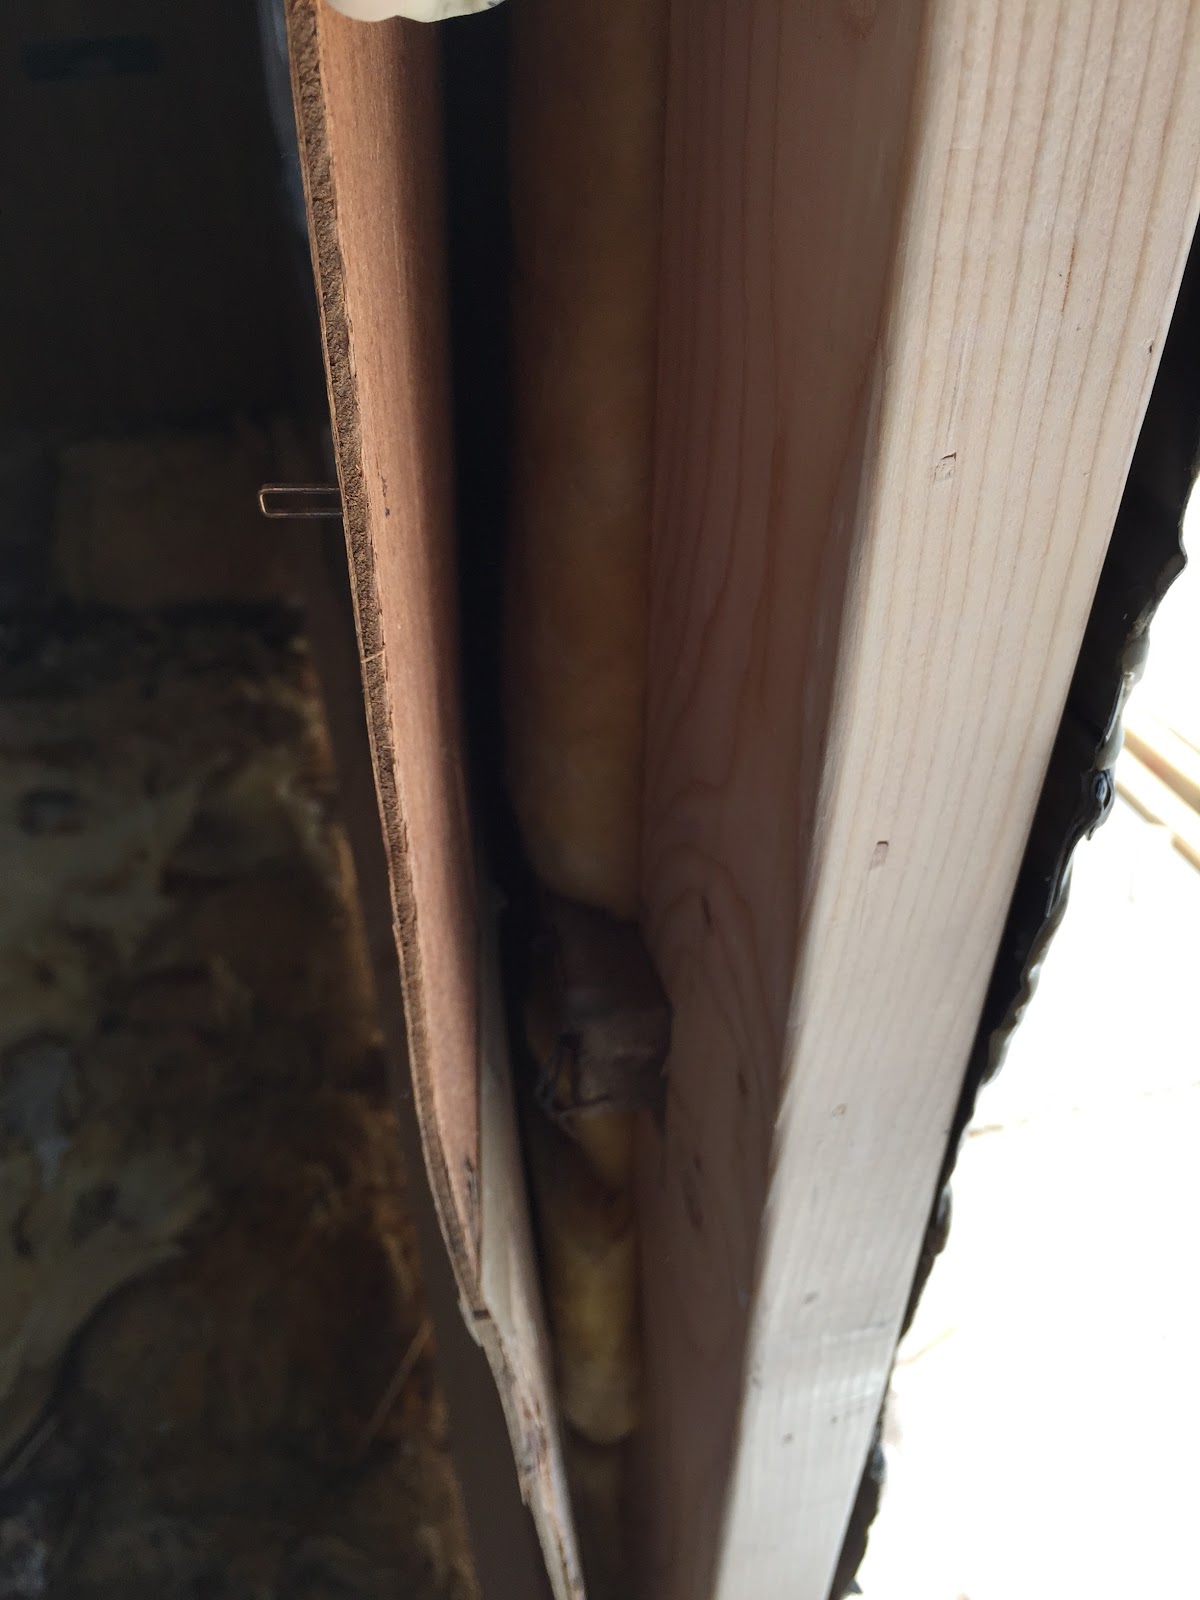
As I keep going up the wall – more rot…

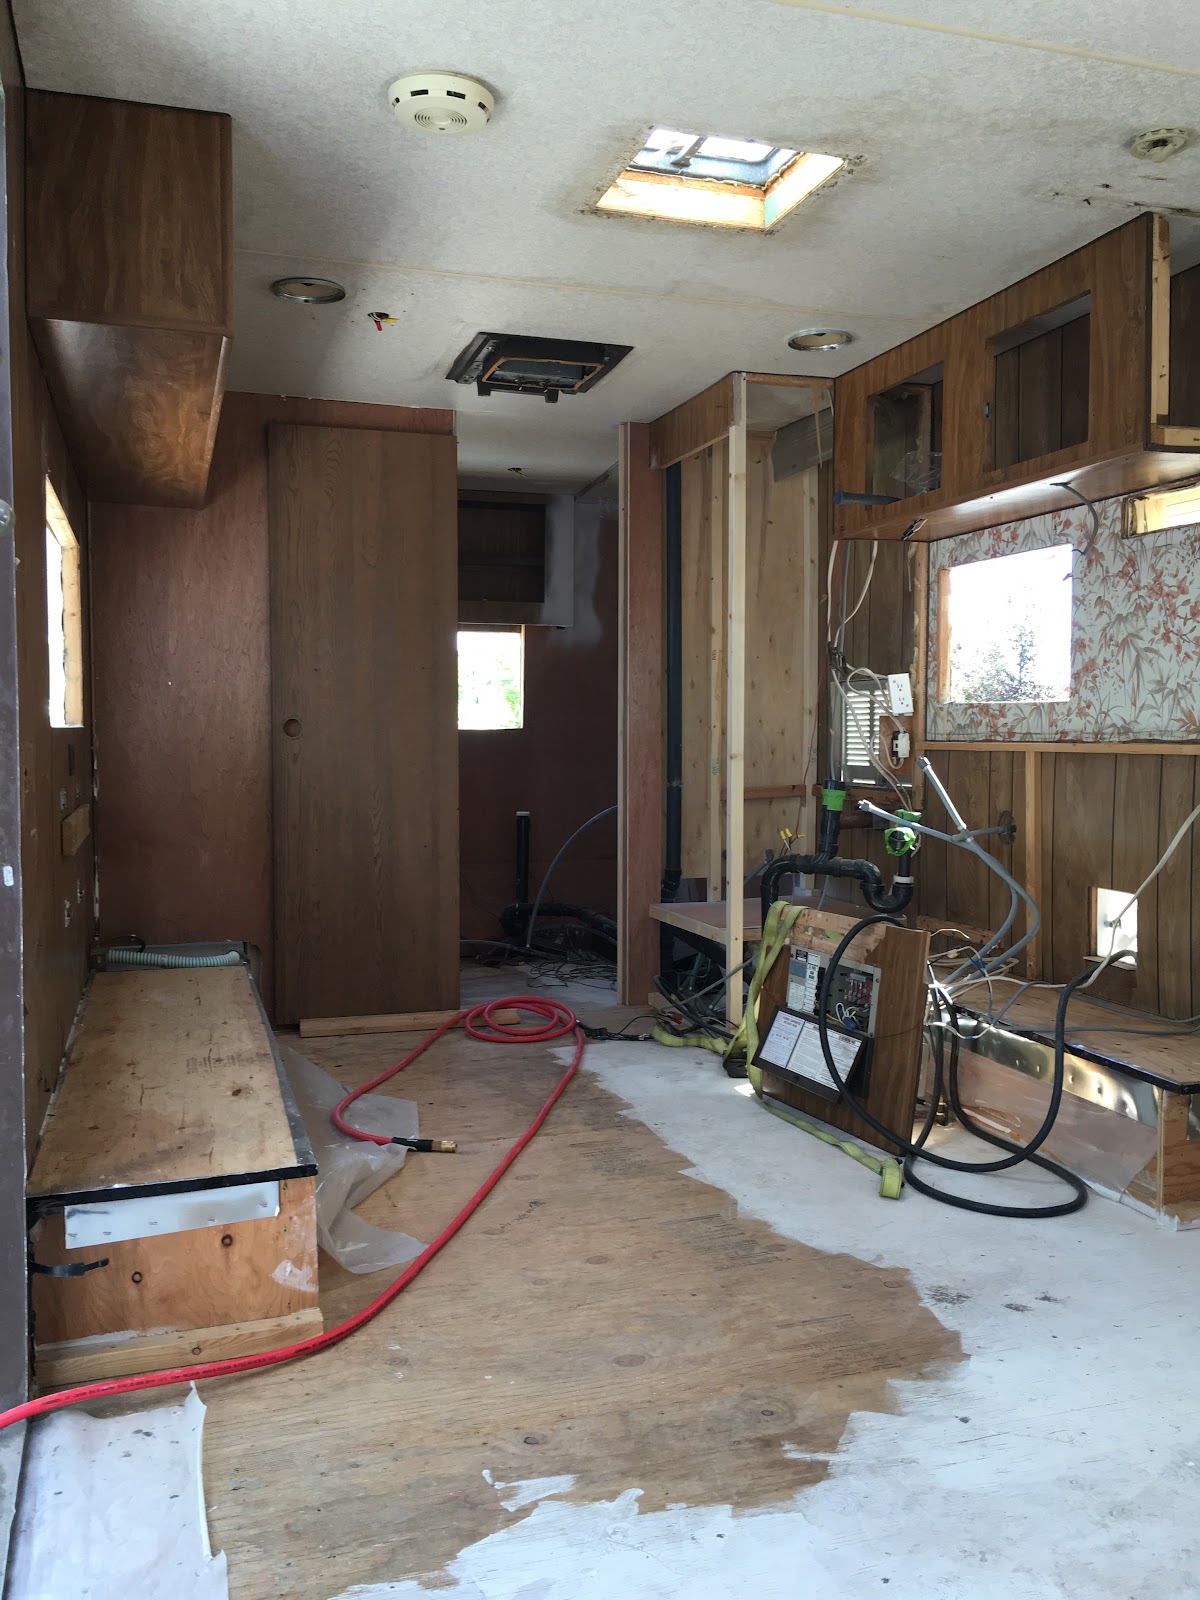
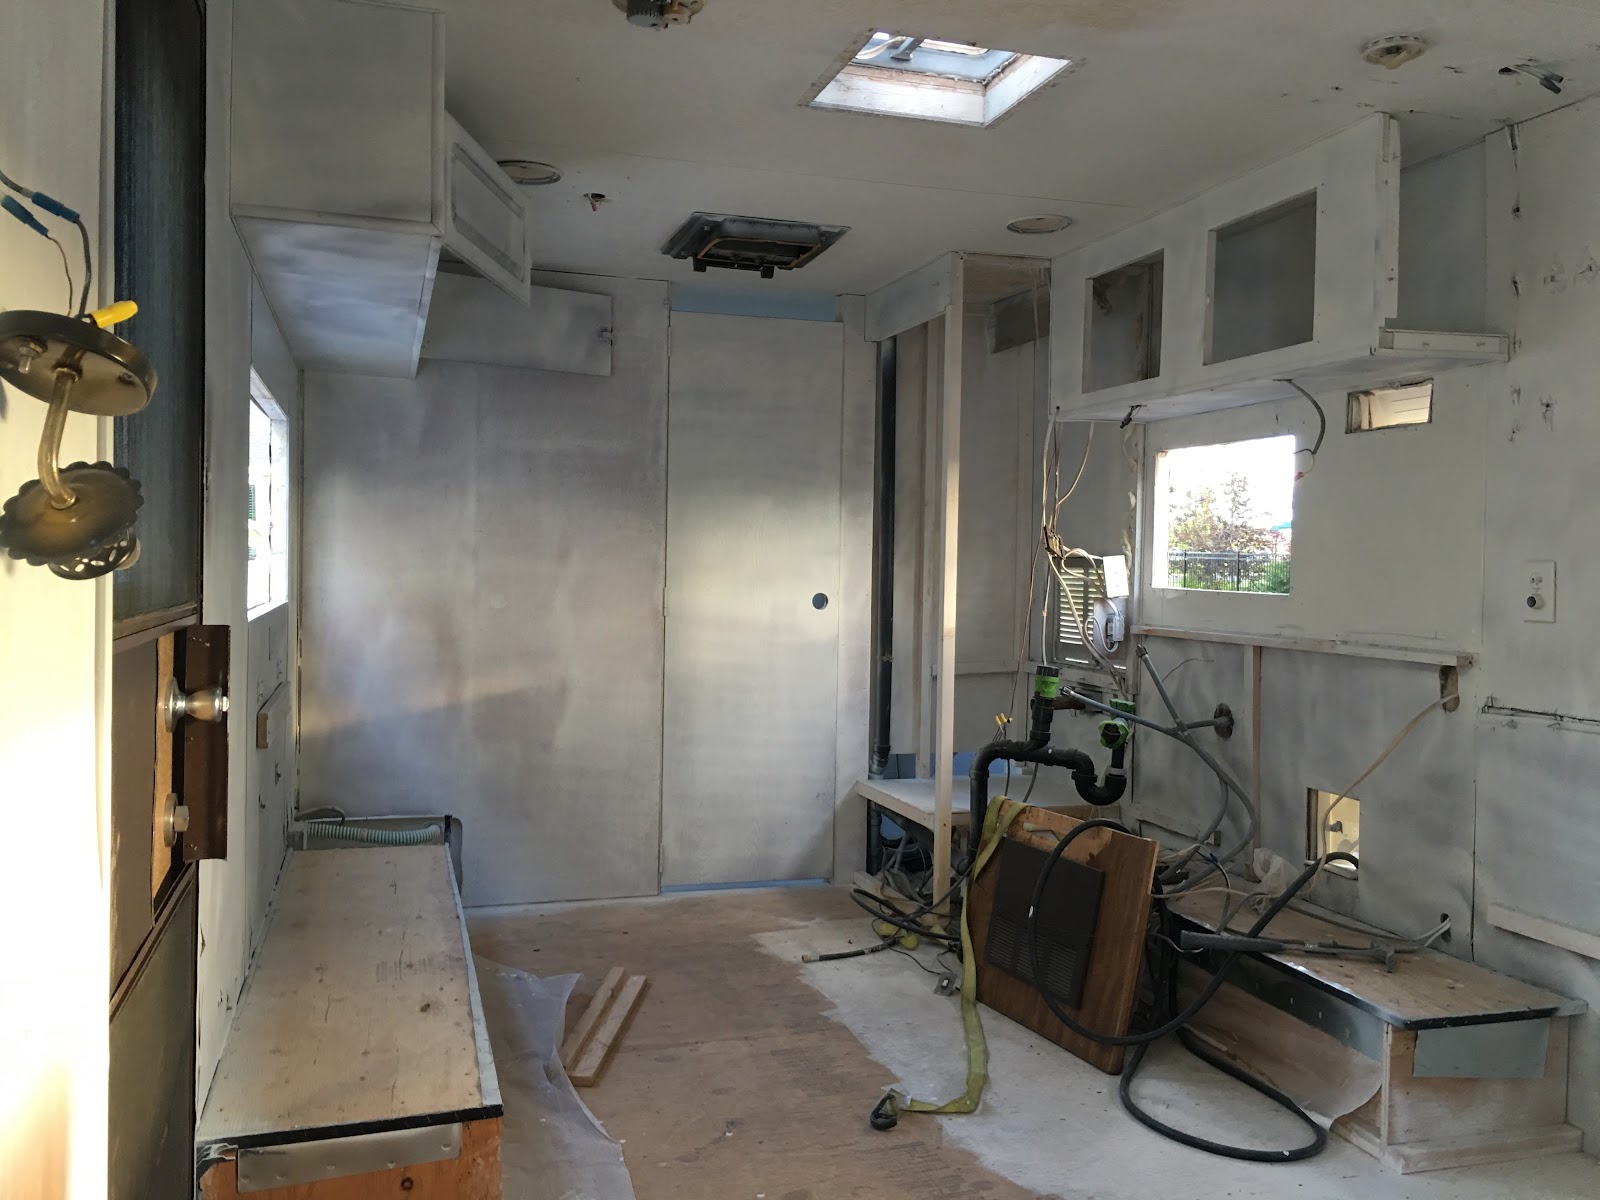
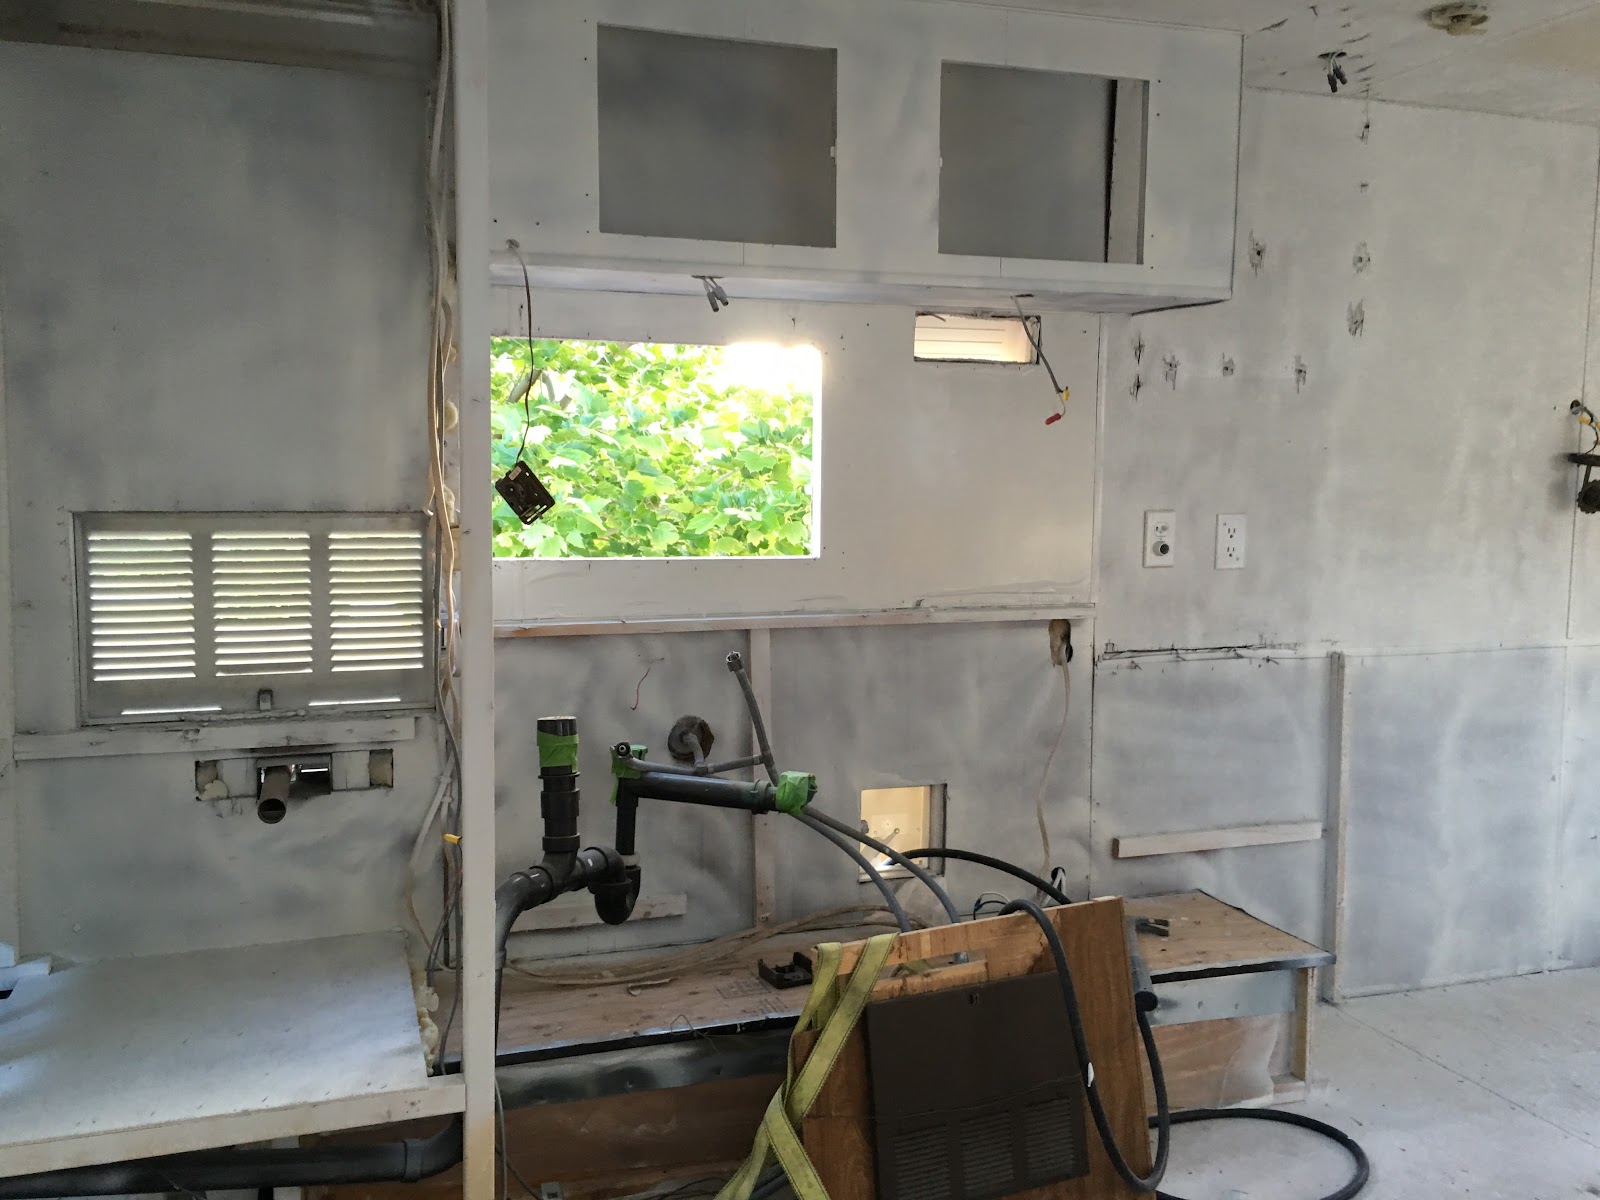
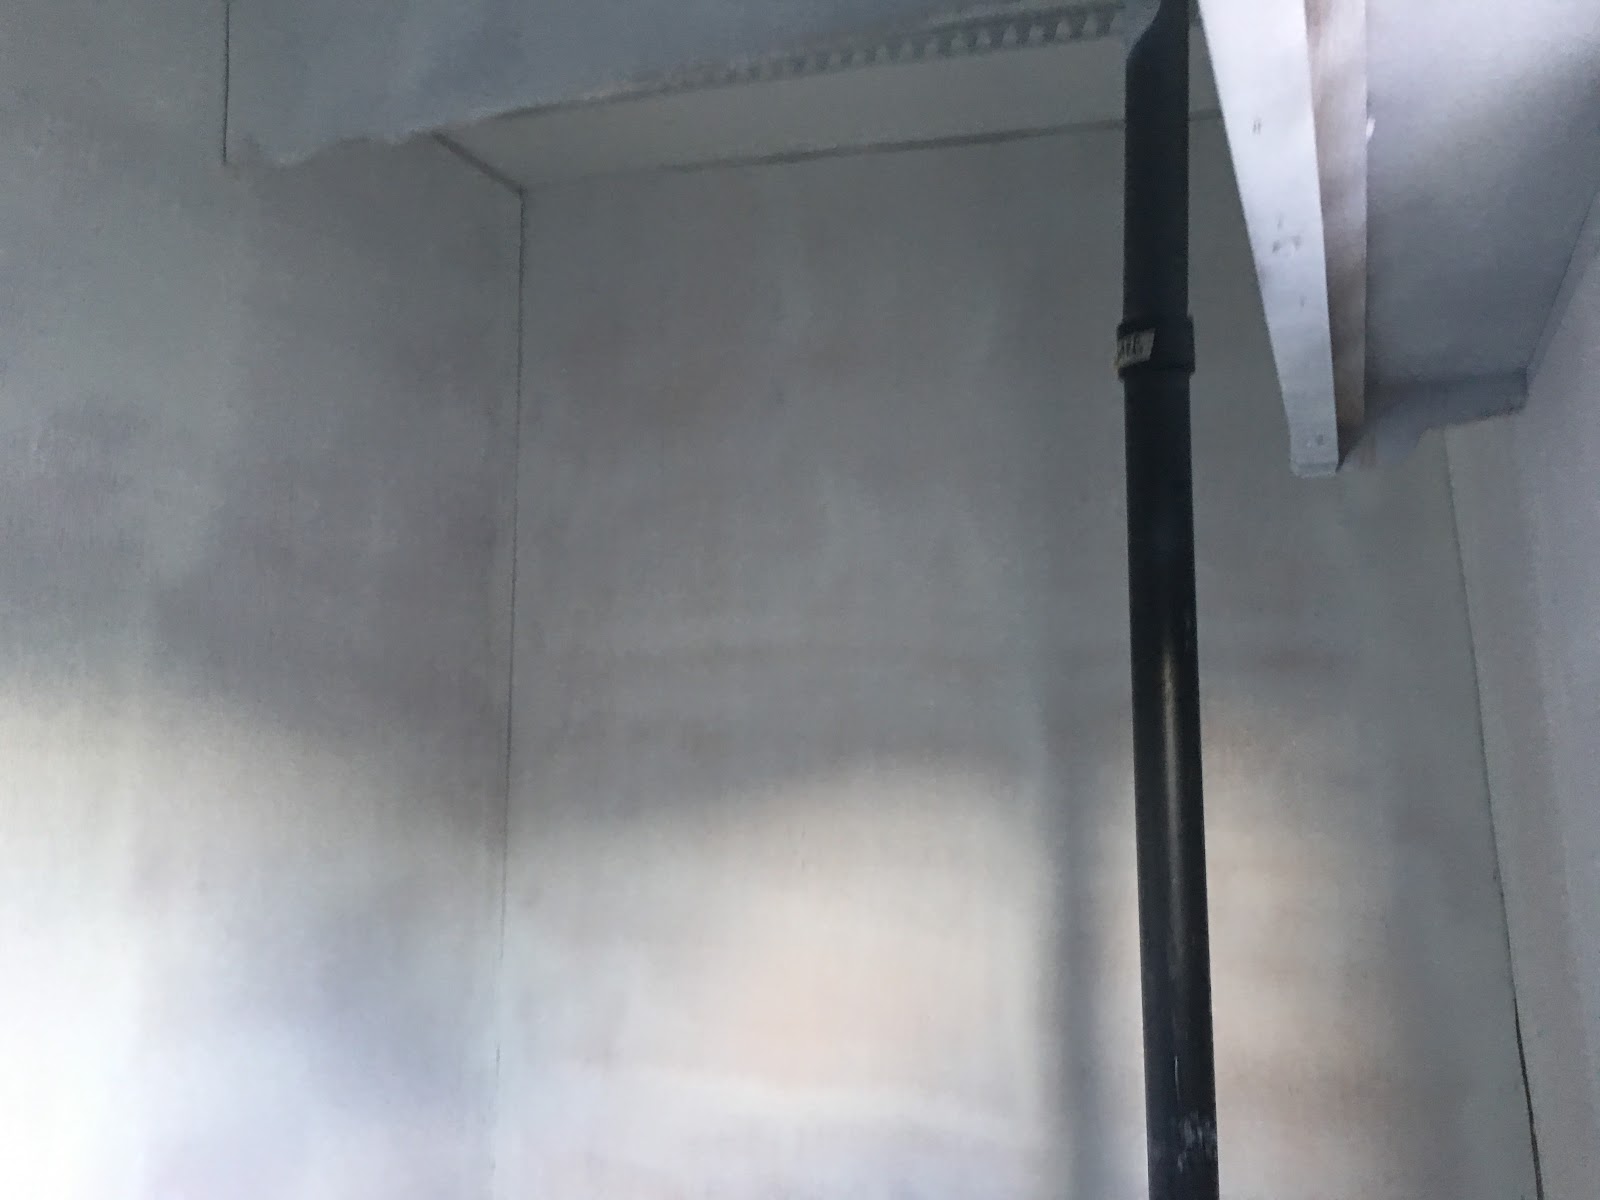
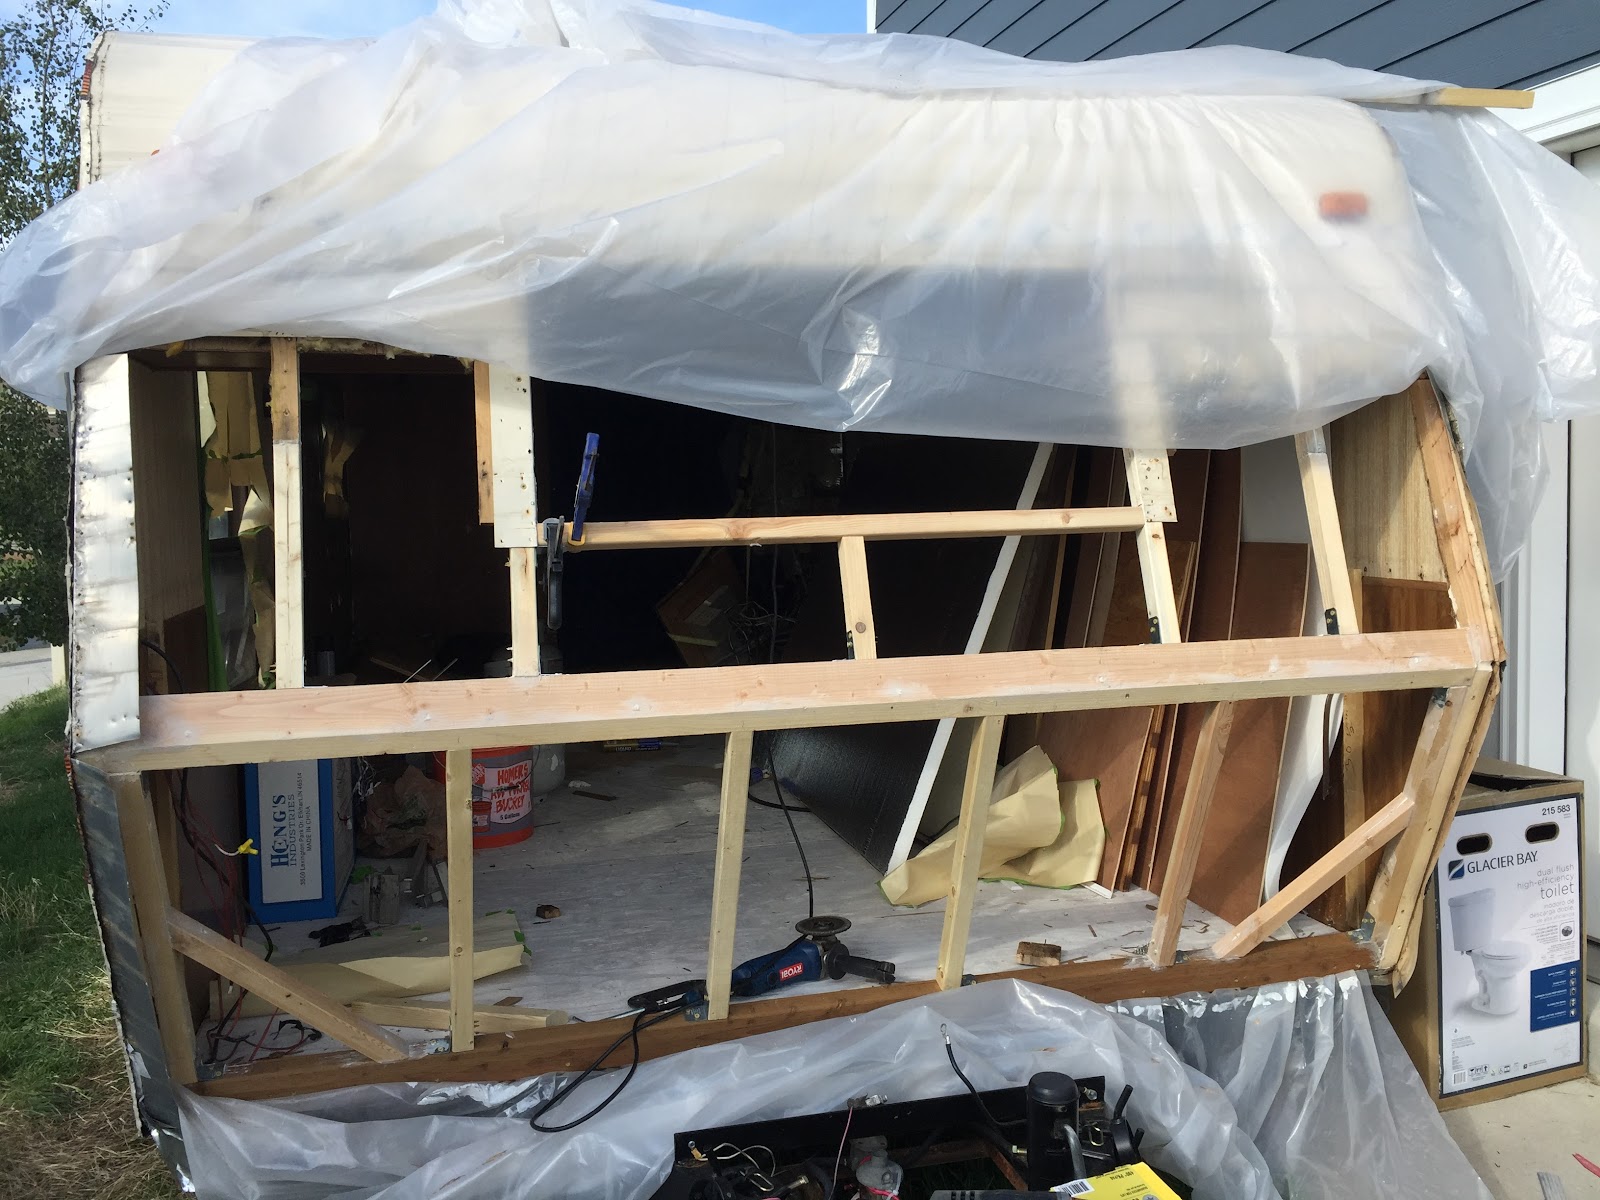
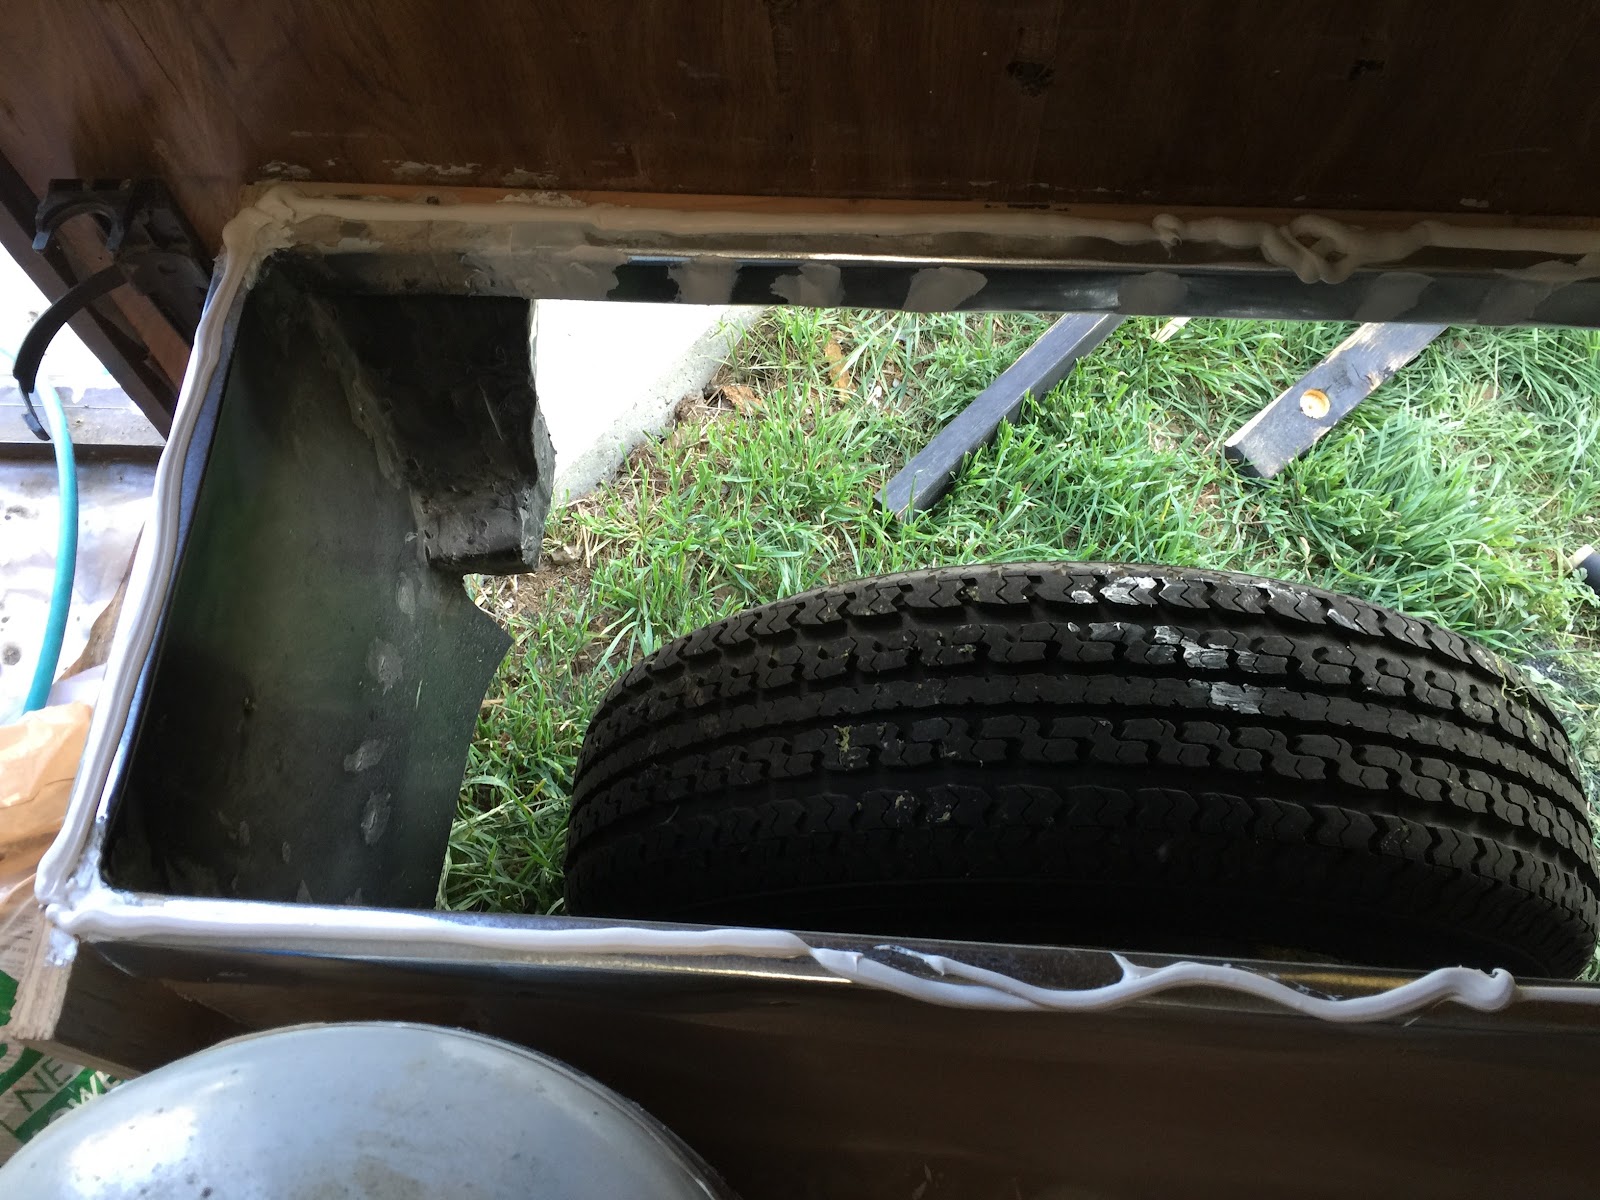
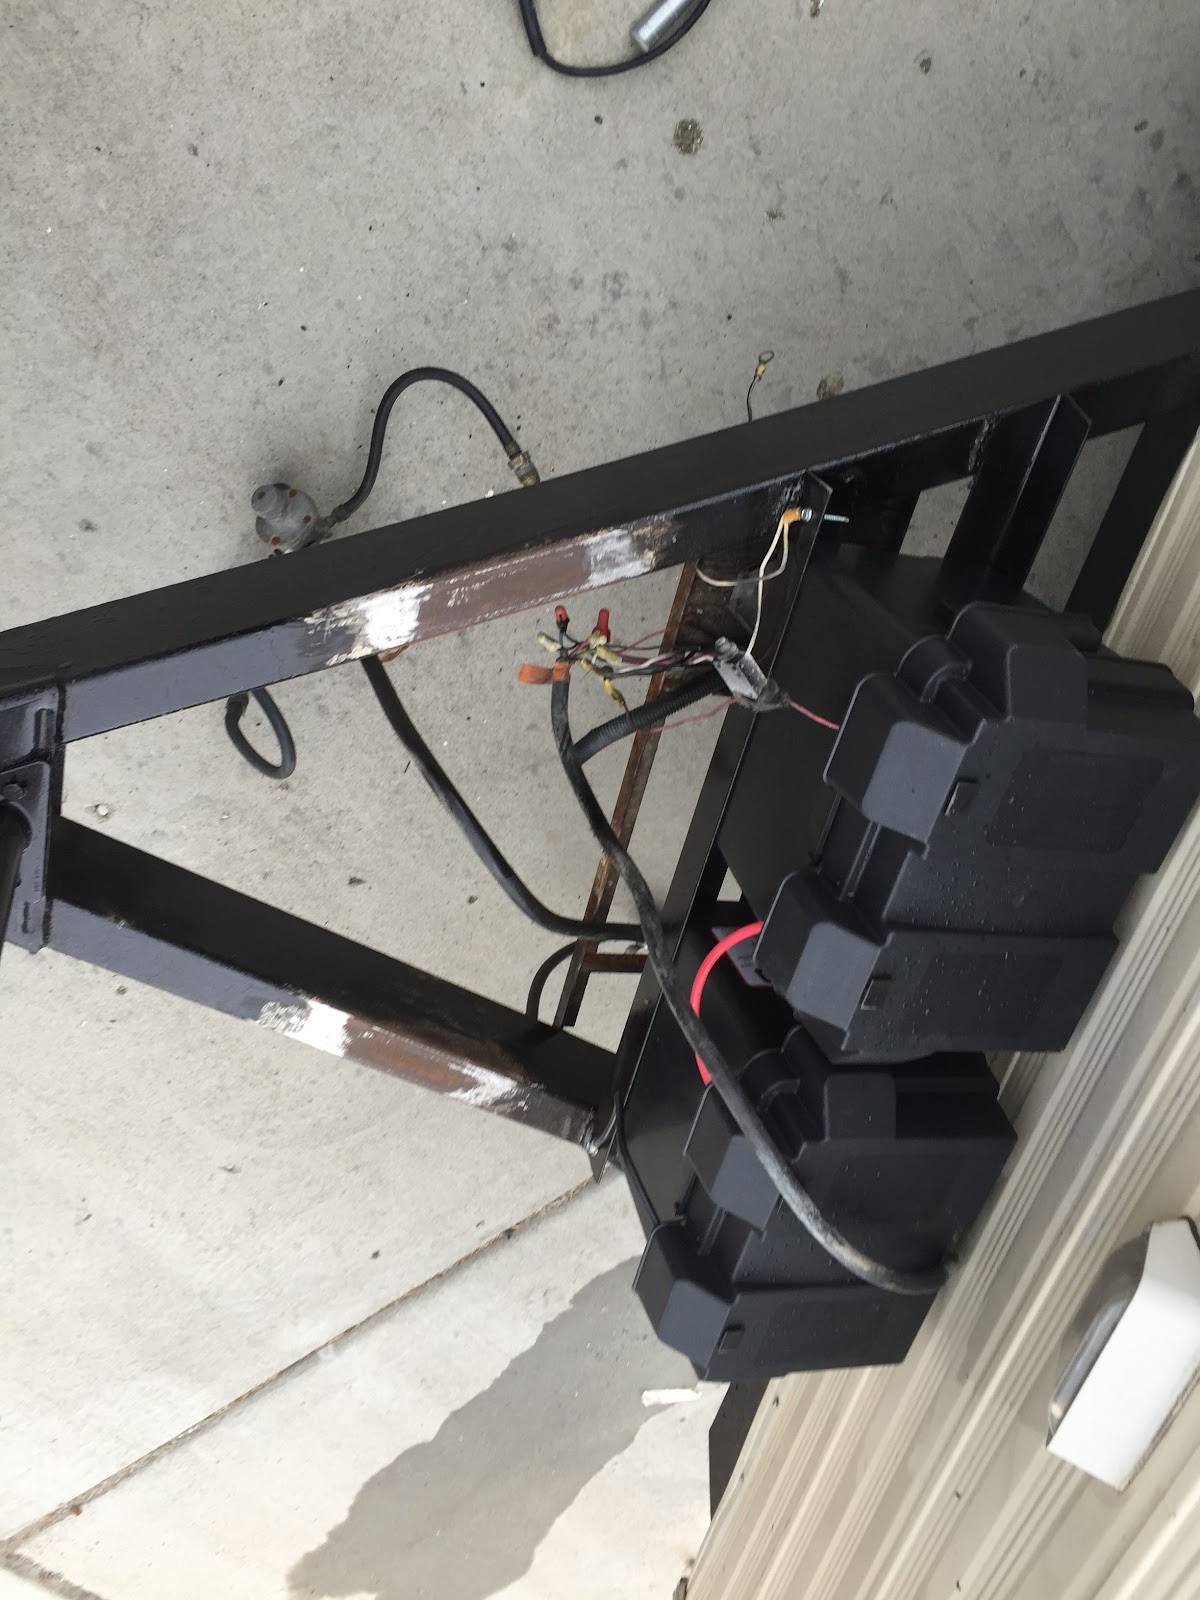
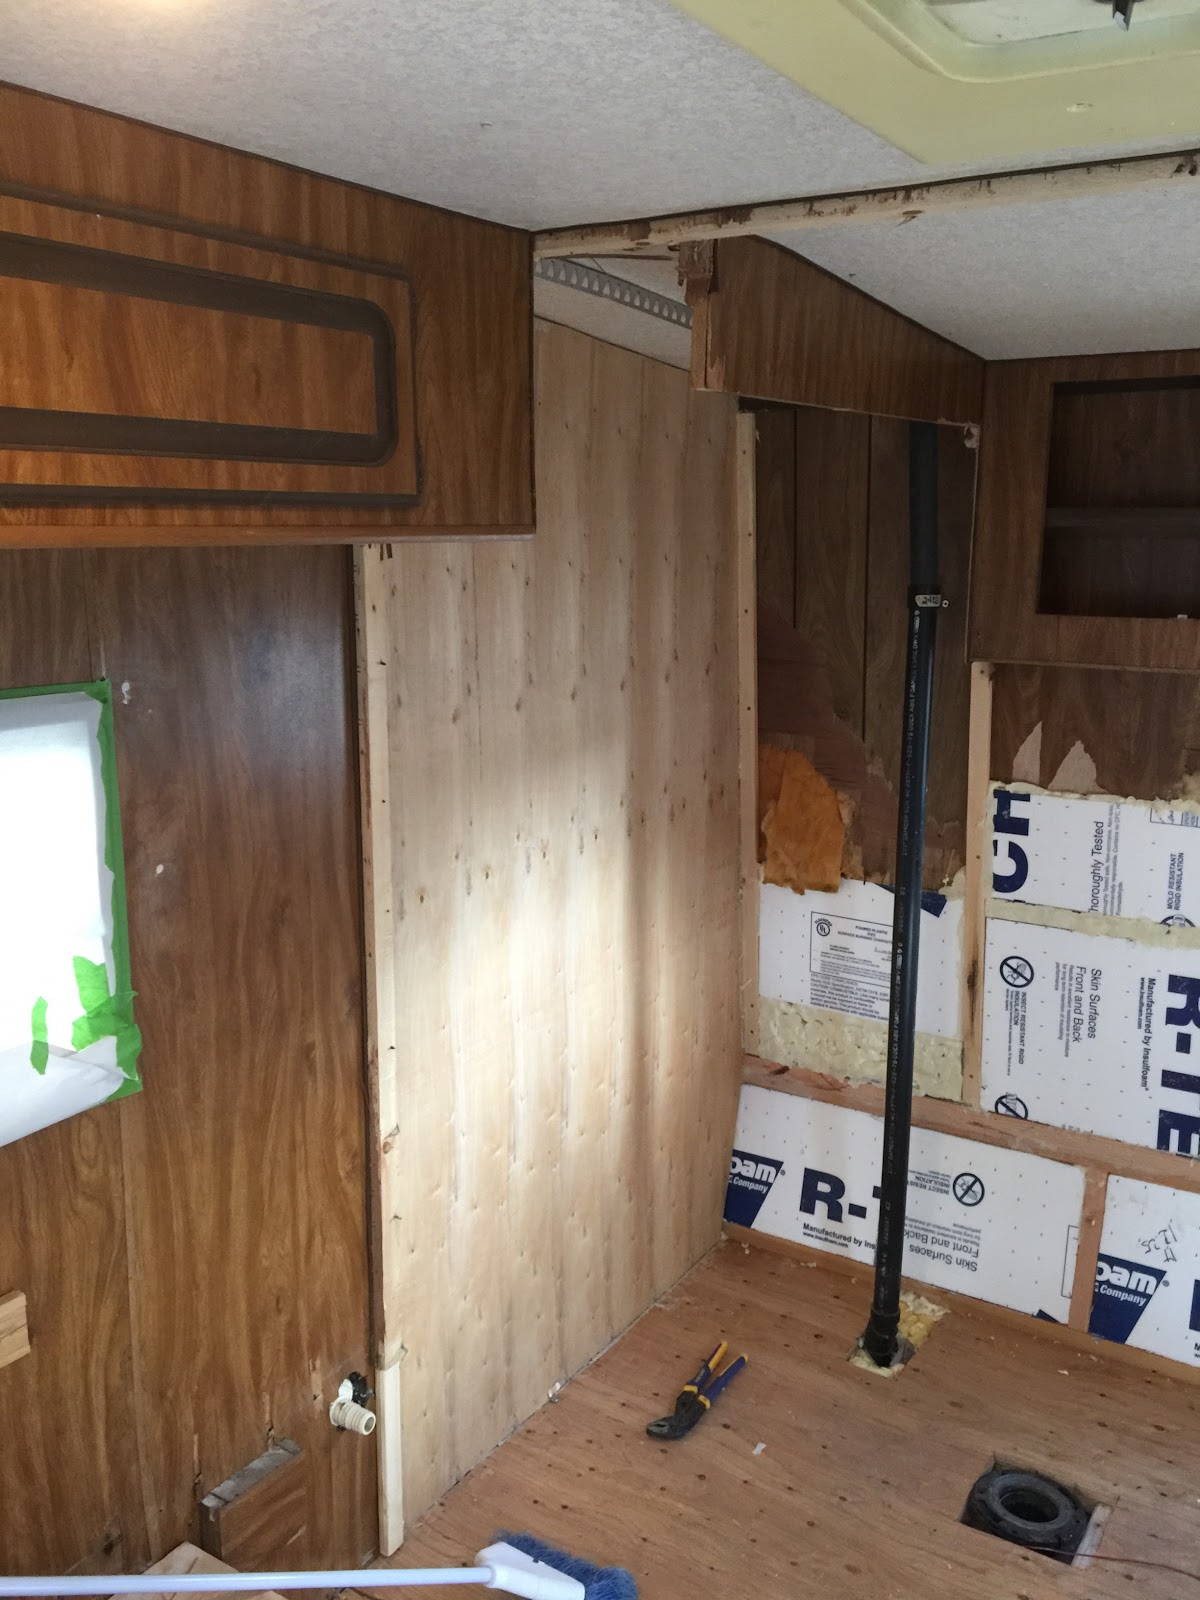
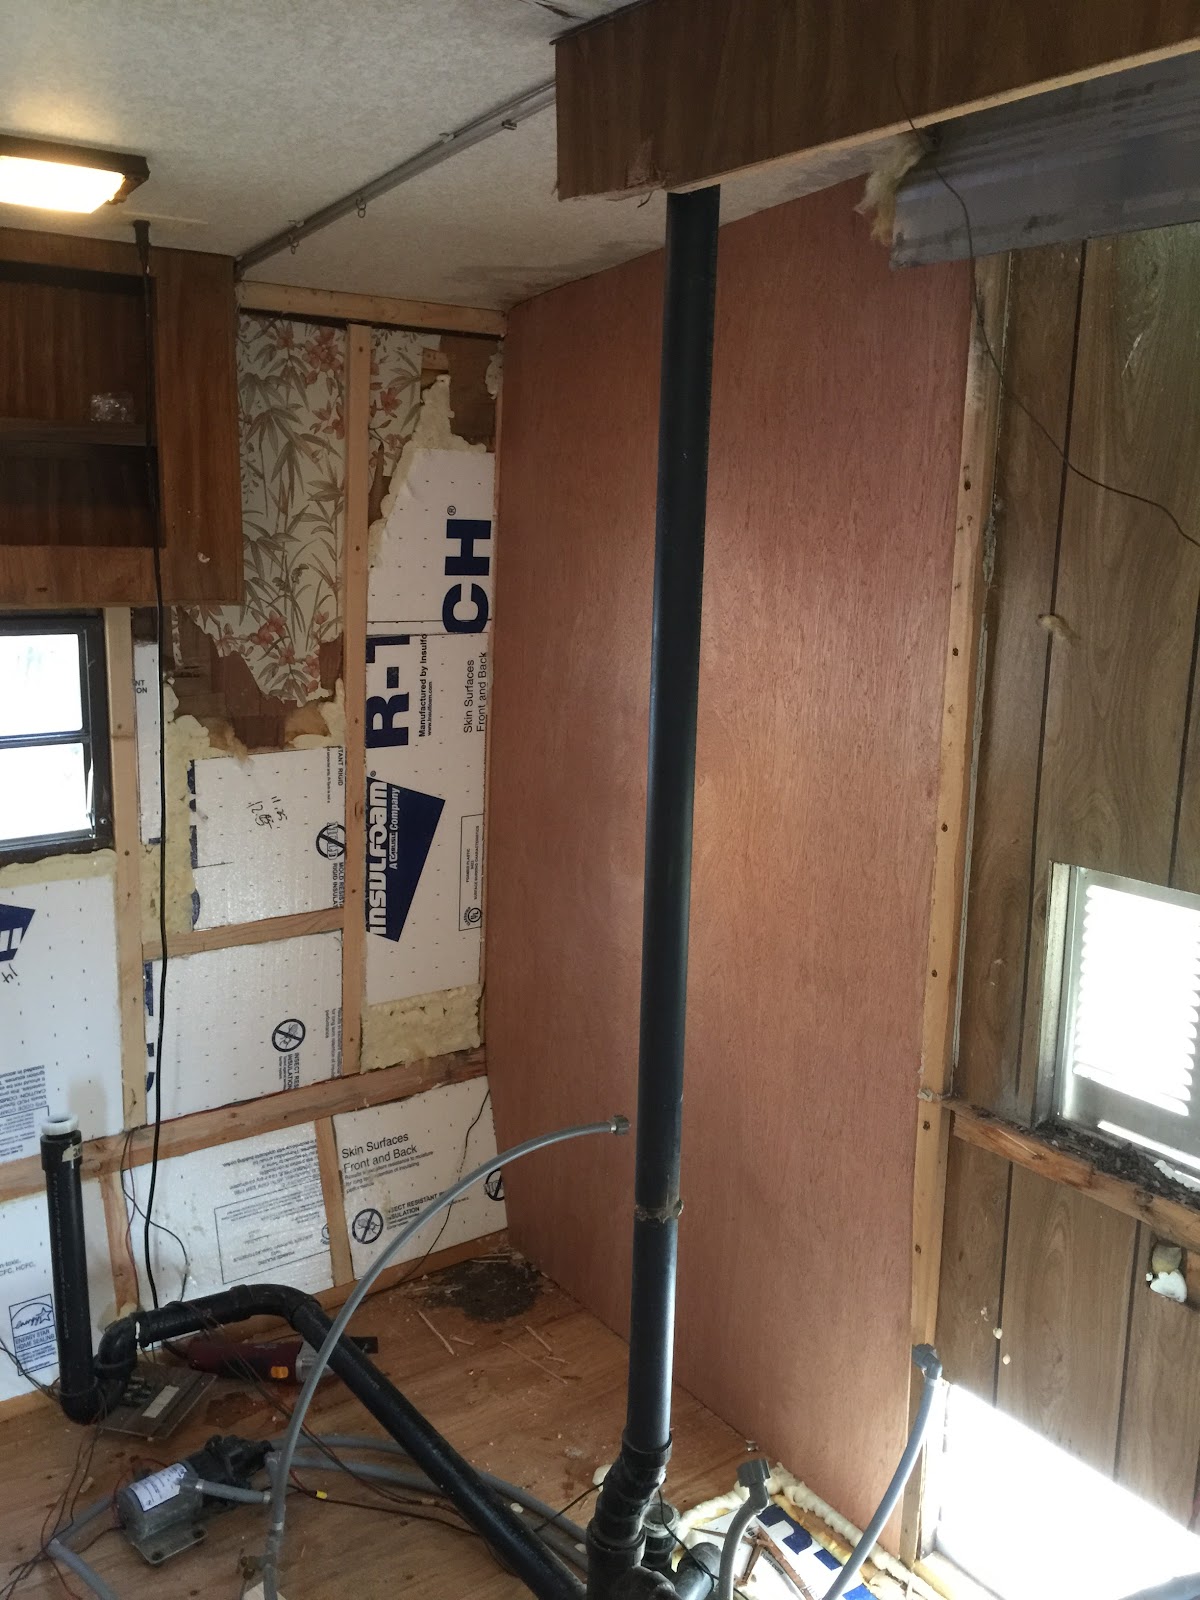
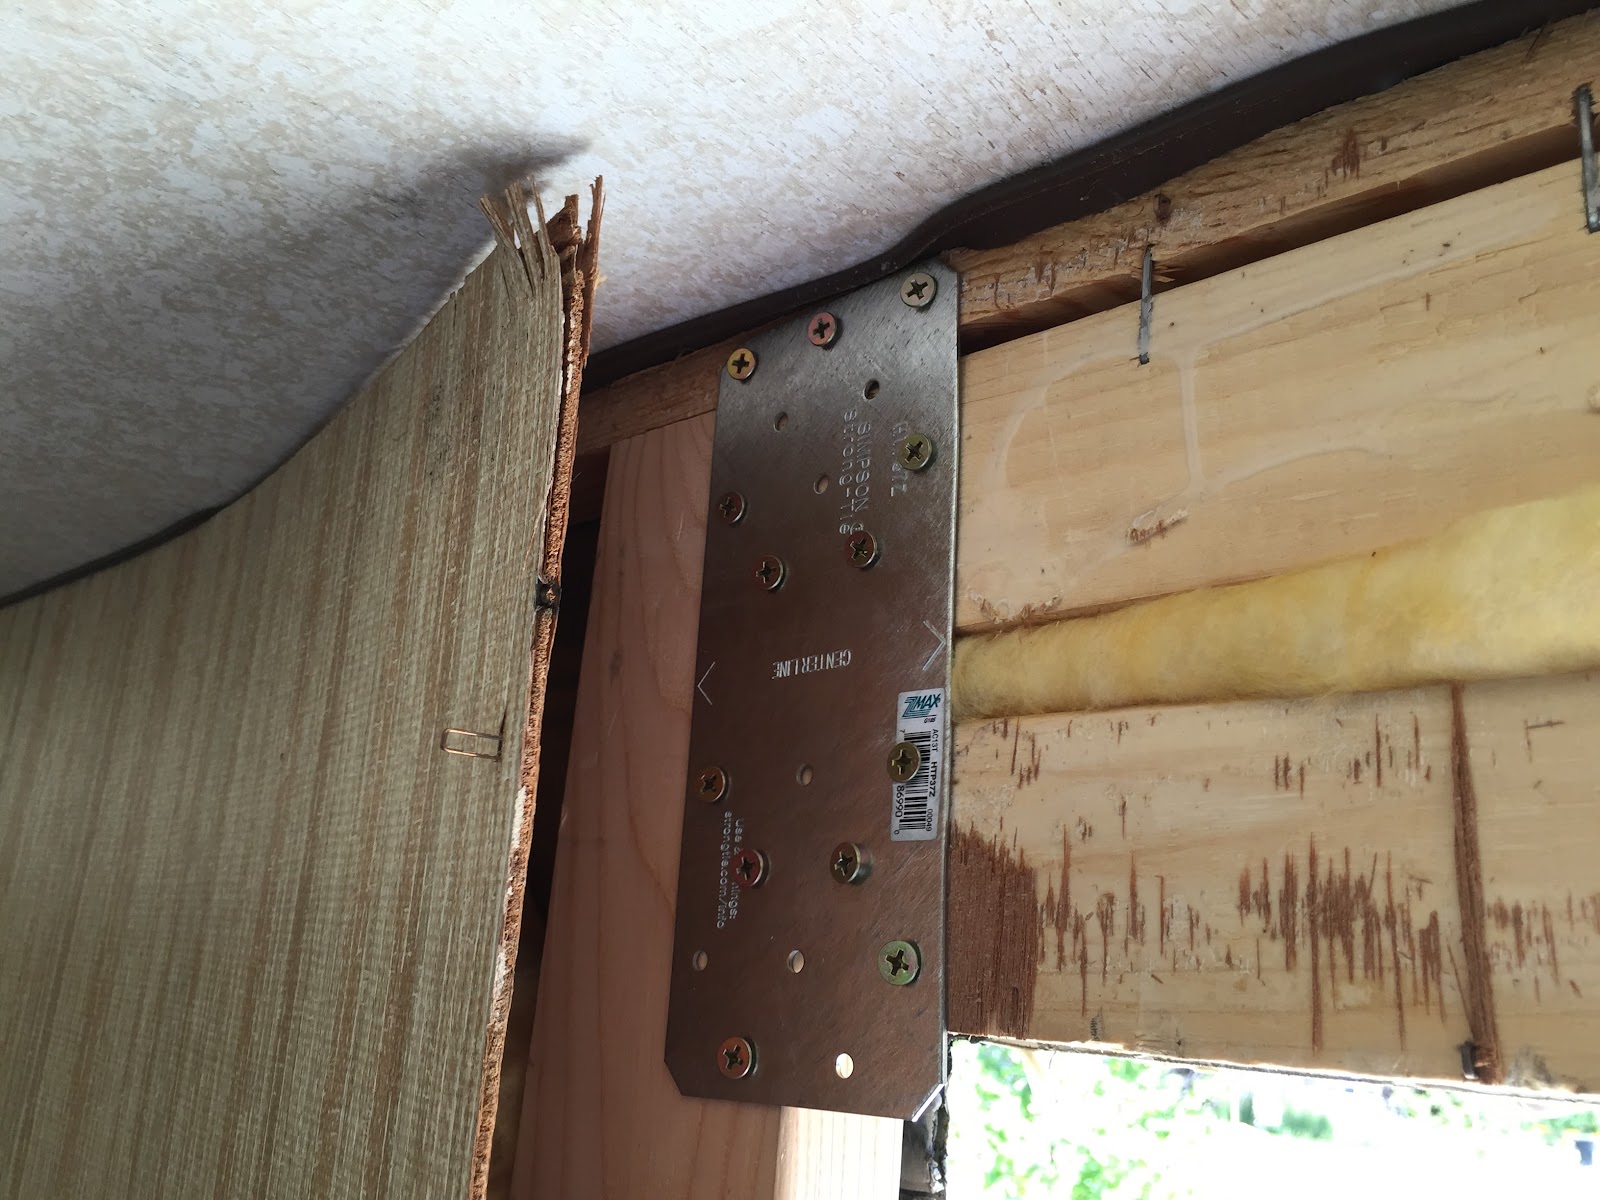
Seriously why do they design these things with 1″ thick walls? How does it all hold together? Structurally the aluminum siding was hold up the wall. The board you see crossing the picture was placed to support the roof of the trailer. With the rear wall gone the structure got a bit wobbly. 

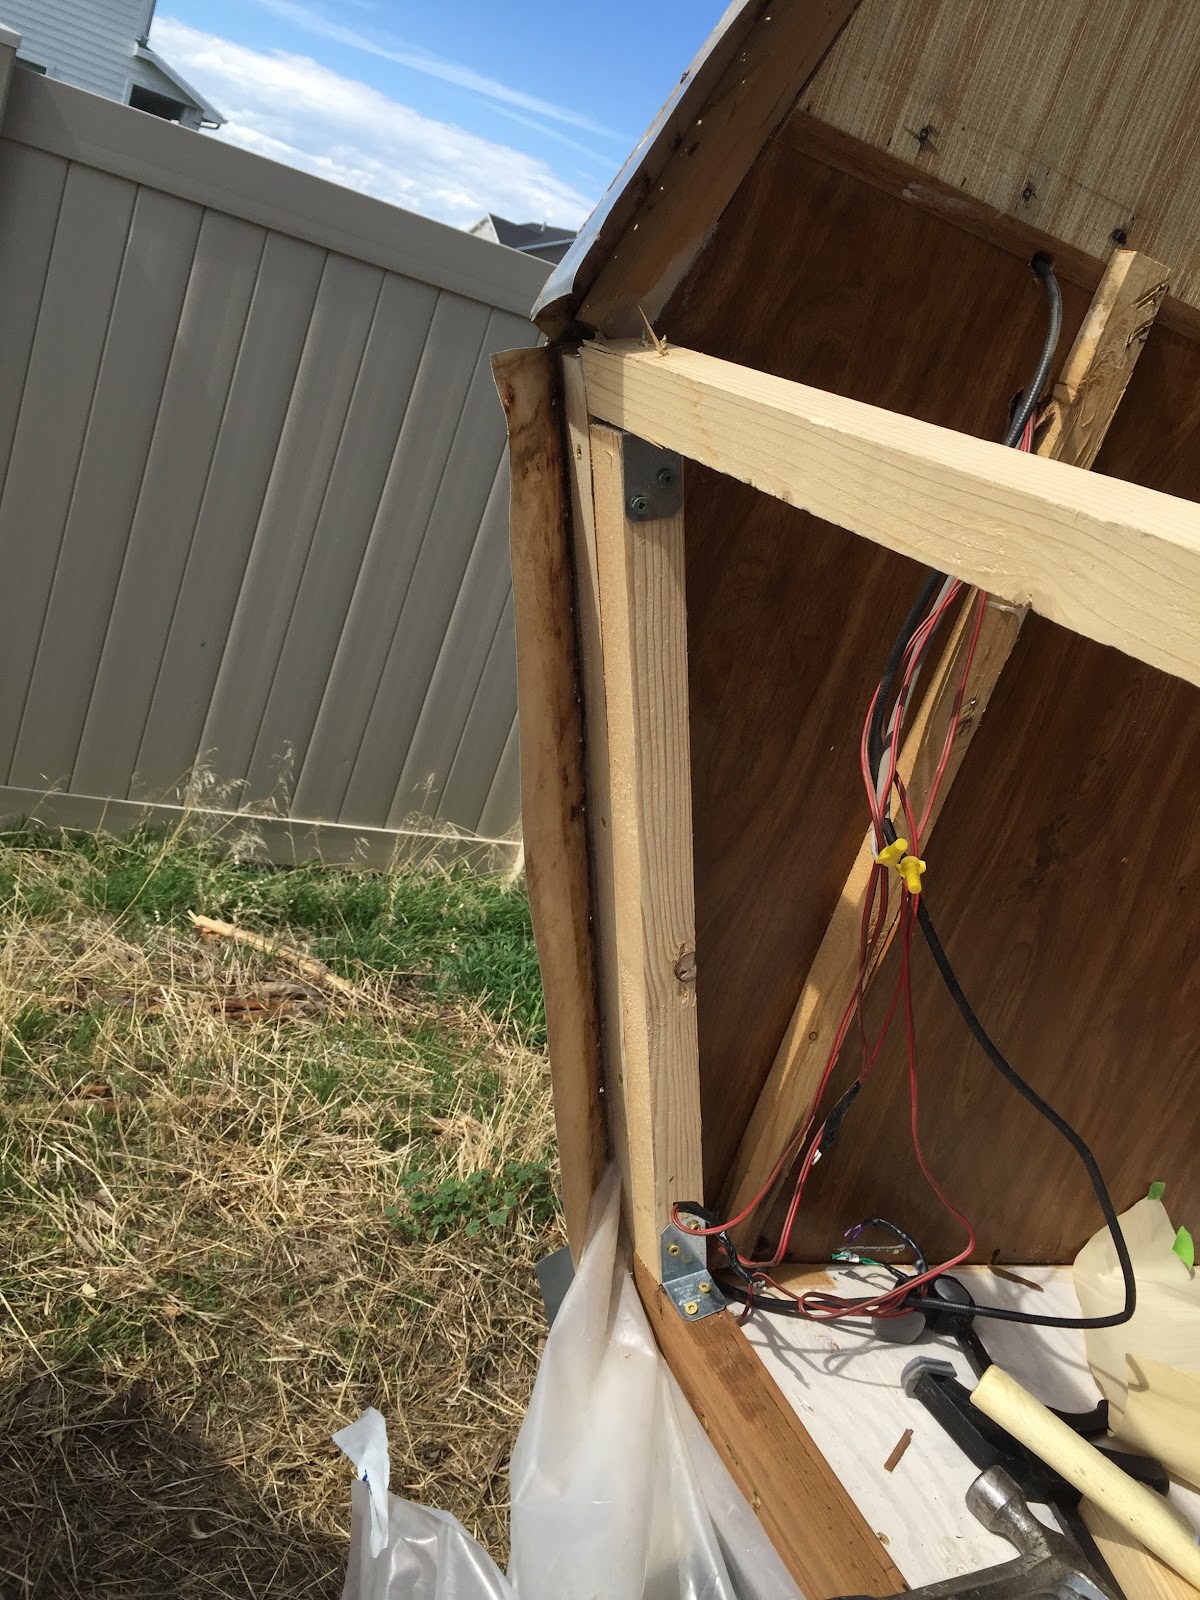
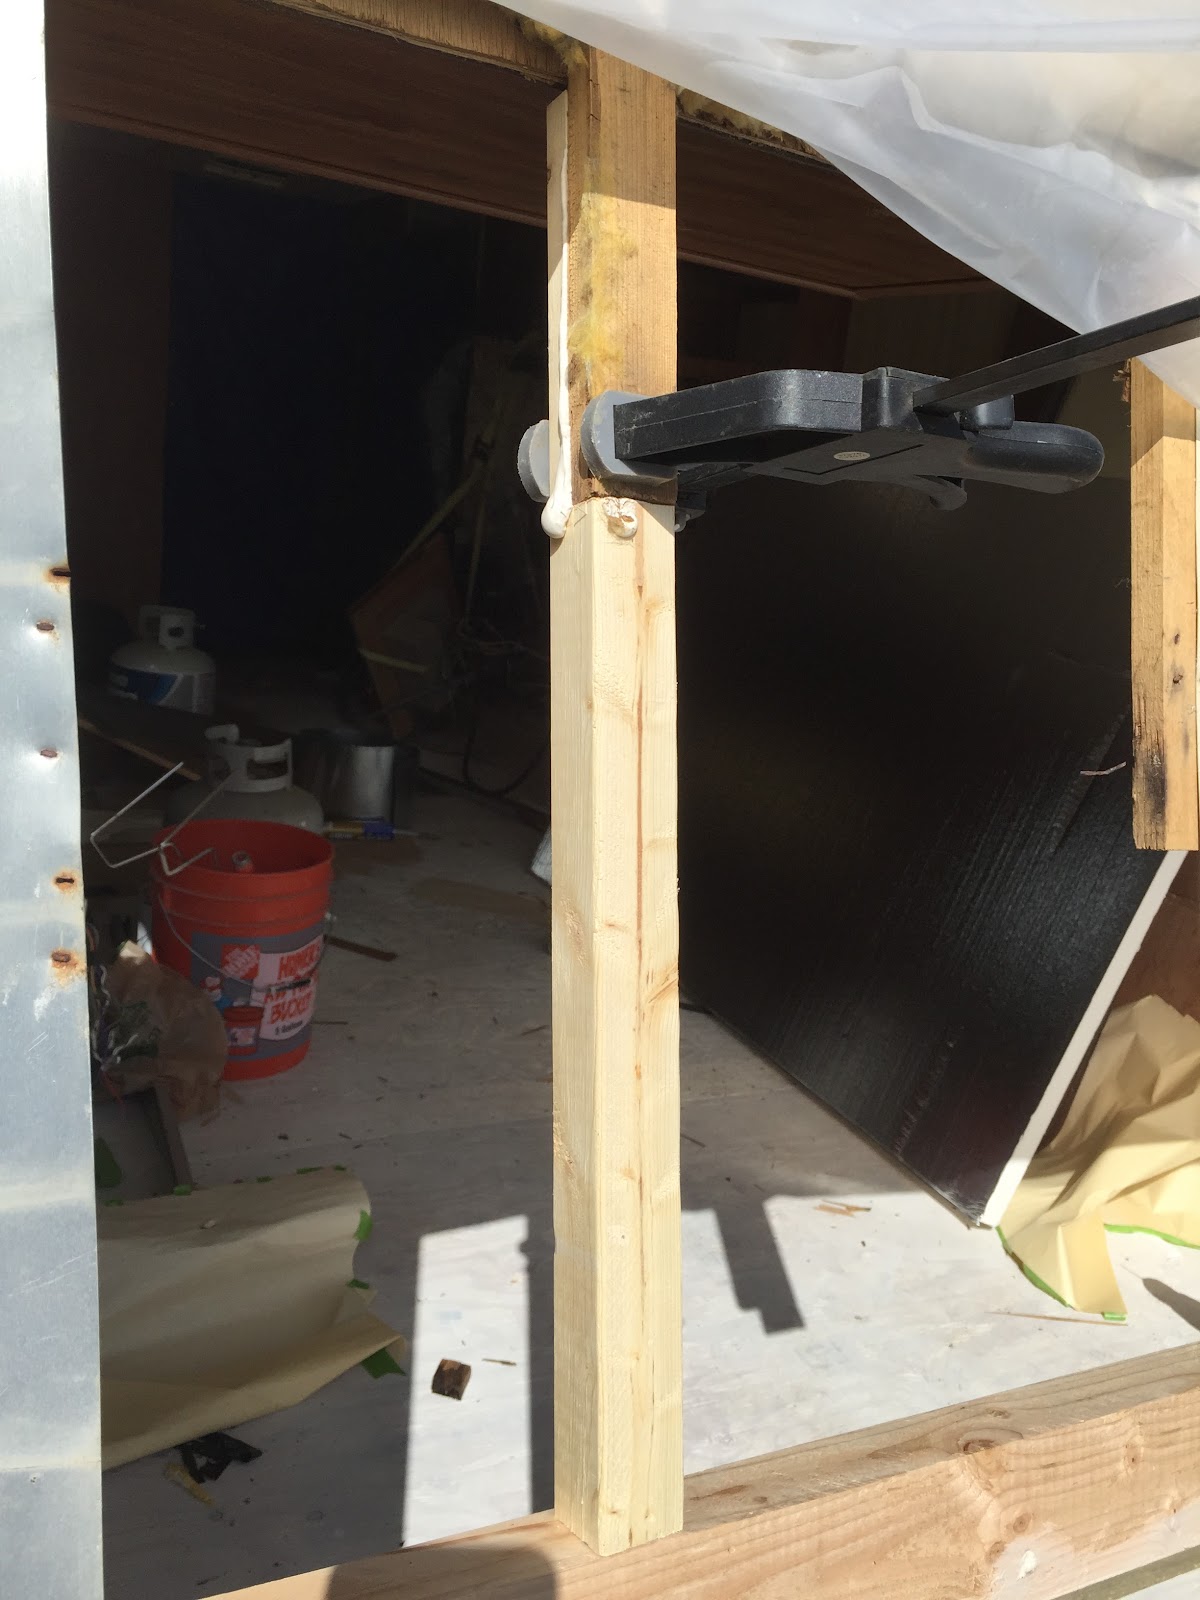
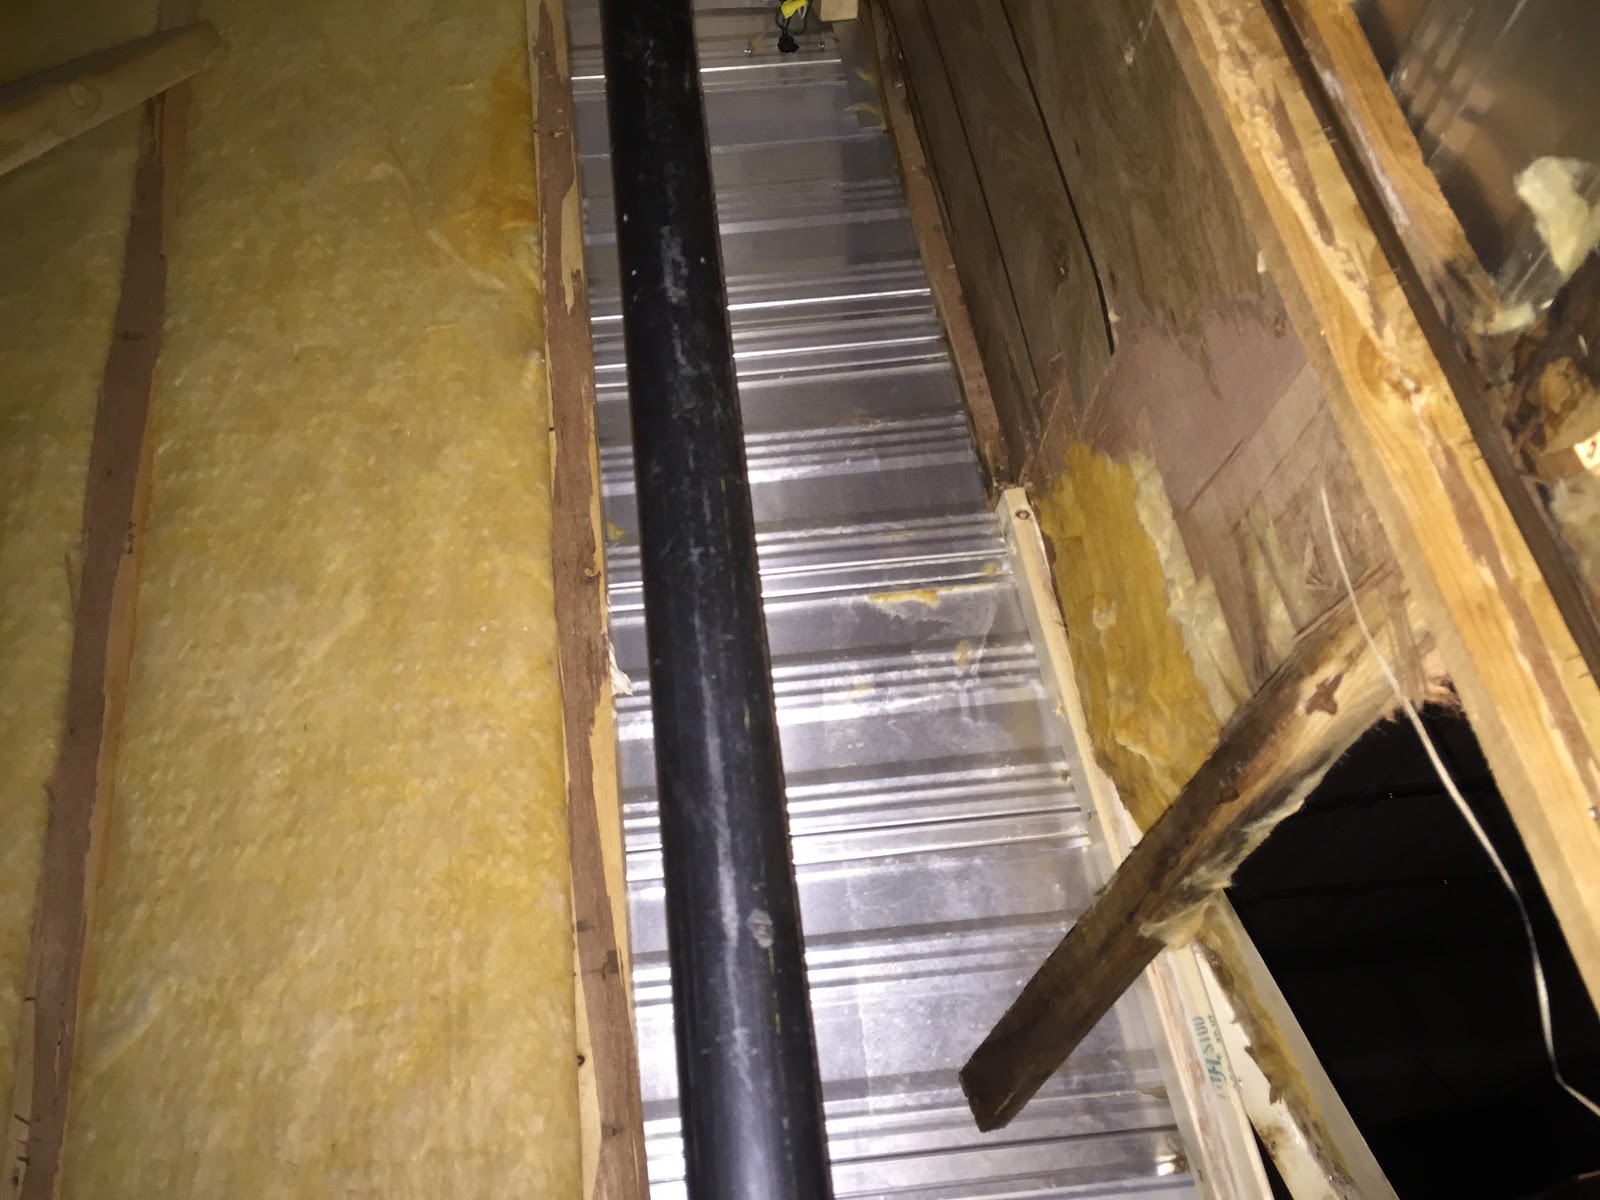
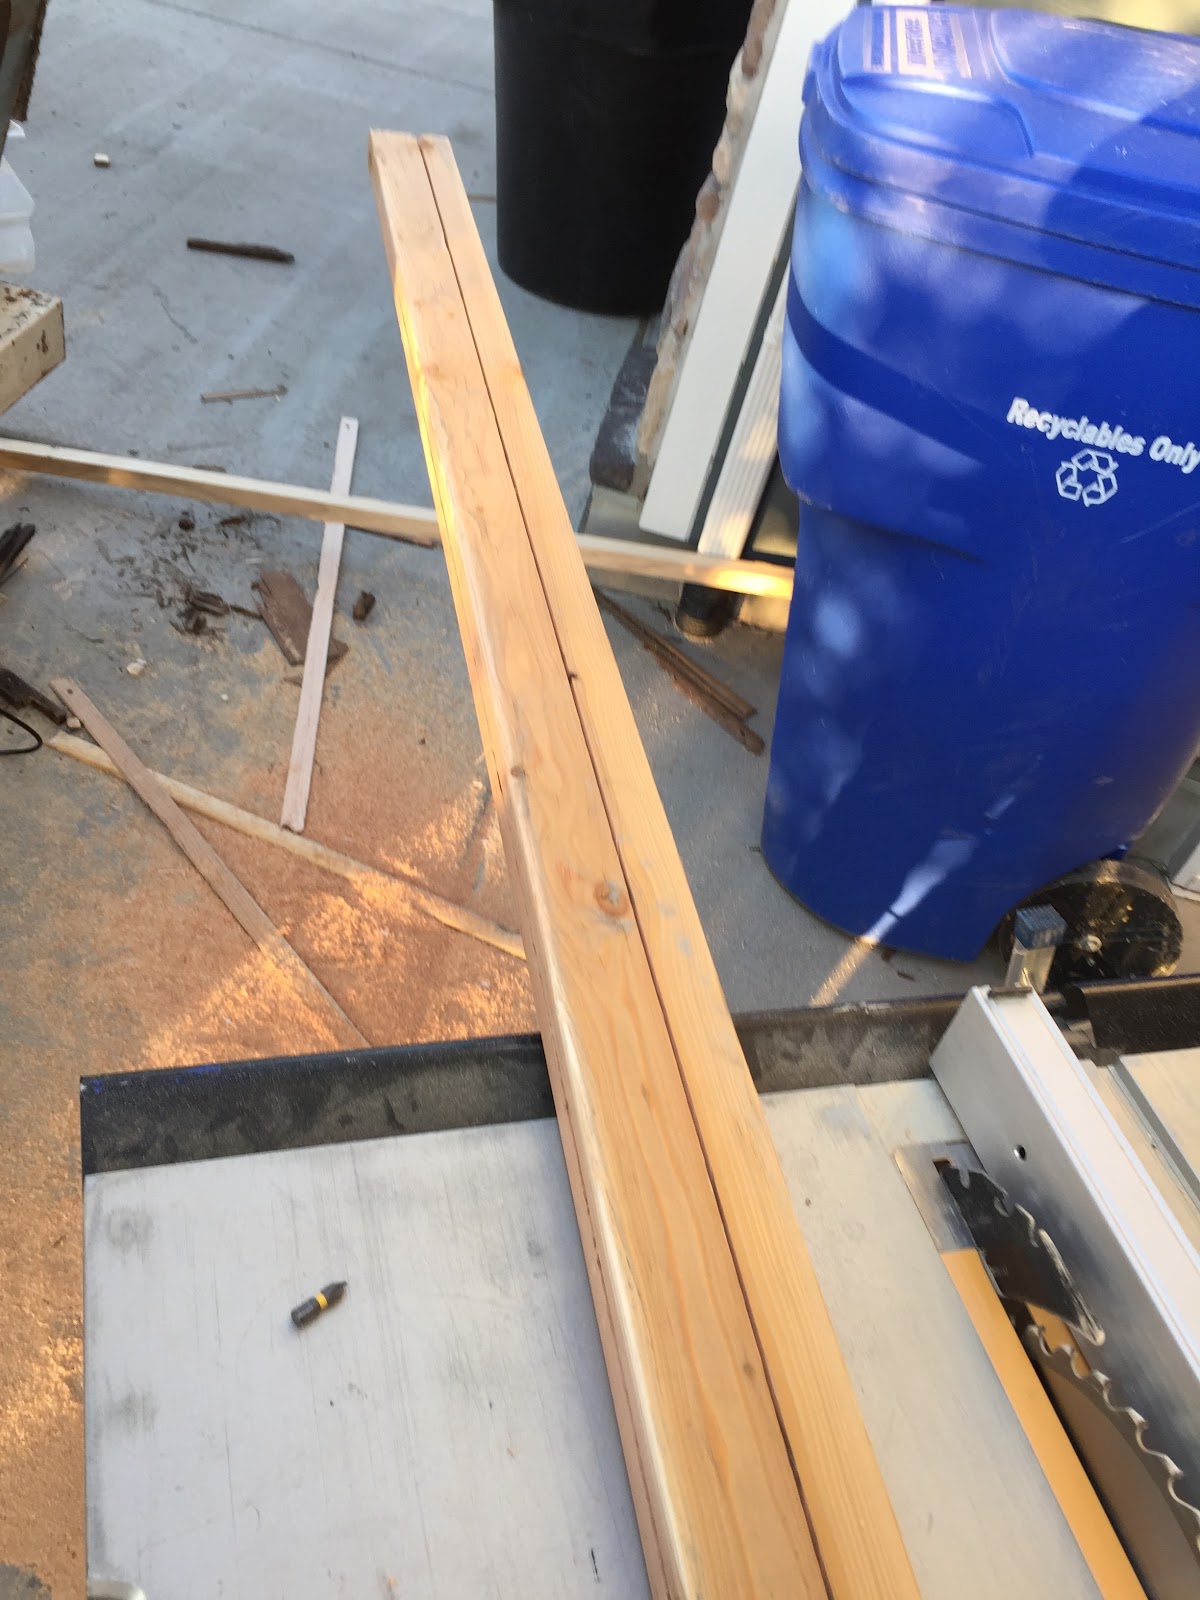
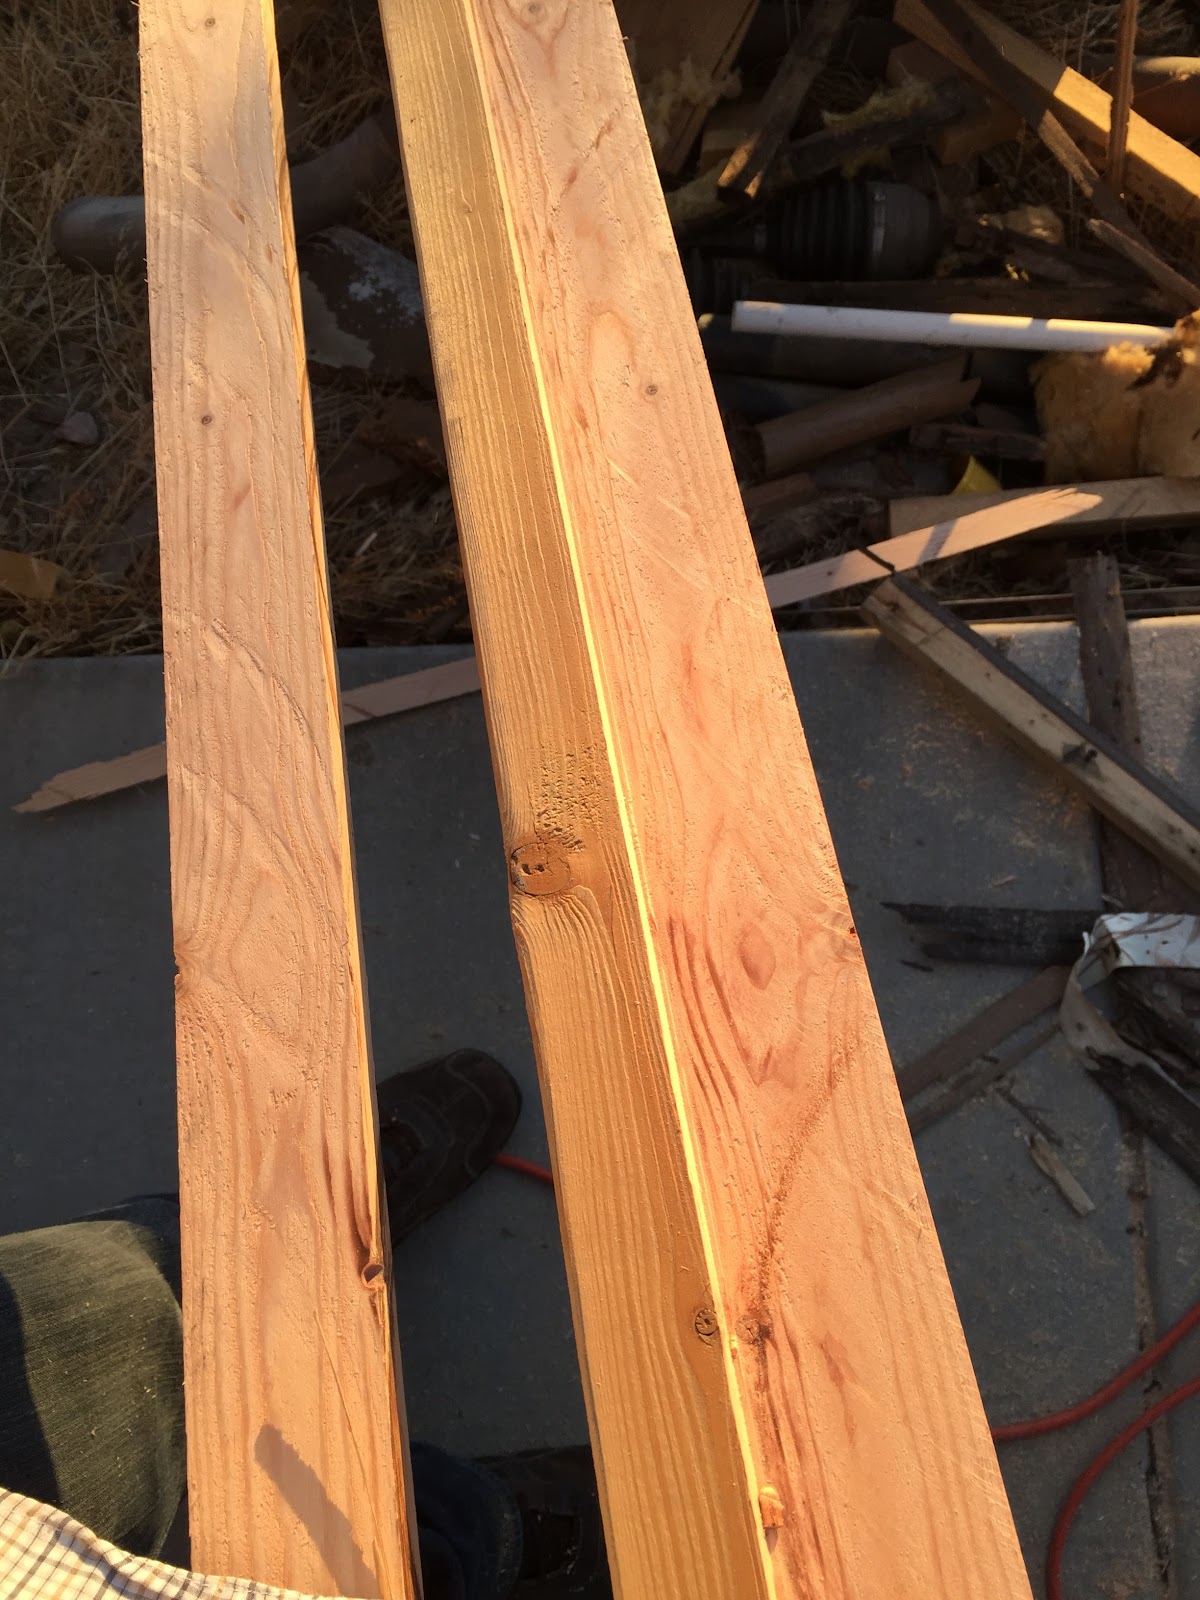
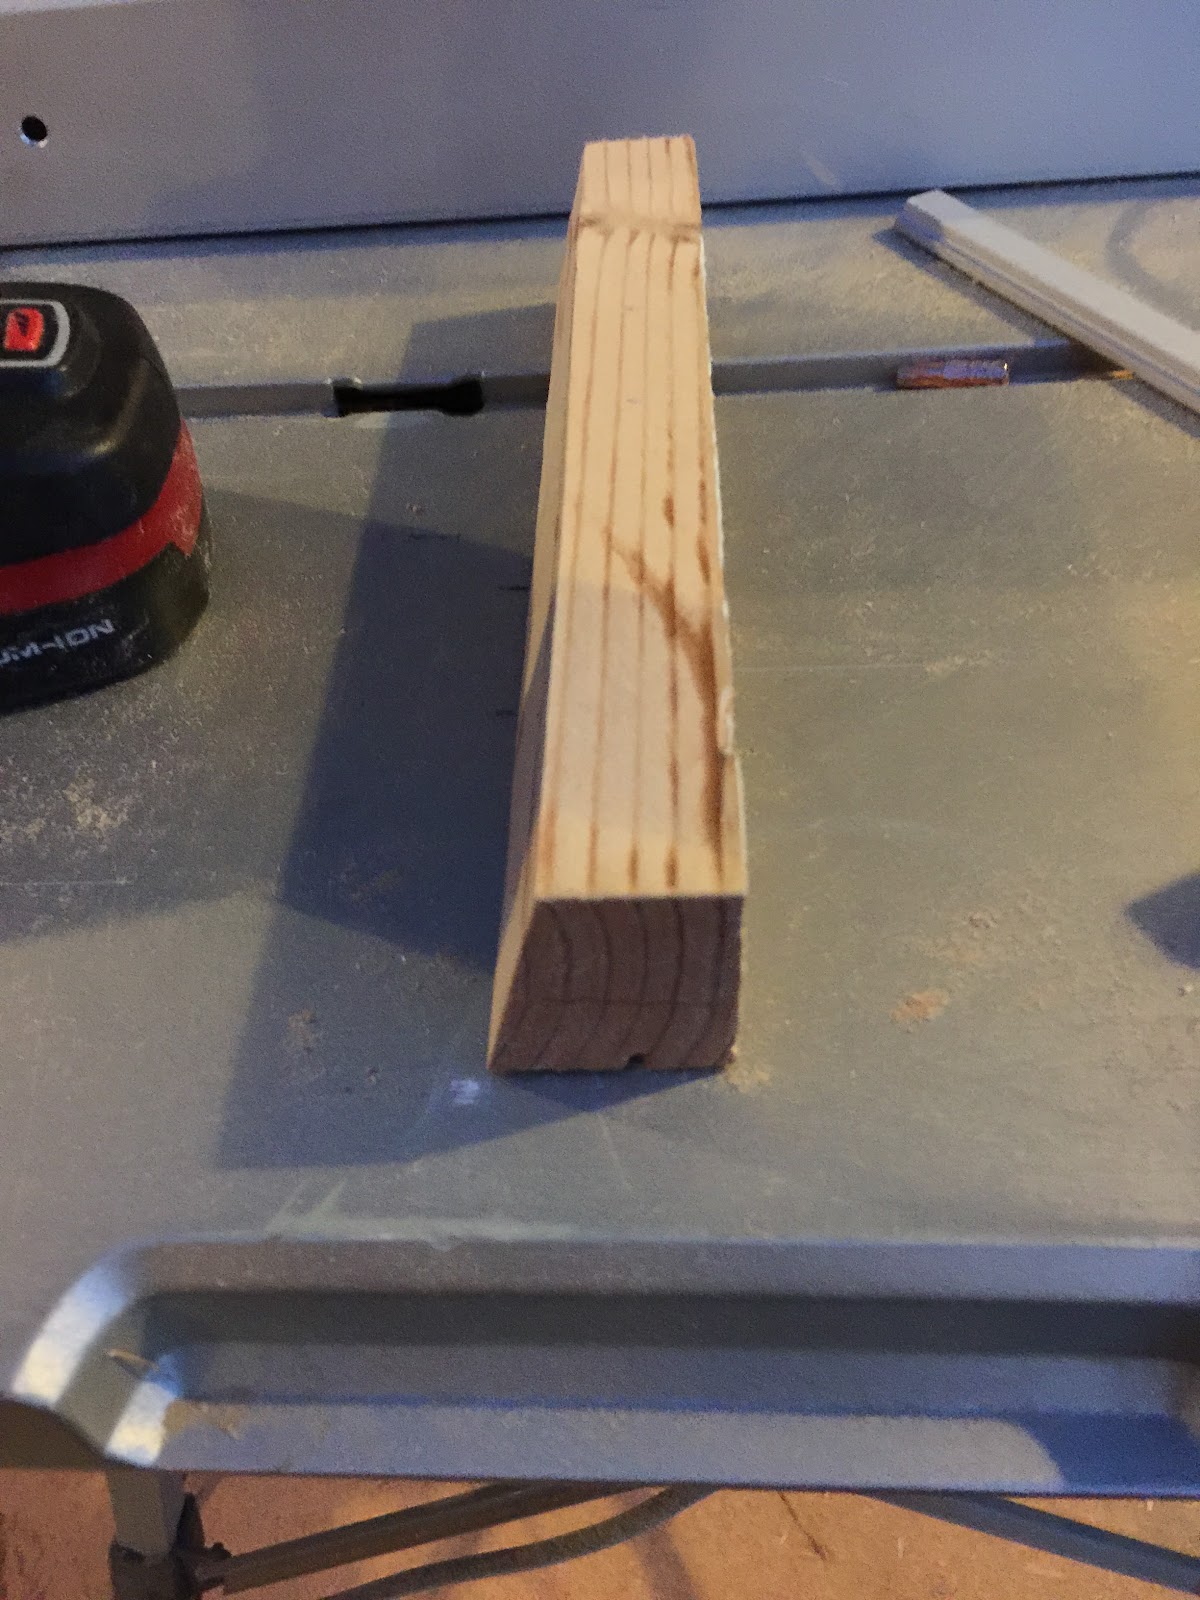
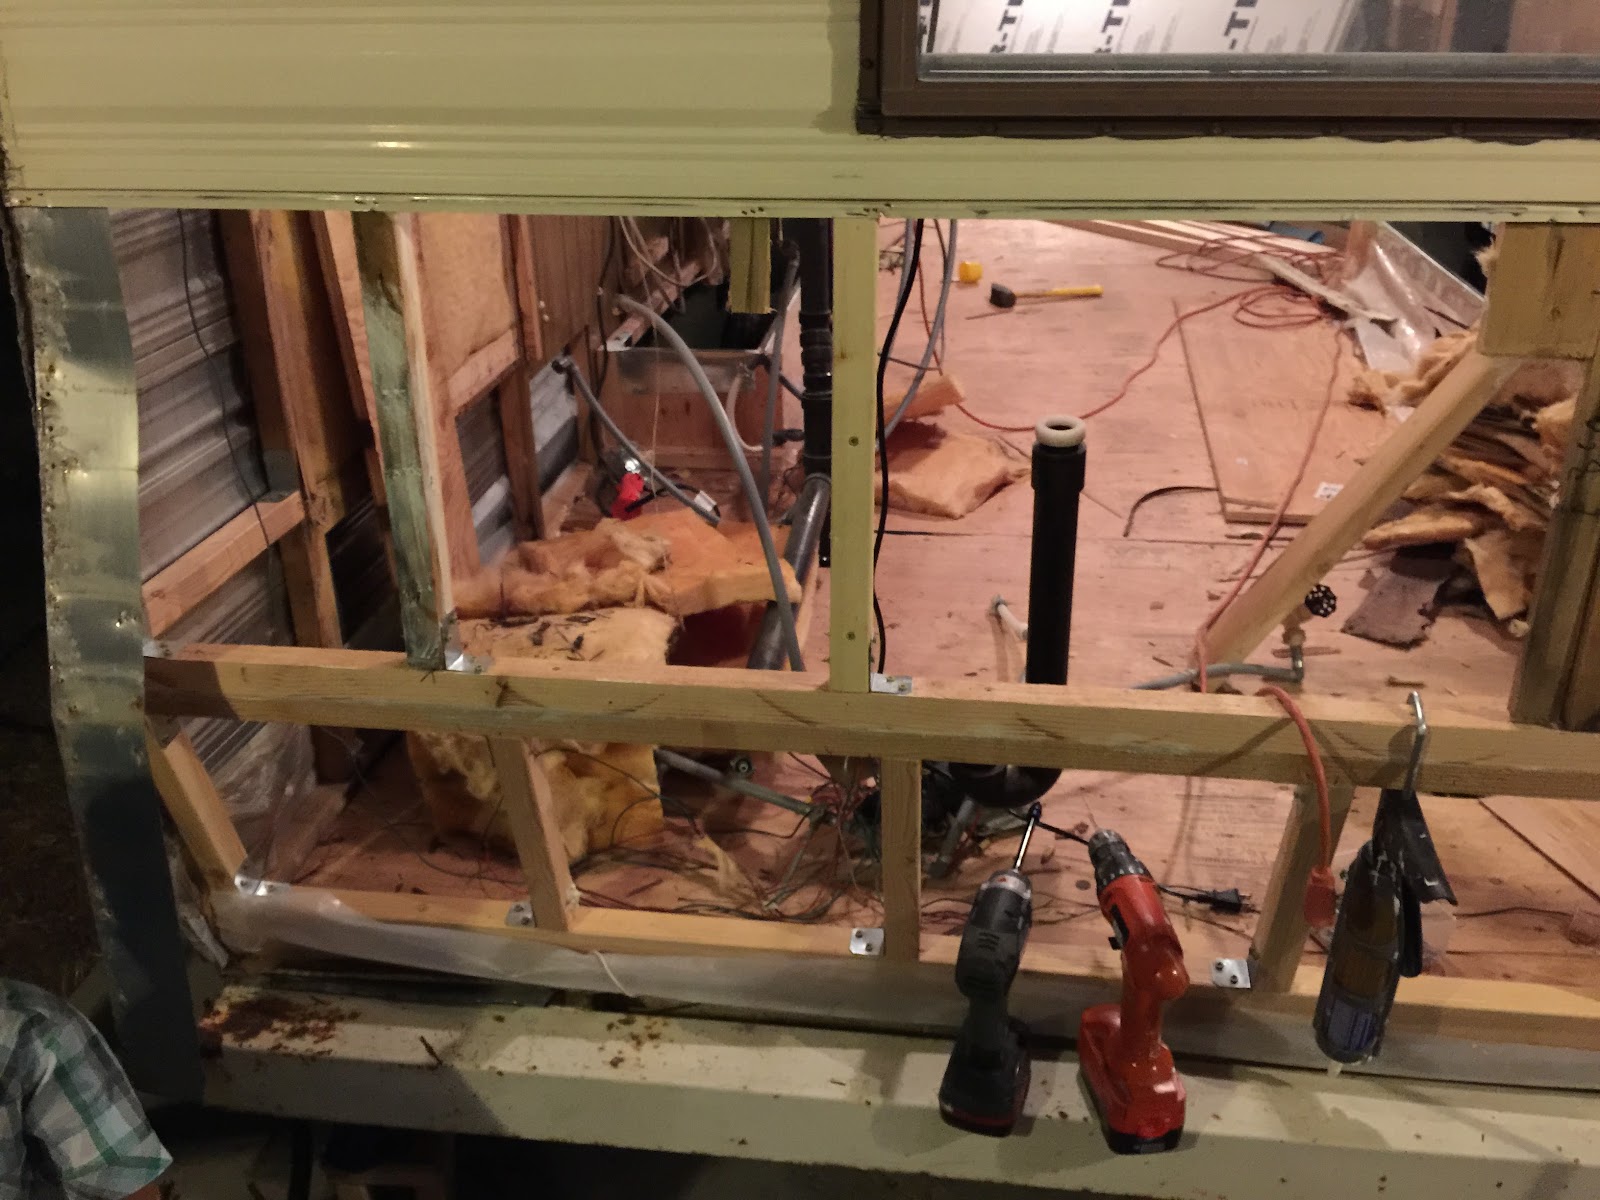
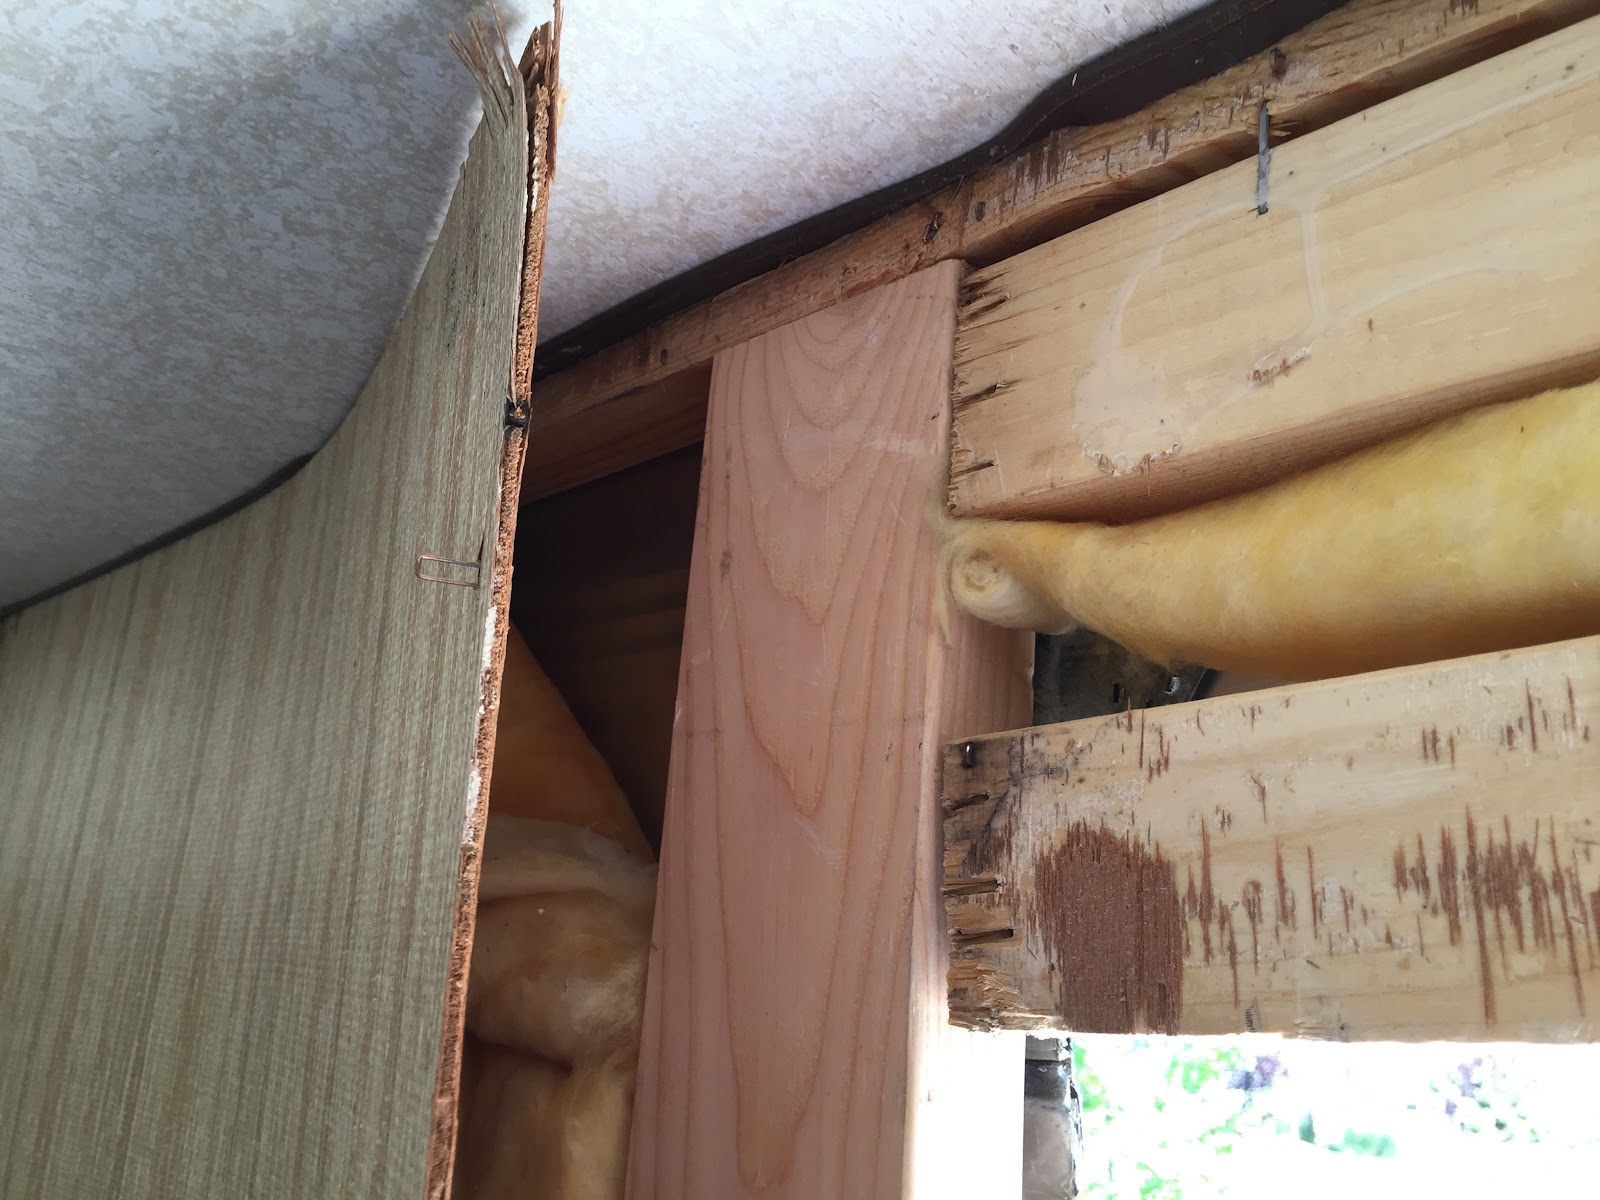
I did some weird angle cuts to try and match the angle of the trailer wall. 

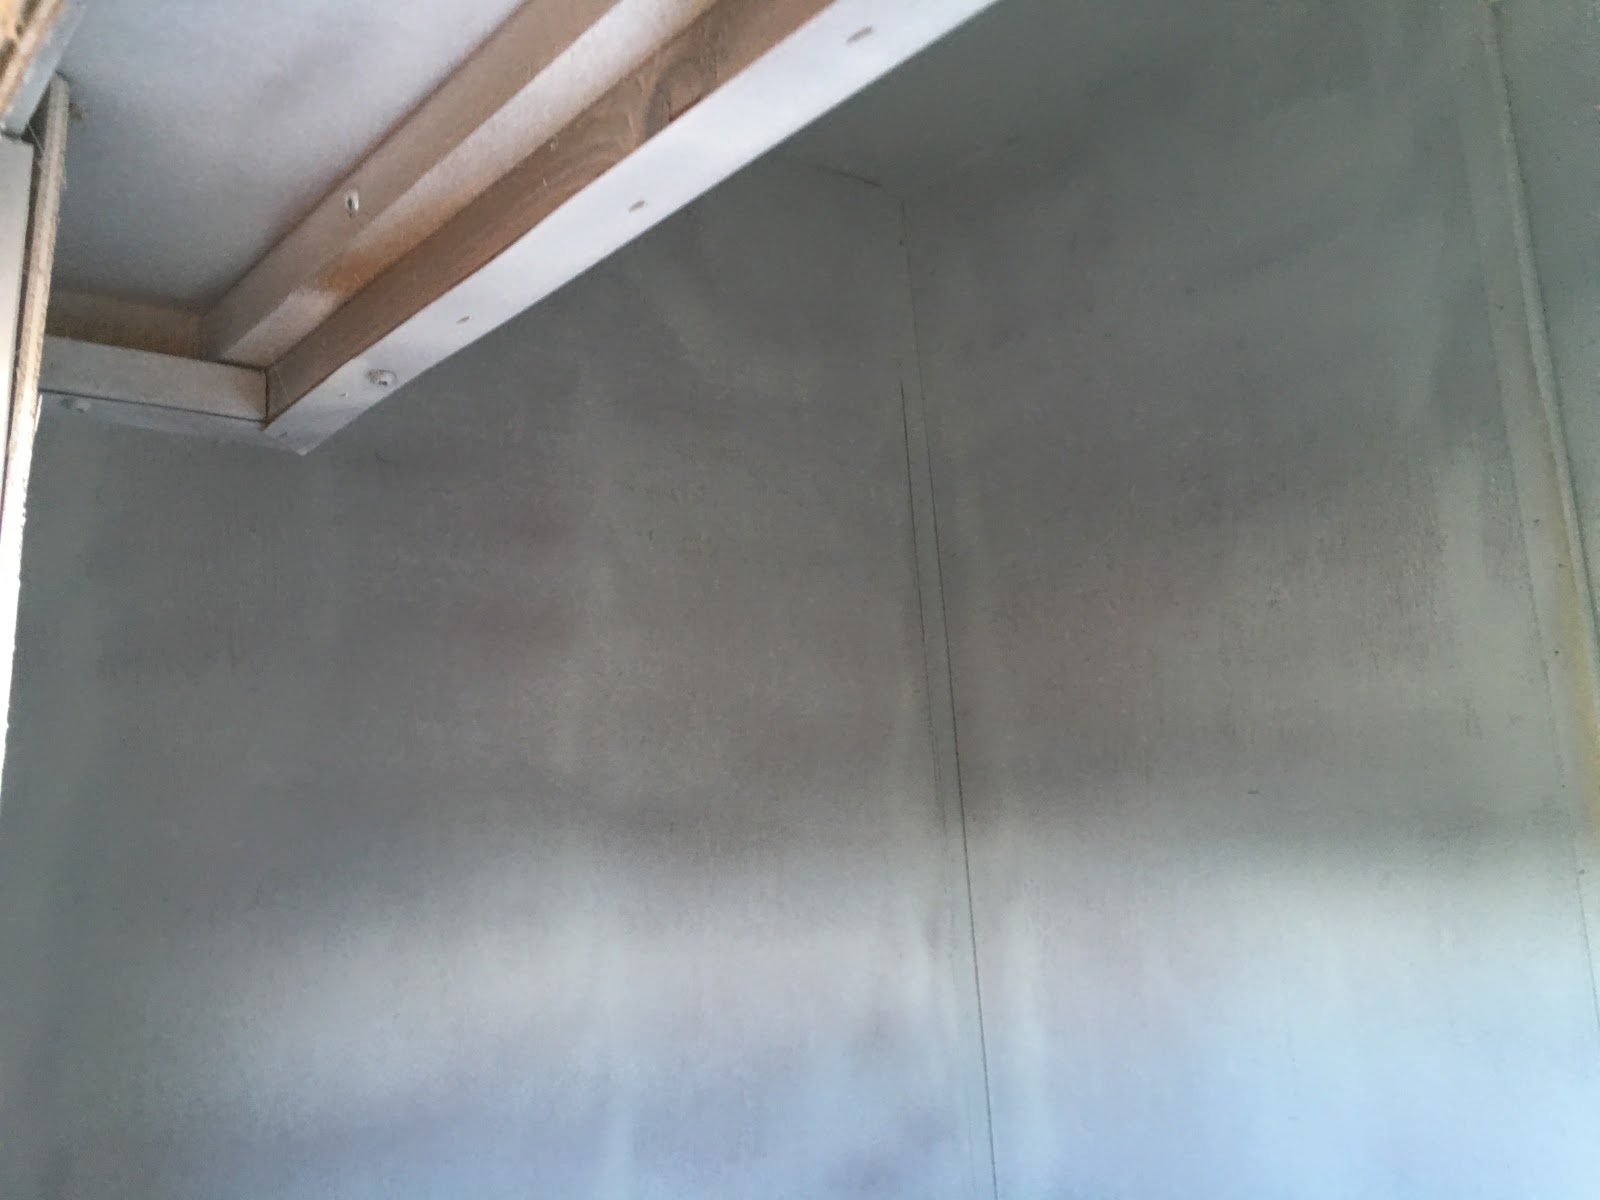
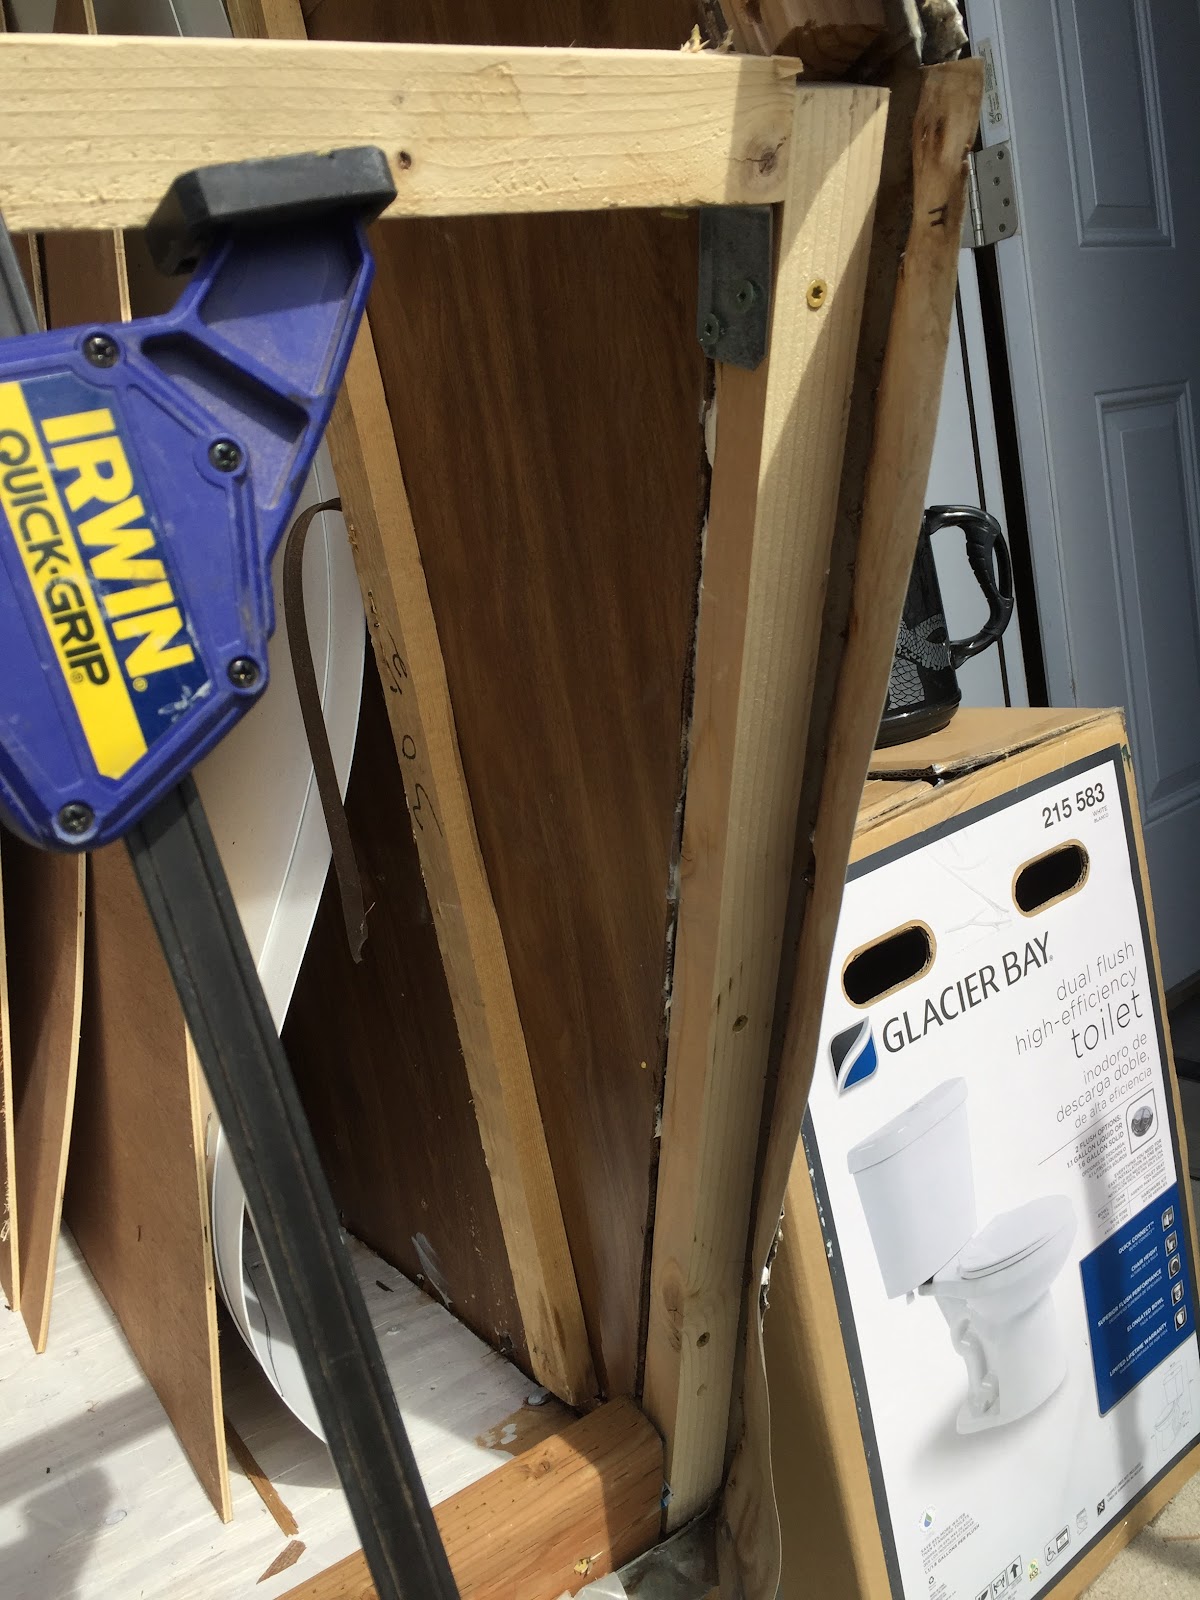
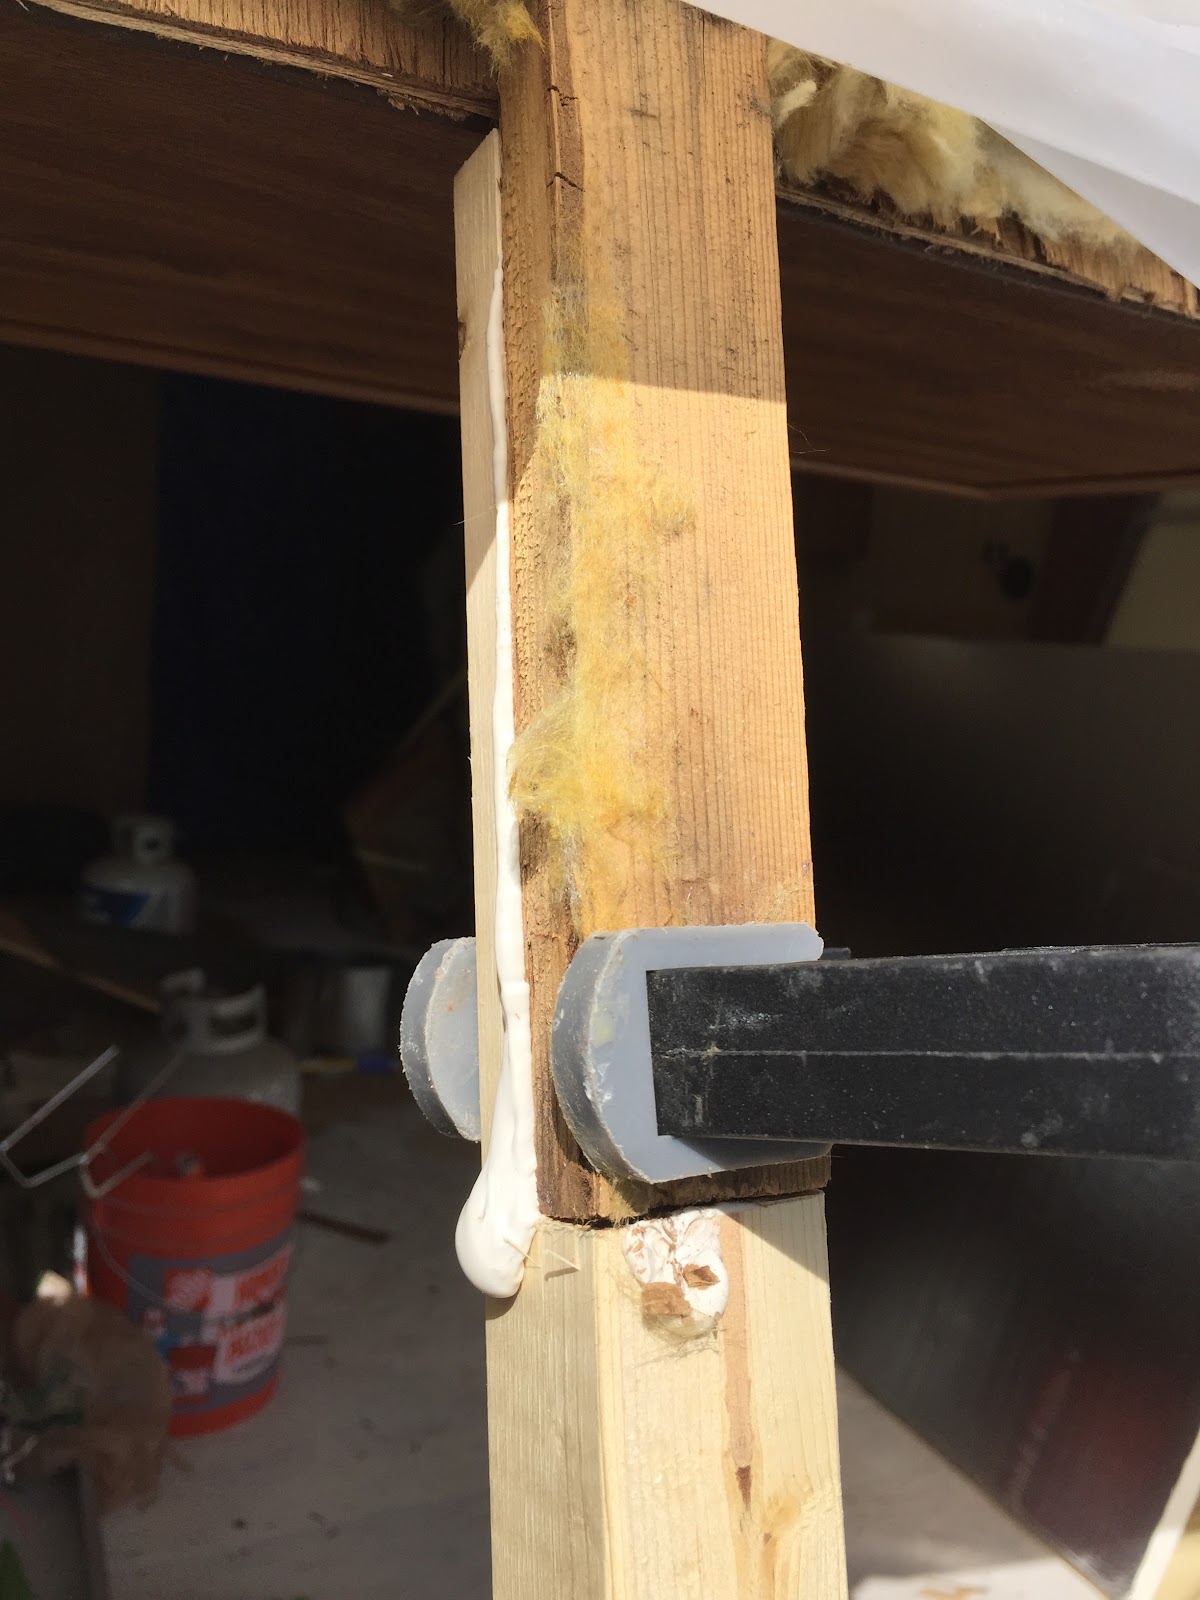
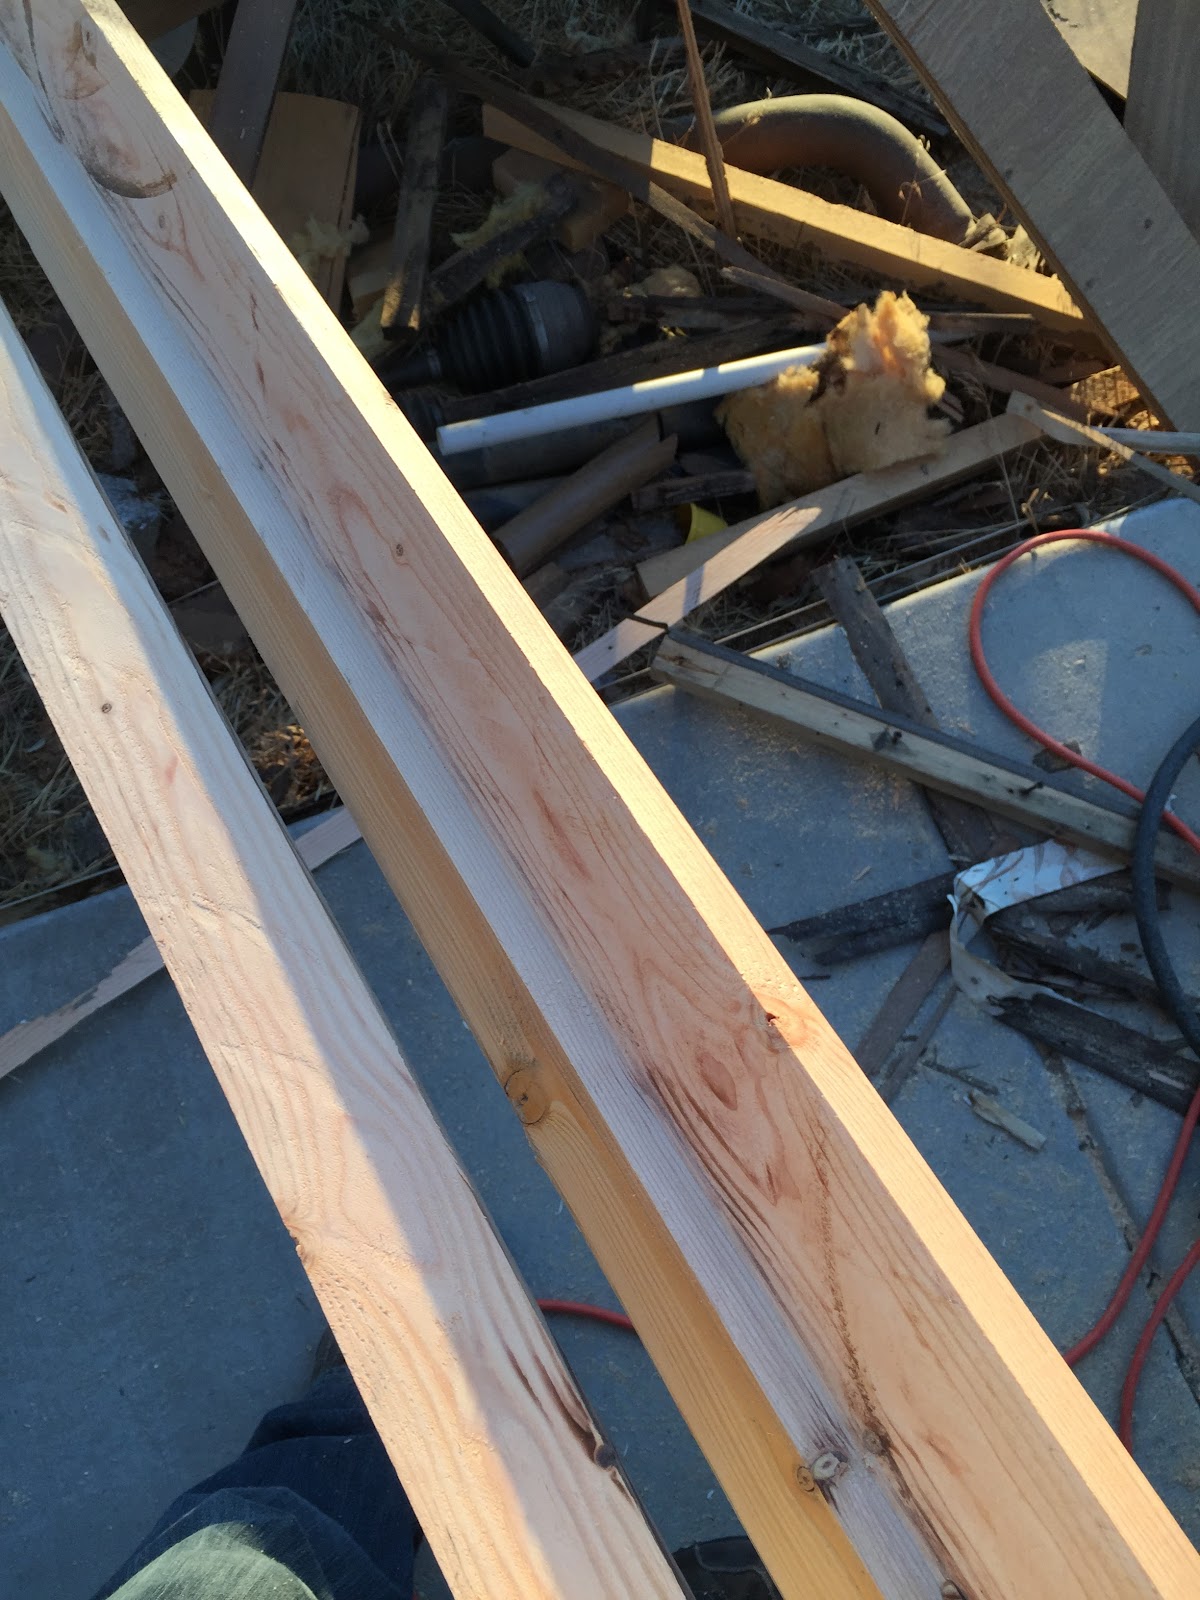
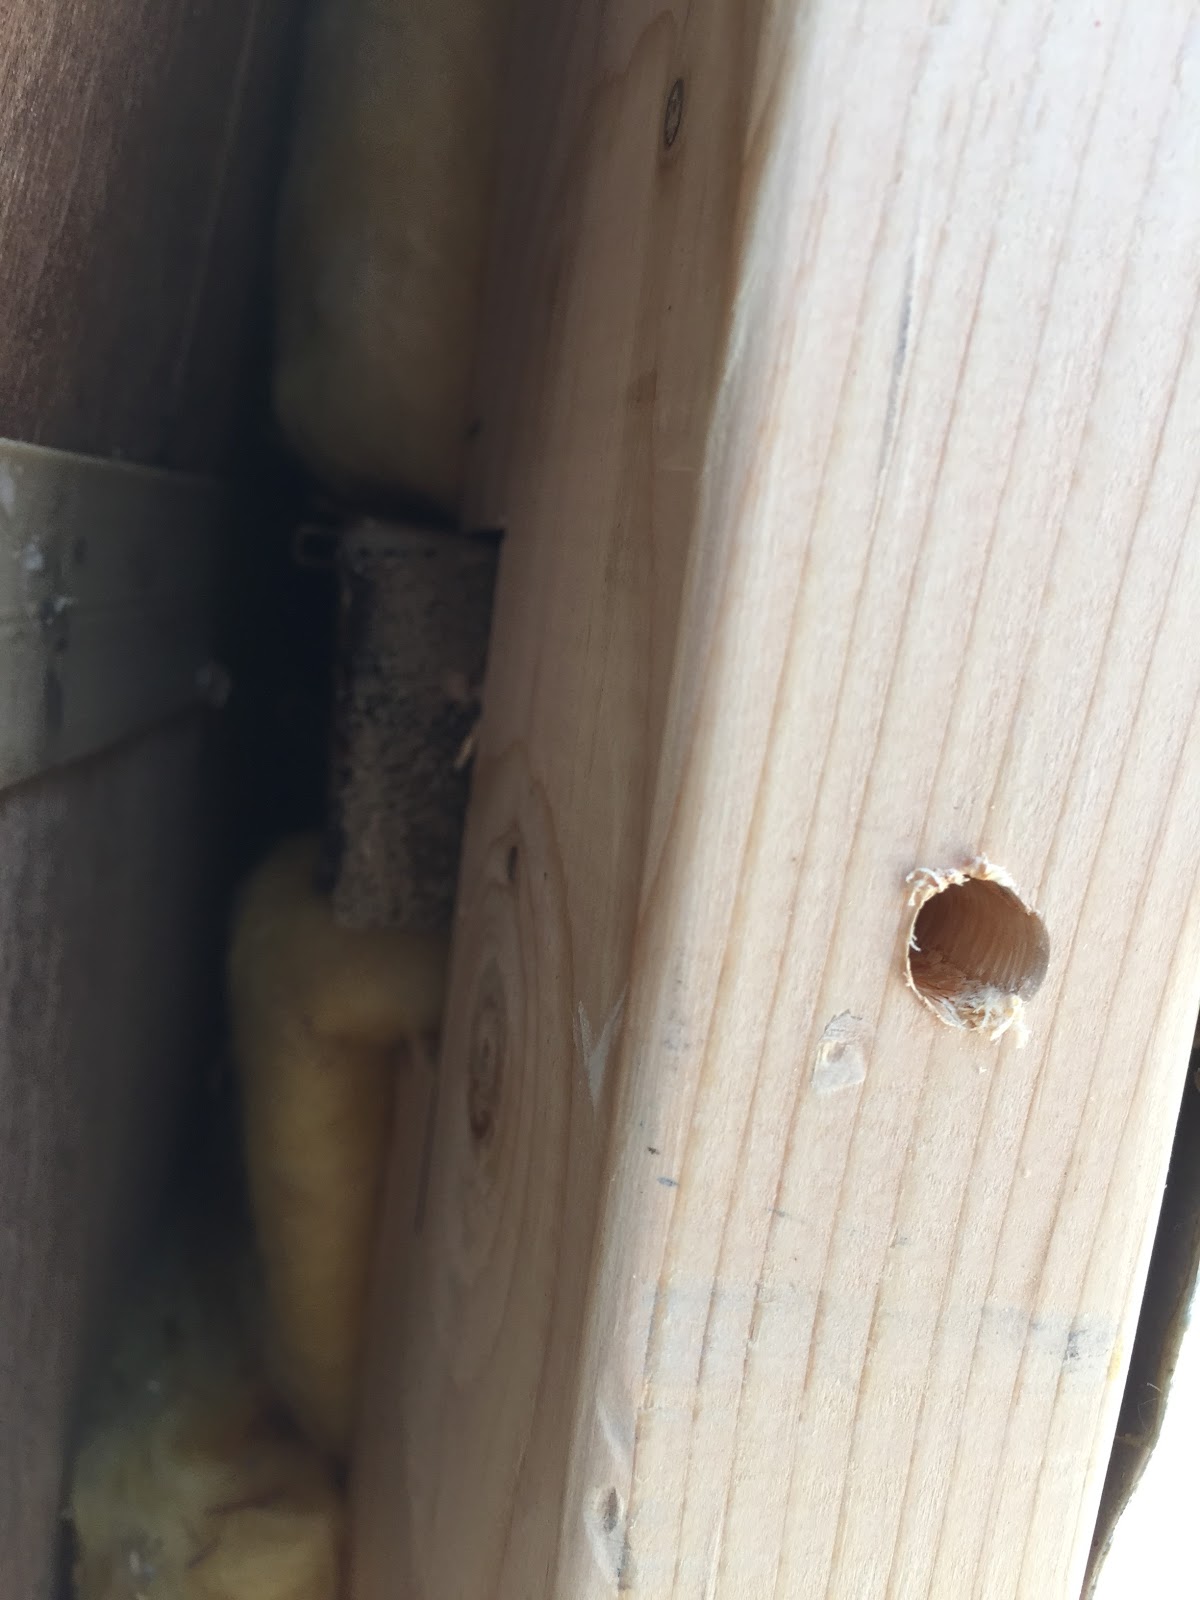
Lots of new 1x2s sandwiched with glue to the old 1x2s. 

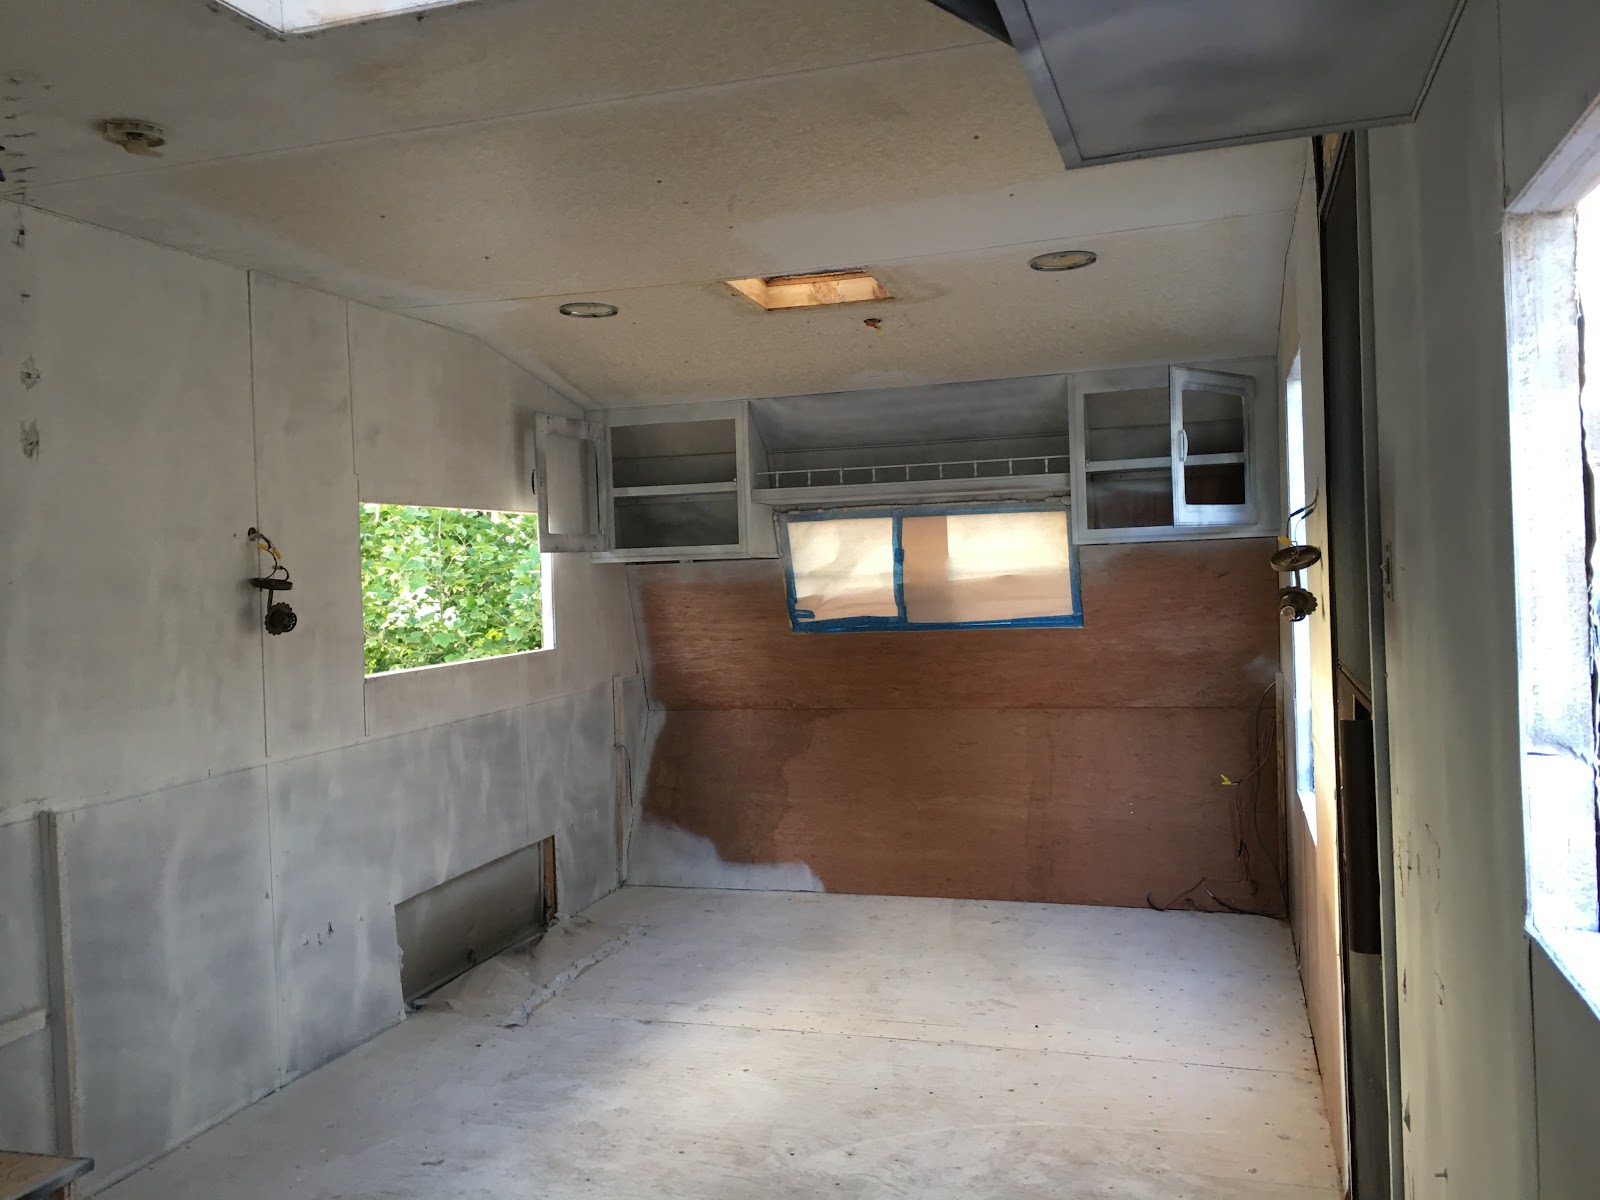
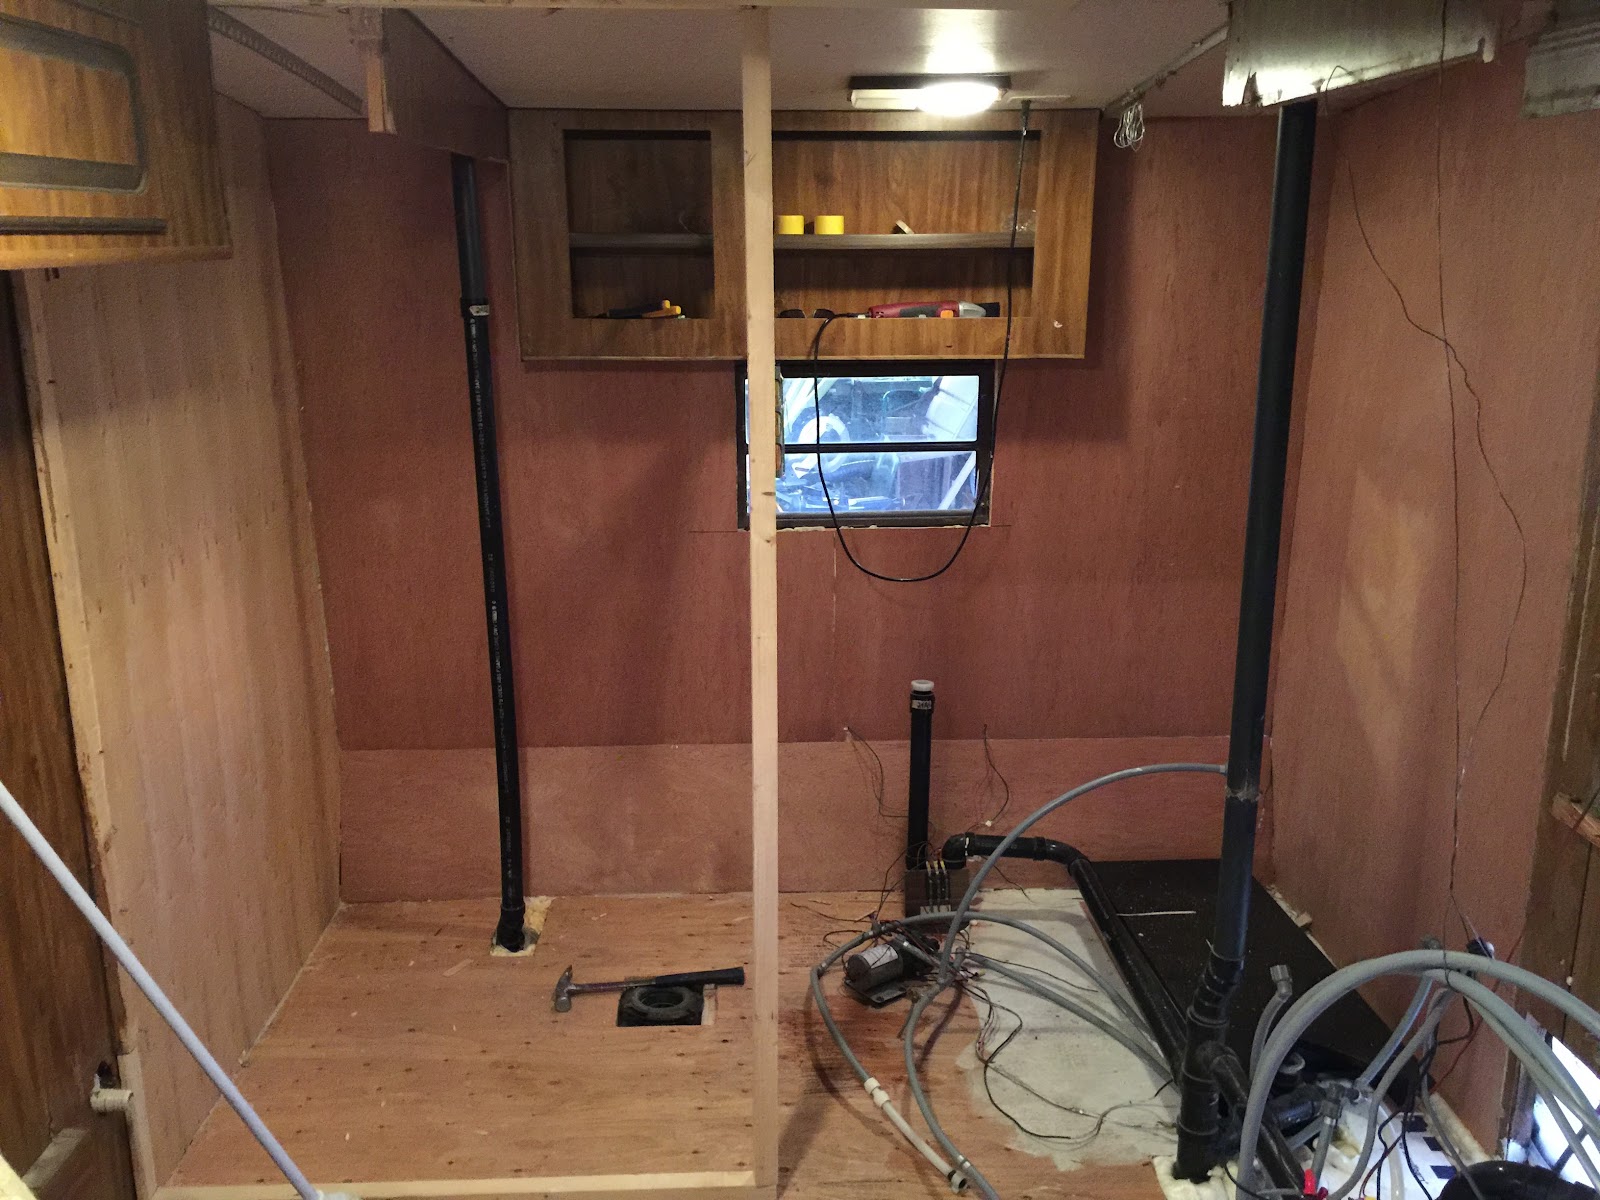
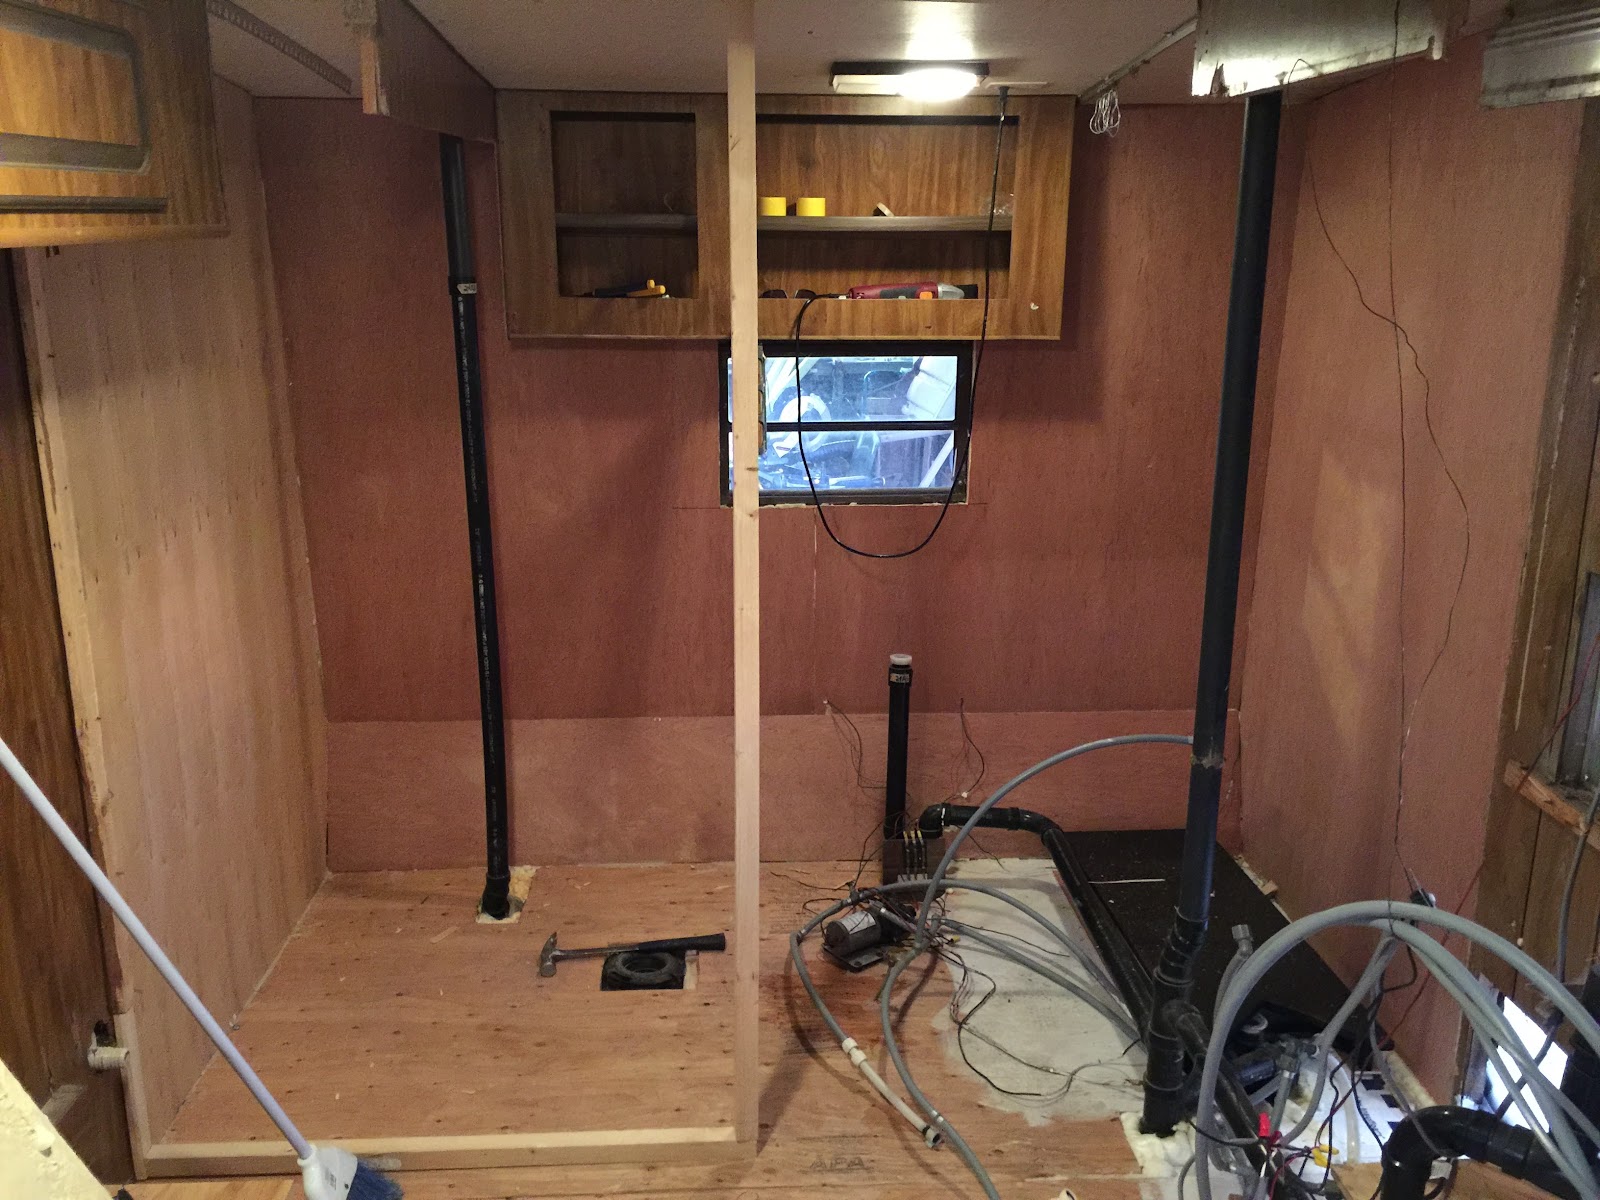
Much better looking! Yes, i left a lot of the plywood and tops of the studs out of convenience. 

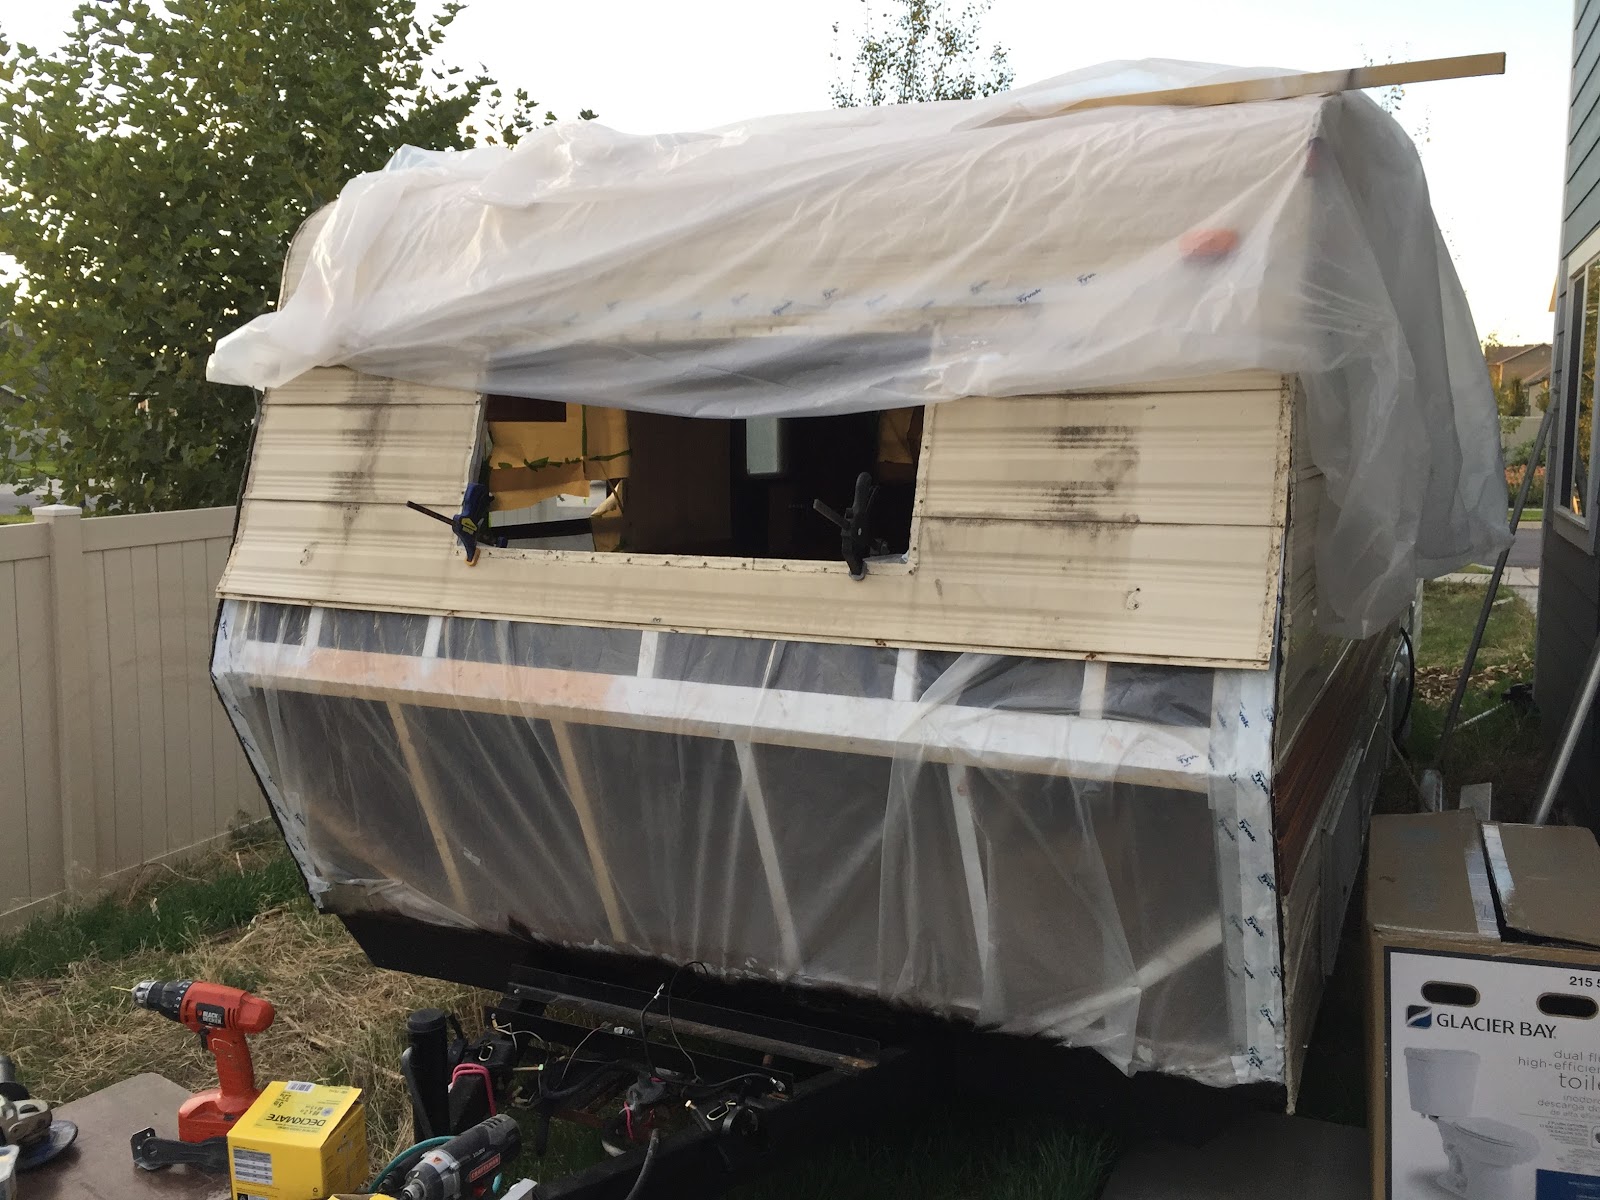
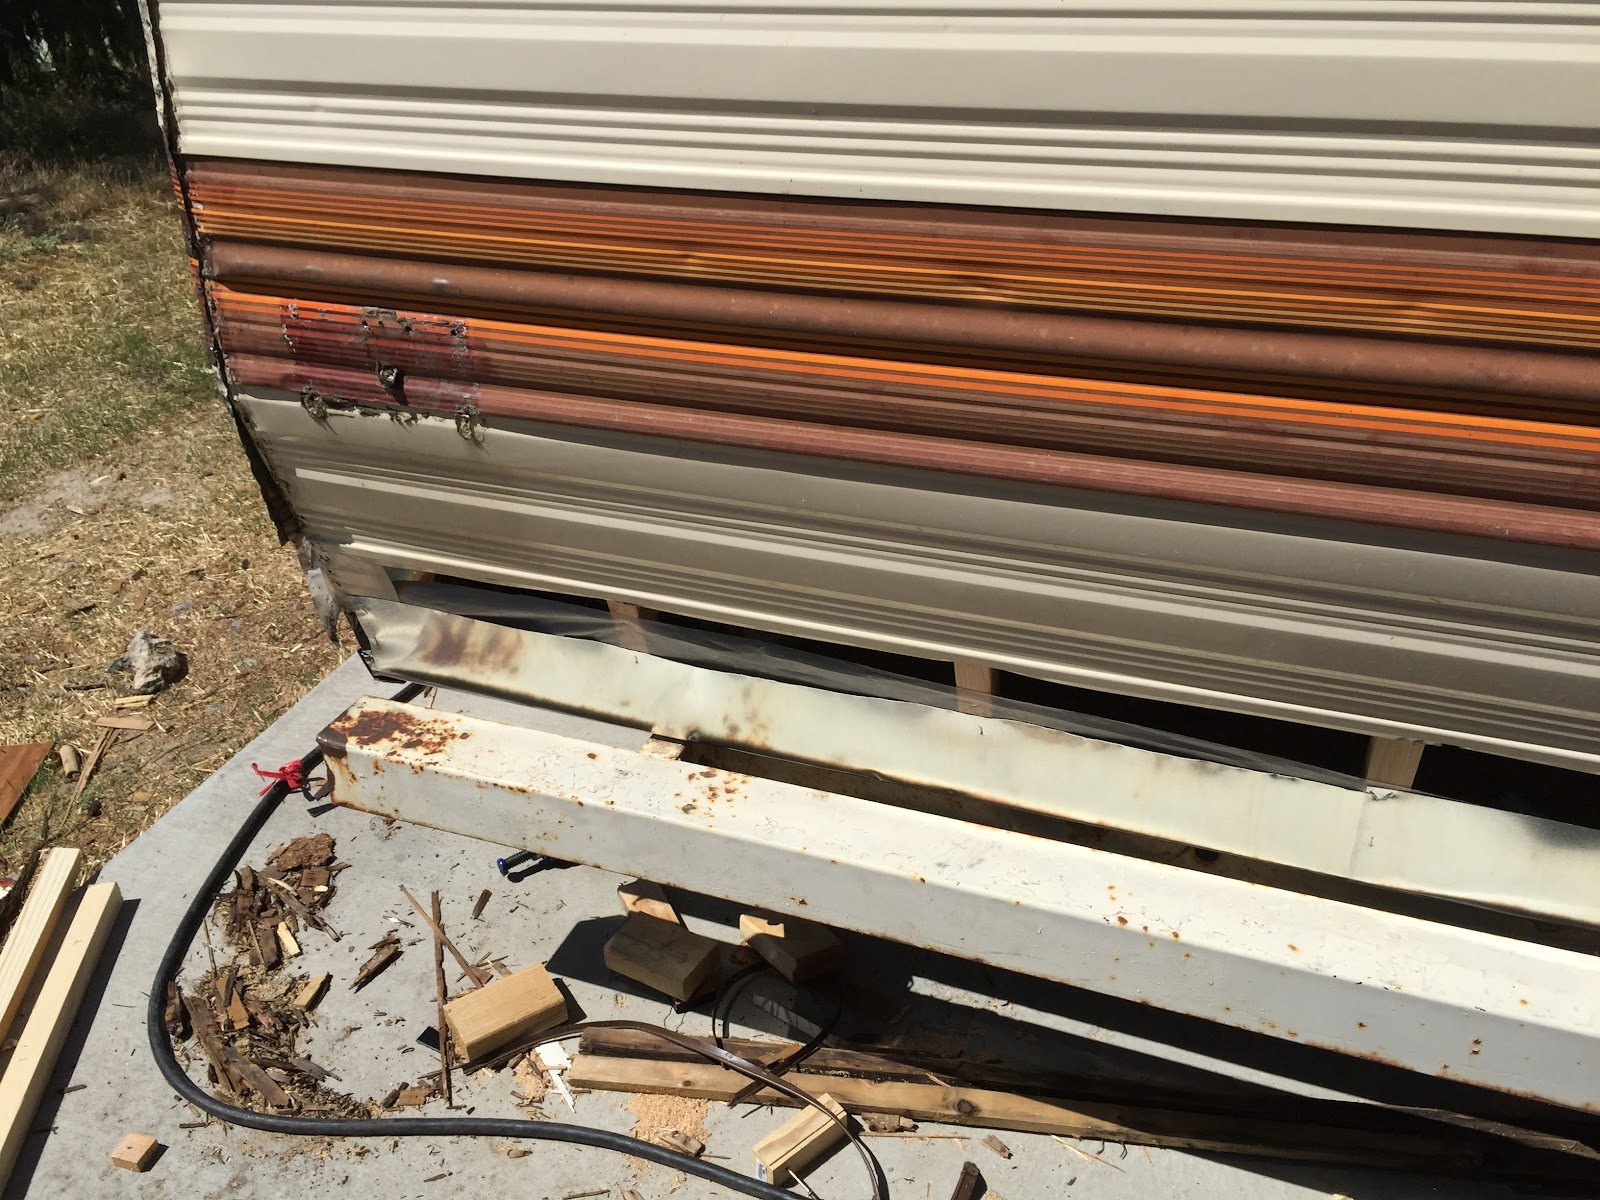
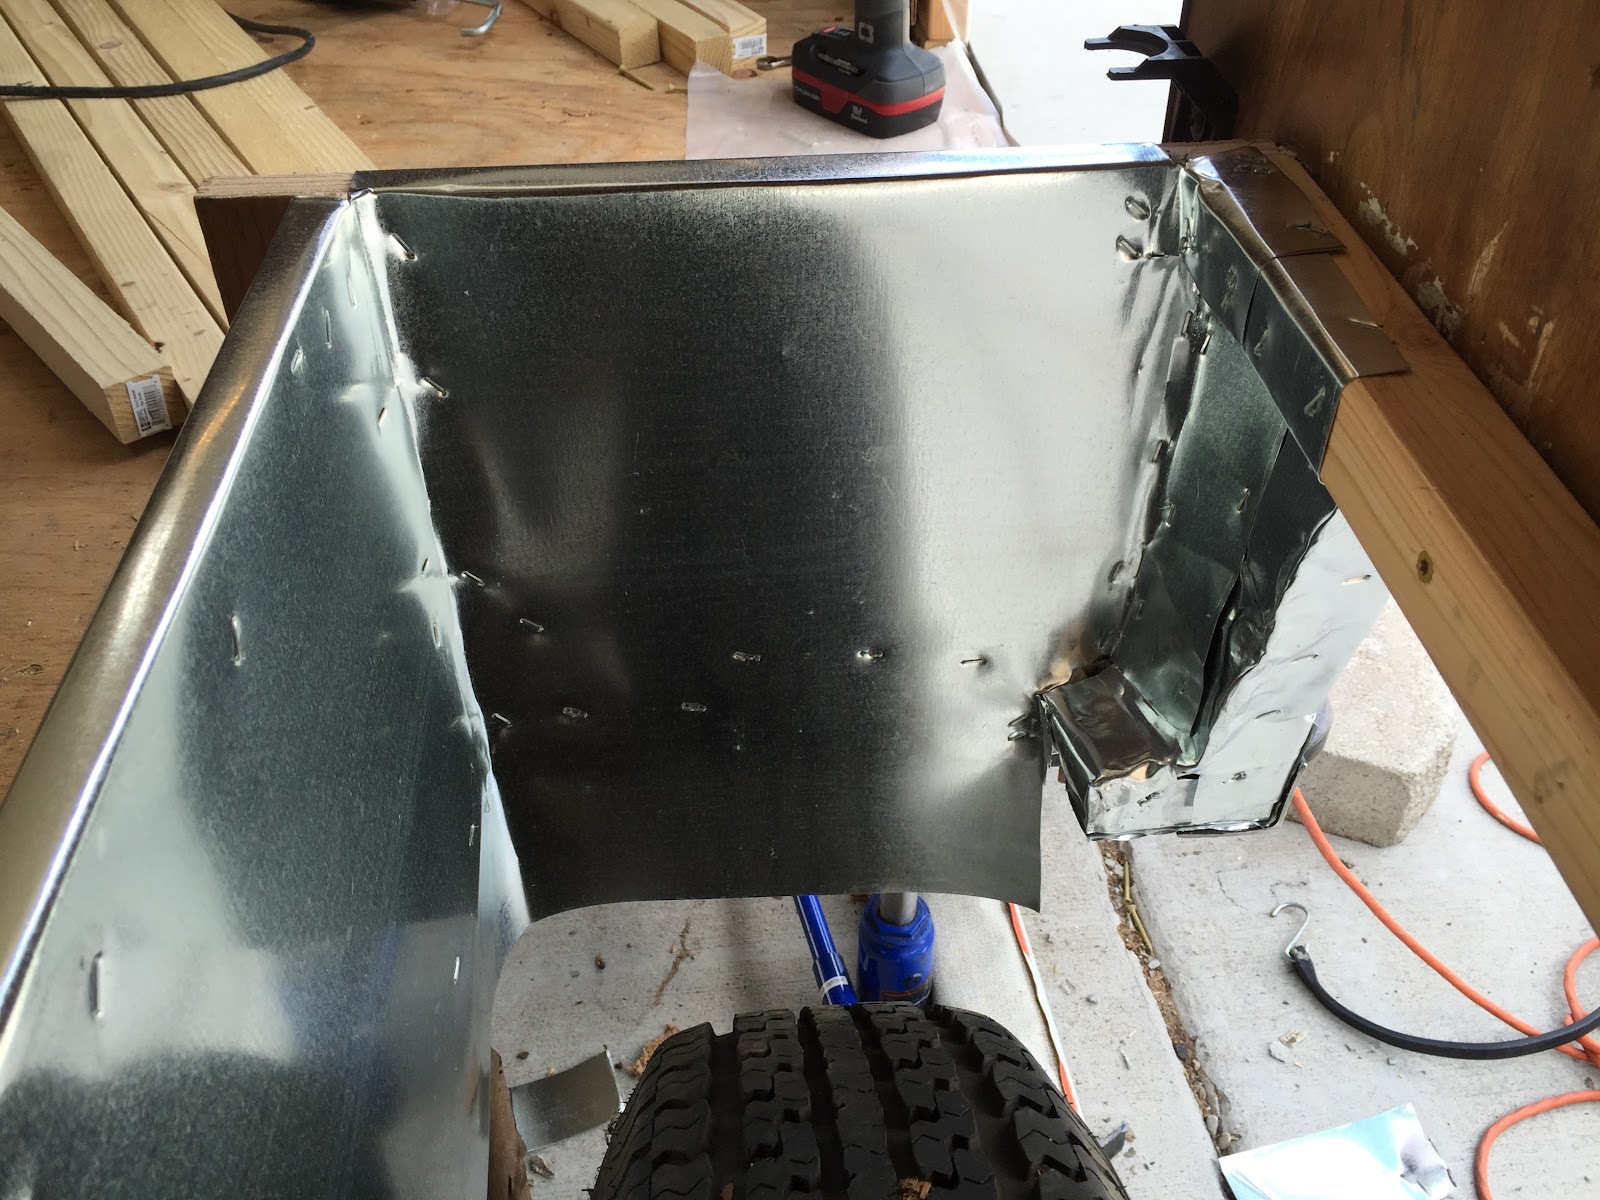
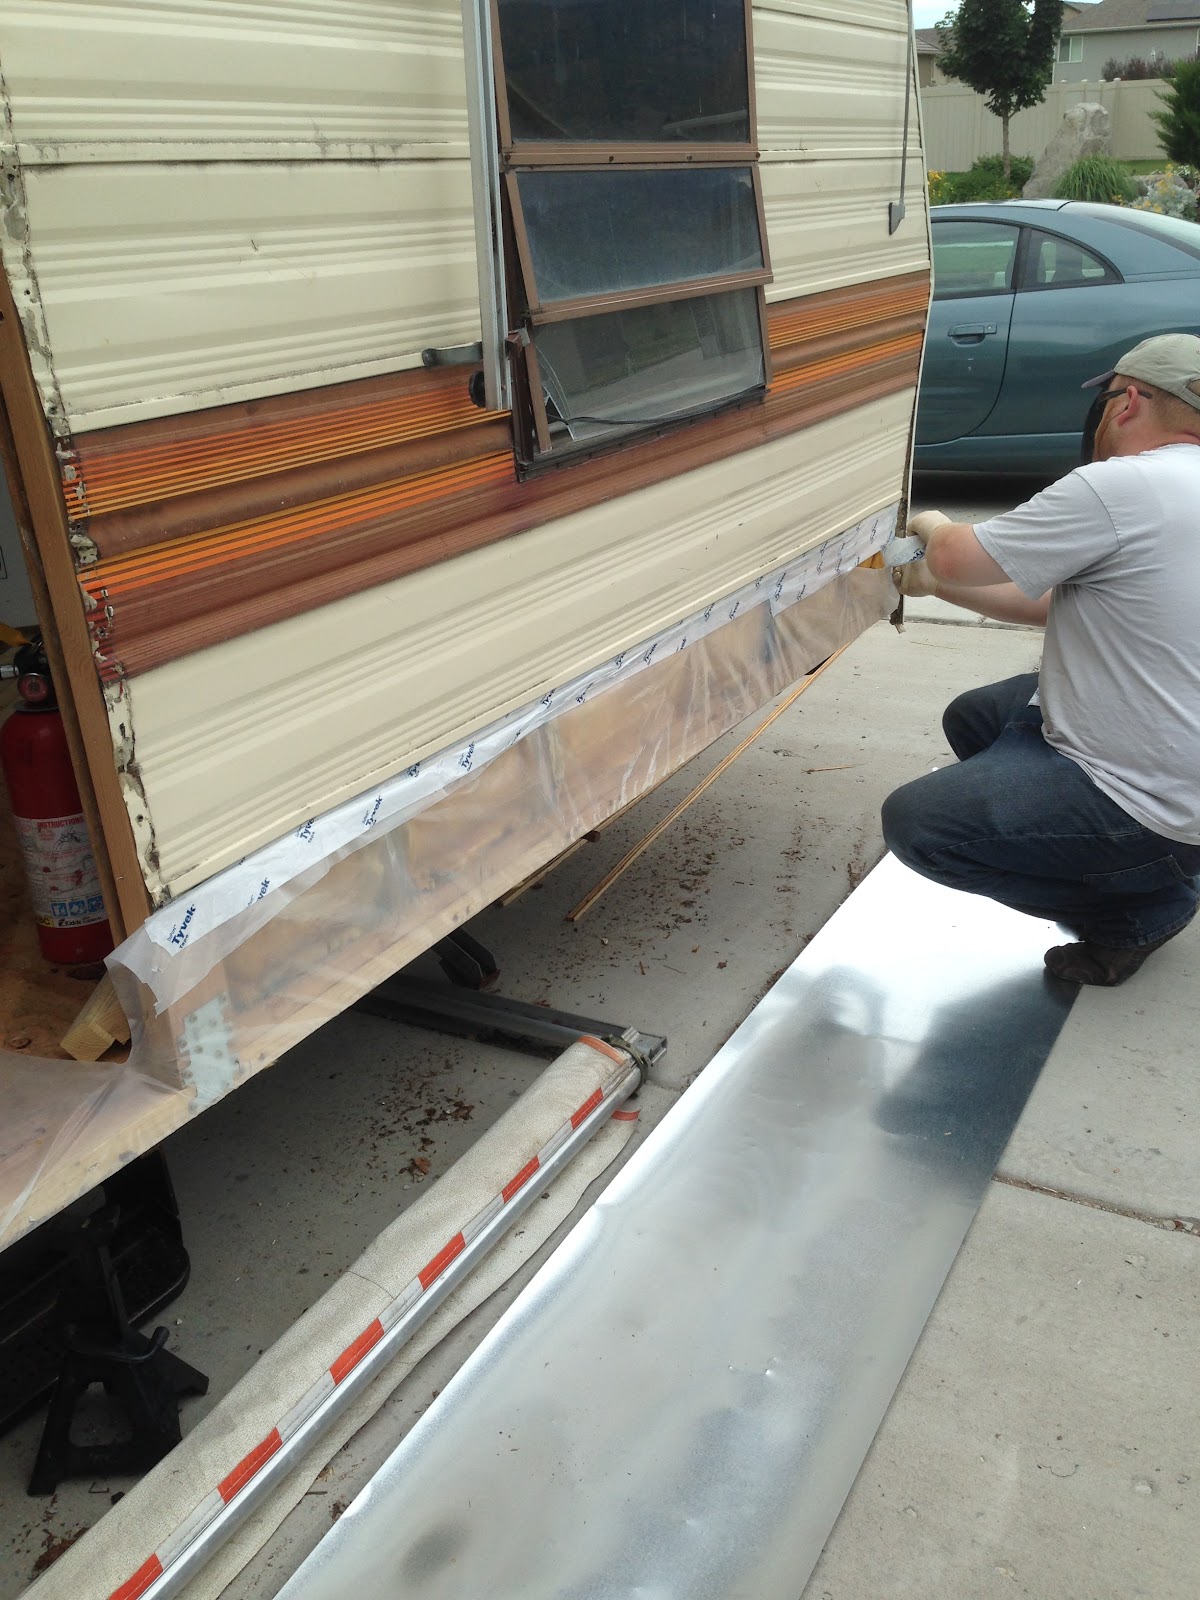
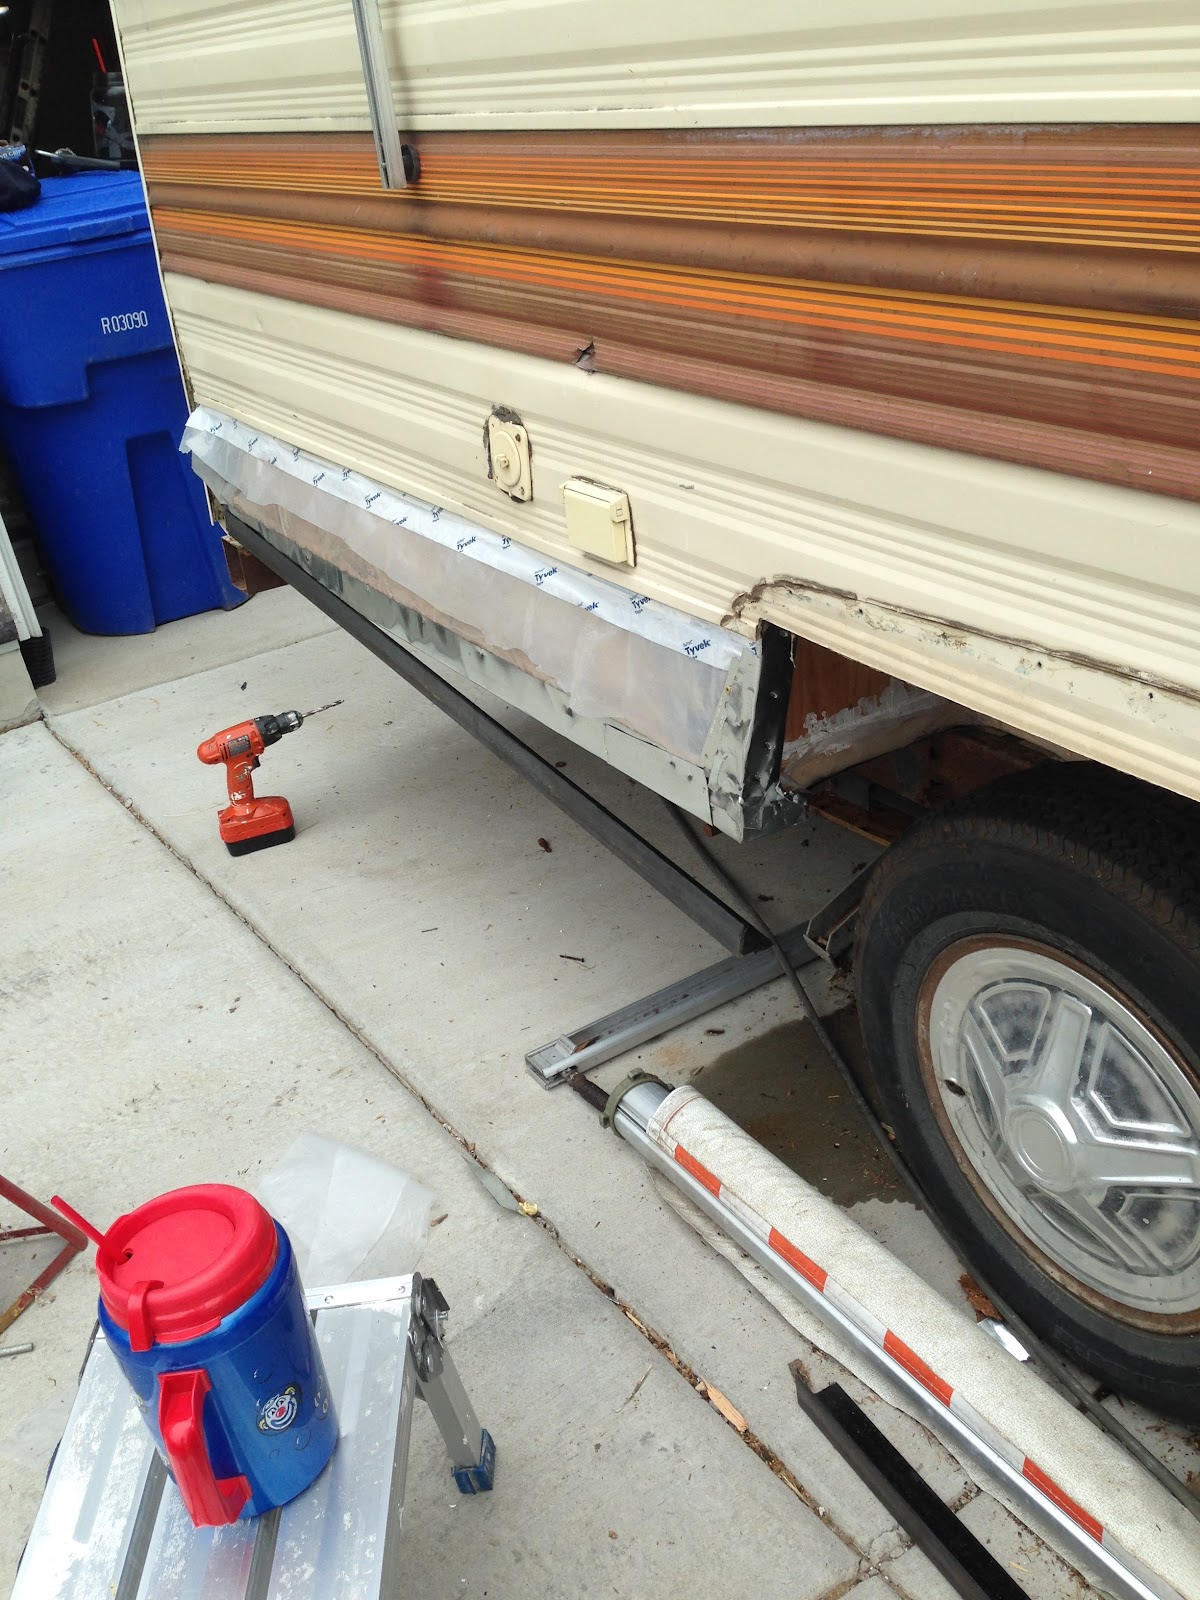
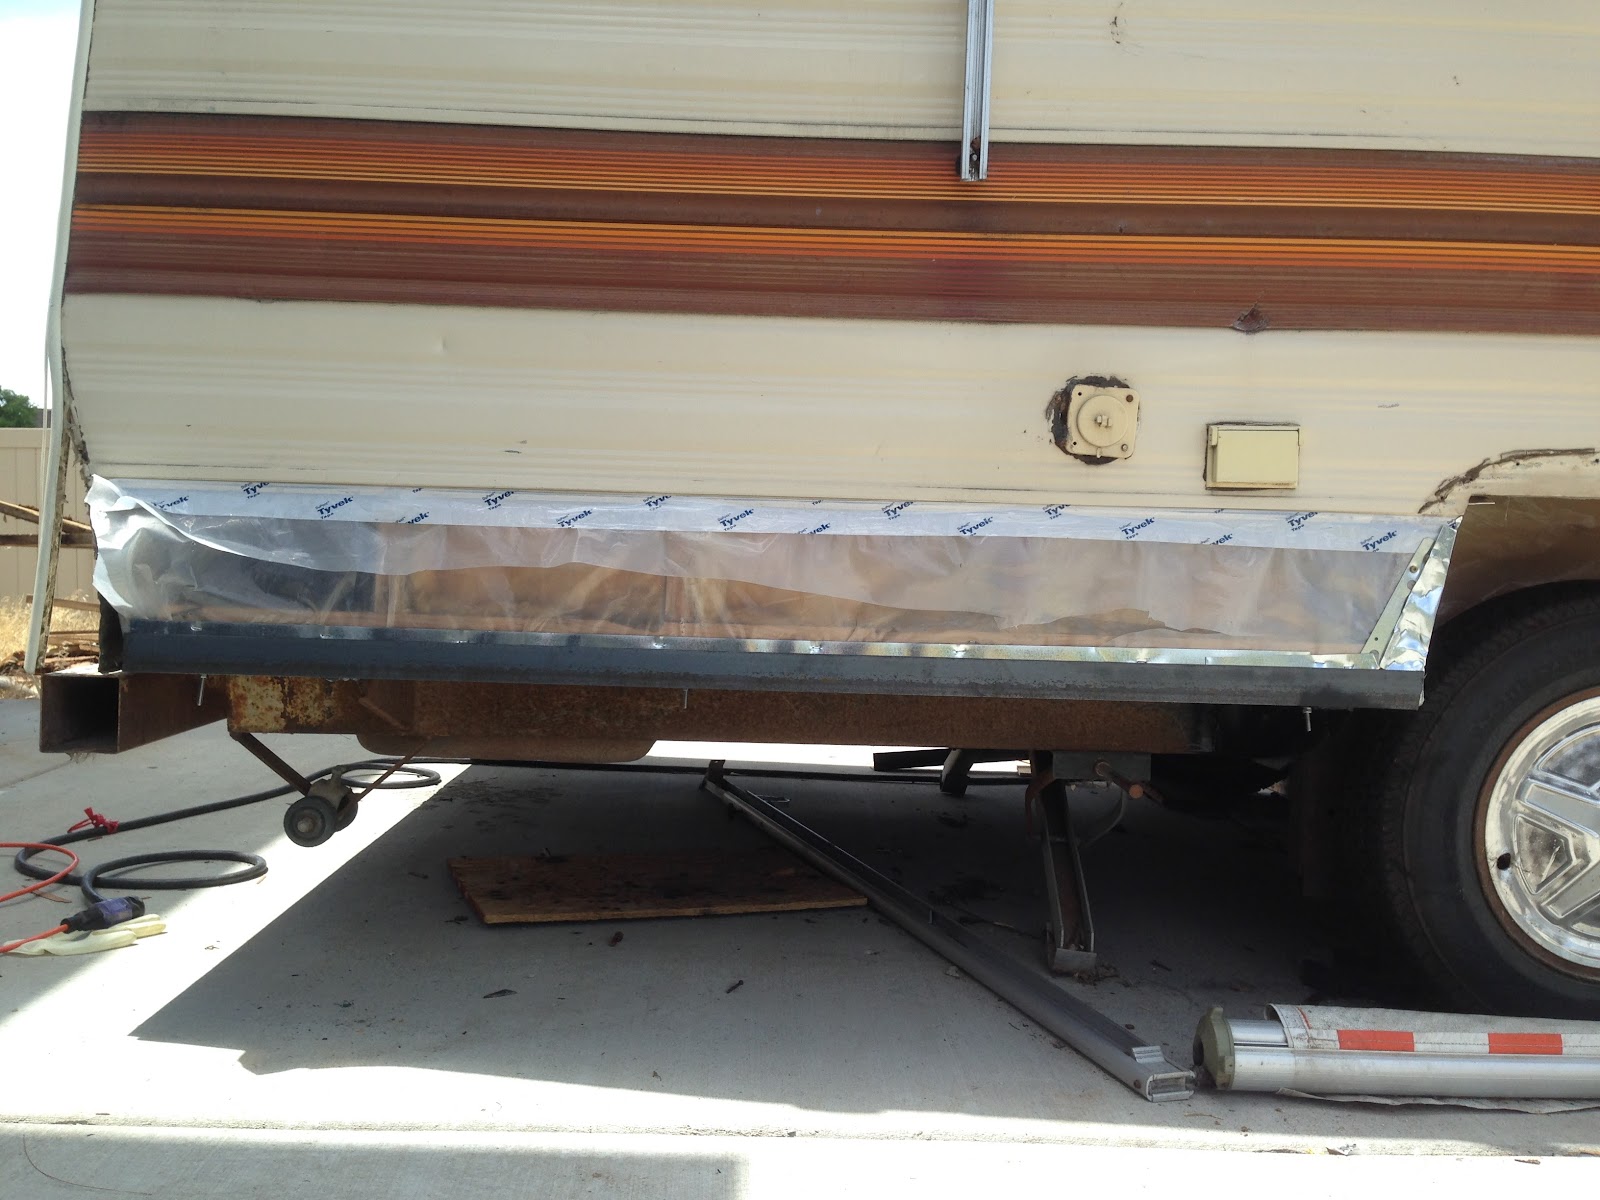
Back wall gets some skirting. 

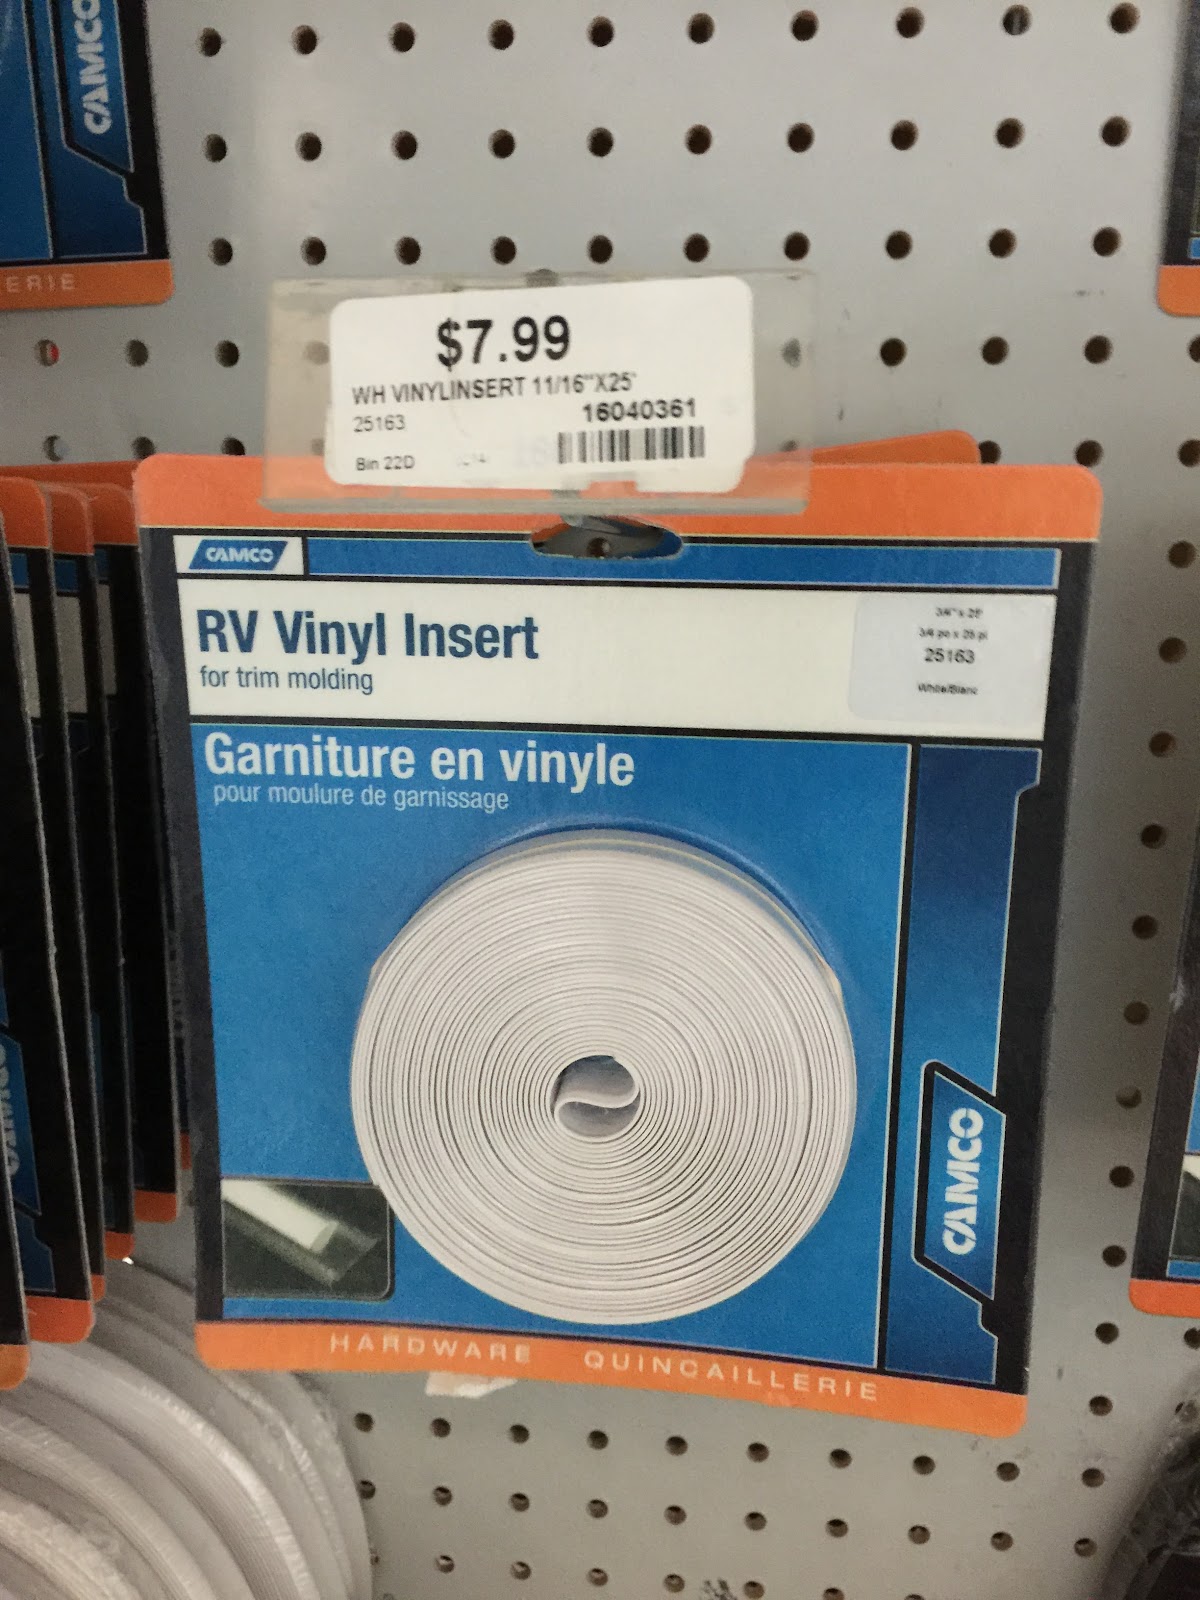
Finished J-trim and insert.
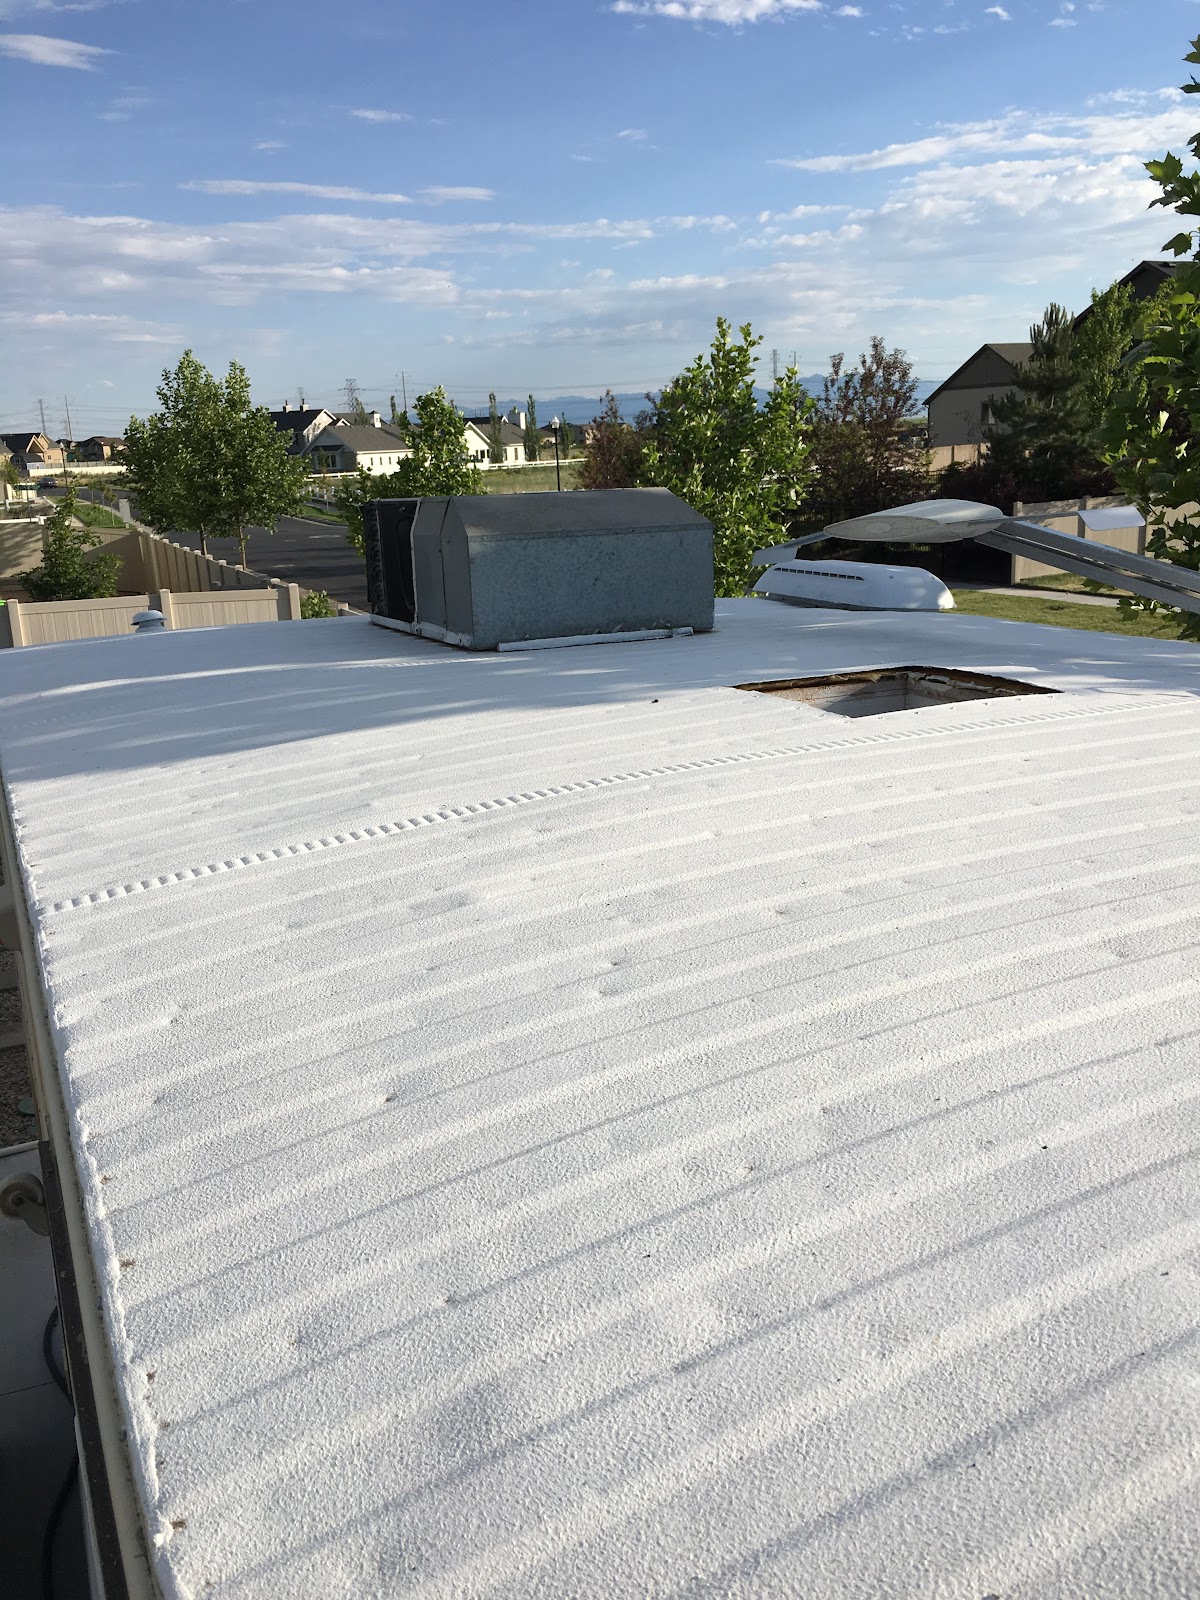
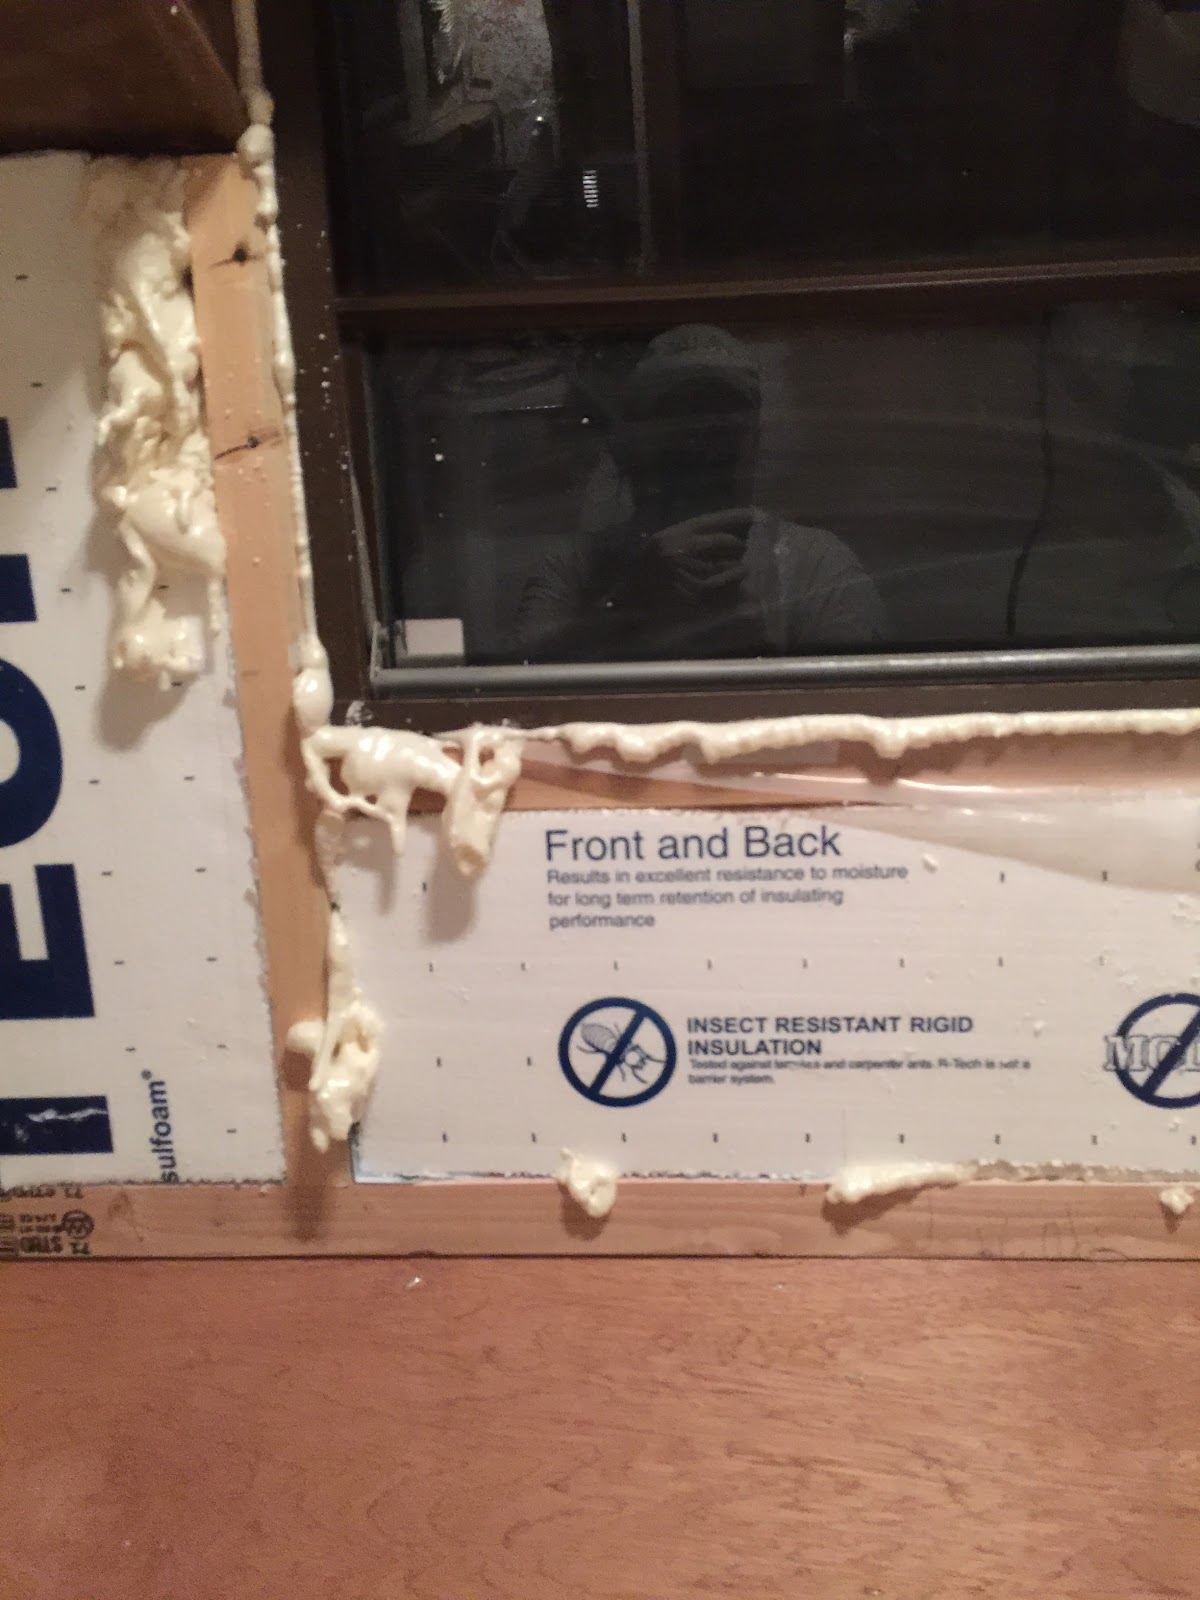
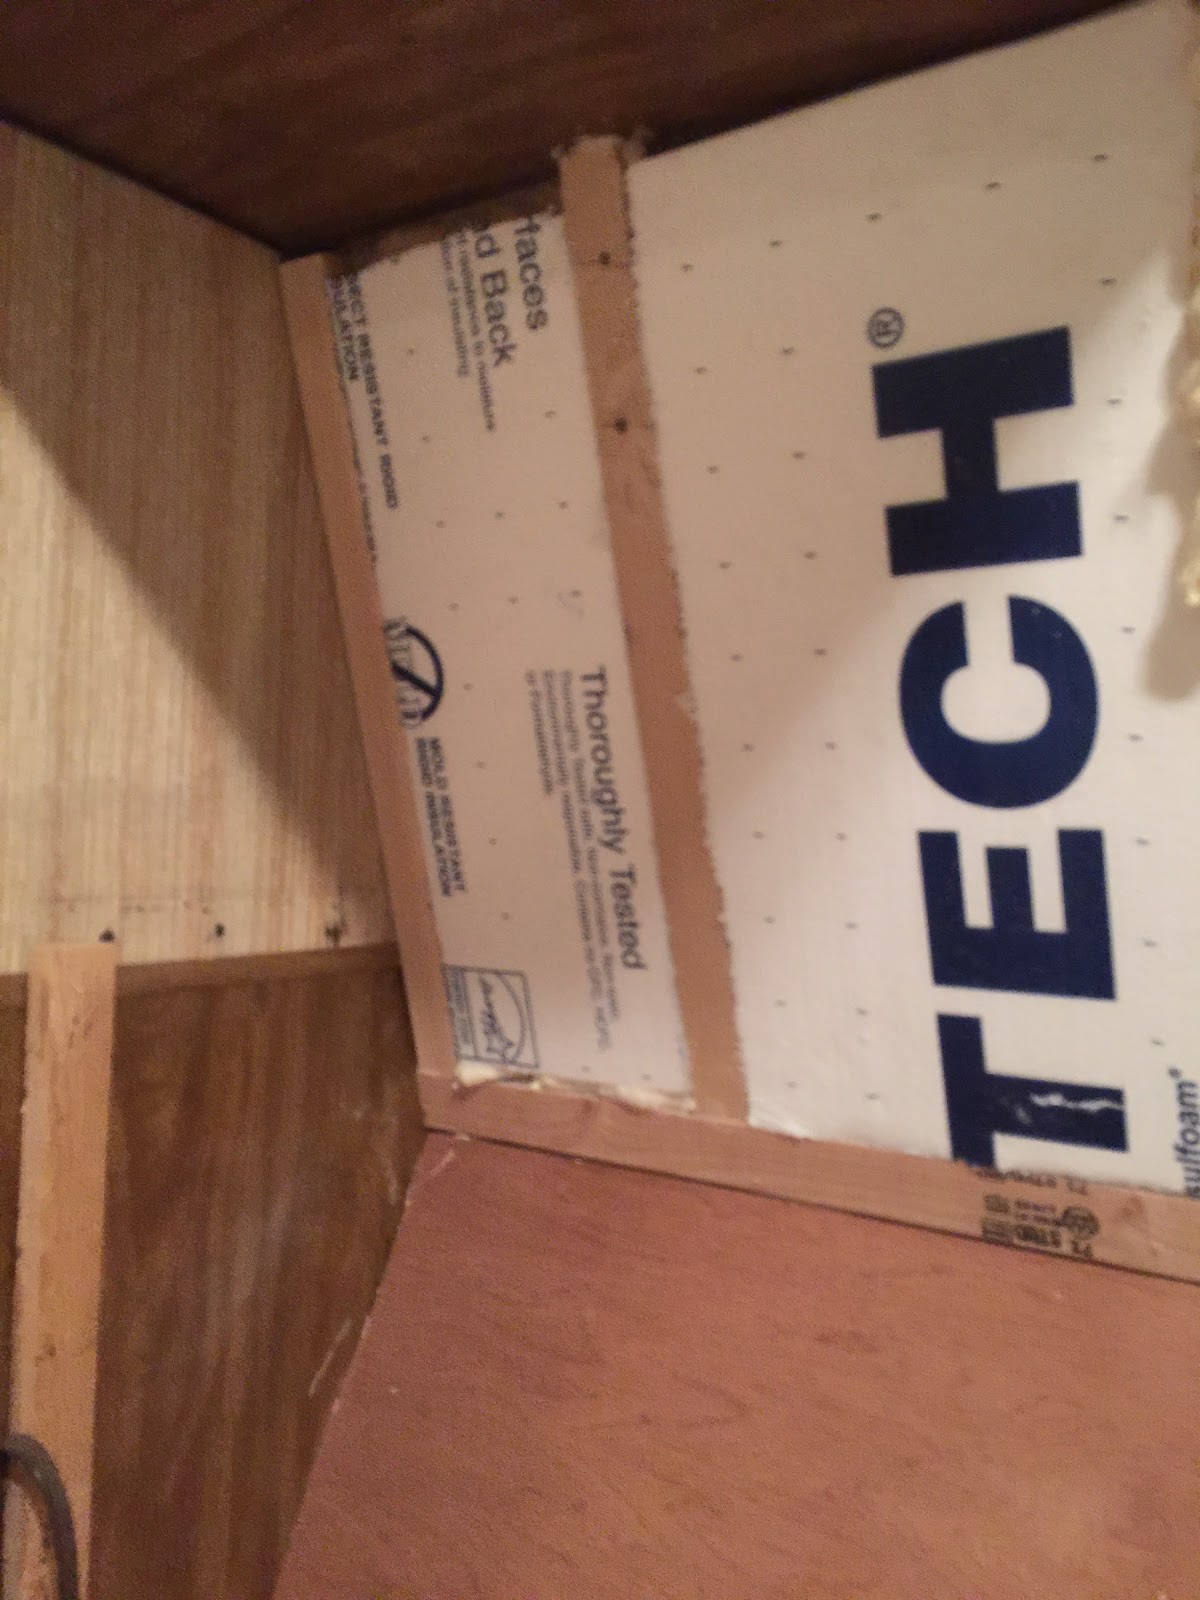
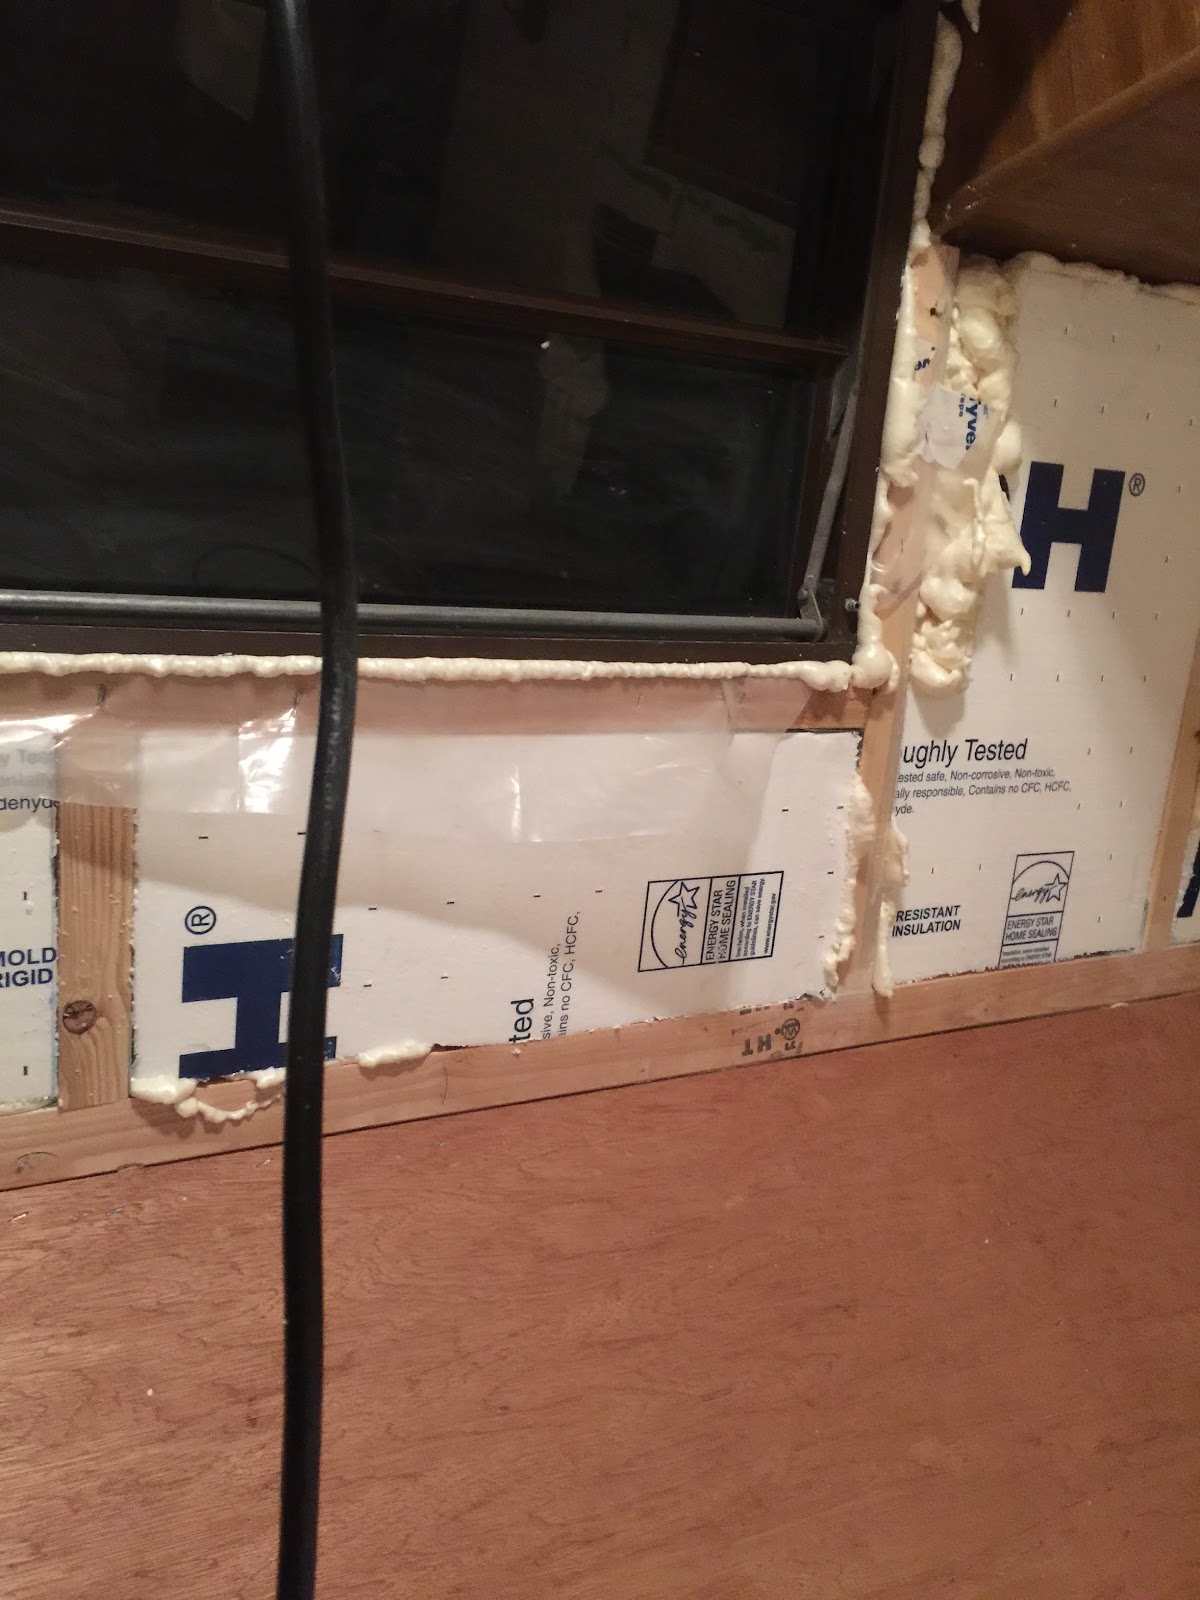
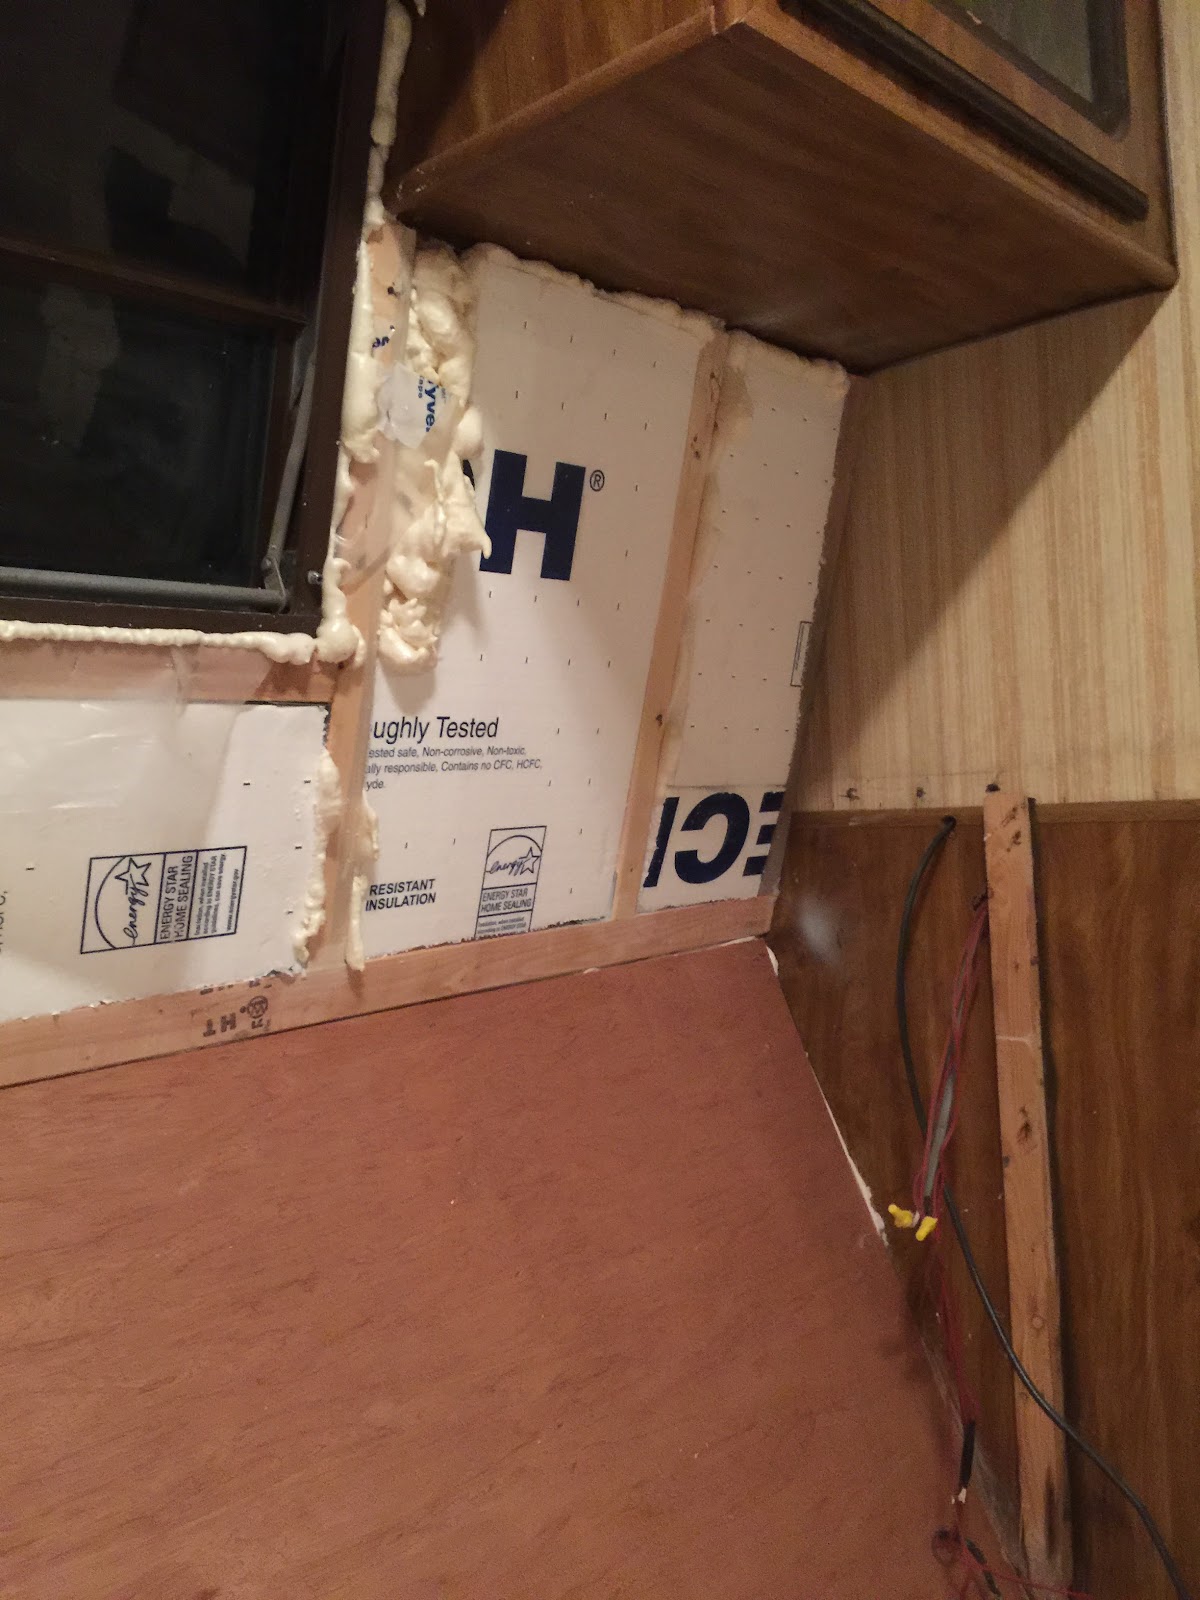
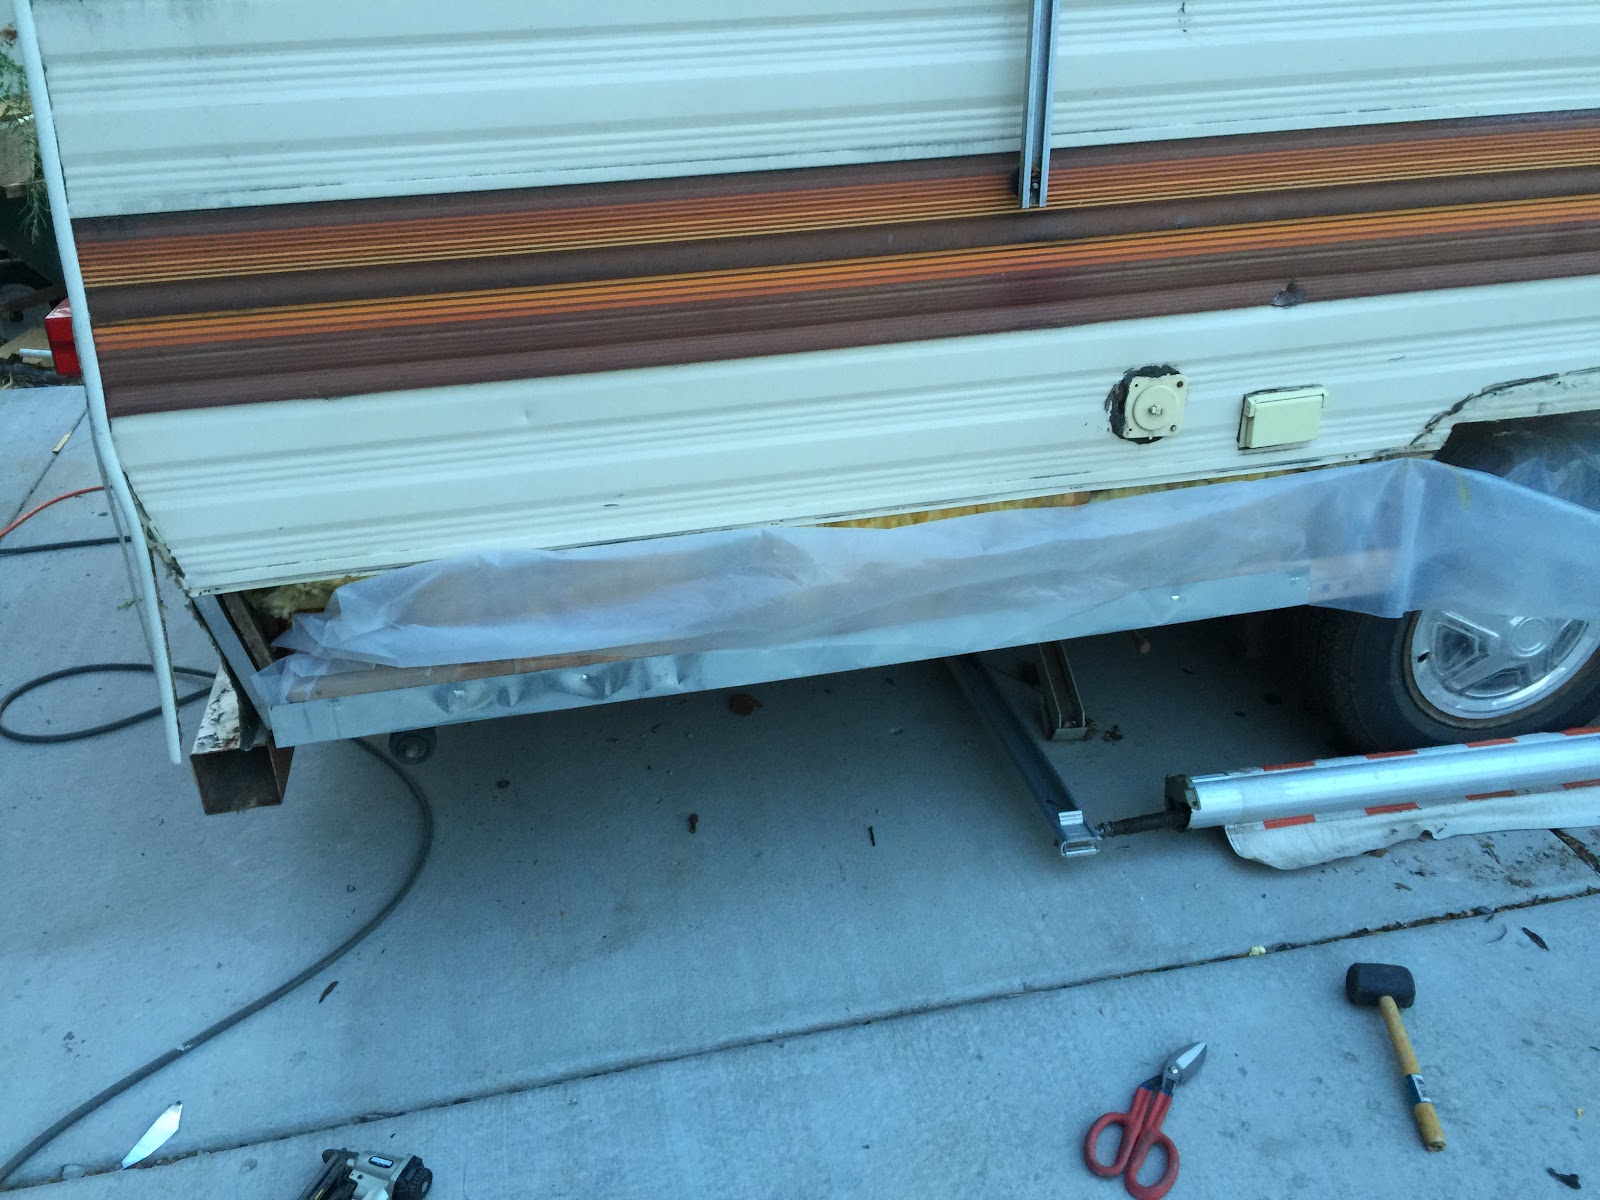
New foam. 

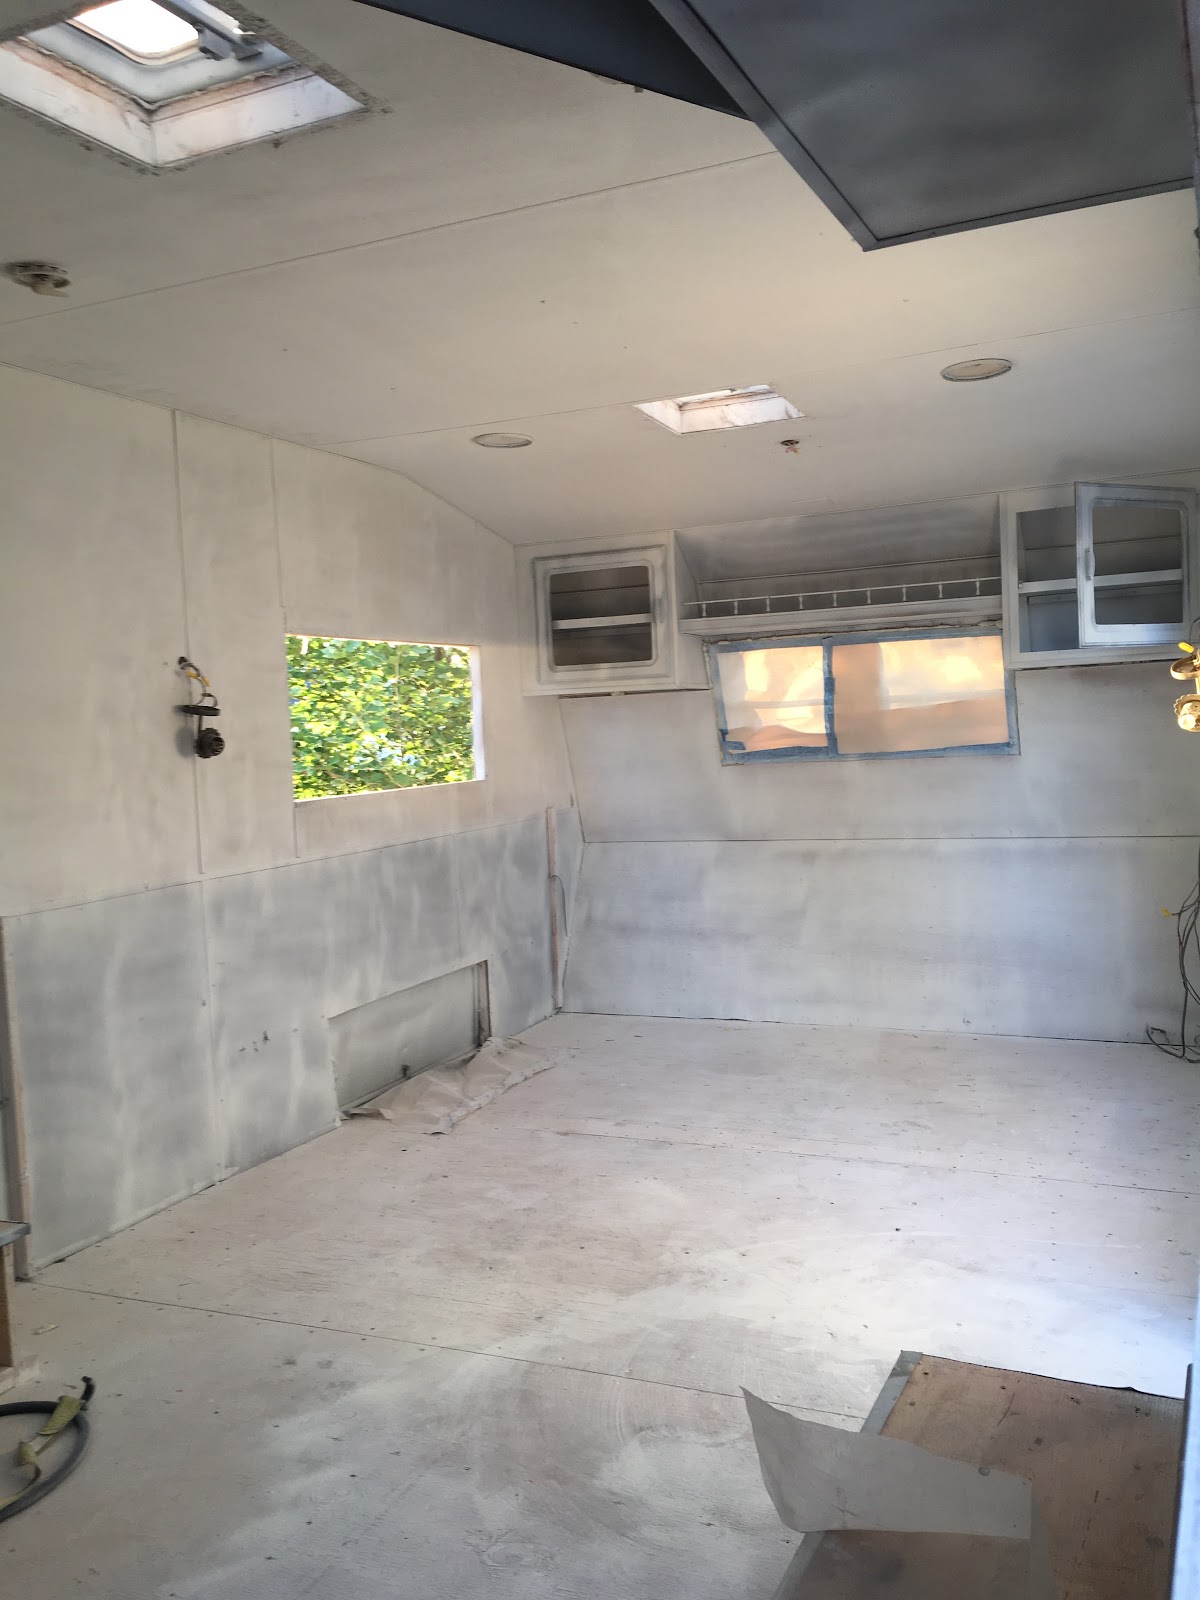
Side walls got some love too. I cut this plywood backwards. Oops. I got painted so no one will ever know. 

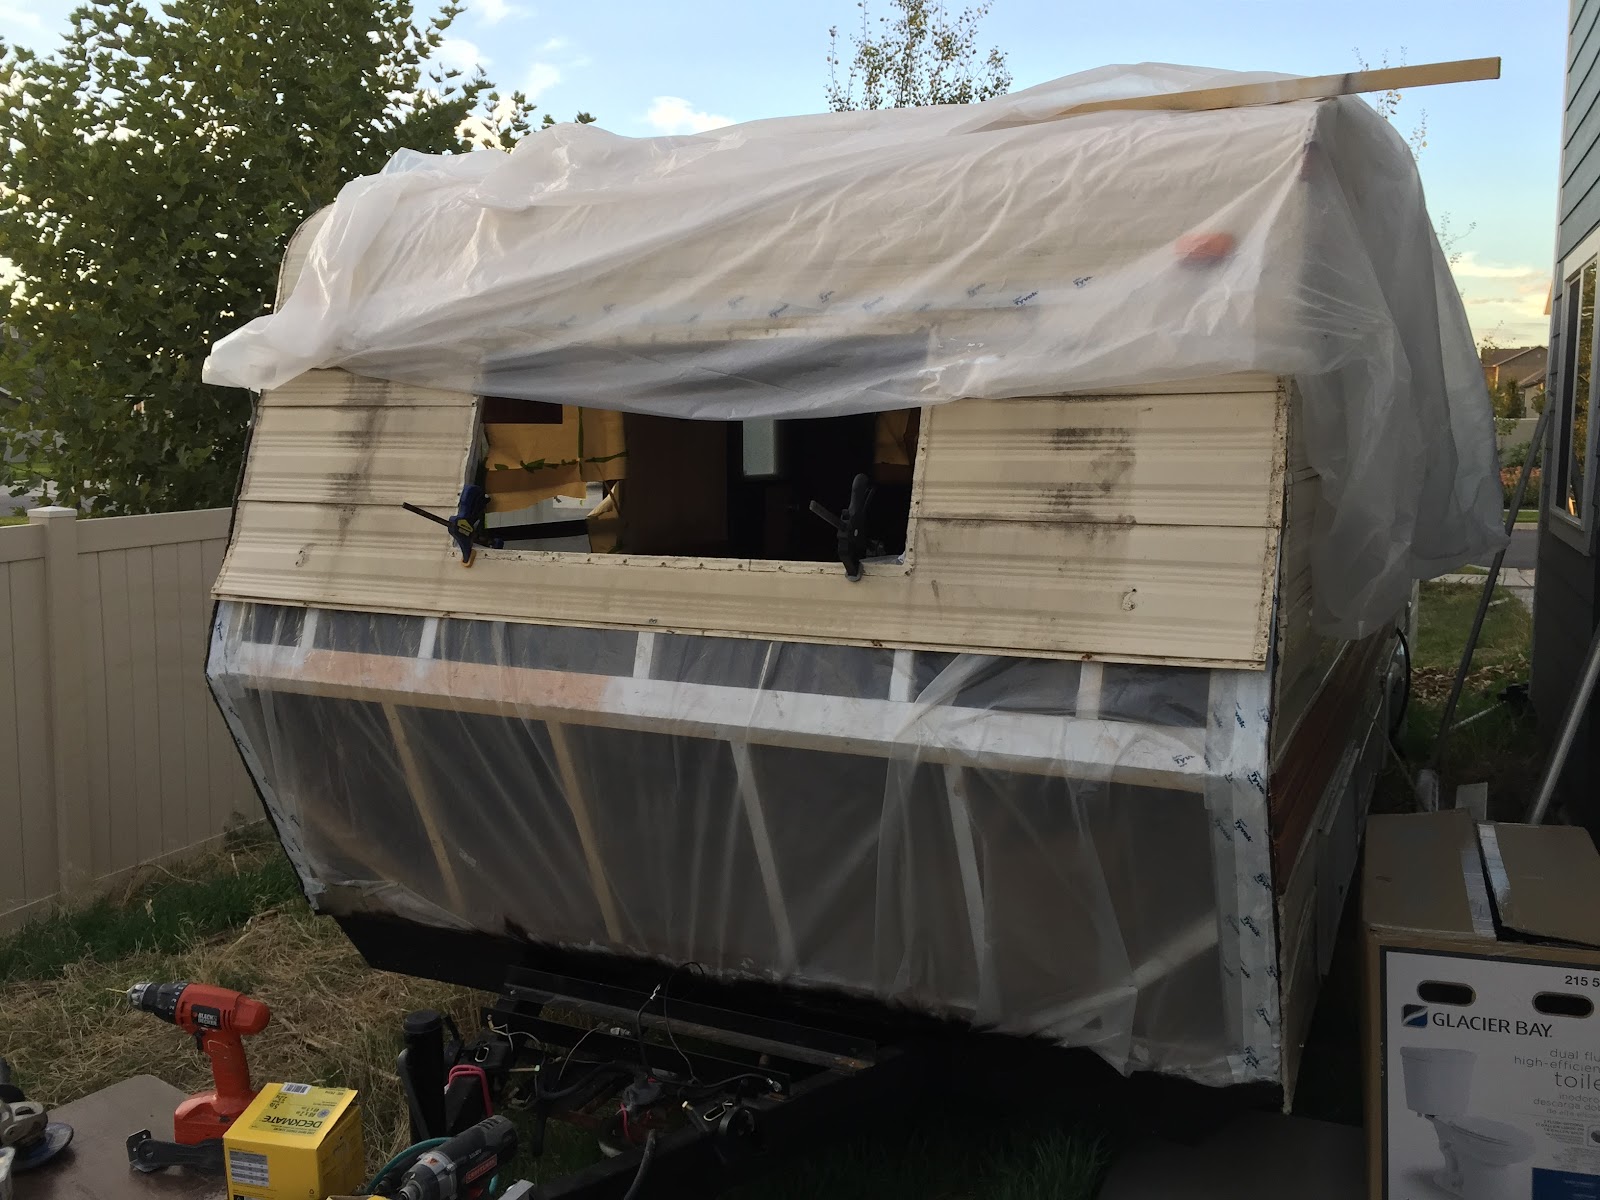
So much better than before. Duh.

Trailer – Building a new frame support that was ripped off during a tire blowout

The previous owners apparently had a tire blowout so bad it ripped a metal frame support right off the frame. It also did damage to the wheel well as it had been rebuilt with plywood at some point. I didn’t  notice the missing frame support when I bought the trailer. The wall spanned from the rear of the trailer over the wheels to the door. It’s no wonder the pressure from the wall caused wood to squeeze around the rear frame support. 

Holes left when the support was torn from the frame. Let’s fill those in a bit and fix that crack.

Much better.
I couldn’t find anything pre-built so I used what I had, some angle iron. 

The rusty frame made it difficult to get a clean weld. If I’d had more experience I probably would have cleaned it up with the angle grinder first. 

All done. No saggy walls now. You can see in this pic how at some point a 3″ lift was added to the spring shackles. I don’t like how long and unsupported those shackle supports are and I might try to fix it at some point. 

No pre-built wheel well solution that would fit my needs so custom galvanized steel and staples did the trick. 

After this was built I used caulking and rubberized spray to waterproof it. 

You can see why the kitchen had to be removed in order to properly rebuild the floor and wheel wells. 

Trailer – Galvanized steel side skirts – 2″ angle iron welded wall supports

Finding some new parts for the J-trim since I decided I needed to re-do the butyl tape and screws. 
Finishing up the plastic from under the floor and adding a metal skirt to help deflect water splashing up from the road. The skit was wedged between the floor and the frame and brought up over the edge of the wall. 

You can see here the addition of 2″ angle iron. I decided it would give the wall something firmer to sit on than the 1″ metal supports coming out of the frame. When I rebuilt the floor you could see the bottom 2×2 was compressed down to about an inch at the points it connected with the fame support. Also This would allow for more bolts through the wall to the angle iron. I welded the angle iron to the frame supports. On the long spans the angle iron wasn’t providing much support but once bolted to the wall the whole package was very sturdy. You can see the metal plates I used on the bottom of the studs supporting the door fame in this picture.